Children's folding card "Happy Valentine's Day"
Birthday is the most favorite children's holiday, which they look forward to every year. This holiday is loved by everyone, but especially by children. On a birthday, everything surrounds children with a cheerful and festive atmosphere, which is accompanied by cheerful children's music, a large number of colorful balloons, cheerful animators, and, of course, a large number of gifts that the child looks forward to. All this makes the birthday holiday fun and positive. What should you give your baby for his birthday? It doesn’t seem to be difficult, you choose a toy and you’re done, but it’s not that simple. You need to thoroughly find out from the parents the priorities of the child, their favorite cartoon characters, and then proceed from there and select a toy. Be sure to give a greeting card along with the gift, which will remind you and your congratulations when the child grows up. You can make a beautiful, bright and very unusual postcard with your own hands, and a well-known and very popular technique these days will help us with this. scrapbooking.
This master class will teach us not only how to make a beautiful postcard, but also how to come up with an interesting folding shape for the postcard. This will give the card some mystery and versatility. So, for this master class we will need to take:
• Postcard layout;
• Blue cardboard, sheet A4;
• Two sheets of paper in blue tones from the “Jolly Engine” series from Evgenia Kurdibanovsa;
• Colored children's pictures;
• Cut out circle;
• Picture of a cheerful hippopotamus on watercolor paper;
• Pieces of different paper in blue, dark blue and light green colors;
• Curb hole punch;
• 3-D butterfly hole punch;
• Satin narrow ribbons with polka dots in blue and aqua;
• Polymer flowers, buttons, cabochons, paper flowers, half beads, cut-outs, also in blue and sea colors;
• Blue cotton lace;
• Blue ribbon with pompoms;
• Stamp “Happy Jam Day”, green ink;
• PVA glue, ruler, pencil, utility knife, scissors, double-sided tape, glue gun.
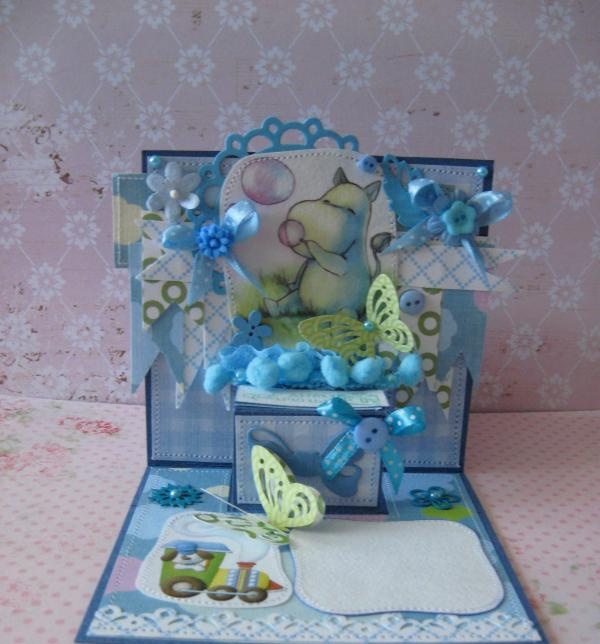
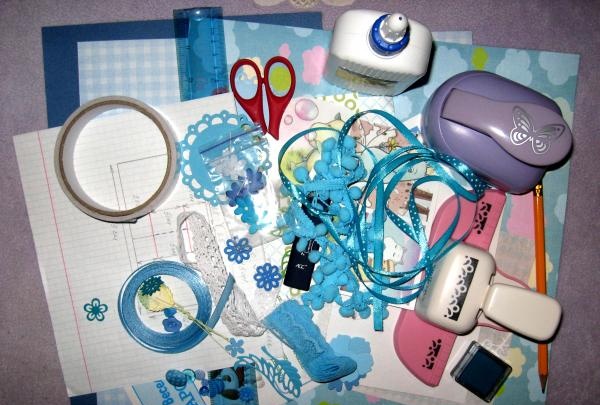
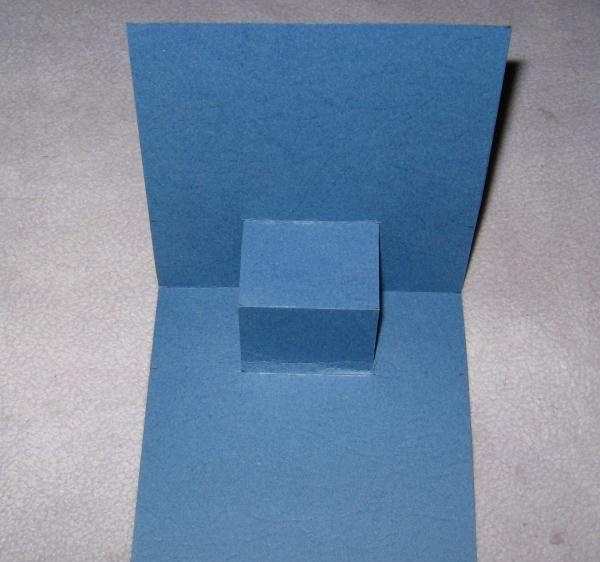
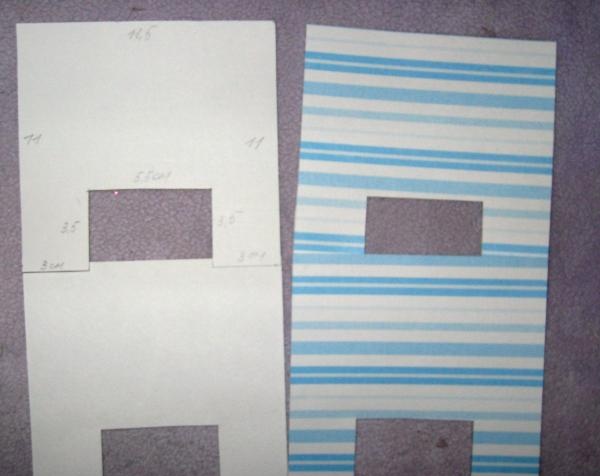
The first thing you need to do is familiarize yourself with the diagram and cut out the base for the postcard from blue cardboard. Using a stationery knife we make cutouts for folding, dotted lines, these are the bend lines.
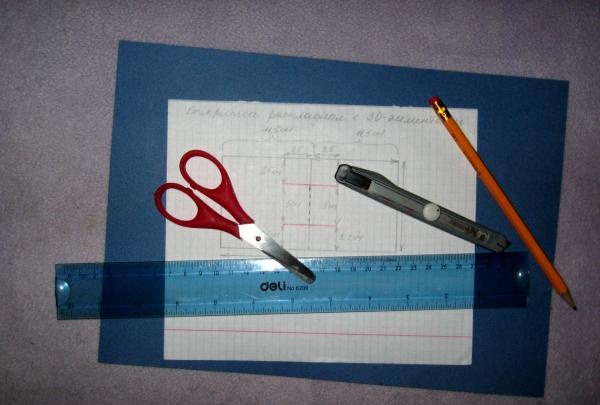
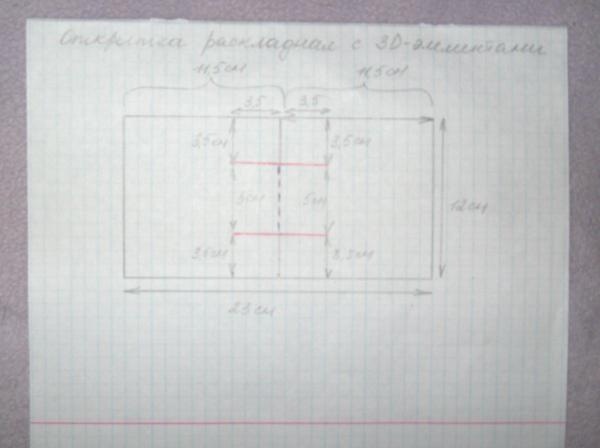
We cut it out, make bends and fold this base, it turns out like a chair with a back, and the base, thanks to the cardboard, is very stable and keeps its shape.
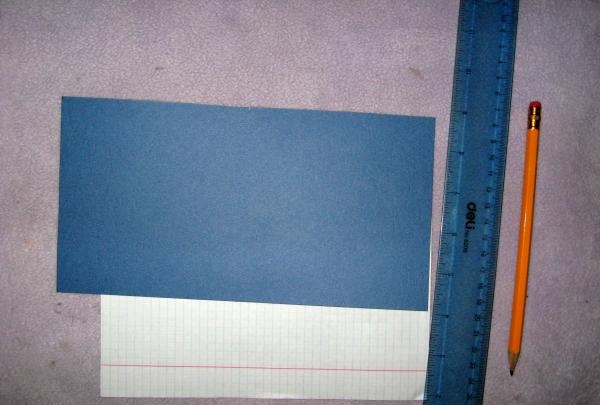
Now we cut out two of these shaped blanks from scrap paper, we cut out four of them in total. We round out the pictures and cut out flags and stripes from the scraps. We make some stripes curly. We stamp “Happy Jam Day” on white paper, cut out the inscription into a rectangle and tint its edges.
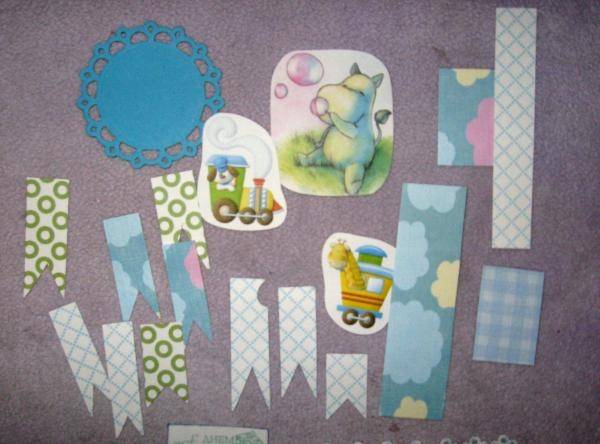
We glue pictures, flags and a shaped rectangle for congratulations to scrap paper and a mug. We machine sew all the elements.
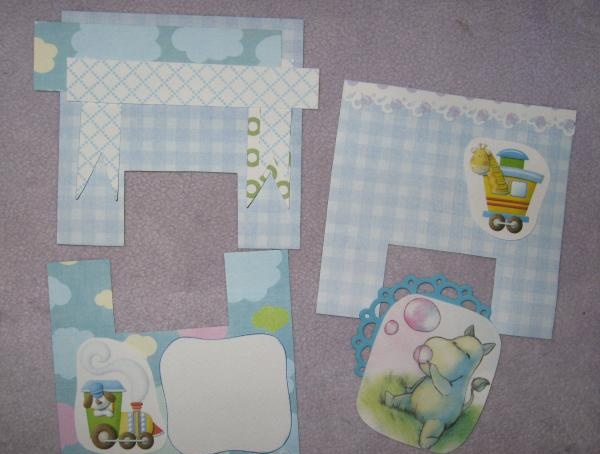
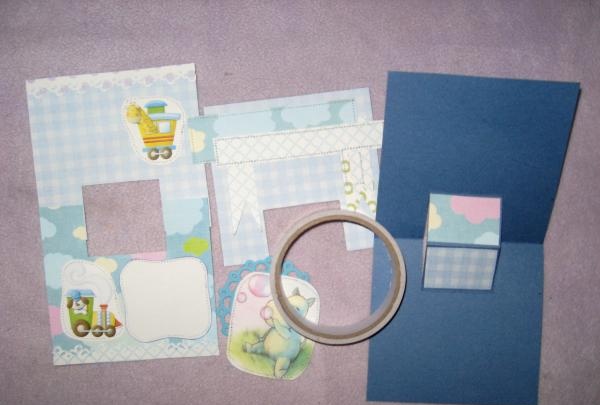
Now we glue the scrap paper blanks to the base and sew in pairs one side of the card and the other along the edges. We glue the flags and the inscription with tape.
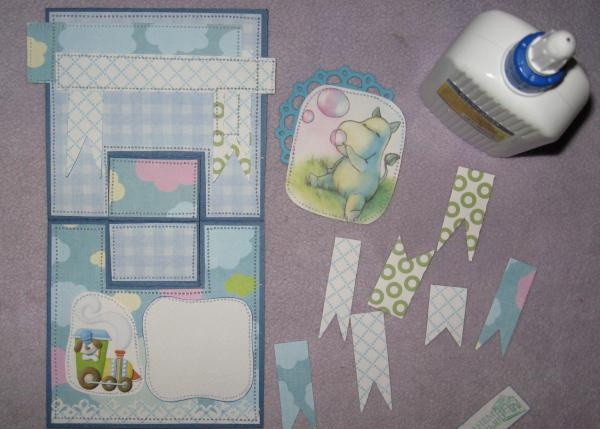
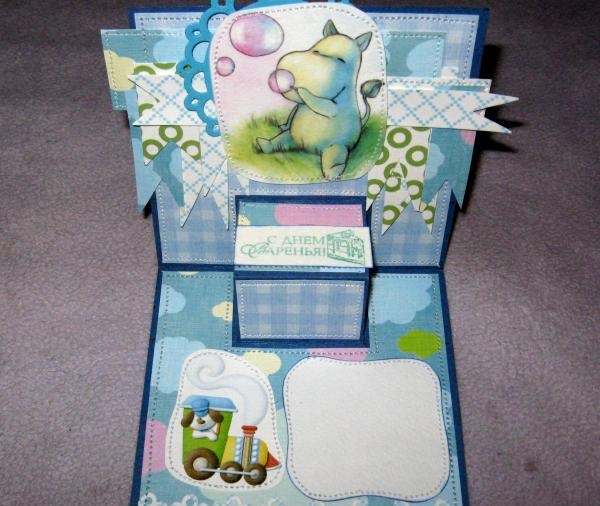
We tie bows from the ribbons, cut off the lace and the ribbon with pom-poms. We make butterflies with a hole punch and glue the decorations with a glue gun.
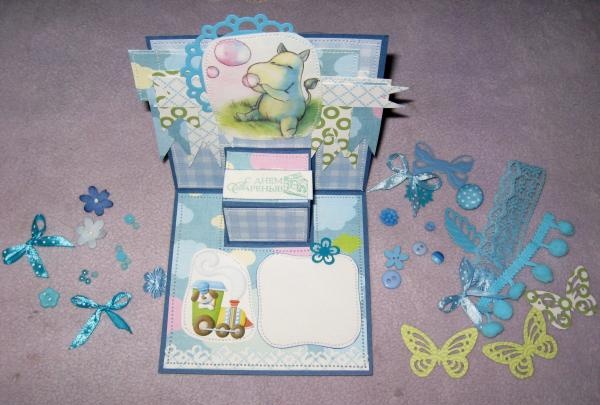
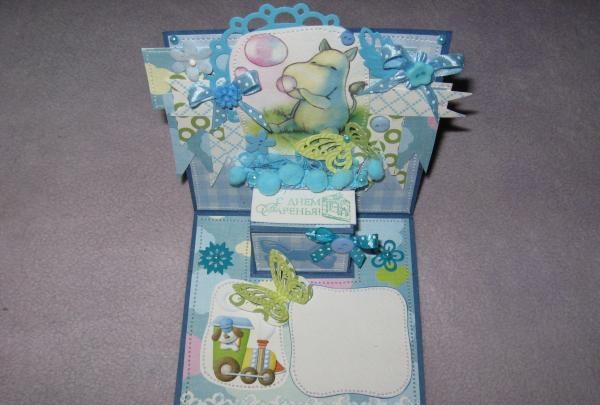
We get this interesting postcard that easily folds and unfolds, taking on the unusual shape of a chair. Thank you for your attention.
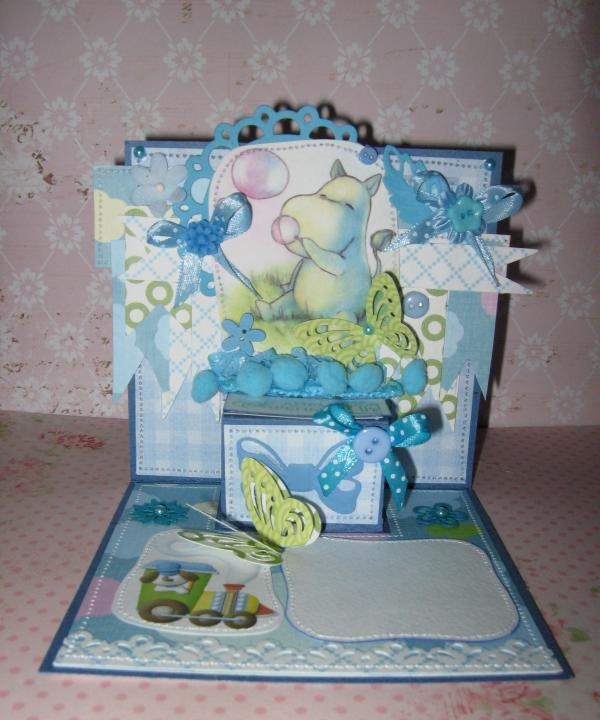
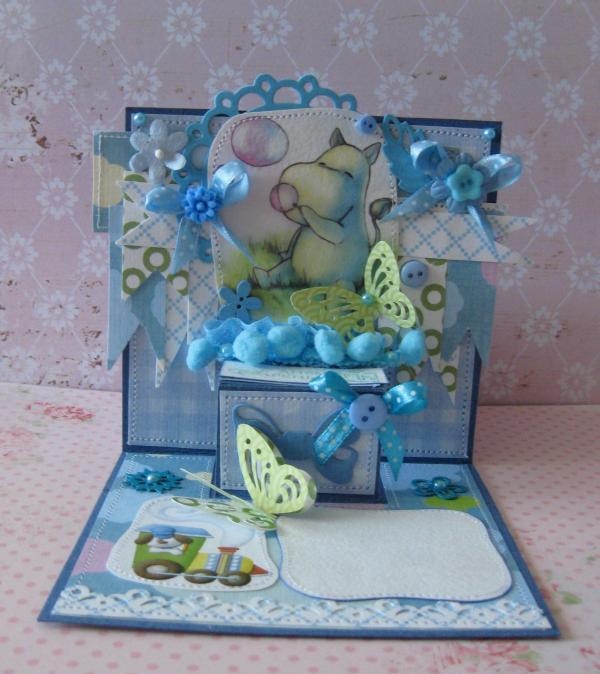
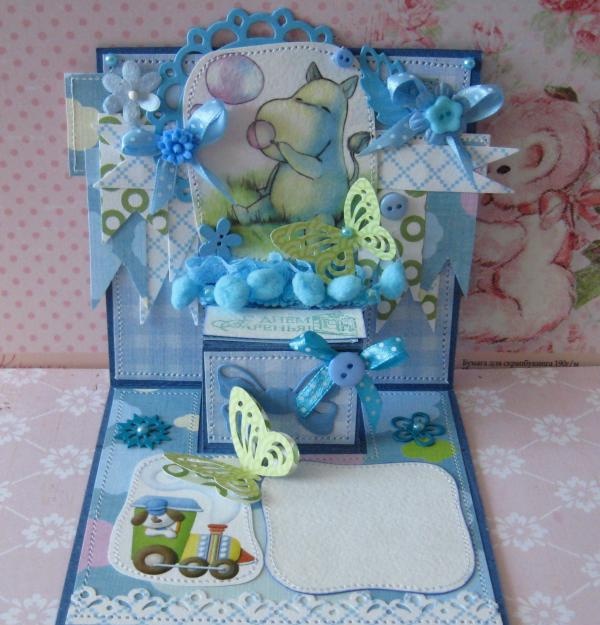
This master class will teach us not only how to make a beautiful postcard, but also how to come up with an interesting folding shape for the postcard. This will give the card some mystery and versatility. So, for this master class we will need to take:
• Postcard layout;
• Blue cardboard, sheet A4;
• Two sheets of paper in blue tones from the “Jolly Engine” series from Evgenia Kurdibanovsa;
• Colored children's pictures;
• Cut out circle;
• Picture of a cheerful hippopotamus on watercolor paper;
• Pieces of different paper in blue, dark blue and light green colors;
• Curb hole punch;
• 3-D butterfly hole punch;
• Satin narrow ribbons with polka dots in blue and aqua;
• Polymer flowers, buttons, cabochons, paper flowers, half beads, cut-outs, also in blue and sea colors;
• Blue cotton lace;
• Blue ribbon with pompoms;
• Stamp “Happy Jam Day”, green ink;
• PVA glue, ruler, pencil, utility knife, scissors, double-sided tape, glue gun.


The first thing you need to do is familiarize yourself with the diagram and cut out the base for the postcard from blue cardboard. Using a stationery knife we make cutouts for folding, dotted lines, these are the bend lines.


We cut it out, make bends and fold this base, it turns out like a chair with a back, and the base, thanks to the cardboard, is very stable and keeps its shape.


Now we cut out two of these shaped blanks from scrap paper, we cut out four of them in total. We round out the pictures and cut out flags and stripes from the scraps. We make some stripes curly. We stamp “Happy Jam Day” on white paper, cut out the inscription into a rectangle and tint its edges.


We glue pictures, flags and a shaped rectangle for congratulations to scrap paper and a mug. We machine sew all the elements.


Now we glue the scrap paper blanks to the base and sew in pairs one side of the card and the other along the edges. We glue the flags and the inscription with tape.


We tie bows from the ribbons, cut off the lace and the ribbon with pom-poms. We make butterflies with a hole punch and glue the decorations with a glue gun.


We get this interesting postcard that easily folds and unfolds, taking on the unusual shape of a chair. Thank you for your attention.


Similar master classes
Particularly interesting
Comments (1)


