Bouquet of crocuses made of corrugated paper
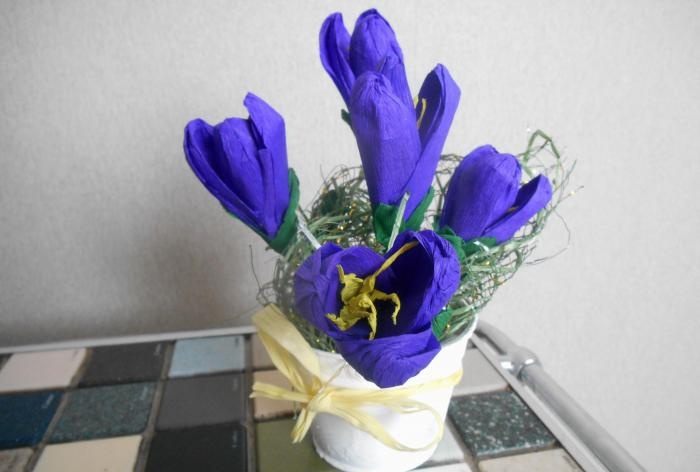
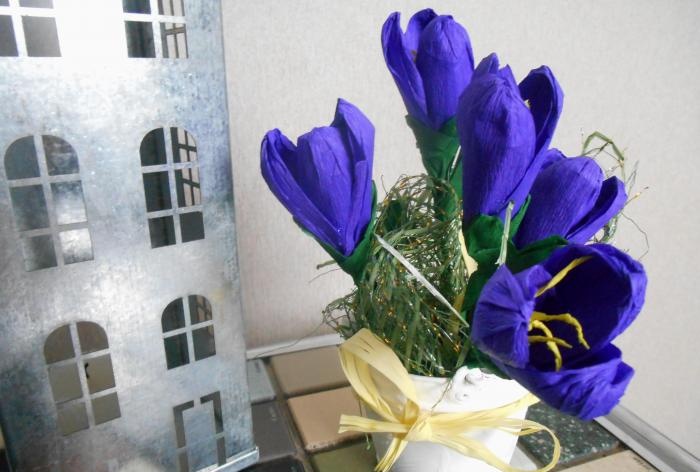
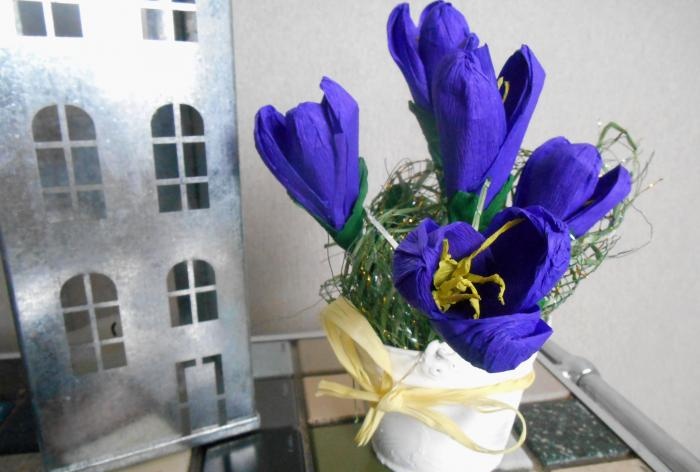
Thanks to this master class, you will learn how to make crocuses from multi-colored corrugated paper and create original flower arrangements. A bouquet of crocuses looks no worse than fresh flowers and will be an excellent gift for the spring holidays.
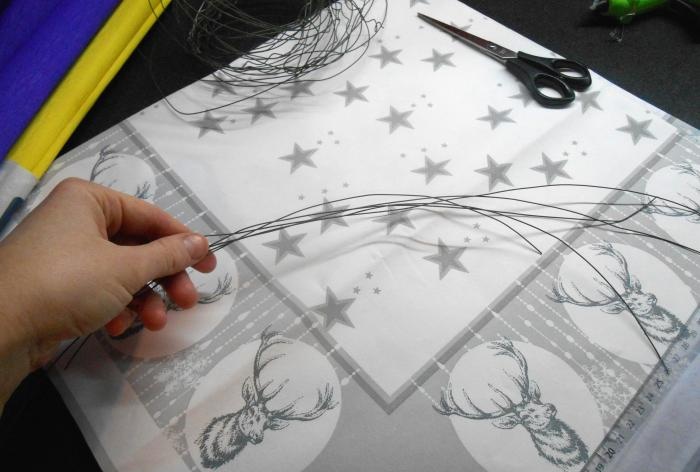
1. Let's make a base for crocuses from wire. To do this, cut the wire into pieces of 25-30 cm.
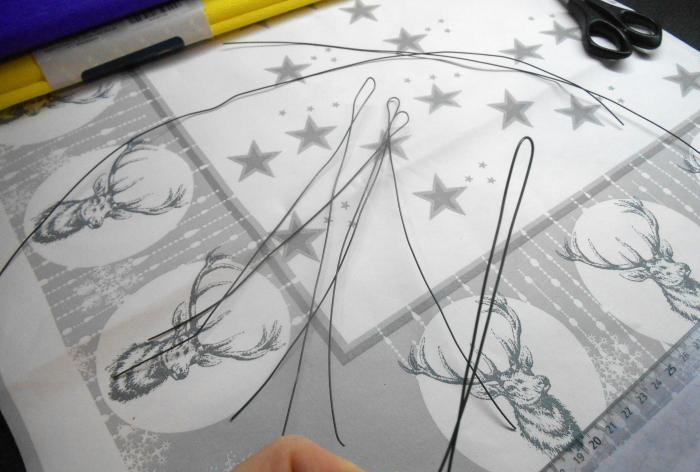
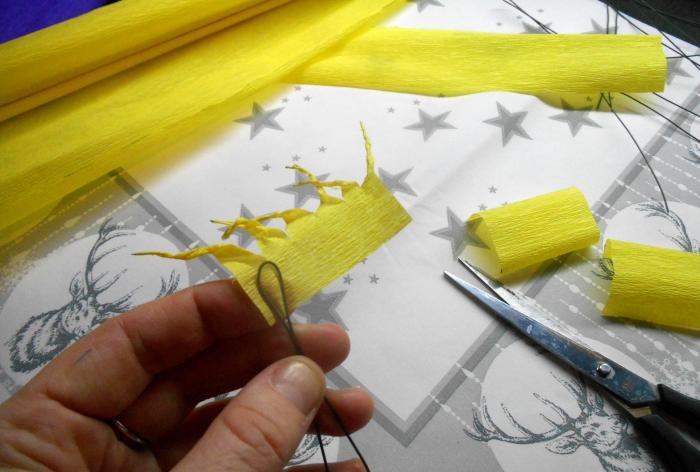
2. Fold each piece of wire in half. A small loop is formed at the top, onto which the flower will be attached.
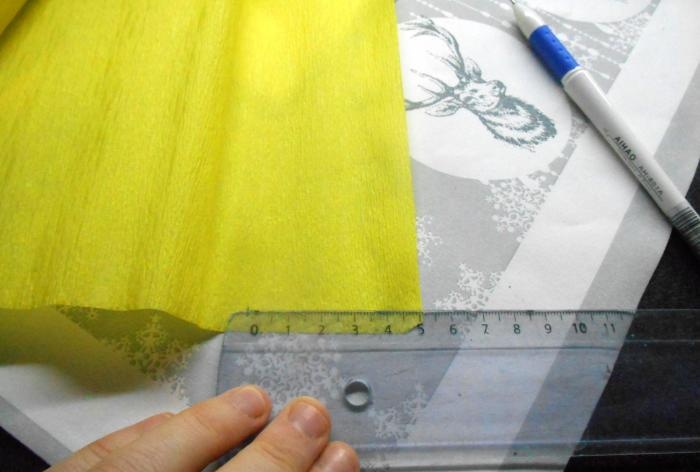
3. Unfold the yellow sheet of paper and measure out a strip 5 cm wide. Cut it into 5x5 cm squares. These will be blanks for the stamens.
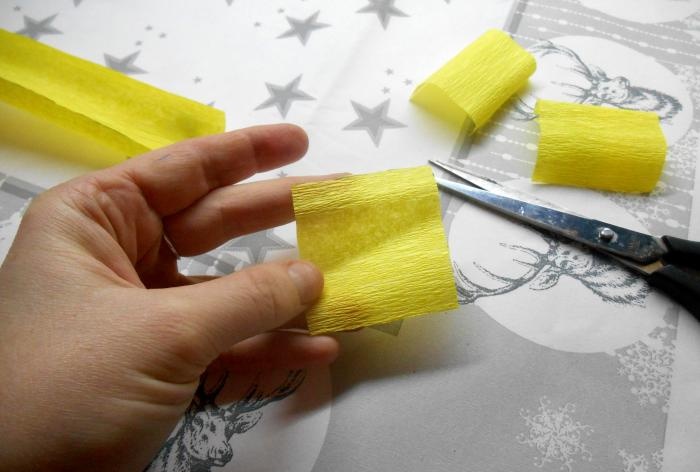
4. Cut each piece in the form of a fringe into 5-6 strips, leaving about 1 cm short of the end.
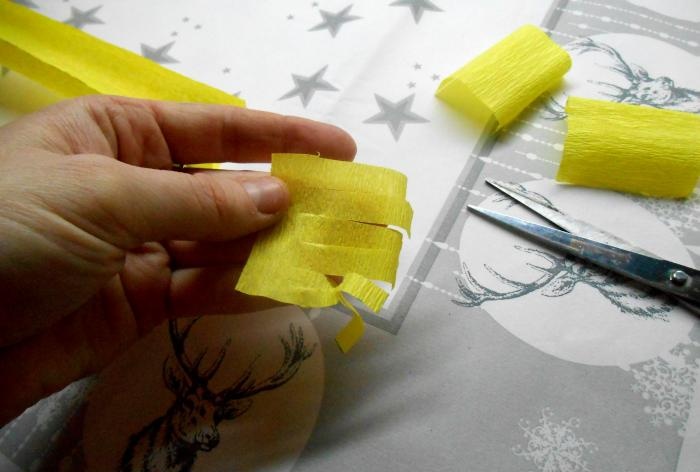
5. Carefully roll each strip of fringe into a thin stamen flagellum.
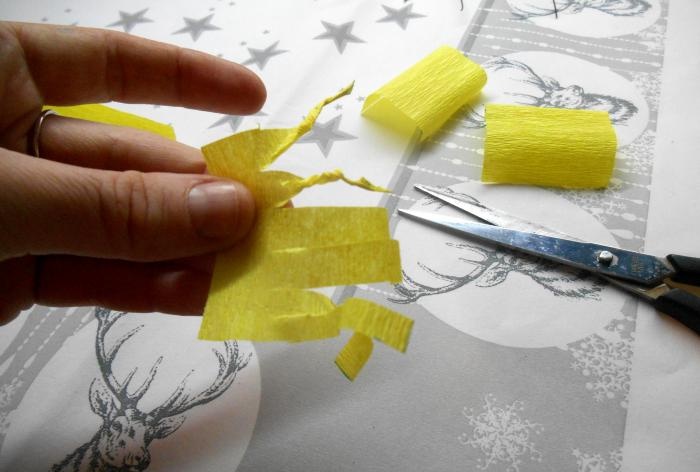
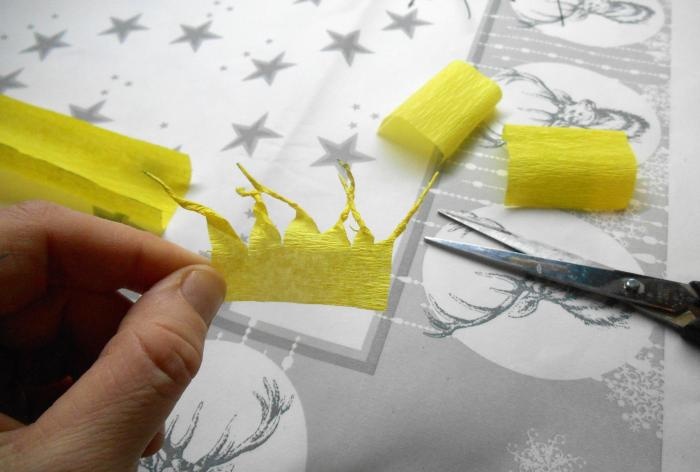
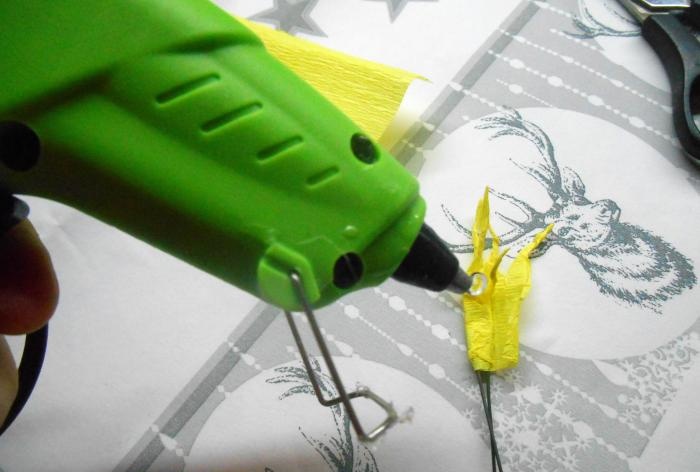
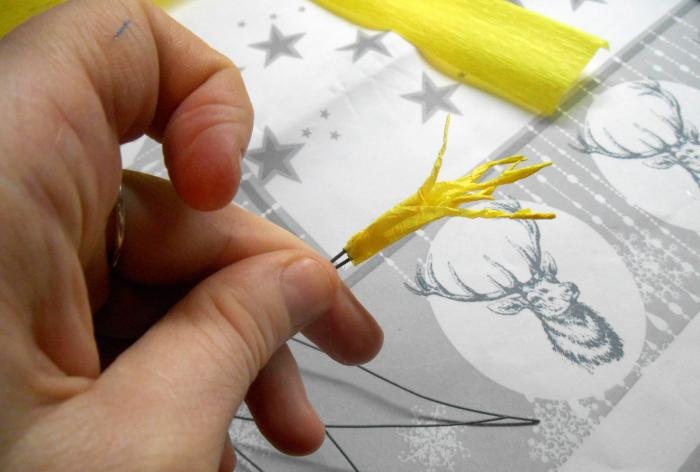
6. Warm up the glue gun. Take one piece of wire.Wrap the workpiece with stamens tightly around it, periodically applying glue to it.
7. Cut a strip 7 cm wide from a sheet of purple paper. From this strip we will make blanks for the petals.
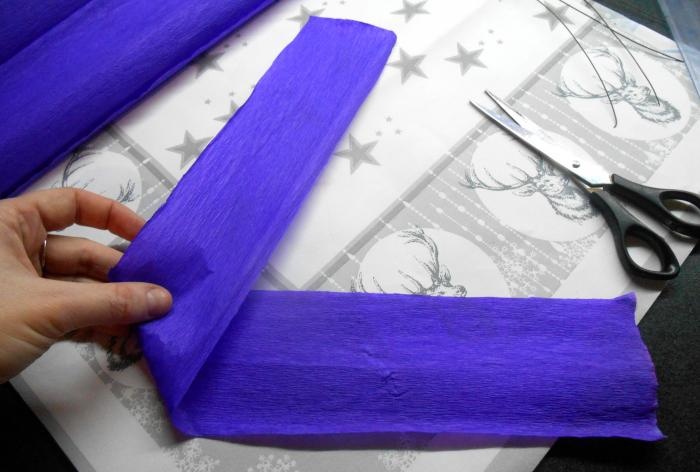
8. Cut the strip into 15 cm pieces. Fold in half along the entire length, and then in half along the width.
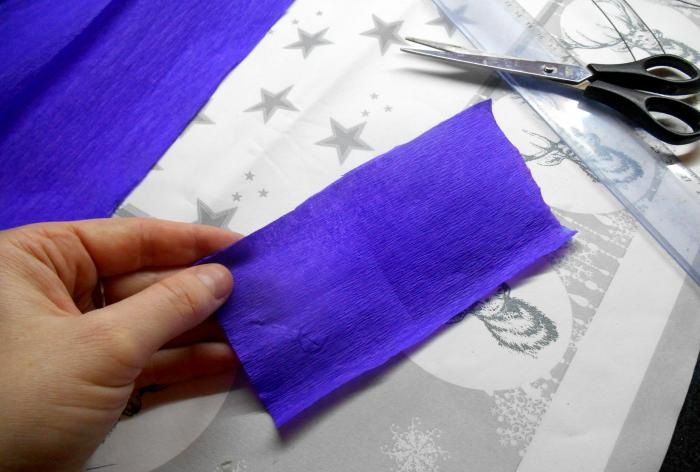
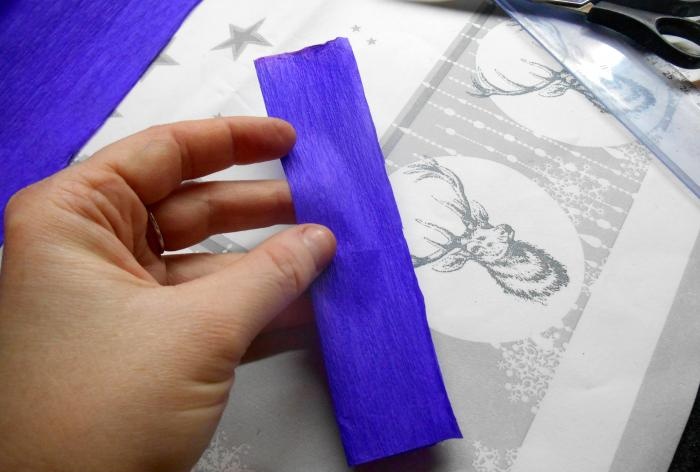
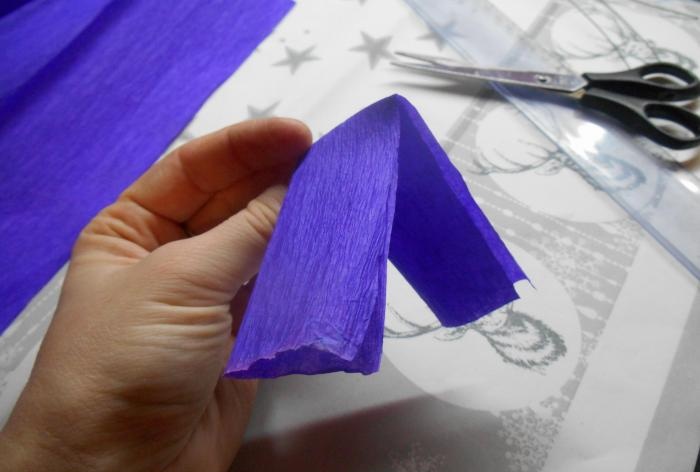
9. At the place of the transverse fold, twist the ends of the paper in different directions in the form of a bow and fold it in half again. Gently iron the resulting petal.
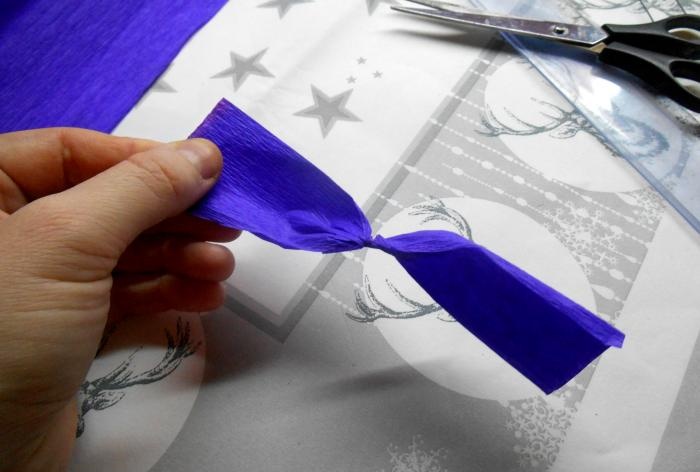
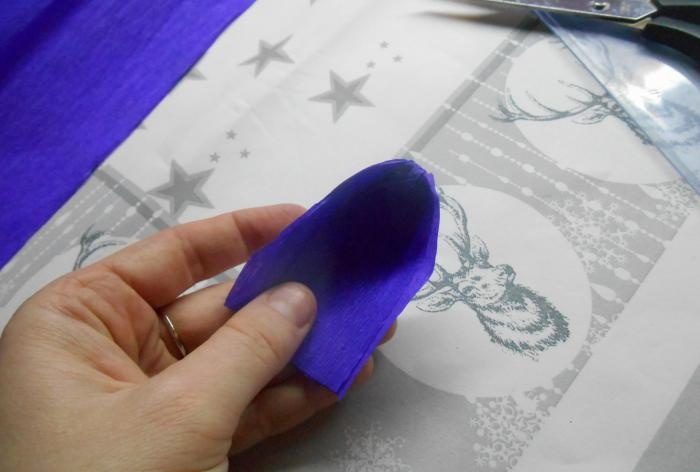
10. To create 1 flower we will need 3 petals of the same size.
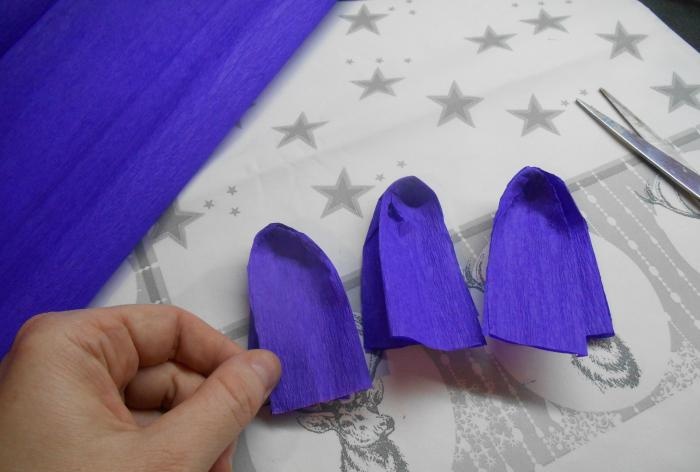
11. To make the flower more neat, cut off part of the inner petal by 1 cm. Trim the edges of the petals with scissors, giving them a teardrop shape.
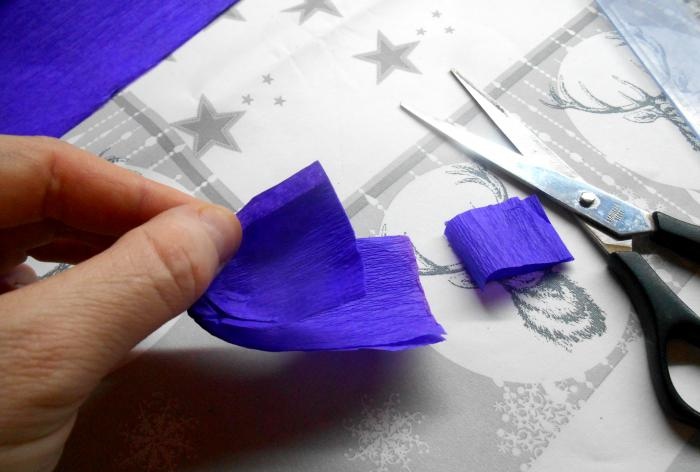
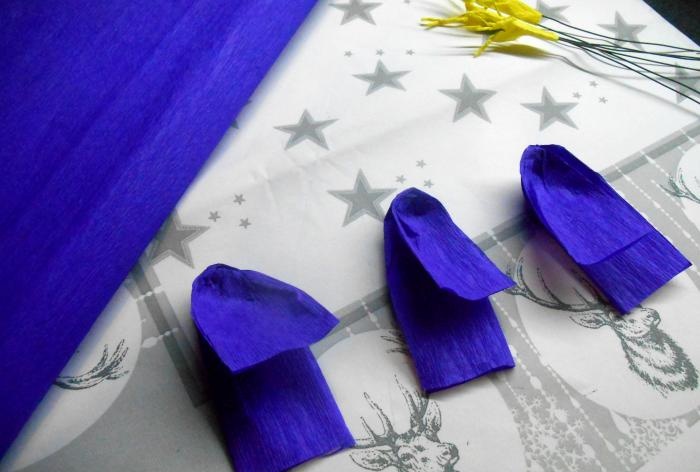
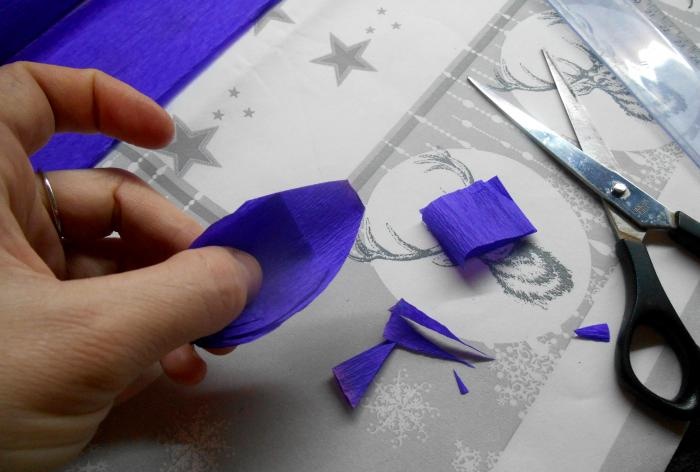
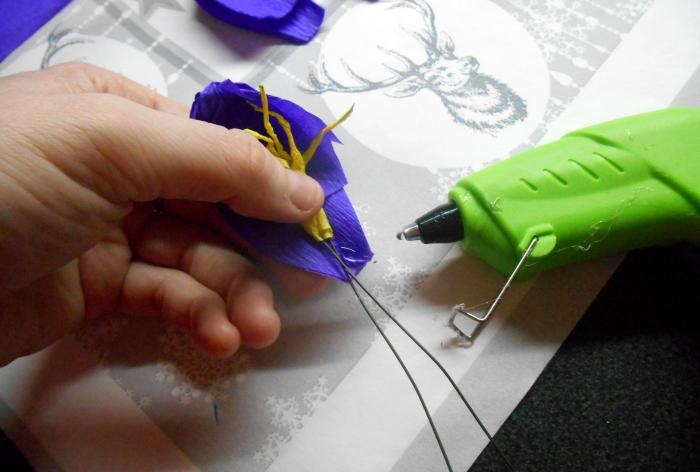
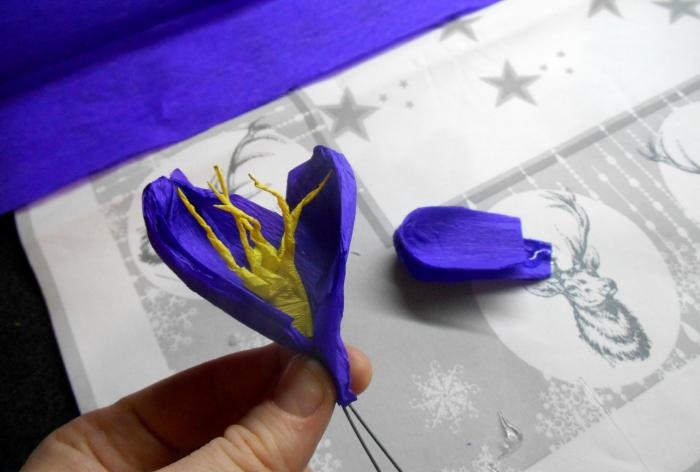
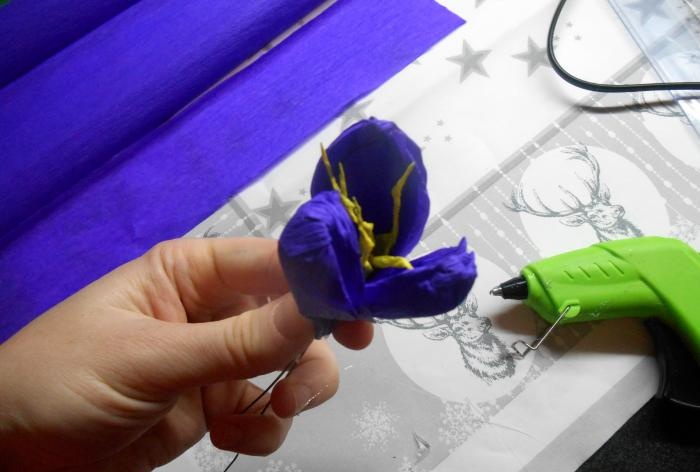
12. Let's start assembling the flower. Apply a few drops of glue to the petal. Press it tightly against the workpiece with stamens. Then use glue to attach the second petal at the same level as the first. Iron the base of the flower. Attach the third petal in the same way.
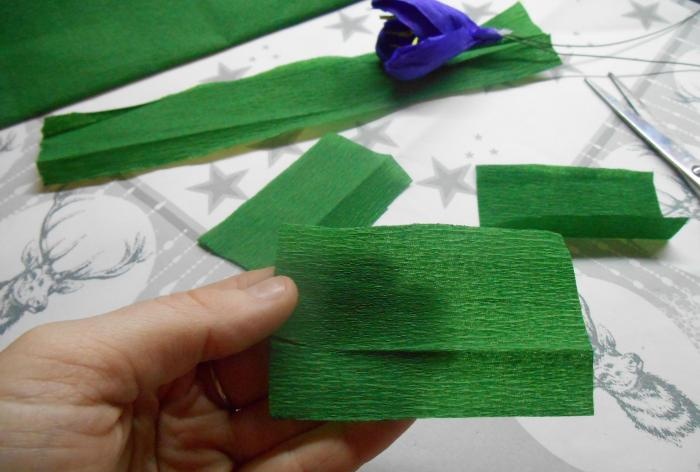
13. You can make a stem and leaves from green paper. Cut the green paper into 5x8 cm pieces. Make three cuts on the long side, leaving 2 cm short.
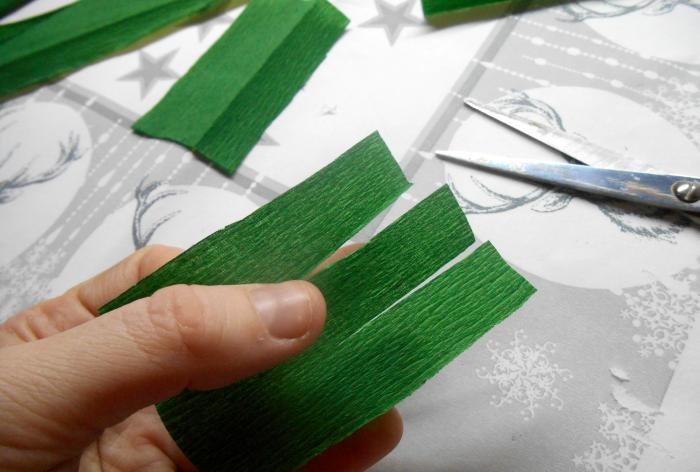
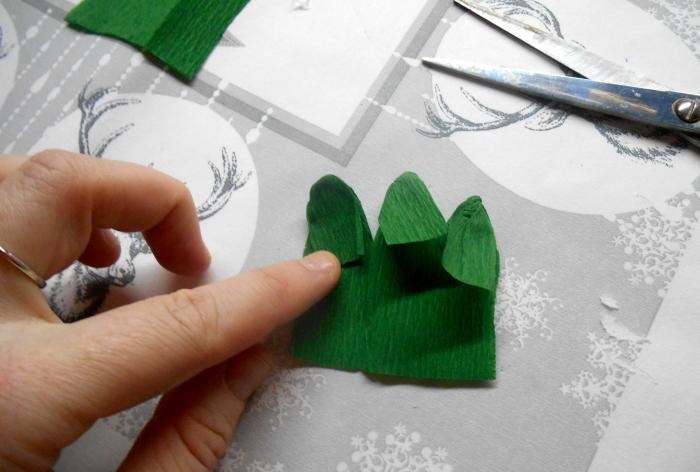
14. Leaves are made using the same principle as flower petals. Fold the cut strips in half, then fold each one several times at the fold and fold it in half again.
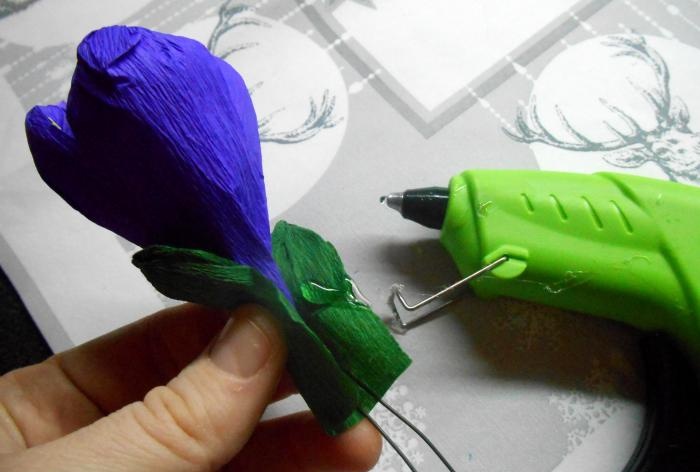
15. Glue the leaves to the flower to form a green stem.
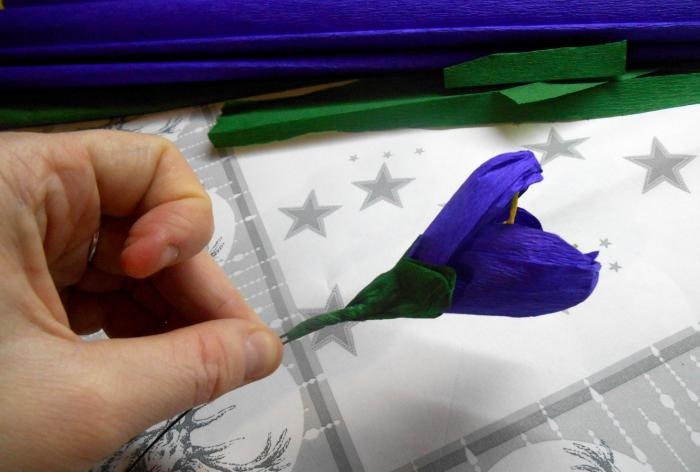
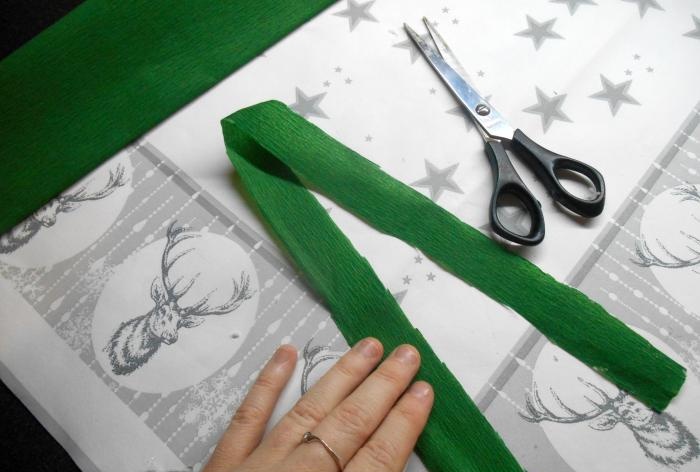
16. To make long leaves, cut green paper into 2x15 cm pieces. The method of assembling the leaf is also very similar to creating petals.
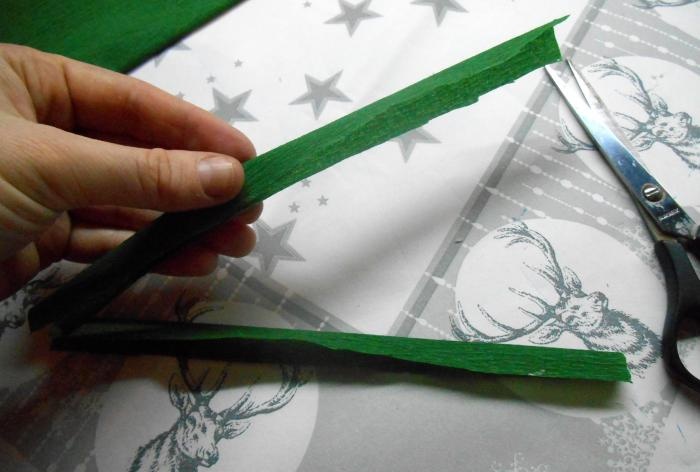
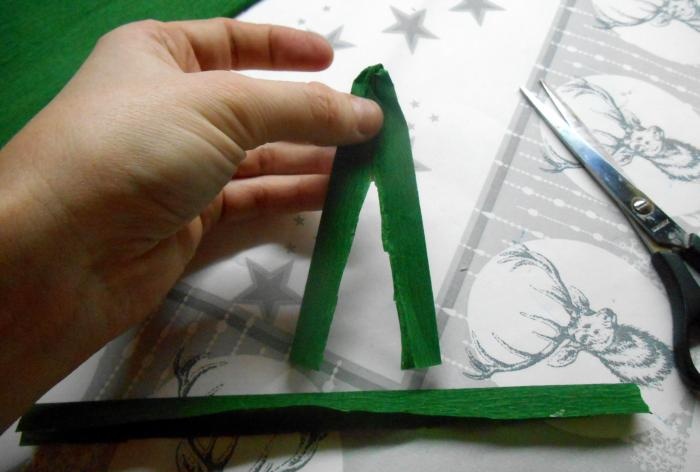
17. Bend the resulting workpiece in half lengthwise, and then fold it in half widthwise. At the cross-fold point, twist the paper and fold it in half again, carefully turning the top part inside out.
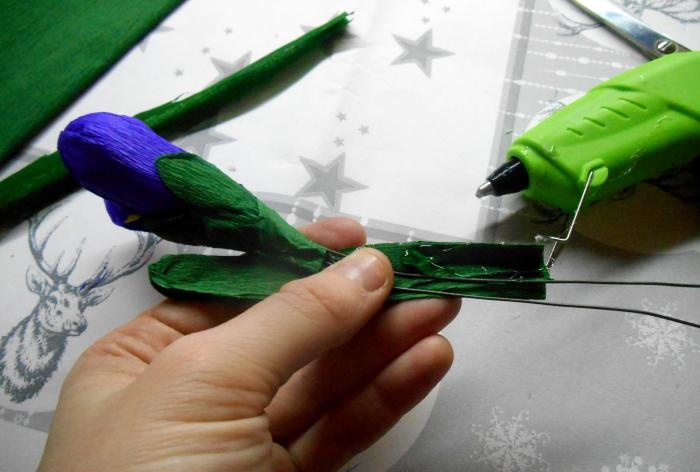
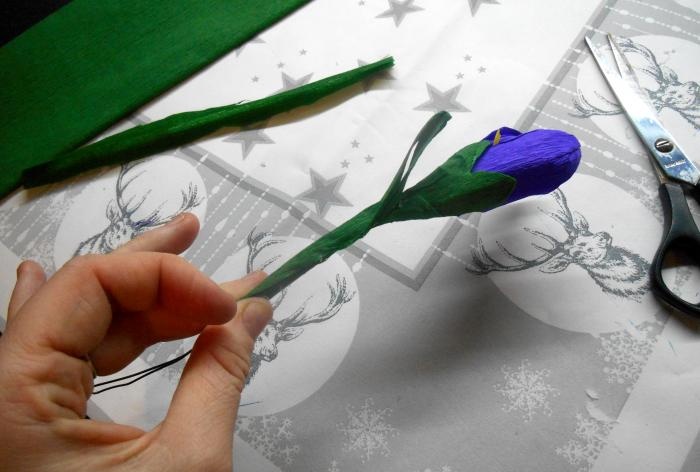
18. Glue the leaf at the top of the flower, completely hiding the wire.
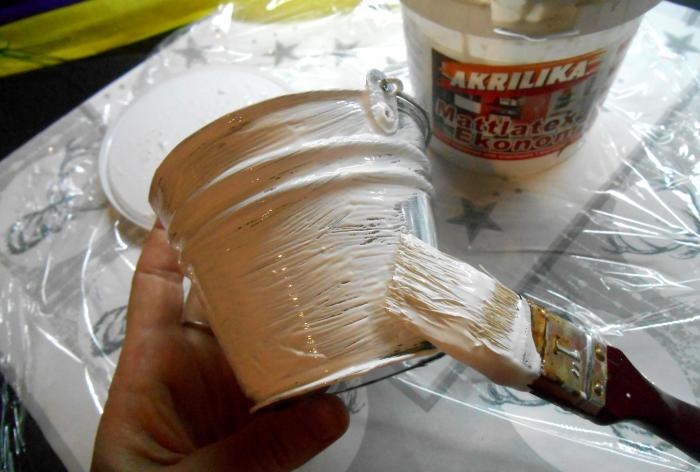
19. Cover the decorative bucket with white water-soluble acrylic paint. This paint is odorless and dries very quickly. After 15 minutes, the bucket will be completely dry and you can continue creating the flower arrangement.
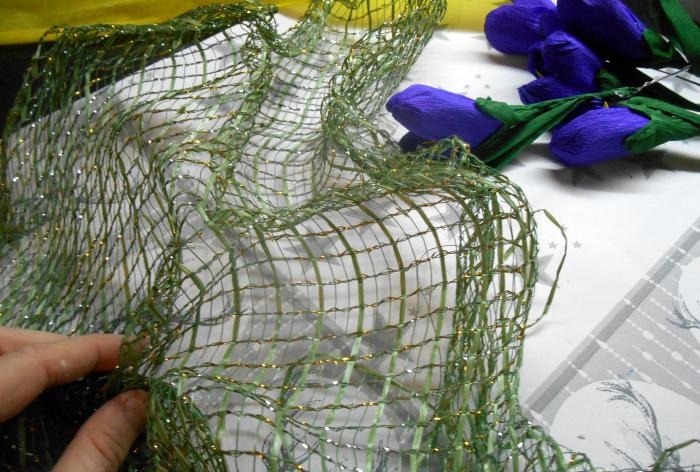
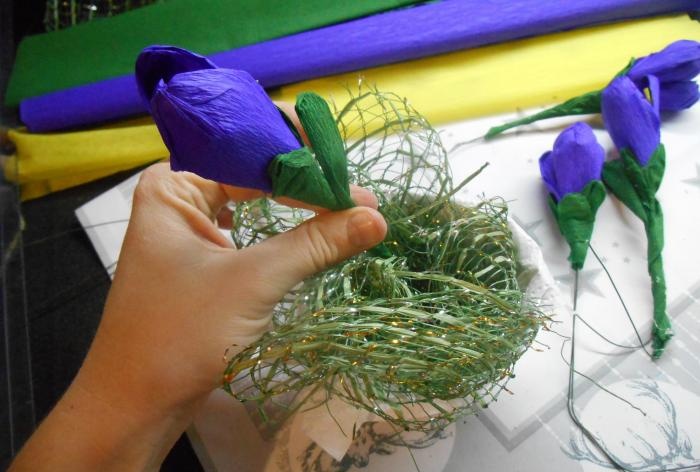
20. Fill a bucket with decorative green mesh. Place crocuses in the bucket one at a time. The wire stem makes it possible to easily secure the flower in a bucket and, if necessary, reduce its length.
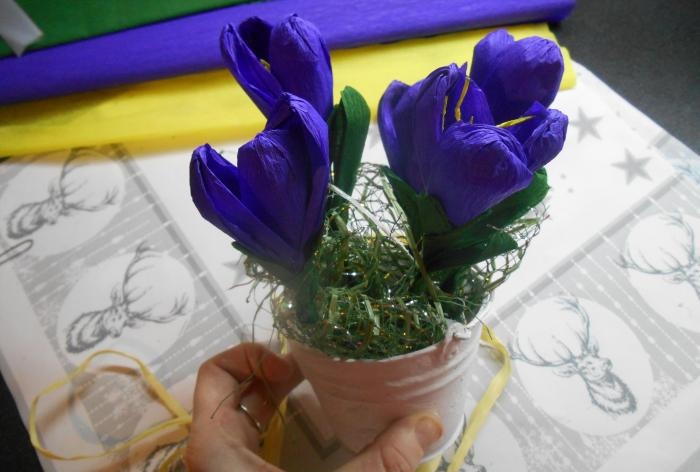
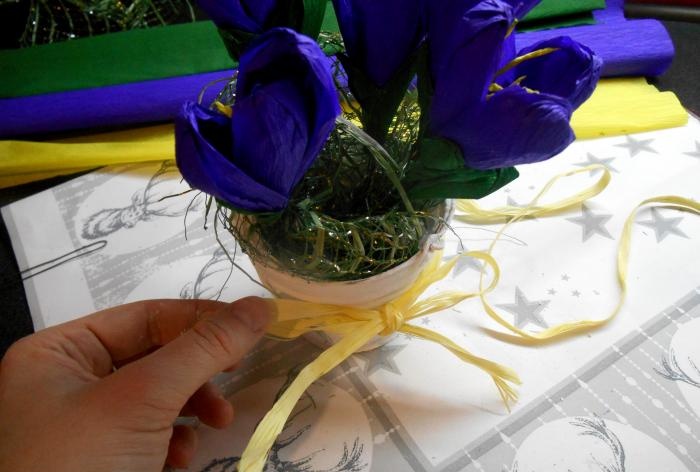
21. Decorate the bucket to your liking with ribbons, bows, and decorative braid.


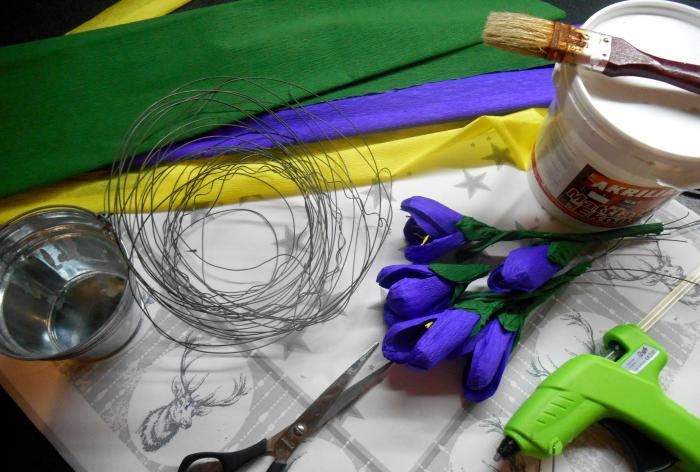
- Yellow, green and purple corrugated paper.
- Thin wire (copper, chrome plated).
- Pliers (cutters) for cutting wire.
- Glue gun.
- White acrylic paint.
- Brush.
- Decorative bucket.
- Decor for bouquets (ribbons, mesh).

1. Let's make a base for crocuses from wire. To do this, cut the wire into pieces of 25-30 cm.

2. Fold each piece of wire in half. A small loop is formed at the top, onto which the flower will be attached.

3. Unfold the yellow sheet of paper and measure out a strip 5 cm wide. Cut it into 5x5 cm squares. These will be blanks for the stamens.


4. Cut each piece in the form of a fringe into 5-6 strips, leaving about 1 cm short of the end.

5. Carefully roll each strip of fringe into a thin stamen flagellum.


6. Warm up the glue gun. Take one piece of wire.Wrap the workpiece with stamens tightly around it, periodically applying glue to it.


7. Cut a strip 7 cm wide from a sheet of purple paper. From this strip we will make blanks for the petals.

8. Cut the strip into 15 cm pieces. Fold in half along the entire length, and then in half along the width.


9. At the place of the transverse fold, twist the ends of the paper in different directions in the form of a bow and fold it in half again. Gently iron the resulting petal.


10. To create 1 flower we will need 3 petals of the same size.

11. To make the flower more neat, cut off part of the inner petal by 1 cm. Trim the edges of the petals with scissors, giving them a teardrop shape.


12. Let's start assembling the flower. Apply a few drops of glue to the petal. Press it tightly against the workpiece with stamens. Then use glue to attach the second petal at the same level as the first. Iron the base of the flower. Attach the third petal in the same way.


13. You can make a stem and leaves from green paper. Cut the green paper into 5x8 cm pieces. Make three cuts on the long side, leaving 2 cm short.


14. Leaves are made using the same principle as flower petals. Fold the cut strips in half, then fold each one several times at the fold and fold it in half again.

15. Glue the leaves to the flower to form a green stem.


16. To make long leaves, cut green paper into 2x15 cm pieces. The method of assembling the leaf is also very similar to creating petals.

17. Bend the resulting workpiece in half lengthwise, and then fold it in half widthwise. At the cross-fold point, twist the paper and fold it in half again, carefully turning the top part inside out.


18. Glue the leaf at the top of the flower, completely hiding the wire.


19. Cover the decorative bucket with white water-soluble acrylic paint. This paint is odorless and dries very quickly. After 15 minutes, the bucket will be completely dry and you can continue creating the flower arrangement.

20. Fill a bucket with decorative green mesh. Place crocuses in the bucket one at a time. The wire stem makes it possible to easily secure the flower in a bucket and, if necessary, reduce its length.


21. Decorate the bucket to your liking with ribbons, bows, and decorative braid.


Similar master classes
Particularly interesting
Comments (0)


