2 tricks: how to cut a thread with a bolt and seal with copper wire
Sometimes it becomes necessary to restore the thread in the hole of a body part, a nut, or even cut it into metal that is not too hard. When you have a suitable tap with accessories at hand, performing these operations is not difficult. But what if you don’t have the required tap?
Making a tap from a steel bolt
A bolt without preliminary preparation will not work: rust and, especially, shavings have high abrasive properties and, having no way out, they will smooth out the thread, and it will finally fail.
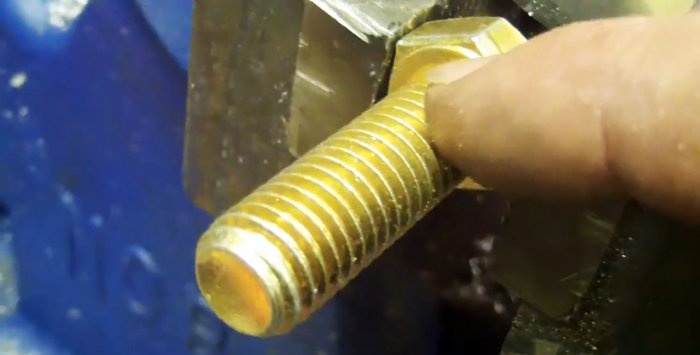
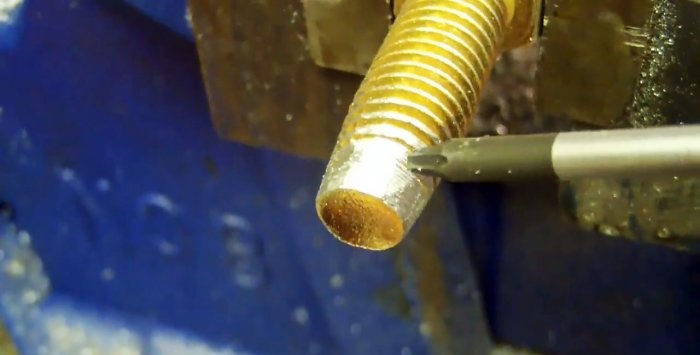
Our task is to give the bolt some semblance of a tap. To do this, we clamp it by the head in a vice and use a metal file to form a cone at the end of the rod, which will ensure smooth entry into the hole and its alignment relative to the longitudinal axis.
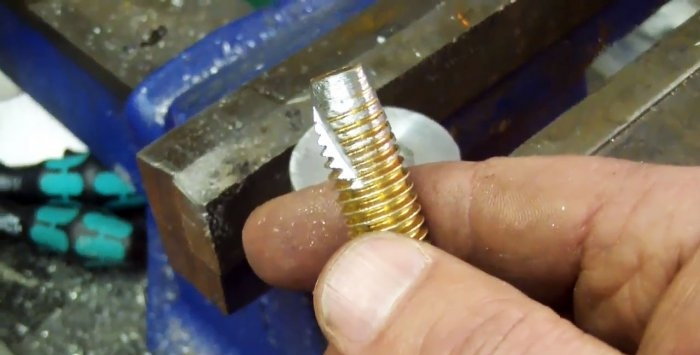
Also, slightly stepping back from the end of the rod using the edges of a file or a grinder disc, we make two or three grooves at an angle to the longitudinal axis of the rod.They are necessary for receiving, accumulating and discharging rust and metal shavings generated during restoration or threading.
Experts recommend making the depth of the grooves approximately 1.5 times greater than the vertical thread profile. Now our bolt has acquired the basic shapes of a real tap and is completely ready for use.
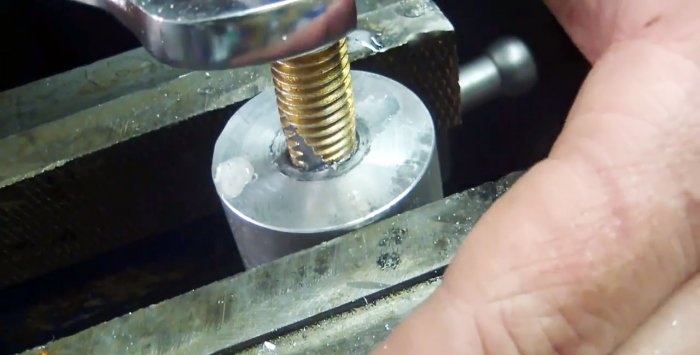
Let's check our homemade tool in action. We fasten a part with a broken internal thread or even just a hole for a thread in a part made of soft material in a vice.
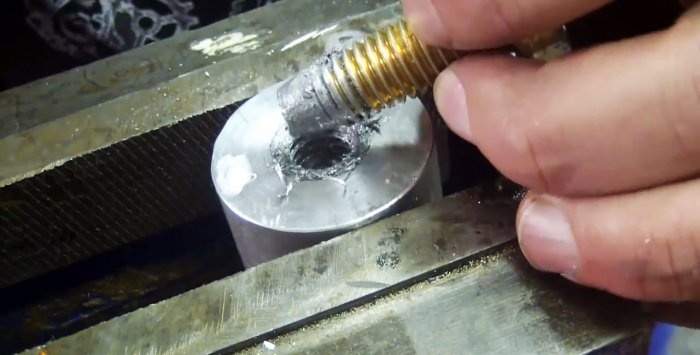
Carefully insert the conical part of the tap bolt rod into the hole, maximizing the alignment of the tool and the part, and begin to carefully turn the bolt head with a wrench.
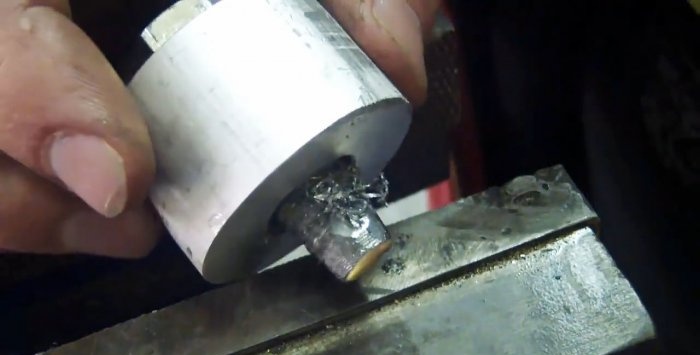
The first revolutions are the most critical. If you don’t feel a full engagement or the bolt starts to warp, then you need to unscrew it and start over, removing the resulting chips and adding a little more lubricant.
As soon as a full engagement occurs, the bolt can be screwed in more intensively by replacing the open-end wrench with a head with a knob. To form a full thread profile, we screw in and unscrew our homemade tap along the entire thread several times.
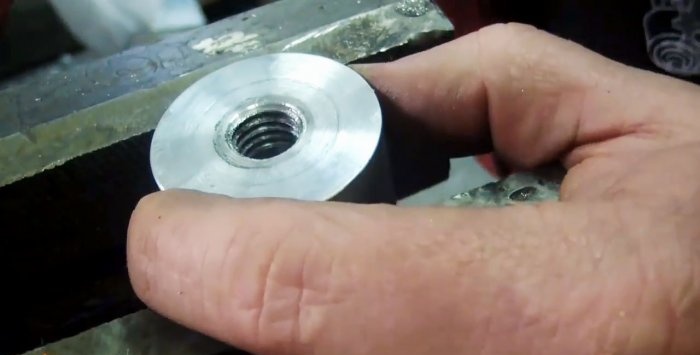
We completely unscrew the homemade tap, use the edge of the file to form an entry chamfer and check the quality of the cut or restored thread using a standard bolt. By all indications, the carving turned out excellent.
How to reliably seal a main thread with copper wire
Typically, fine threads are used for these purposes, but it is possible to ensure the tightness of a standard threaded connection if you use copper wire.
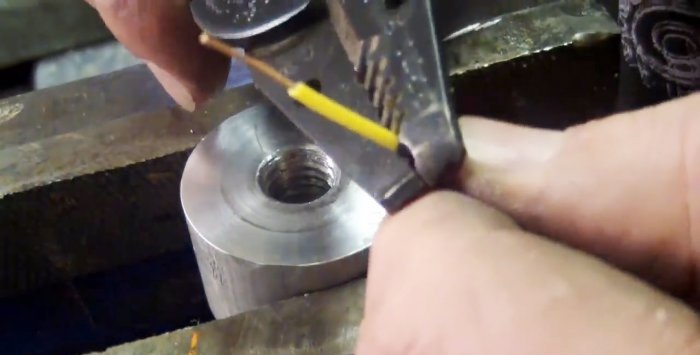
To do this, remove the plastic insulation from the copper core using a stripper and cut off the required length.
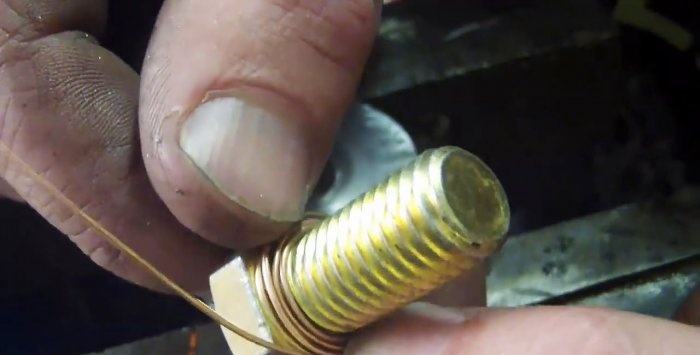
We wind the copper wire around the bolt shaft directly under its head, making several turns.
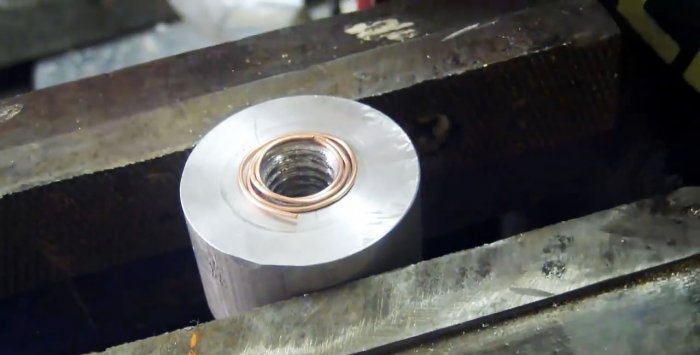
Remove the resulting copper ring from the bolt and place it coaxially on the threaded hole.
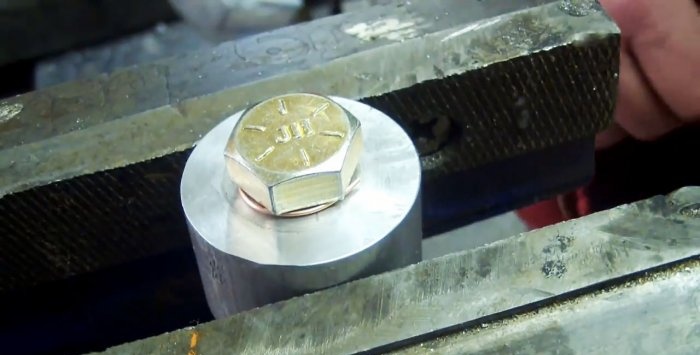
We screw the bolt into the hole on top of the improvised copper ring, first with one hand, and then tighten it tightly with a wrench until it stops.
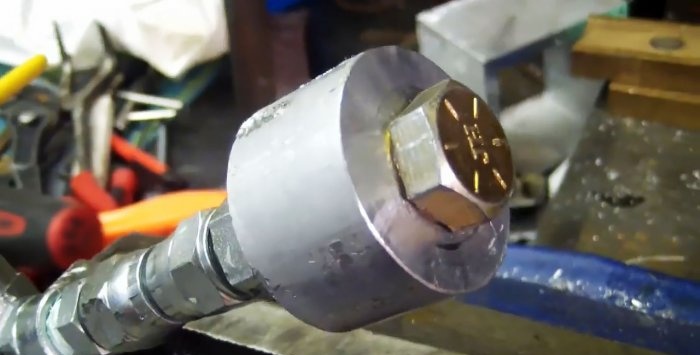
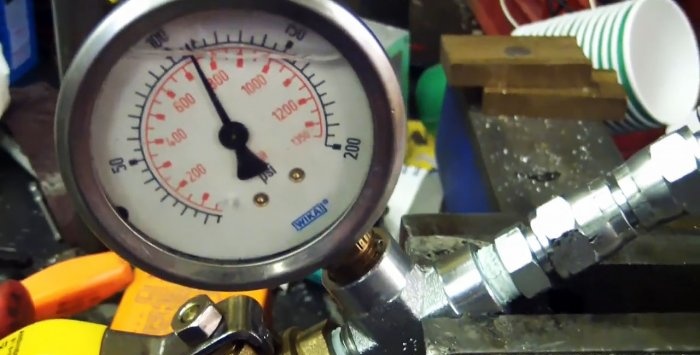
We check the quality of thread sealing by securely fixing the part with a bolt and a seal made of copper wire to the fitting of the high-pressure source.
We gradually increase the pressure and bring it to 110 psi or 750 kR, which is approximately equal to 7.5 kg/cm2.
We see that the threaded connection calmly holds this pressure, since the pressure gauge reading does not drop.
We apply a soap solution to the bolted connection and once again make sure that the connection is tight, since no soap bubbles are visible.
Watch the video
Similar master classes
Particularly interesting
Comments (1)


