Wooden children's toy “Chicks”
One of the toys that our grandfathers played with in childhood is a craft made of wood, in which two figures alternately lean towards the center: first one, then the second and again. These could be figures of girls “picking berries in a clearing”, and chickens “pecking grain”, and, of course, a woodcutter with a bear. It’s easy to make such a toy; you don’t need any special carpentry knowledge.
For crafts “Chickens” measuring 200 x 100 mm. you will need the following material:
1) a piece of three-layer plywood measuring 150 x 150 mm;
2) wooden strip 400 mm long. and cross section 102 mm x 102 mm;
3) 6 nails 15 mm long.
The tools you will need are: a ruler, an electric jigsaw or a hand saw, a drill with a drill with a diameter of 1.5 - 2 mm, a small hammer, fine sandpaper.
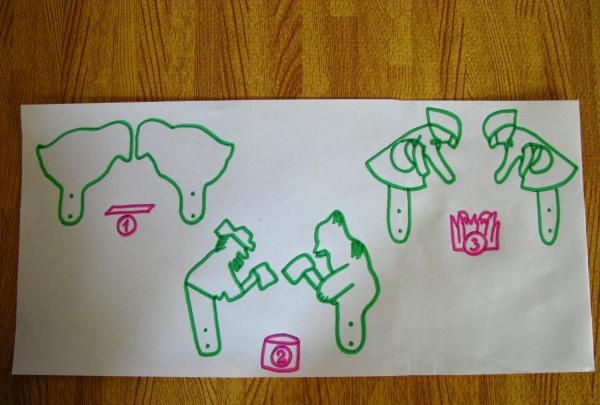
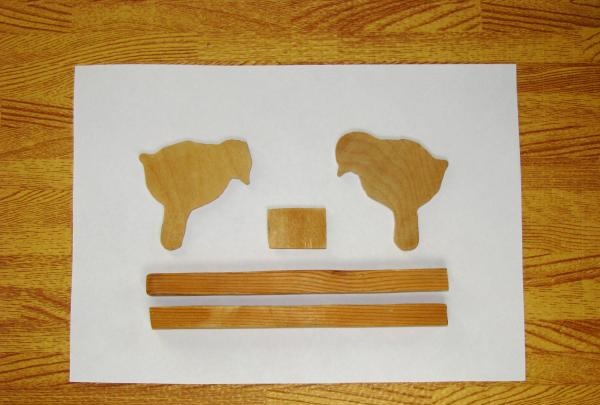
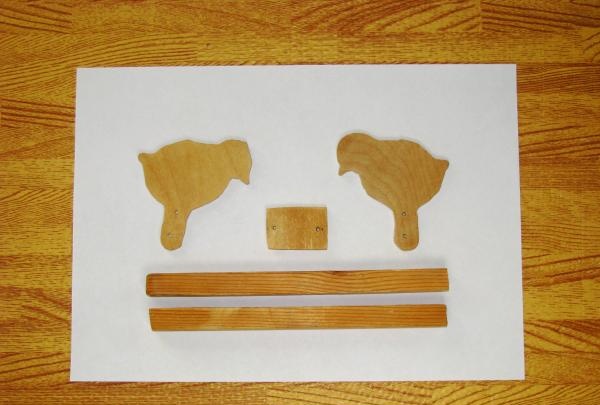
We will make all the blanks as in the photo. To do this, we will use a special stencil and, using a jigsaw, cut out two bird figures and a rectangle measuring 400 x 250 mm from plywood. Carefully sand the cuts, rounding the edges. Divide the rail into two equal parts and process the cuts in the same way.
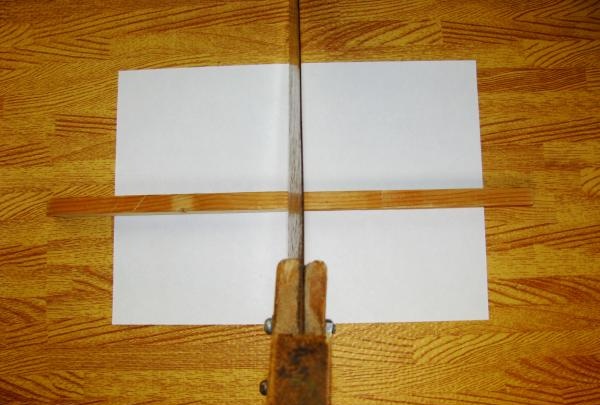
In each “leg” of the chicken figurine, we will drill 2 symmetrical holes at a distance of 150 mm. from each other.
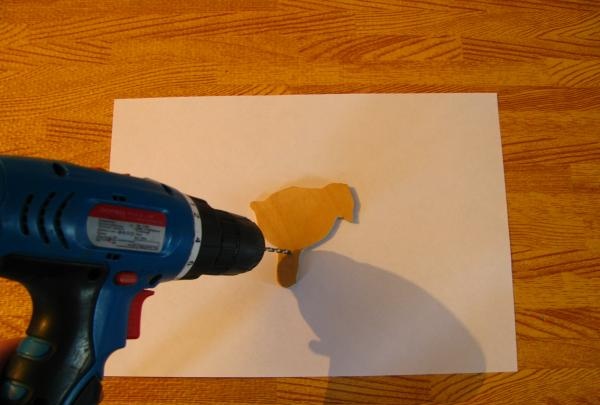
Let's make two similar holes on the rectangular plate, which are necessary so that it does not split when nails enter. All preparations have been completed. Now you should assemble the toy.
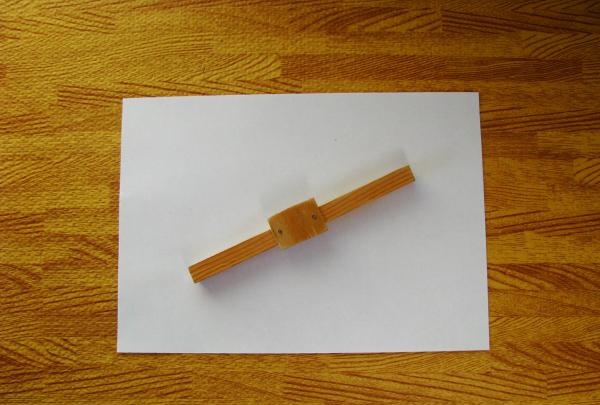
Having measured the center of one of the slats, we attach a “grain table” to it with nails.
Then, placing the “beaks” symmetrically on the rectangle in the center, we connect the birds to the top rail. It is important to maintain absolute symmetry.
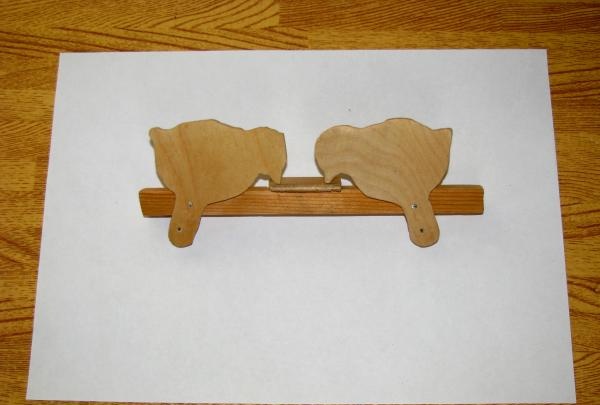
Having aligned both slats, we hammer in another nail, this time connecting the left bird and the bottom rail. Let's move the bar to the right by 15 mm, and the bird on the left will “tip over backwards.”
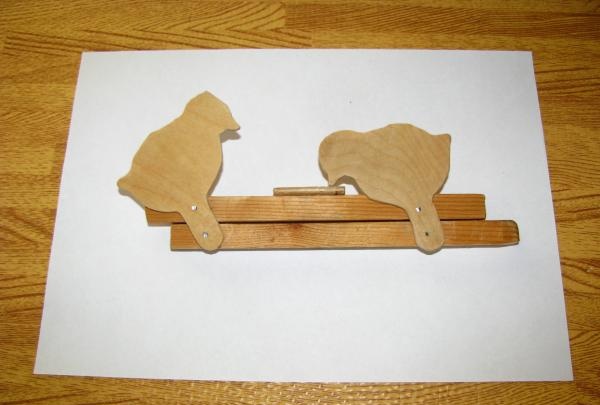
Just like the first, we will connect the second bird to the bottom rail. Let's move the stick back - the chicken on the right “moves away”, while its neighbor hits the “table”. Our toy is ready!
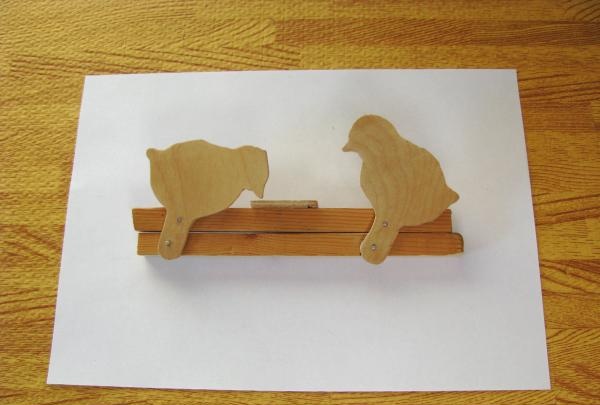
You can leave the craft as it is now: the child will be interested in how it works in any case. But if you color the toy, it will be even more exciting. You can invite the owner of the wooden craft to do this himself, using paints and varnish that are safe for health.
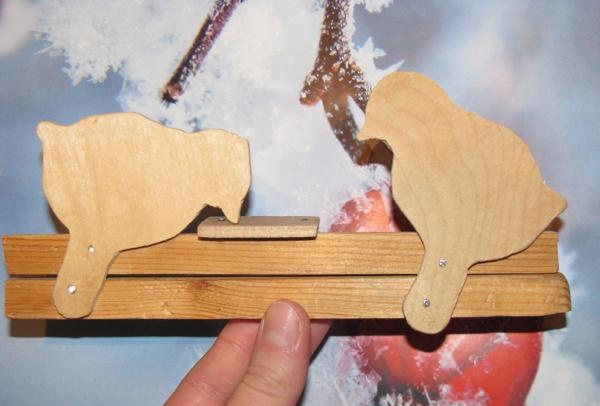
After checking the reliability of all fastenings, the toy can be given to even the smallest children, who will be attracted by the amazing knocking and movement of the figures. And a toy made in the shape of a lumberjack and a bear can also be given to an adult - as an object of ancient games that can be placed on the mantelpiece.
For crafts “Chickens” measuring 200 x 100 mm. you will need the following material:
1) a piece of three-layer plywood measuring 150 x 150 mm;
2) wooden strip 400 mm long. and cross section 102 mm x 102 mm;
3) 6 nails 15 mm long.
The tools you will need are: a ruler, an electric jigsaw or a hand saw, a drill with a drill with a diameter of 1.5 - 2 mm, a small hammer, fine sandpaper.


We will make all the blanks as in the photo. To do this, we will use a special stencil and, using a jigsaw, cut out two bird figures and a rectangle measuring 400 x 250 mm from plywood. Carefully sand the cuts, rounding the edges. Divide the rail into two equal parts and process the cuts in the same way.

In each “leg” of the chicken figurine, we will drill 2 symmetrical holes at a distance of 150 mm. from each other.

Let's make two similar holes on the rectangular plate, which are necessary so that it does not split when nails enter. All preparations have been completed. Now you should assemble the toy.

Having measured the center of one of the slats, we attach a “grain table” to it with nails.

Then, placing the “beaks” symmetrically on the rectangle in the center, we connect the birds to the top rail. It is important to maintain absolute symmetry.

Having aligned both slats, we hammer in another nail, this time connecting the left bird and the bottom rail. Let's move the bar to the right by 15 mm, and the bird on the left will “tip over backwards.”

Just like the first, we will connect the second bird to the bottom rail. Let's move the stick back - the chicken on the right “moves away”, while its neighbor hits the “table”. Our toy is ready!

You can leave the craft as it is now: the child will be interested in how it works in any case. But if you color the toy, it will be even more exciting. You can invite the owner of the wooden craft to do this himself, using paints and varnish that are safe for health.

After checking the reliability of all fastenings, the toy can be given to even the smallest children, who will be attracted by the amazing knocking and movement of the figures. And a toy made in the shape of a lumberjack and a bear can also be given to an adult - as an object of ancient games that can be placed on the mantelpiece.
Similar master classes
Particularly interesting
Comments (1)

