What does a beginning soap maker need?
Are you thinking about getting into home soap making but don't know where to start?
First you need to prepare all the necessary raw materials and equipment. To do this, we buy from the list below everything you need to make handmade soap.
1. Soap base (hereinafter referred to as MO).
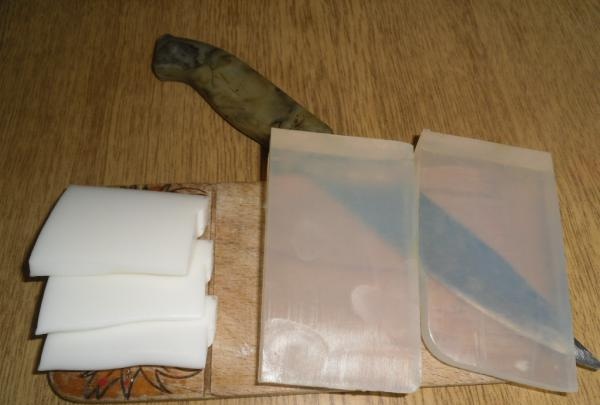
It comes in transparent, white and colored. Sold in special stores for soap makers. It is produced by both Russian and foreign companies. Different MOs differ from each other in transparency, plasticity, smell, color, effect on the skin, foaming and, of course, price. Now they produce MOs that do not contain sodium lauryl sulfate, or in the form of a cream. There are glow-in-the-dark MOs, and there are jelly ones. Colored MO is more expensive than transparent, so it is better to make such a base yourself using dyes.
2. Silicone forms.
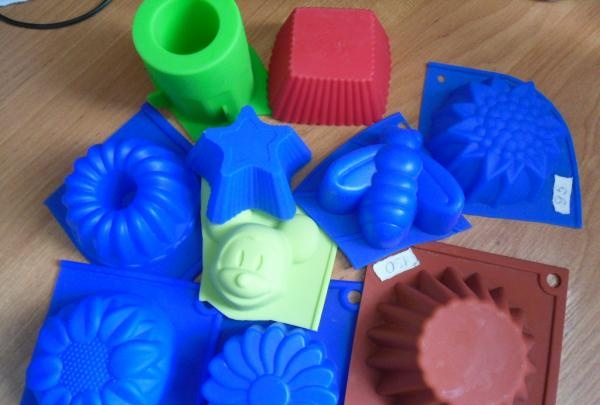
Very easy to use soap molds. Due to its flexibility, the form is simply turned inside out and removed from the soap like a stocking. The soap can be removed while still a little warm. The molds are purchased at the hardware store as "ice molds" or "baking molds."In such stores they are sold in plates, 4-8 identical pieces per sheet. The assortment is not very large. Soap shops sell them individually.
3. Plastic molds.
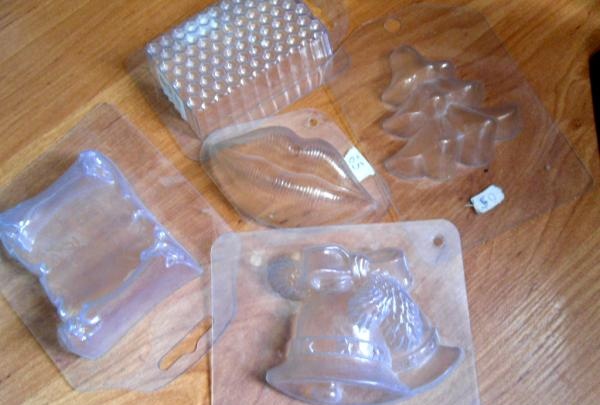
There is a huge variety of them, for every taste. They are hard and the soap can only be removed if it has hardened well. If you press too hard, the mold may break.
4. Volumetric forms.
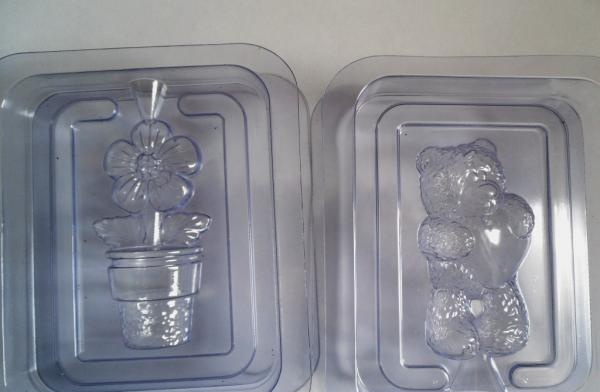
There are also 3D forms. The soap in them turns out to be “volumetric”. These molds consist of two halves with a hole for pouring the melt. The halves are secured with a lock. They cost several times more than flat forms.
5. Dyes.
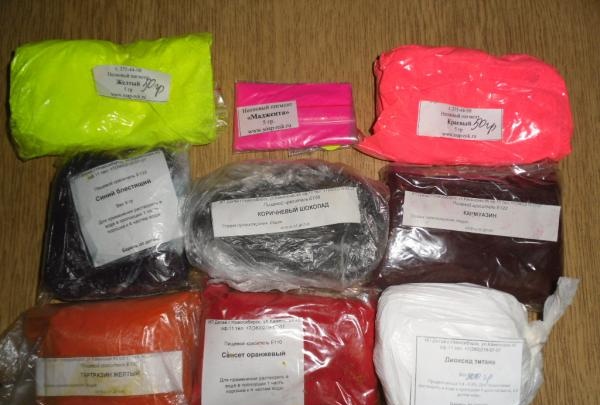
A variety of dyes are used. There are food colors, there are mineral pigments, there are neon and gel paints. They are sold both dry and already diluted. Concentrated dyes are enough for several kg of soap.
6. Fragrances.
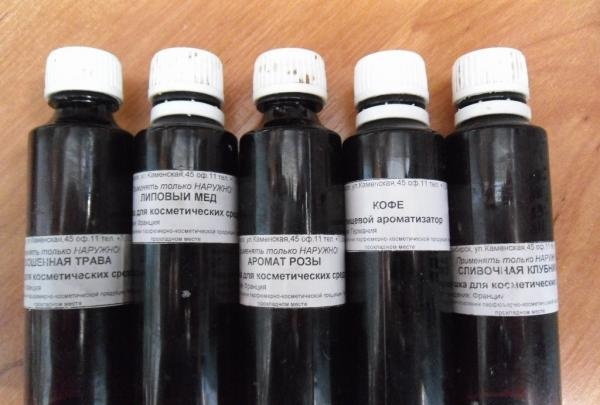
Cosmetic fragrances are used to give soap a pleasant smell. There are a lot of them in stores. You can buy essential oils at the pharmacy and also add them to soap as fragrances. You can combine scents and create your own scent.
7. Melt containers.
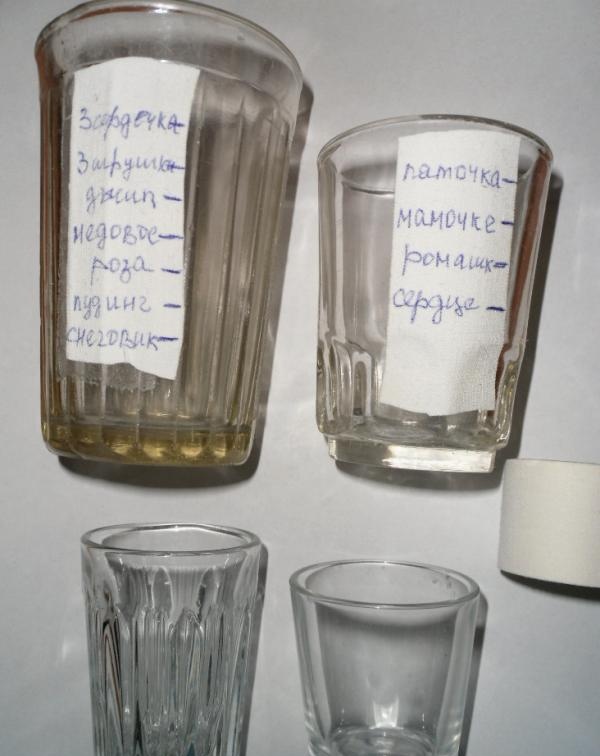
It is best to melt MO in a microwave oven in thick-walled glass or polyethylene glasses of various capacities. A patch is glued to the glass, on which it is convenient to mark the level of the melt for a specific shape.
8. Stirring sticks.
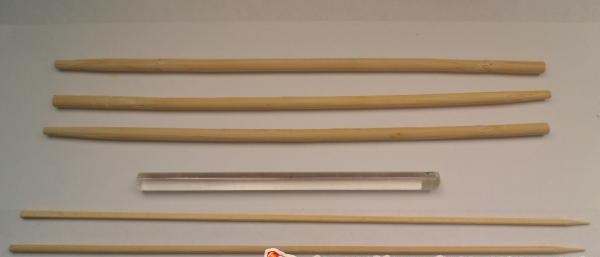
It is safer to stir hot melt with glass or wooden (from sushi) sticks. It is better to have several of these sticks for each MO color.
9. Knives and drills.
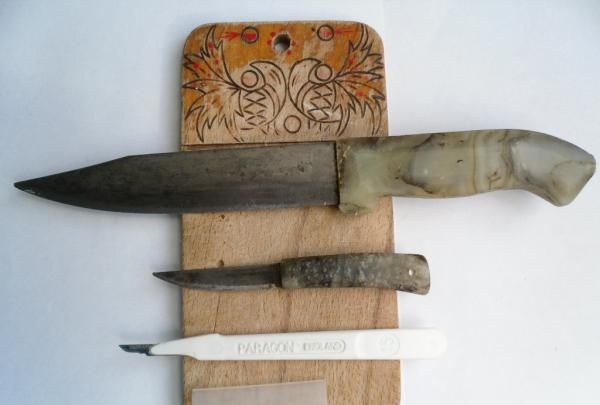
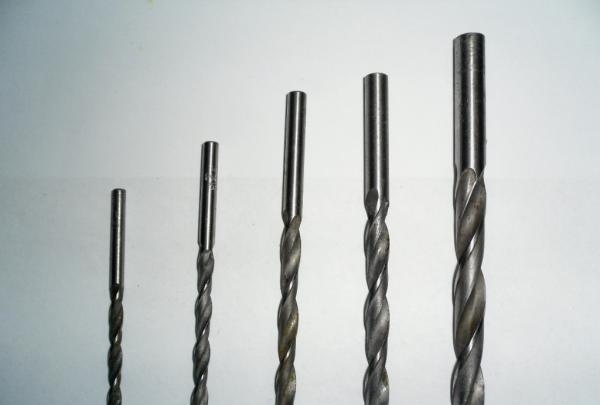
It is easier to cut MO with a large knife, and it is better to do the notching between multi-colored layers, finishing the finished soap and correcting minor defects with a small knife or even a scalpel. Different round holes are made with drills of different diameters.
10. Alcohol.
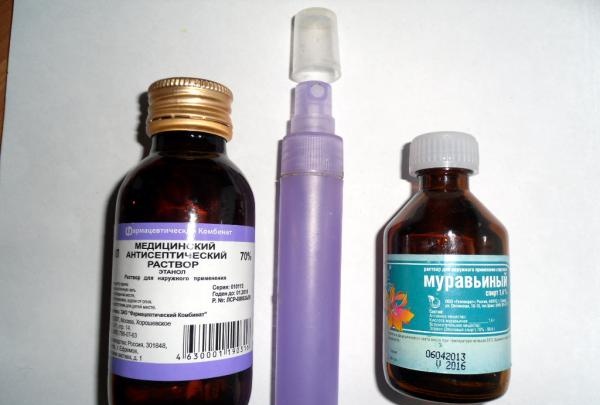
In order for the multi-colored layers in the soap to adhere better, use alcohol in a spray bottle.Alcohol (or any antiseptic solution) is purchased at the pharmacy.
11. Glitters and pearls.
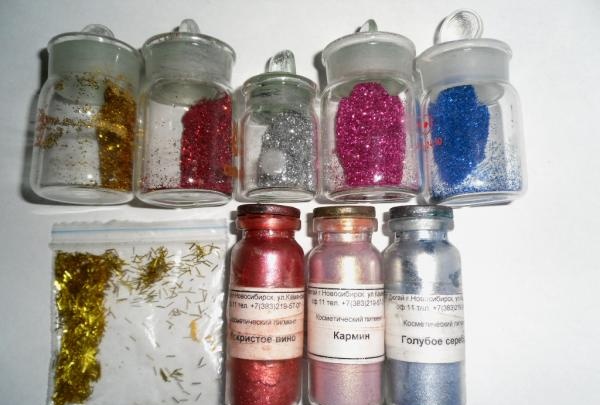
If you add glitter (spangles) or mother-of-pearl of various colors to transparent MO, the soap will turn out very beautiful, as if glowing and shimmering from the inside.
12. Decor and stamps.
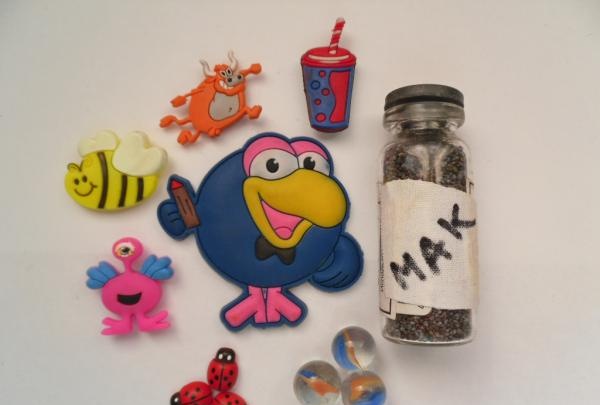
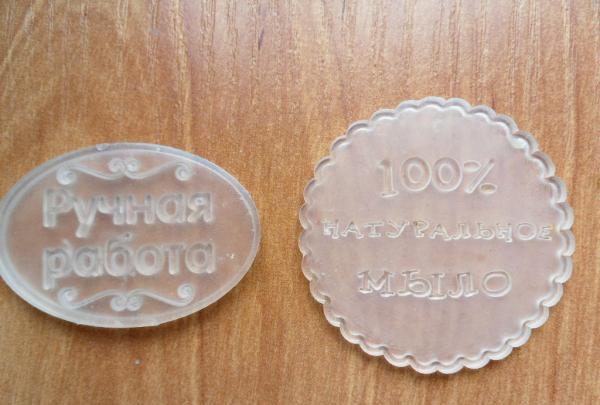
The finished soap can be decorated with various decorative elements: toys, poppies, glass beads, etc. You can use various stamps that give beautiful prints on the back of the soap.
If you have prepared all this, then it’s time to show the world your masterpiece. Good luck.
First you need to prepare all the necessary raw materials and equipment. To do this, we buy from the list below everything you need to make handmade soap.
1. Soap base (hereinafter referred to as MO).

It comes in transparent, white and colored. Sold in special stores for soap makers. It is produced by both Russian and foreign companies. Different MOs differ from each other in transparency, plasticity, smell, color, effect on the skin, foaming and, of course, price. Now they produce MOs that do not contain sodium lauryl sulfate, or in the form of a cream. There are glow-in-the-dark MOs, and there are jelly ones. Colored MO is more expensive than transparent, so it is better to make such a base yourself using dyes.
2. Silicone forms.

Very easy to use soap molds. Due to its flexibility, the form is simply turned inside out and removed from the soap like a stocking. The soap can be removed while still a little warm. The molds are purchased at the hardware store as "ice molds" or "baking molds."In such stores they are sold in plates, 4-8 identical pieces per sheet. The assortment is not very large. Soap shops sell them individually.
3. Plastic molds.

There is a huge variety of them, for every taste. They are hard and the soap can only be removed if it has hardened well. If you press too hard, the mold may break.
4. Volumetric forms.

There are also 3D forms. The soap in them turns out to be “volumetric”. These molds consist of two halves with a hole for pouring the melt. The halves are secured with a lock. They cost several times more than flat forms.
5. Dyes.

A variety of dyes are used. There are food colors, there are mineral pigments, there are neon and gel paints. They are sold both dry and already diluted. Concentrated dyes are enough for several kg of soap.
6. Fragrances.

Cosmetic fragrances are used to give soap a pleasant smell. There are a lot of them in stores. You can buy essential oils at the pharmacy and also add them to soap as fragrances. You can combine scents and create your own scent.
7. Melt containers.

It is best to melt MO in a microwave oven in thick-walled glass or polyethylene glasses of various capacities. A patch is glued to the glass, on which it is convenient to mark the level of the melt for a specific shape.
8. Stirring sticks.

It is safer to stir hot melt with glass or wooden (from sushi) sticks. It is better to have several of these sticks for each MO color.
9. Knives and drills.


It is easier to cut MO with a large knife, and it is better to do the notching between multi-colored layers, finishing the finished soap and correcting minor defects with a small knife or even a scalpel. Different round holes are made with drills of different diameters.
10. Alcohol.

In order for the multi-colored layers in the soap to adhere better, use alcohol in a spray bottle.Alcohol (or any antiseptic solution) is purchased at the pharmacy.
11. Glitters and pearls.

If you add glitter (spangles) or mother-of-pearl of various colors to transparent MO, the soap will turn out very beautiful, as if glowing and shimmering from the inside.
12. Decor and stamps.


The finished soap can be decorated with various decorative elements: toys, poppies, glass beads, etc. You can use various stamps that give beautiful prints on the back of the soap.
If you have prepared all this, then it’s time to show the world your masterpiece. Good luck.
Similar master classes
Particularly interesting
Comments (2)

