Earrings “Cakes with cream roses”
Workshop on creating earrings “Cakes with cream roses” from polymer clay
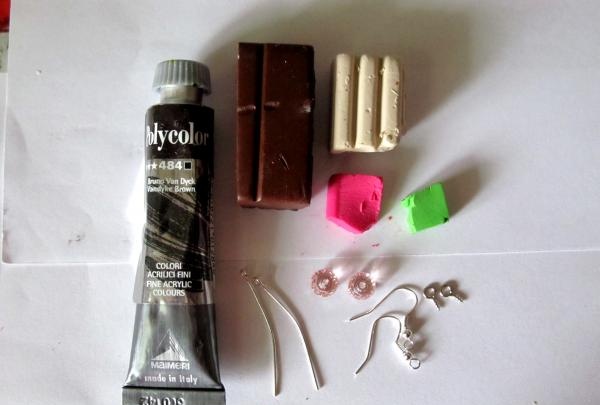
1. Materials we will need:
• Polymer clay in chocolate, cream, green and raspberry colors
• Brown acrylic paint
• Pins 2 pcs.
• Screw-in pins 2 pcs.
• Ear wires 2 pcs.
• Pink crystal beads
2. Tools:
• Rolling pin
• Cutter in the form of a circle 4 cm
• Blade
• A tool with a sharp and thin end (needle)
• Toothpick
• Pliers
• Pliers
• Wire cutters (pictured)
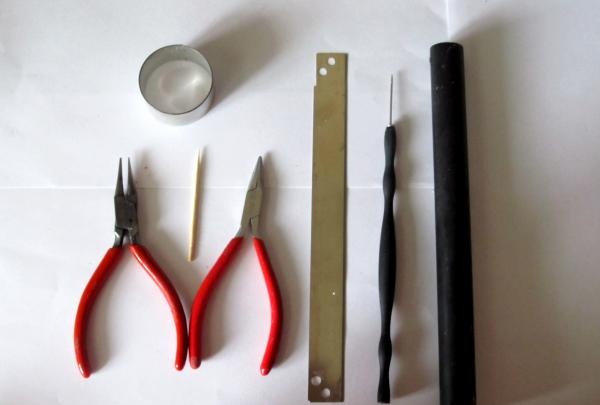
Let's get to work!
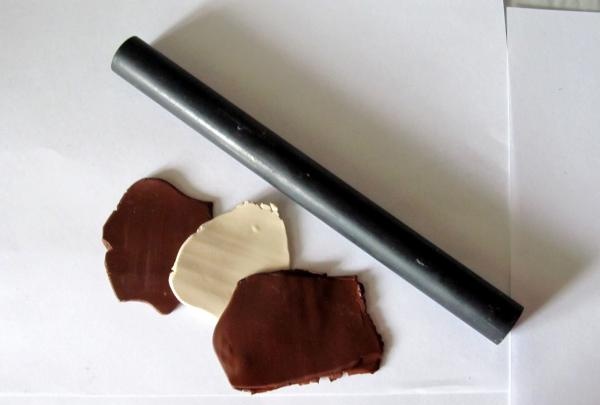
3. Using a rolling pin, roll out 2 pieces of chocolate-colored clay and 1 piece of cream-colored clay to a thickness of 3-4 mm.
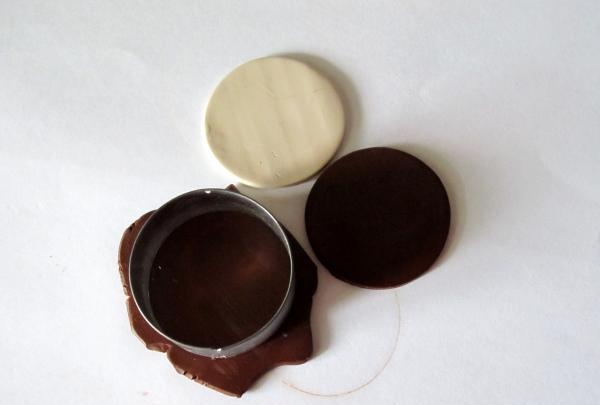
4. Using a cutter, cut out 3 circles from rolled plastic.
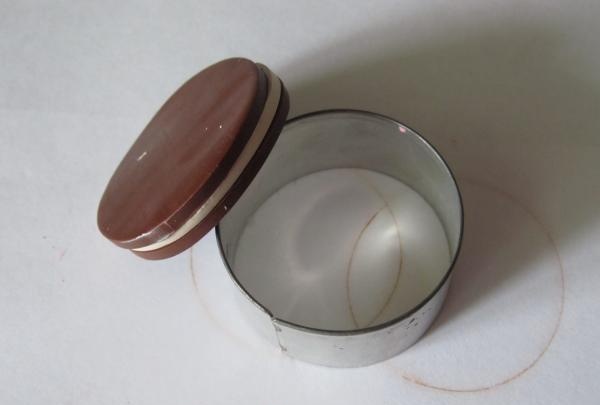
5. Place the “cakes” into the cake, place the “cream” between two chocolate mugs.
6. Divide the “cake” into 8 equal pieces, leave 2 for work, and put 6 aside for later.
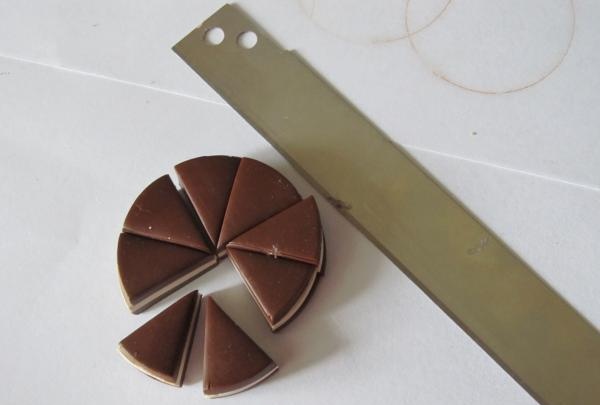
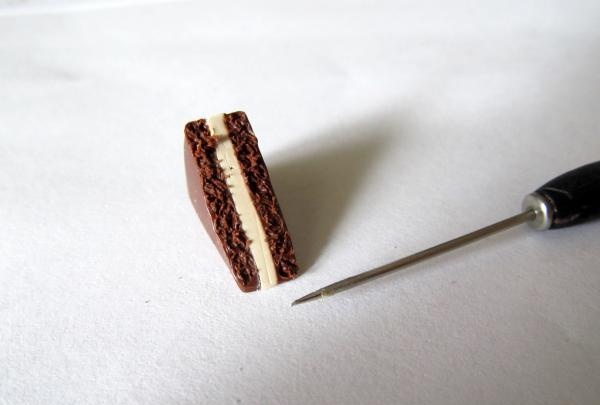
7. Take something sharp and thin (like a needle), I use a tool from the Sculpey set. And with small circular movements we “loose” the chocolate layers, this is necessary to obtain the texture of sponge cakes.We do this on each side of both cakes, without affecting the cream layer.
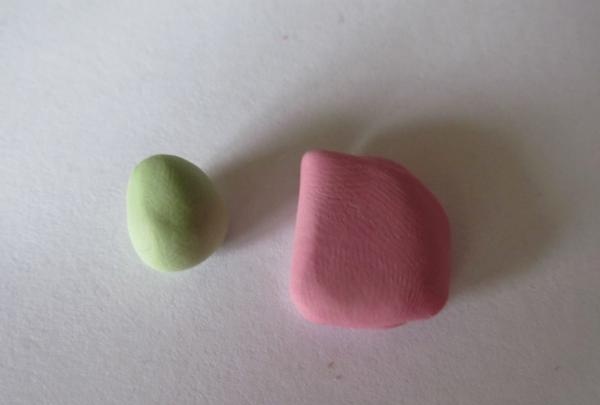
8. Take a piece of green, raspberry and cream plastic. We combine green with cream and raspberry with a cream piece to create a pastel color.

9. We have the following result. In principle, you can leave it bright. Whoever likes it.
10. From the pink piece we will form flowers, three for each cake. 2 flowers will consist of 6 petals, 2 – of 4 petals and 2 more will be in the form of buds of 1 petal. Thus, you need to make 22 pink petals. We pinch off a small piece from the pink lump and form a round thin petal, holding the plastic between the thumb and forefinger. We repeat this 22 times.
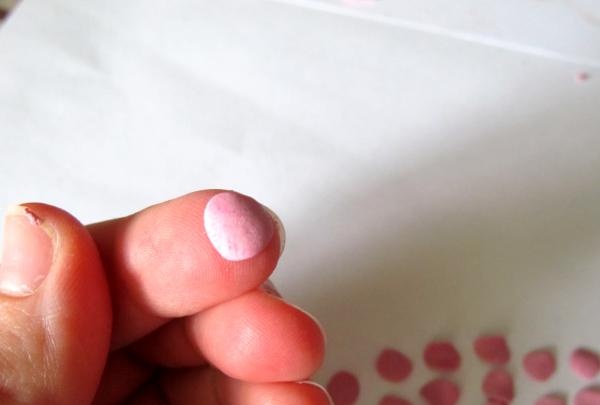
11. When all the petals are ready, we begin to form roses. To make the base of the rose, you need to twist one of the petals into a tube - this will be the base.
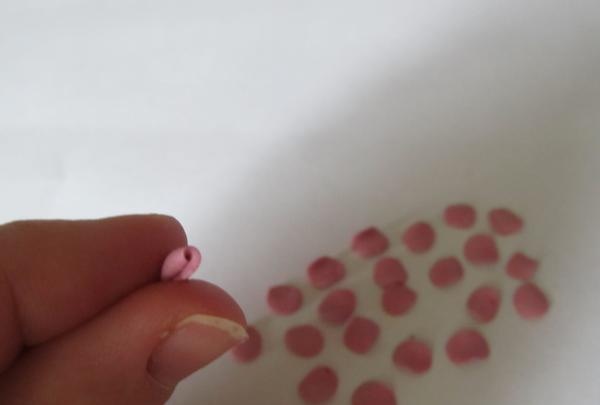
12. For a large flower, we do this - we put 2 petals around the tube, and then overlapping three more petals on top of them. A flower of 4 petals is made in the same way, but 3 petals are wrapped around the tube at once. And the last bud simply remains a tube.
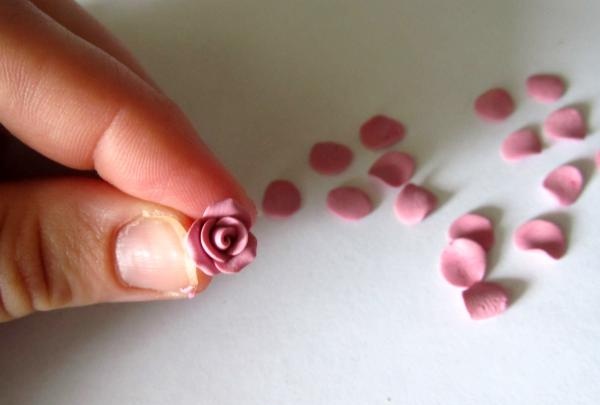
13. This is the army of roses we received.
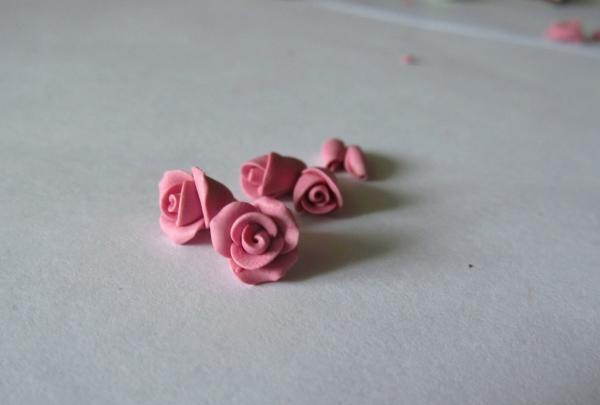
14. Next we make leaves, 3 for each cake. To do this, we pinch off small pieces from the green piece, form flat leaves and use a needle to form veins.
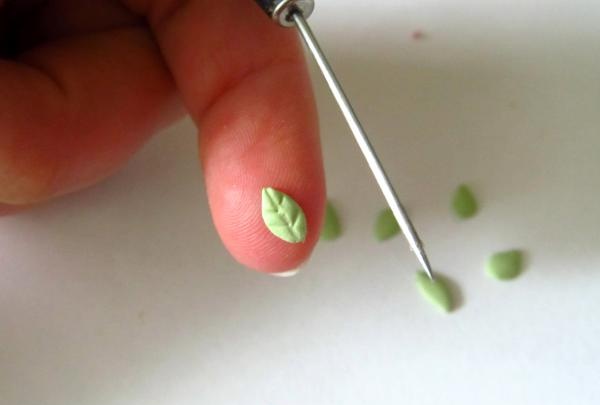
15. Take brown acrylic paint and apply it to the surface of the cake with a toothpick - this is an improvised chocolate icing.
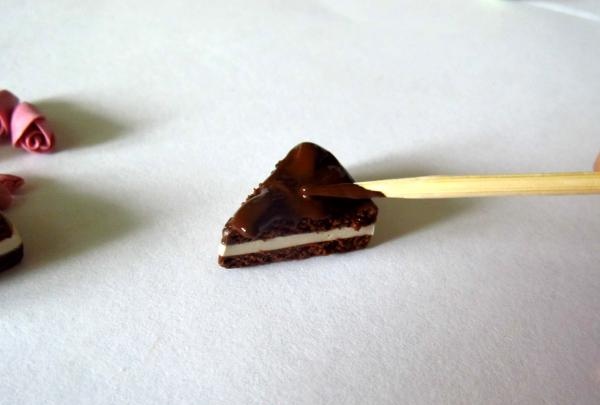
16. While the glaze is still wet, place 3 green leaves on it.
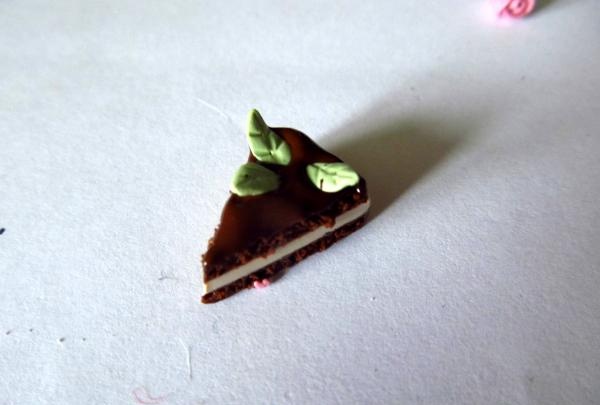
17. Carefully place the roses on top; this can be done using the same needle.
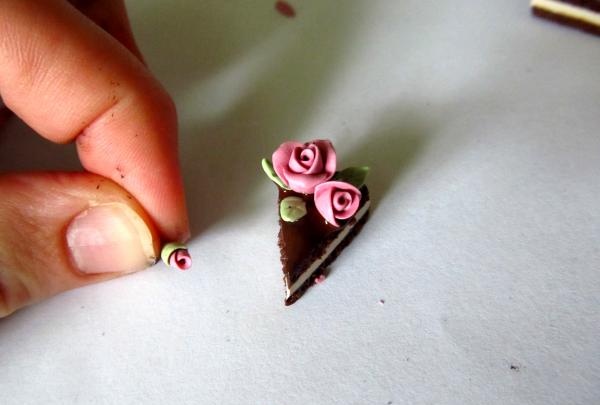
18. This is how we form both cakes. Place in the oven to bake. Temperature and time depend on your type of clay.I use Sculpey – I bake at 120 degrees for about 25 minutes.
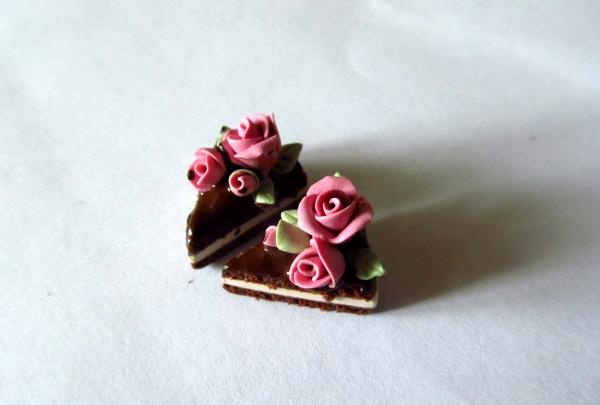
19. Screw pins into the baked cakes using pliers.
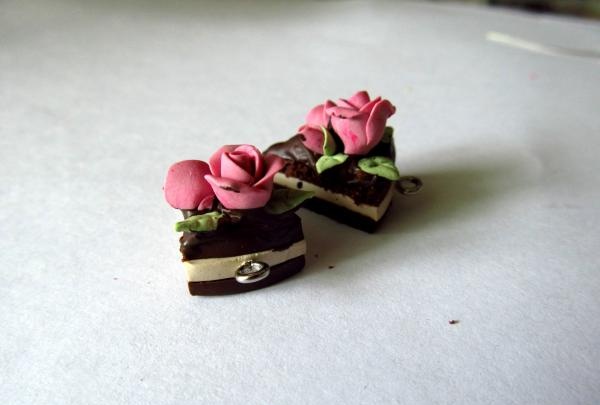
20. We string a bead onto a regular pin with a ring, and use pliers to bend the end of the pin at a right angle.
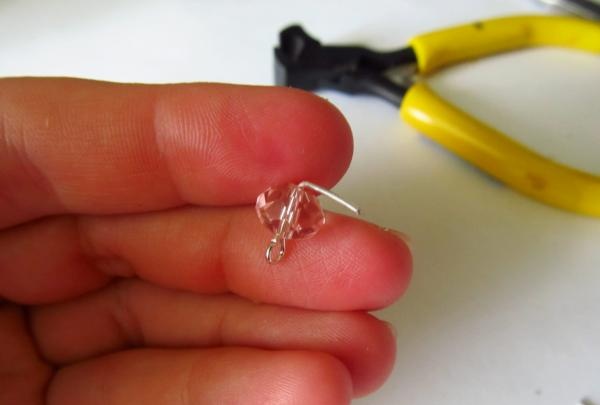
21. And use round pliers to twist the ring.
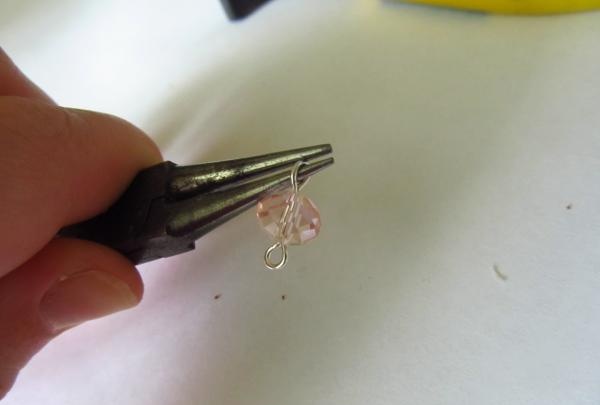
22. Bend part of the ring on the cake to the side and string a bead with a pin.
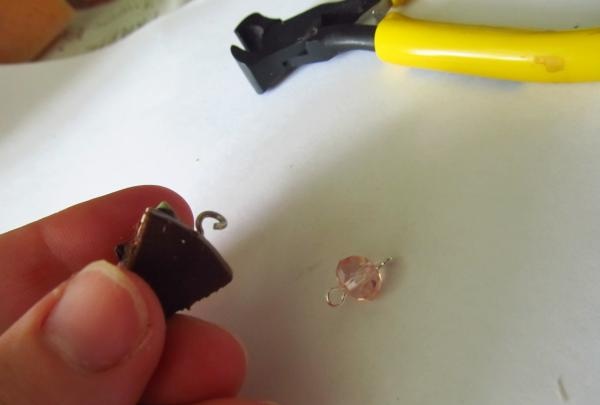
23. The result is the following design.
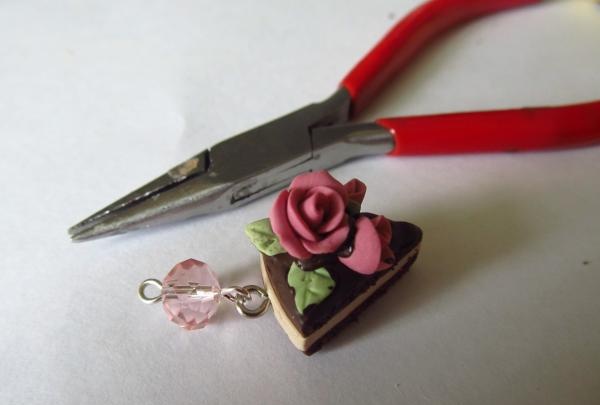
24. Bend the ring on the earring and put on the cake with the bead. We repeat the same with the second decoration.
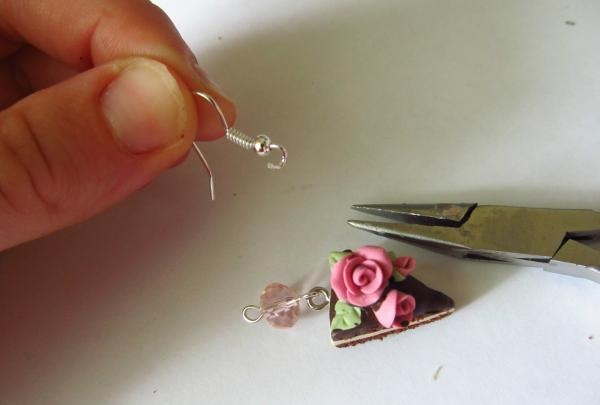
25. Everything is ready! You can try it on!
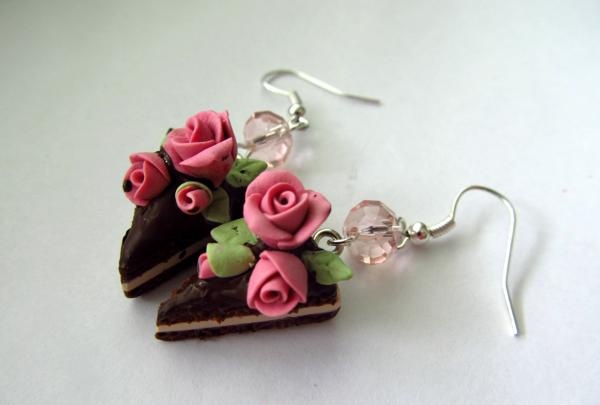
The earrings are perfect for little fashionistas or extraordinary girls with a sweet tooth. Such decoration will be a wonderful addition to the image and will create an extravagant image of its owner.
1. Materials we will need:
• Polymer clay in chocolate, cream, green and raspberry colors
• Brown acrylic paint
• Pins 2 pcs.
• Screw-in pins 2 pcs.
• Ear wires 2 pcs.
• Pink crystal beads

2. Tools:
• Rolling pin
• Cutter in the form of a circle 4 cm
• Blade
• A tool with a sharp and thin end (needle)
• Toothpick
• Pliers
• Pliers
• Wire cutters (pictured)

Let's get to work!
3. Using a rolling pin, roll out 2 pieces of chocolate-colored clay and 1 piece of cream-colored clay to a thickness of 3-4 mm.

4. Using a cutter, cut out 3 circles from rolled plastic.

5. Place the “cakes” into the cake, place the “cream” between two chocolate mugs.

6. Divide the “cake” into 8 equal pieces, leave 2 for work, and put 6 aside for later.

7. Take something sharp and thin (like a needle), I use a tool from the Sculpey set. And with small circular movements we “loose” the chocolate layers, this is necessary to obtain the texture of sponge cakes.We do this on each side of both cakes, without affecting the cream layer.

8. Take a piece of green, raspberry and cream plastic. We combine green with cream and raspberry with a cream piece to create a pastel color.

9. We have the following result. In principle, you can leave it bright. Whoever likes it.

10. From the pink piece we will form flowers, three for each cake. 2 flowers will consist of 6 petals, 2 – of 4 petals and 2 more will be in the form of buds of 1 petal. Thus, you need to make 22 pink petals. We pinch off a small piece from the pink lump and form a round thin petal, holding the plastic between the thumb and forefinger. We repeat this 22 times.

11. When all the petals are ready, we begin to form roses. To make the base of the rose, you need to twist one of the petals into a tube - this will be the base.

12. For a large flower, we do this - we put 2 petals around the tube, and then overlapping three more petals on top of them. A flower of 4 petals is made in the same way, but 3 petals are wrapped around the tube at once. And the last bud simply remains a tube.

13. This is the army of roses we received.

14. Next we make leaves, 3 for each cake. To do this, we pinch off small pieces from the green piece, form flat leaves and use a needle to form veins.

15. Take brown acrylic paint and apply it to the surface of the cake with a toothpick - this is an improvised chocolate icing.

16. While the glaze is still wet, place 3 green leaves on it.

17. Carefully place the roses on top; this can be done using the same needle.

18. This is how we form both cakes. Place in the oven to bake. Temperature and time depend on your type of clay.I use Sculpey – I bake at 120 degrees for about 25 minutes.

19. Screw pins into the baked cakes using pliers.

20. We string a bead onto a regular pin with a ring, and use pliers to bend the end of the pin at a right angle.

21. And use round pliers to twist the ring.

22. Bend part of the ring on the cake to the side and string a bead with a pin.

23. The result is the following design.

24. Bend the ring on the earring and put on the cake with the bead. We repeat the same with the second decoration.

25. Everything is ready! You can try it on!

The earrings are perfect for little fashionistas or extraordinary girls with a sweet tooth. Such decoration will be a wonderful addition to the image and will create an extravagant image of its owner.
Similar master classes
Particularly interesting
Comments (0)

