Gift packaging
Today you will learn how to present an ordinary present in an unusual way. Wrapping it in shiny paper with a flower pattern and tying it with a bow is, of course, cute and beautiful. But how can you make packaging not only beautiful, but also functional? See step-by-step instructions.
Step 0. Surely, you have come across various toy models on the Internet. More often these are funny little animals or characters from famous cartoons. Pros of these layouts:
1. There are more than one of them on the network;
2. All you have to do is select, print and cut out.
The more stable your toy is, the better, especially if the gift is quite heavy: for example, a giraffe on long paper legs is unlikely to support several chocolates.
Step 1. Hereinafter, the “common hare” will be considered as packaging, to which, if desired, you can attach a number of accessories. For example, a carrot on which you will write a congratulation.
Useful information: The photo below shows thick matte photo paper in A1 format, on which 3 layouts fit. It is not necessary to use photo paper - regular paper will do, but it weighs 250-300 grams. If you are not sure, you can contact, for example, a printing company, where they will probably know what they are talking about.
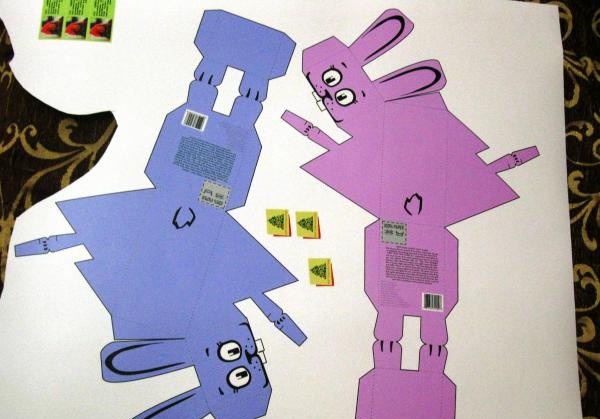
Step 2.After you have printed the layout of the desired color/size/shape/density, you need to cut it out and fold the toy along the designated folds.
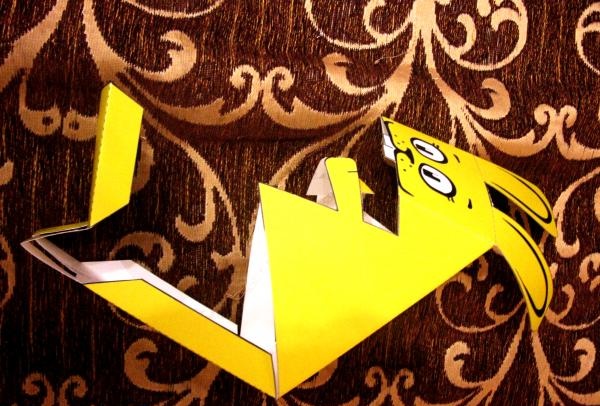
Step 3. Collect the packaging and at the same time begin to gradually lay out the gift/gifts.
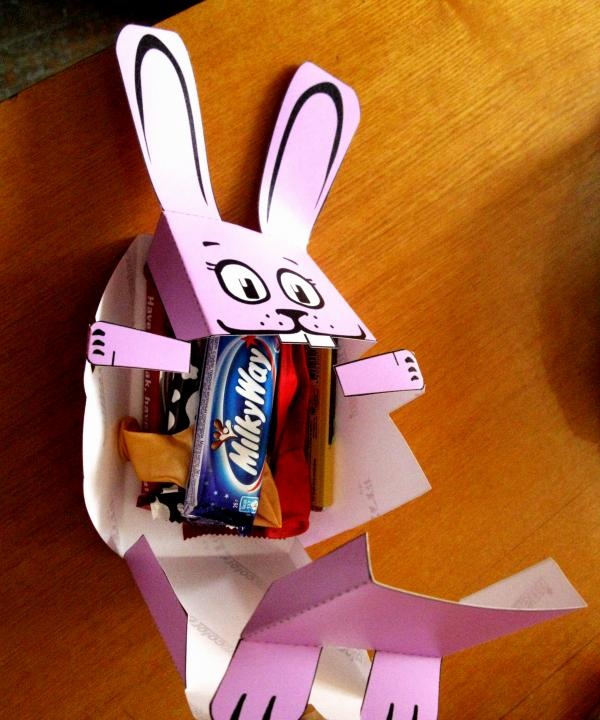
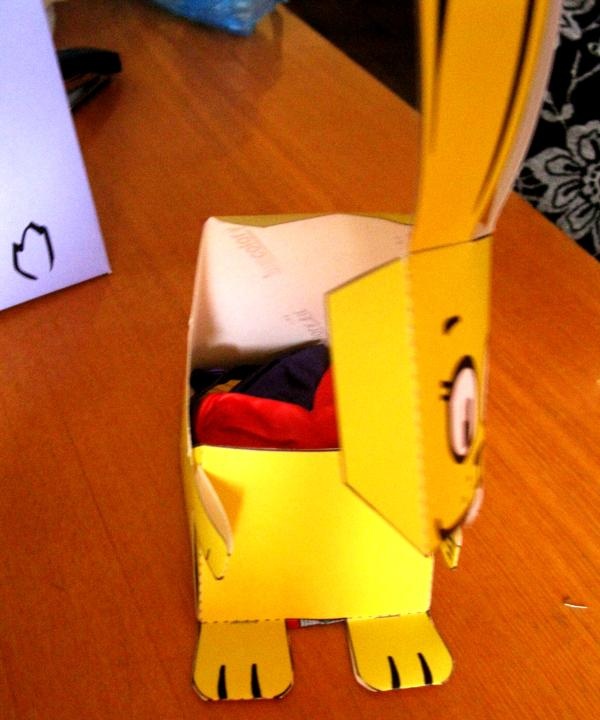
Step 4. To prevent the packaging from being damaged in the future and retain its original appearance, stick Velcro on the side (or where it is more suitable according to your layout). Next, glue the second part of the Velcro in a similar manner. You will get this kind of fastener.
Useful information: Velcro can be found:
a) At home in grandma’s old chest
b) In a hardware store
c) At a hardware store.
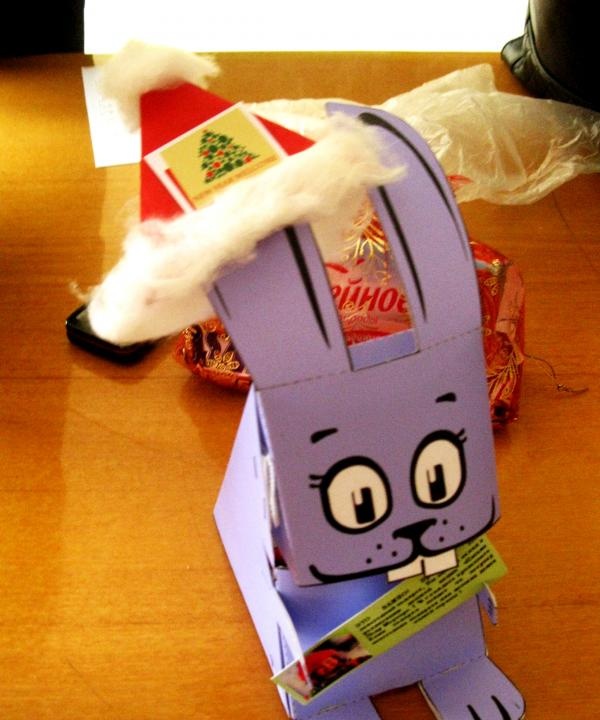
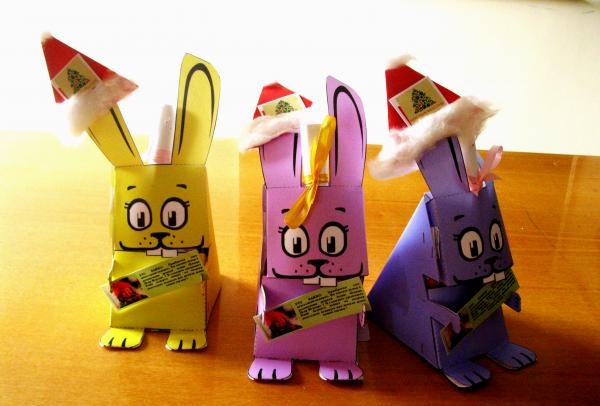
Step 5. At the end, you can also decorate the package with additional accessories as you wish, or as the occasion requires. For example, for the hare in the photo below, a cute New Year’s hat was made separately from colored paper and cotton wool.
Step 6. Good luck and good mood!
Step 0. Surely, you have come across various toy models on the Internet. More often these are funny little animals or characters from famous cartoons. Pros of these layouts:
1. There are more than one of them on the network;
2. All you have to do is select, print and cut out.
The more stable your toy is, the better, especially if the gift is quite heavy: for example, a giraffe on long paper legs is unlikely to support several chocolates.
Step 1. Hereinafter, the “common hare” will be considered as packaging, to which, if desired, you can attach a number of accessories. For example, a carrot on which you will write a congratulation.
Useful information: The photo below shows thick matte photo paper in A1 format, on which 3 layouts fit. It is not necessary to use photo paper - regular paper will do, but it weighs 250-300 grams. If you are not sure, you can contact, for example, a printing company, where they will probably know what they are talking about.

Step 2.After you have printed the layout of the desired color/size/shape/density, you need to cut it out and fold the toy along the designated folds.

Step 3. Collect the packaging and at the same time begin to gradually lay out the gift/gifts.

Step 4. To prevent the packaging from being damaged in the future and retain its original appearance, stick Velcro on the side (or where it is more suitable according to your layout). Next, glue the second part of the Velcro in a similar manner. You will get this kind of fastener.
Useful information: Velcro can be found:
a) At home in grandma’s old chest
b) In a hardware store
c) At a hardware store.

Step 5. At the end, you can also decorate the package with additional accessories as you wish, or as the occasion requires. For example, for the hare in the photo below, a cute New Year’s hat was made separately from colored paper and cotton wool.

Step 6. Good luck and good mood!

Similar master classes
Particularly interesting
Comments (1)

