Master class on gift wrapping “Vintage Dandelion”
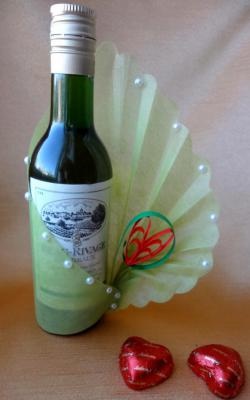
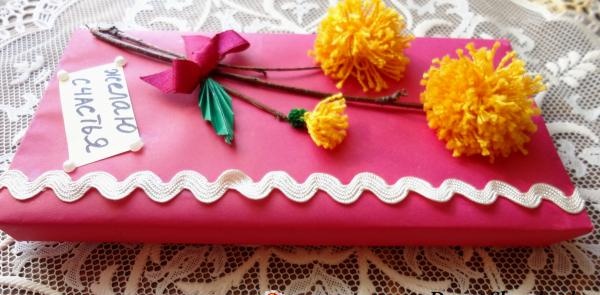
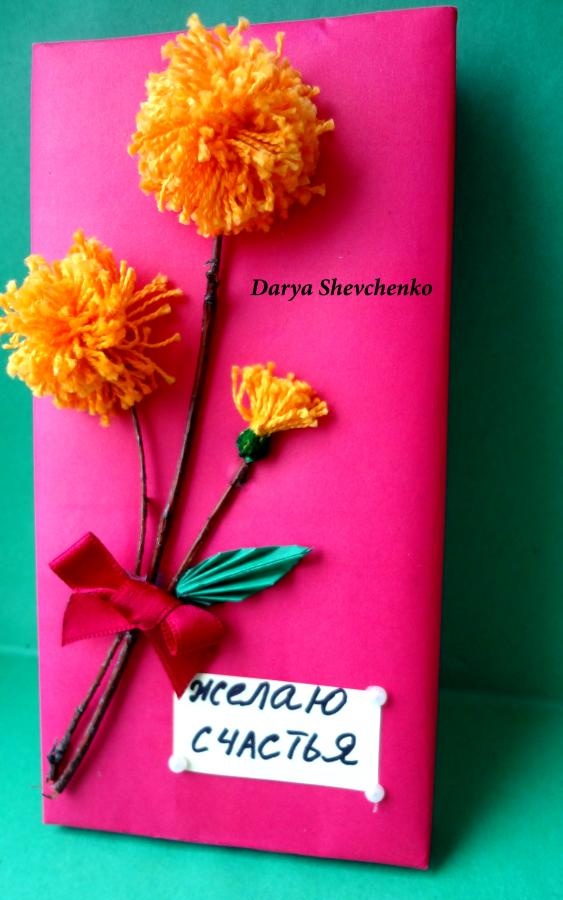
As is known, present begins with the packaging, namely it begins to mysteriously intrigue, forcing the imagination or intuition to guess the contents. The “Vintage Dandelion” master class will tell you how to quickly and easily, using available materials and a little free time, create designer packaging for your gift. In such packaging, your gift will pleasantly surprise the recipient and tell about your care and attention.
Materials for the master class:
- yellow threads;
- pink paper for packaging;
- three small branches;
- black and green felt-tip pen;
- satin ribbon;
- beads;
- scissors, glue.
1. Using a measuring tape, measure the length of the front and side parts of the chocolate bar. Add 1 cm to the resulting value - this will be the length of the wrapping paper.
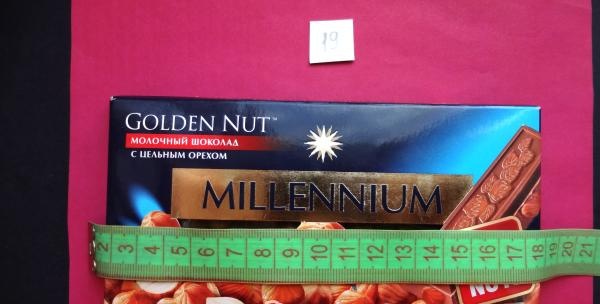
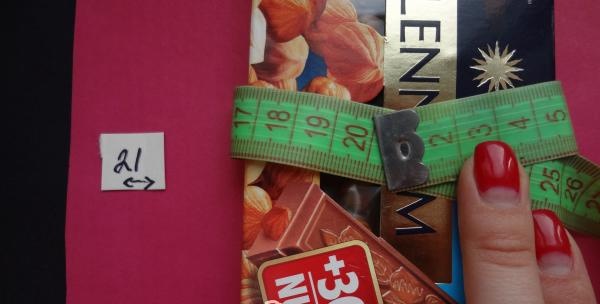
2. Now we measure the width along the perimeter, and also add 1 cm to the resulting value. We measure the resulting value on a sheet of wrapping paper as the width.
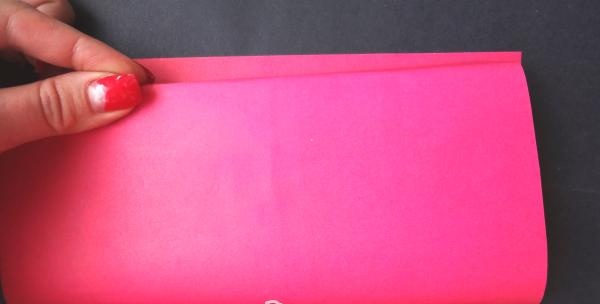
3. Cut out a rectangle and start wrapping our gift.
4. Using PVA glue, we begin to glue the packaging.
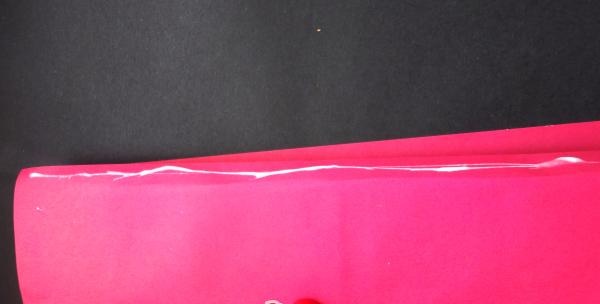
5. Glue the side parts together.
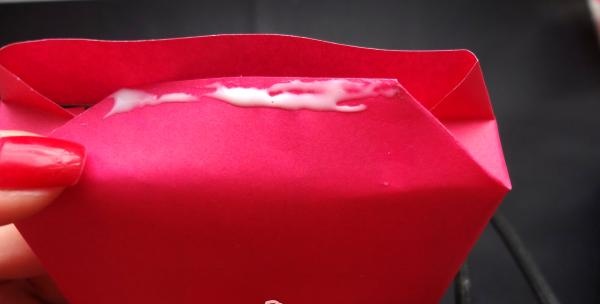
6.On a sheet of cardboard, draw a circle with a radius of 1.5 cm.
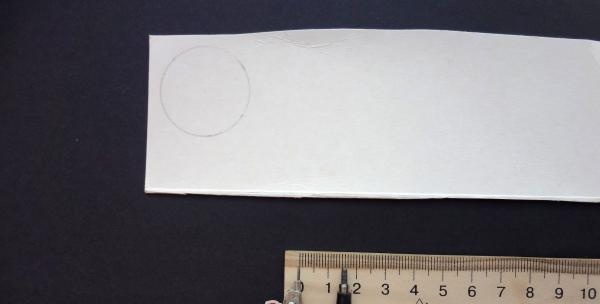
7. Inside each circle, draw another circle with a radius of 0.5 cm.
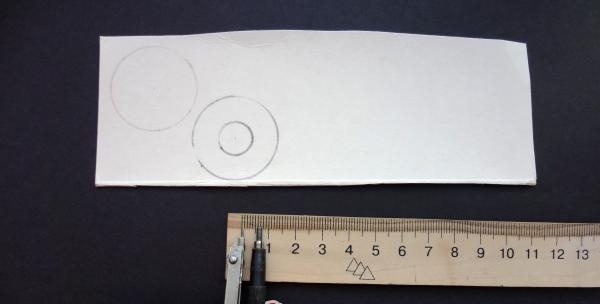
8. We draw two such circles, after which we cut them out.
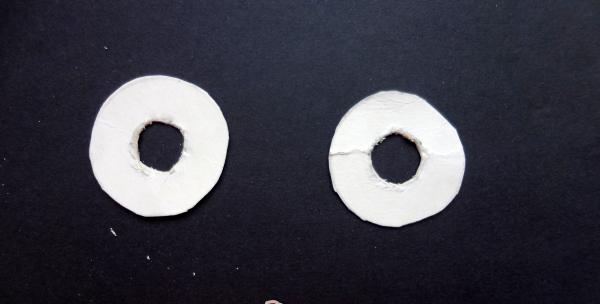
9. Take yellow threads, roll them several times and begin to wrap them around two circles folded together.
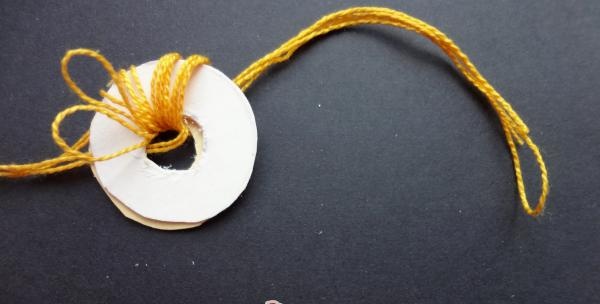
10. After we wind the thread tightly enough around the circles, cut it with scissors between two paper rings.
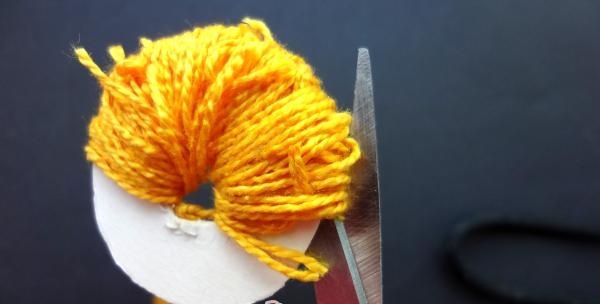
11. Remove one ring and tie a knot.
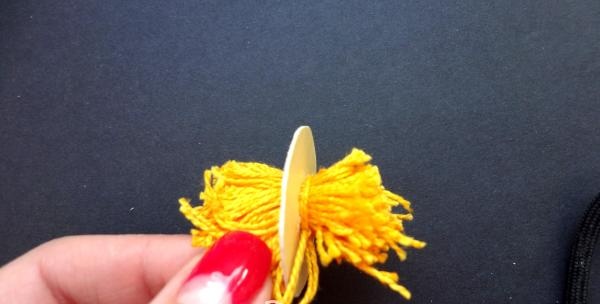
12. Remove the second ring and secure it more securely with thread.
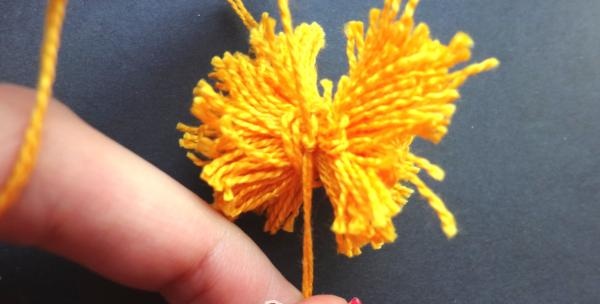
13. Fluff the resulting bubo, trim the protruding threads with scissors.
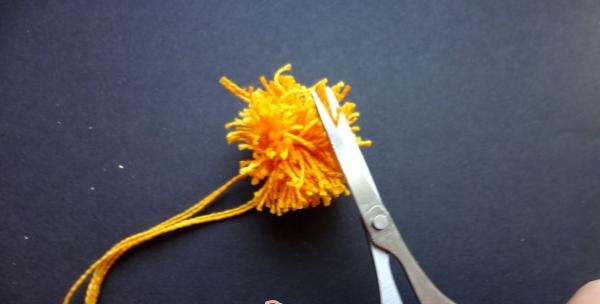
14. Making a bud. We fold the yellow thread several times.
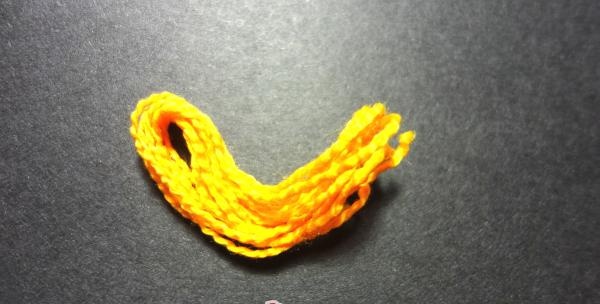
15. At the base we fix it with thread.
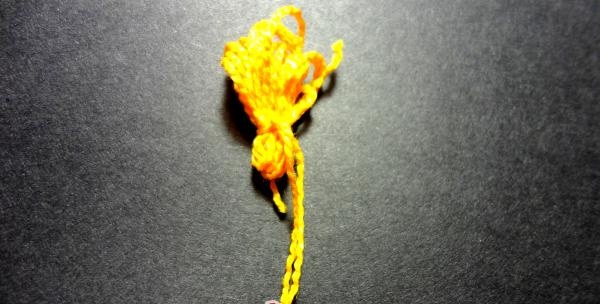
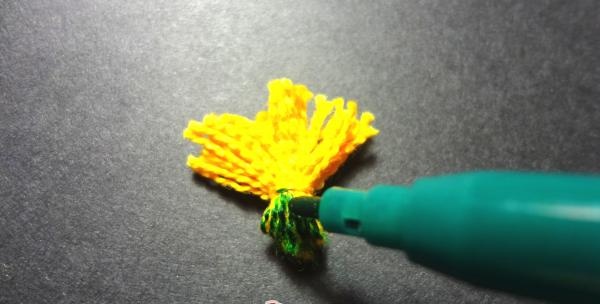
16. Cut off the top part with scissors, and paint the base with a green felt-tip pen.
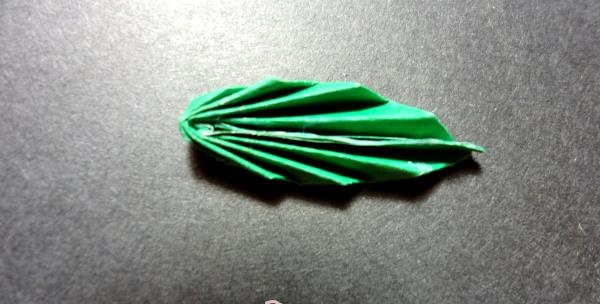
17. Making a leaf. Cut out a rectangle from green double-sided paper.
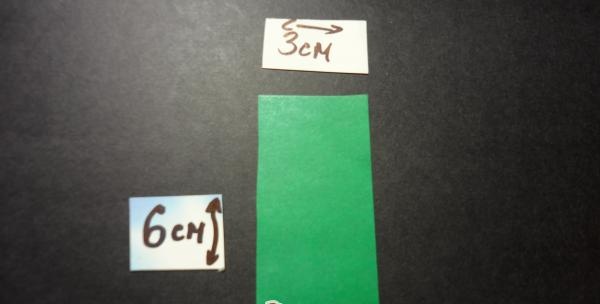
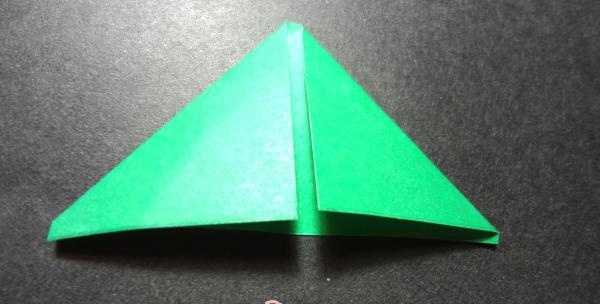
18. Fold the rectangle inward to form a triangle.
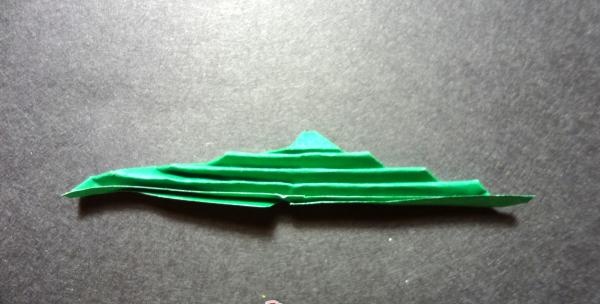
19. Fold the resulting triangle like an accordion.
20. Fold it in the middle.
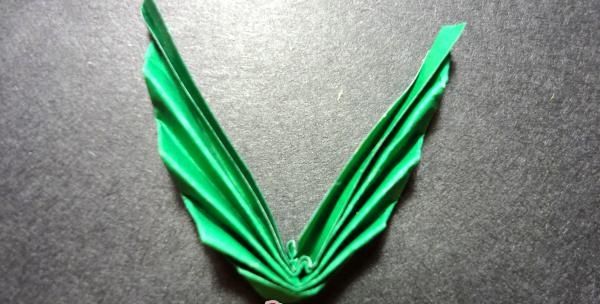
21. Glue the inside with PVA glue.
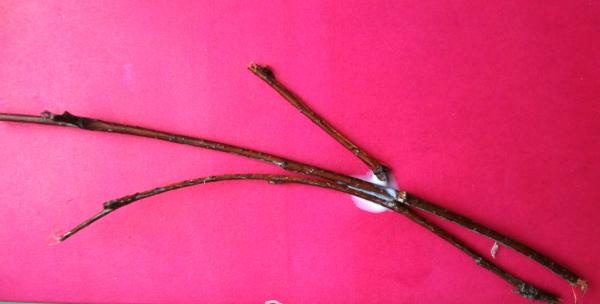
22. We also glue three small branches on PVA.
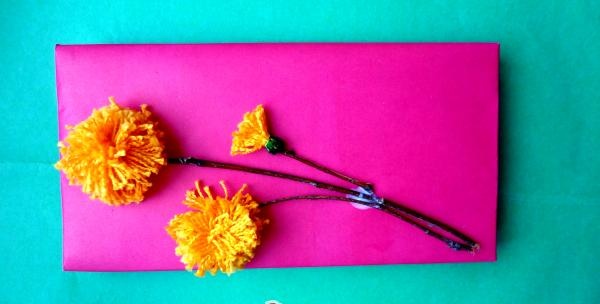
23. We also glue the dandelion buboes with PVA.
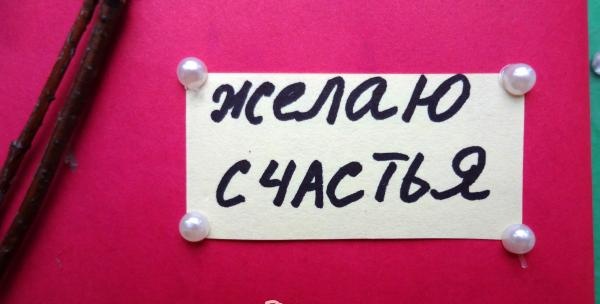
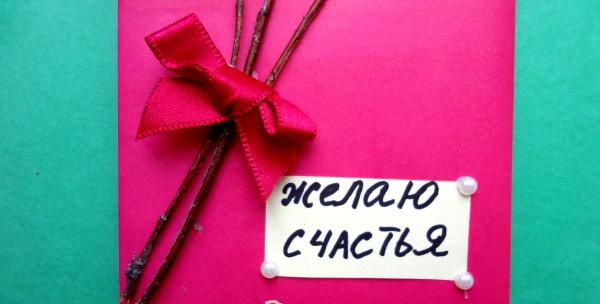
24. To complement the gift with warm wishes, you can add a paper sign and decorate it with beads.
25. At the junction of the branches and stems, glue a decorative bow.
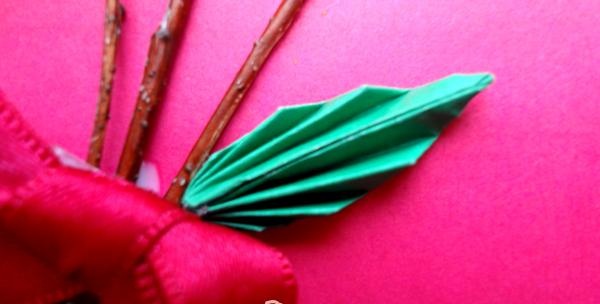
26. And the final touch is to glue the accordion leaf.
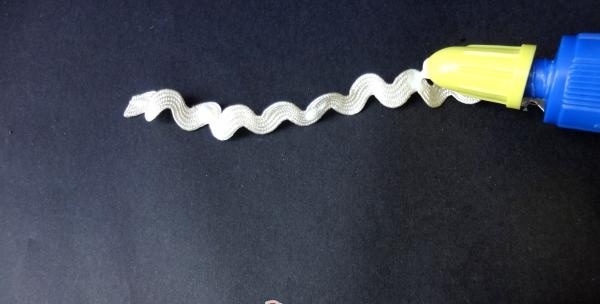
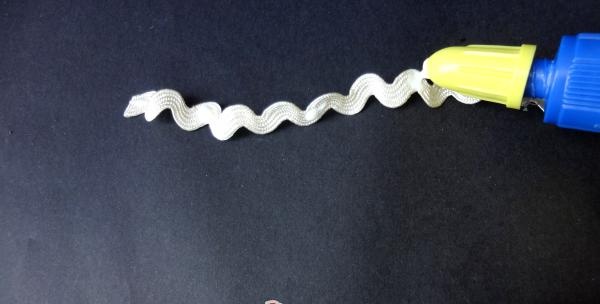
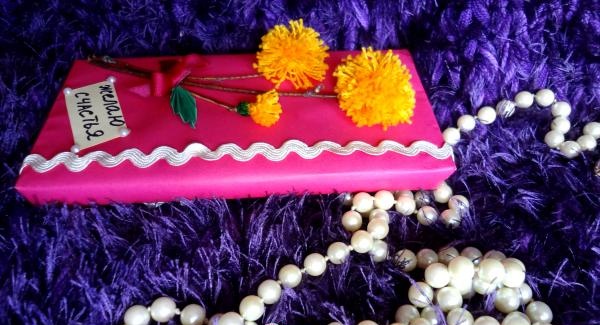
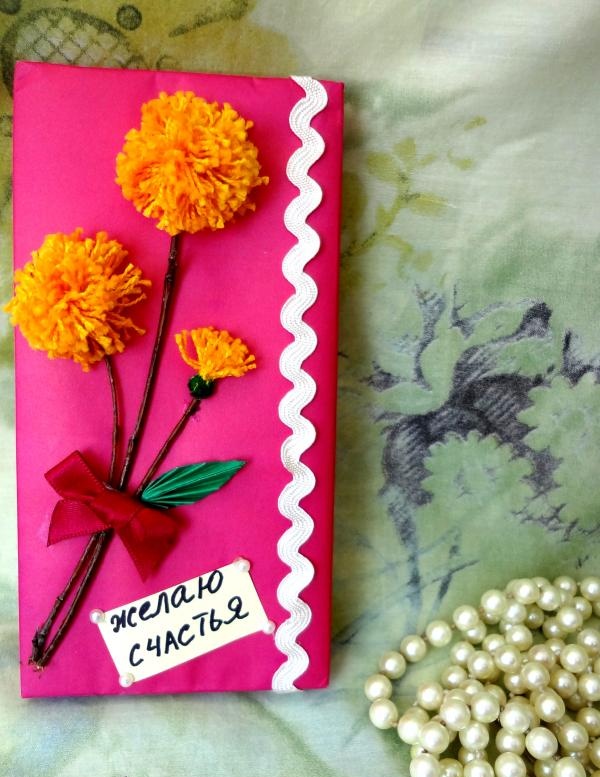
27. To give the packaging a vintage look, you can decorate the packaging with decorative braid or lace. To do this, apply PVA glue at the same distance, and then glue it to the packaging.
Our packaging is ready! Delight your friends and loved ones with gifts in handmade designer packaging.

Materials for the master class:
- yellow threads;
- pink paper for packaging;
- three small branches;
- black and green felt-tip pen;
- satin ribbon;
- beads;
- scissors, glue.
1. Using a measuring tape, measure the length of the front and side parts of the chocolate bar. Add 1 cm to the resulting value - this will be the length of the wrapping paper.

2. Now we measure the width along the perimeter, and also add 1 cm to the resulting value. We measure the resulting value on a sheet of wrapping paper as the width.

3. Cut out a rectangle and start wrapping our gift.

4. Using PVA glue, we begin to glue the packaging.

5. Glue the side parts together.

6.On a sheet of cardboard, draw a circle with a radius of 1.5 cm.

7. Inside each circle, draw another circle with a radius of 0.5 cm.

8. We draw two such circles, after which we cut them out.

9. Take yellow threads, roll them several times and begin to wrap them around two circles folded together.

10. After we wind the thread tightly enough around the circles, cut it with scissors between two paper rings.

11. Remove one ring and tie a knot.

12. Remove the second ring and secure it more securely with thread.

13. Fluff the resulting bubo, trim the protruding threads with scissors.

14. Making a bud. We fold the yellow thread several times.

15. At the base we fix it with thread.

16. Cut off the top part with scissors, and paint the base with a green felt-tip pen.

17. Making a leaf. Cut out a rectangle from green double-sided paper.

18. Fold the rectangle inward to form a triangle.

19. Fold the resulting triangle like an accordion.

20. Fold it in the middle.

21. Glue the inside with PVA glue.

22. We also glue three small branches on PVA.

23. We also glue the dandelion buboes with PVA.

24. To complement the gift with warm wishes, you can add a paper sign and decorate it with beads.

25. At the junction of the branches and stems, glue a decorative bow.

26. And the final touch is to glue the accordion leaf.

27. To give the packaging a vintage look, you can decorate the packaging with decorative braid or lace. To do this, apply PVA glue at the same distance, and then glue it to the packaging.

Our packaging is ready! Delight your friends and loved ones with gifts in handmade designer packaging.


Similar master classes
Particularly interesting
Comments (0)

