Custom snowman
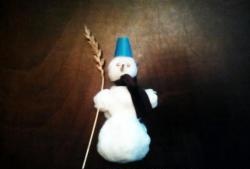
New Year's holidays are coming soon, and all needlewomen want to not only give their family and friends something original and unique, but also create a holiday atmosphere in the house. Here, the universal thing will be nothing more than a handmade figurine in the shape of a snowman, and not an ordinary one, but a little non-standard. It will add mischief and a sense of celebration to the house, but in addition, it will also be a wonderful gift.
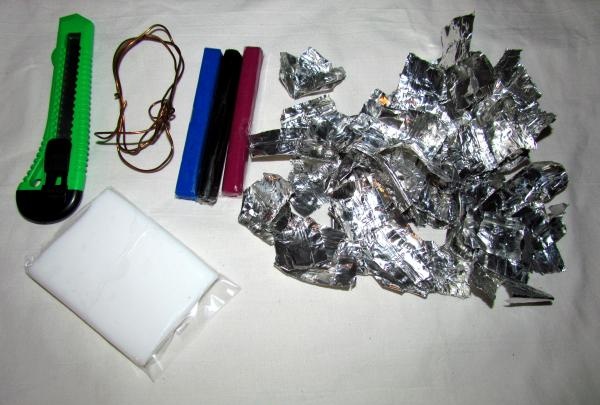
So, for work we will need the following materials:
- a block of white polymer clay
- colored polymer clay (black, burgundy, blue and pink)
- stationery knife
- thick flexible wire
- foil of any density
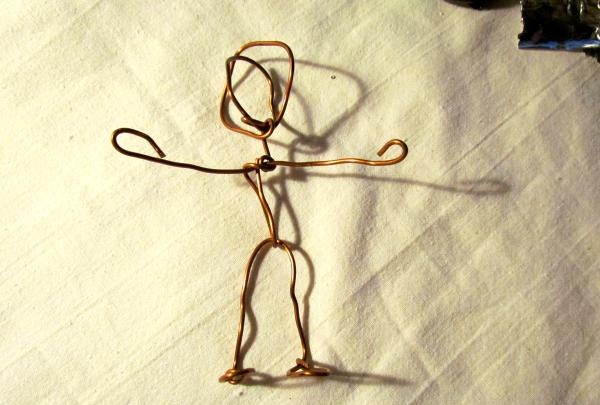
First you need to create the frame of the future snowman, shape the legs, arms, torso and head. It is also necessary to take into account that polymer clay will be applied to the frame, so the legs, arms and torso need to be made somewhat longer than planned for the finished snowman, and the head, on the contrary, needs to be made smaller. The frame of the head needs to be made voluminous; it is best to weave the wire crosswise at the top of the head.Gently bend the edges of the wire using pliers, and secure the junction of the wire so that there is no movement.
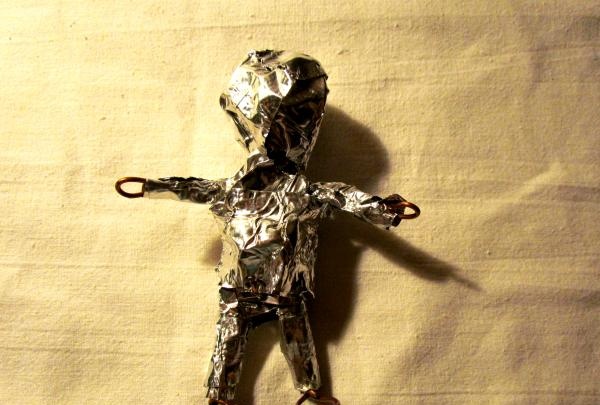
Now we wrap the foil on the frame, paying special attention to the stomach and head, we stuff them the most, because they will give volume to the future product. We do not wrap the palms and feet with foil to make the figure more stable.
We apply the first layer of white polymer clay, having previously softened it and rolled it out to about 2-3 millimeters thick. There is no need to worry that the figure will turn out angular and wrinkled; further layers of clay will be added.
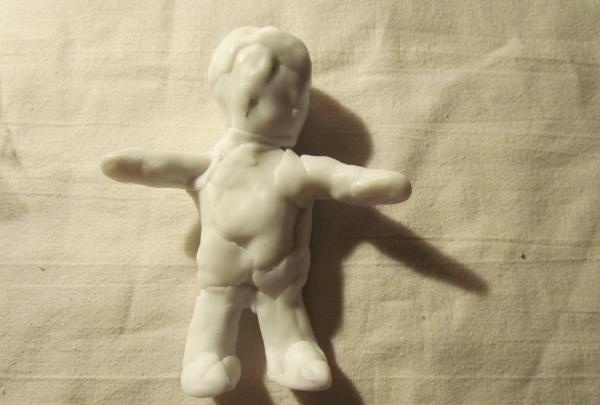
We roll out a layer from a new piece of white clay and form a face, making a sharp long nose and hollows for the eyes.
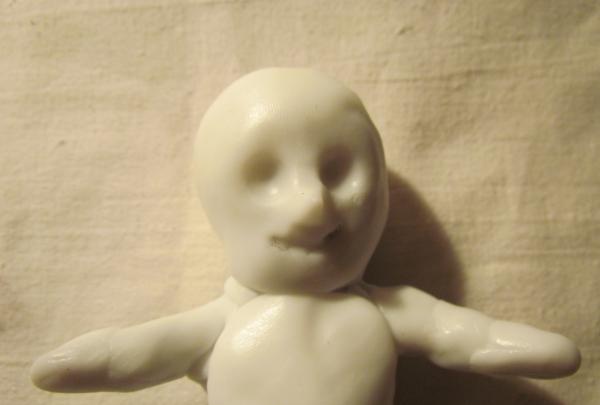
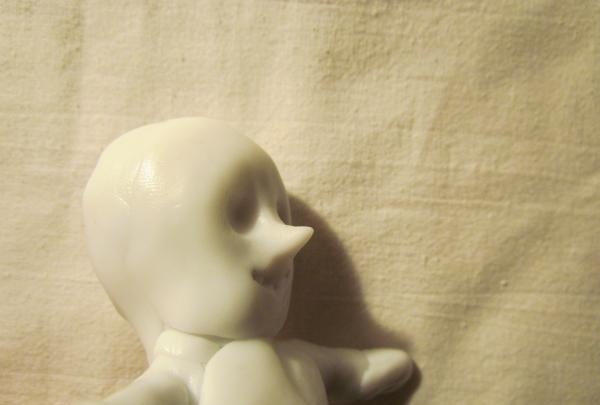
We put more layers of clay on the stomach (more), cover the palms and feet.
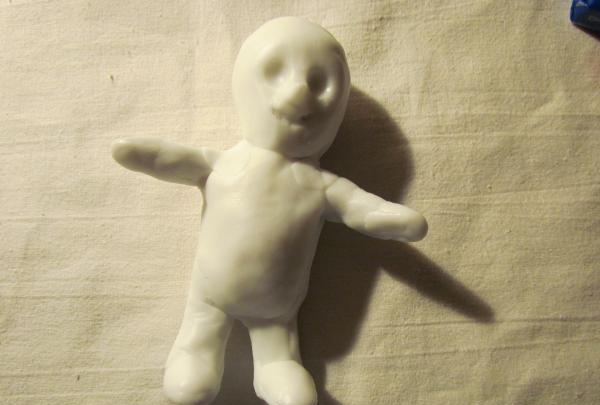
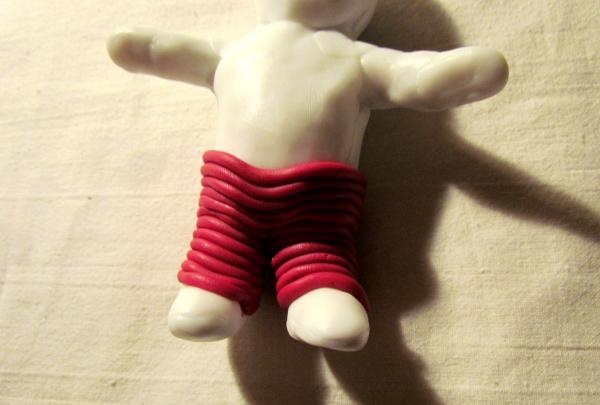
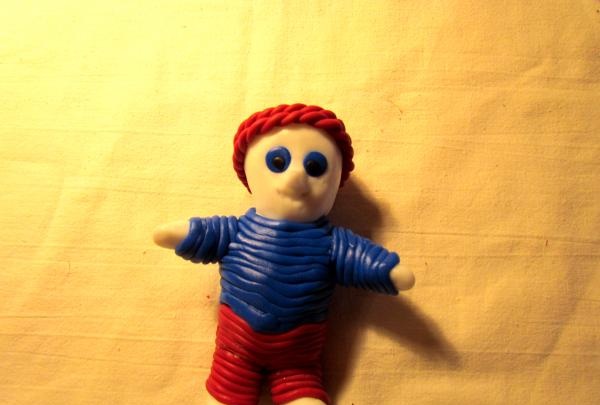
Roll out a long thin sausage from burgundy clay and form panties, wrapping the sausage around the figure.
Using the same principle, we form a sweater from blue polymer clay for a snowman, paying special attention to the sleeves.
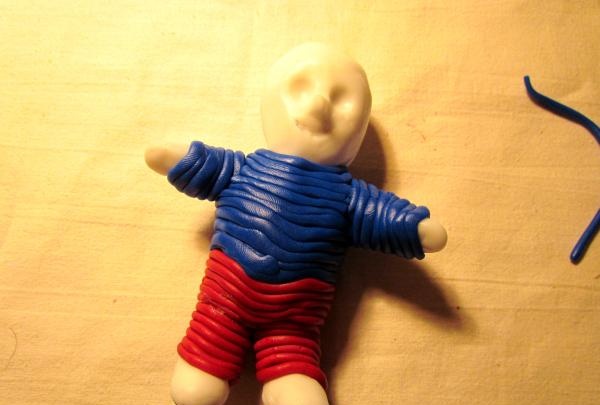
We put a small ball of blue clay into the eye holes, flatten them and form eyes.
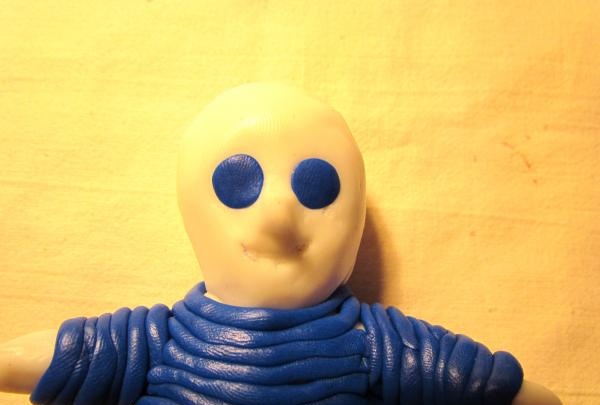
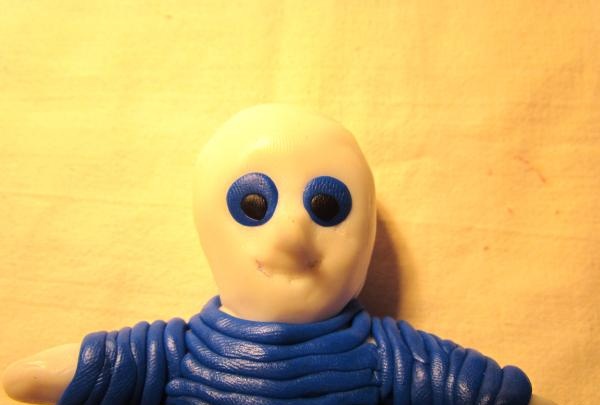
We make pupils from black polymer clay.
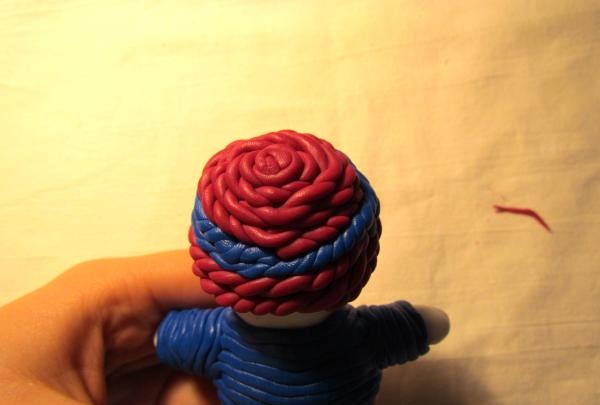
We make a long thin sausage from burgundy clay, fold it in half and carefully, making sure that it does not tear, twist it clockwise.
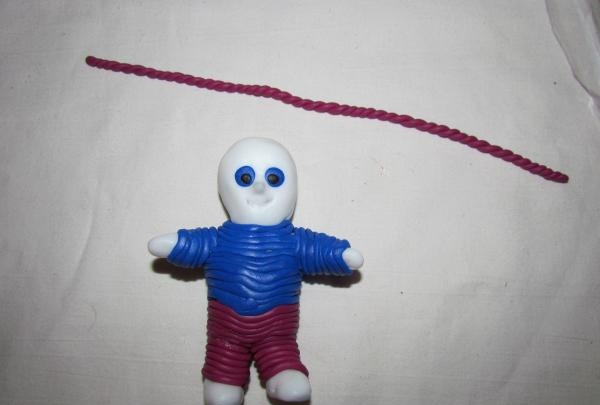
We wrap the resulting double sausage around the snowman's head. This will be a hat.
We add a blue stripe to the cap and finish at the top of the head, carefully wrapping the tip of the sausage into the center of the cap.
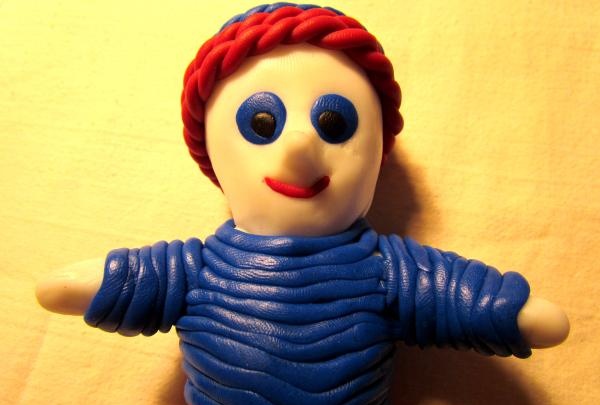
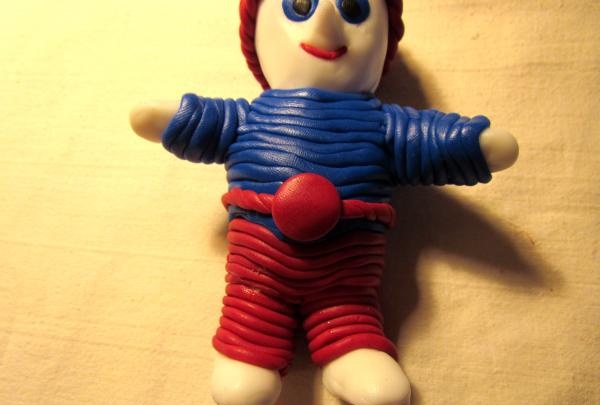
We make a thin sausage from burgundy clay and form a smile.
Now we take the rest (or make a new one) of the twisted burgundy sausage and wrap it around the waistband, on a blue sweater.
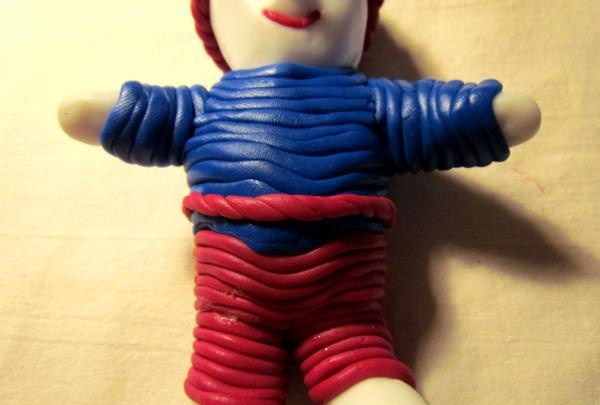
We make a small ball from the same burgundy clay, flatten it and sculpt it in the center, this is our belt buckle.
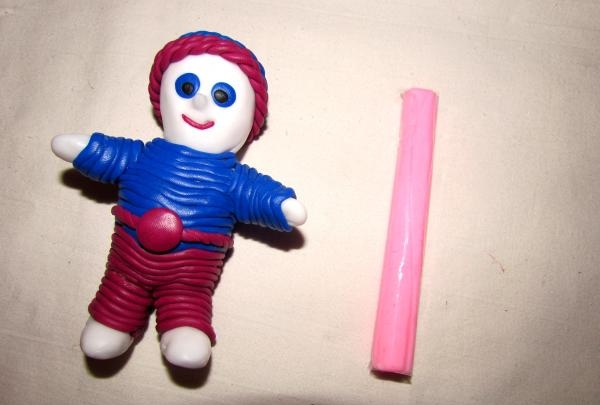
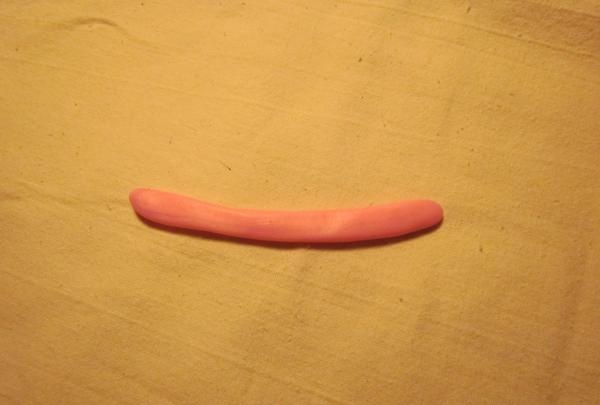
We take pink polymer clay and make a small long tablet out of it.
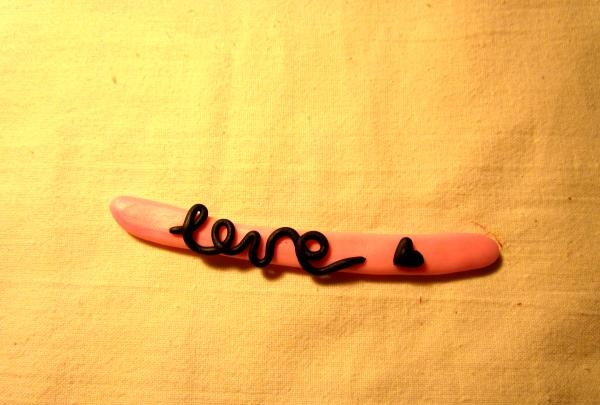
Using black polymer clay (namely, a very thin sausage) we lay out any word on the plate.
We attach the sign to the hands of the snowman.
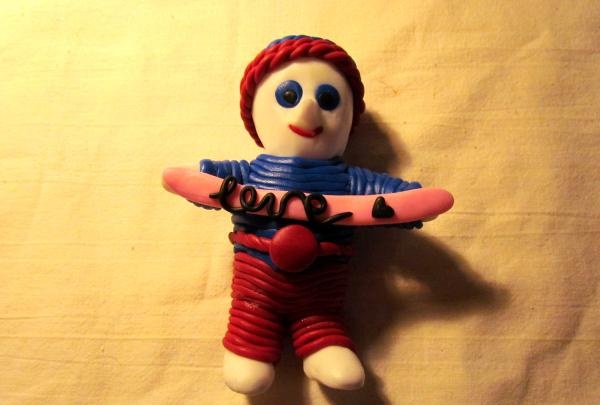
We bake our snowman according to the instructions for polymer clay and that’s it, our figurine is ready!
So, for work we will need the following materials:
- a block of white polymer clay
- colored polymer clay (black, burgundy, blue and pink)
- stationery knife
- thick flexible wire
- foil of any density

First you need to create the frame of the future snowman, shape the legs, arms, torso and head. It is also necessary to take into account that polymer clay will be applied to the frame, so the legs, arms and torso need to be made somewhat longer than planned for the finished snowman, and the head, on the contrary, needs to be made smaller. The frame of the head needs to be made voluminous; it is best to weave the wire crosswise at the top of the head.Gently bend the edges of the wire using pliers, and secure the junction of the wire so that there is no movement.

Now we wrap the foil on the frame, paying special attention to the stomach and head, we stuff them the most, because they will give volume to the future product. We do not wrap the palms and feet with foil to make the figure more stable.

We apply the first layer of white polymer clay, having previously softened it and rolled it out to about 2-3 millimeters thick. There is no need to worry that the figure will turn out angular and wrinkled; further layers of clay will be added.

We roll out a layer from a new piece of white clay and form a face, making a sharp long nose and hollows for the eyes.


We put more layers of clay on the stomach (more), cover the palms and feet.

Roll out a long thin sausage from burgundy clay and form panties, wrapping the sausage around the figure.

Using the same principle, we form a sweater from blue polymer clay for a snowman, paying special attention to the sleeves.

We put a small ball of blue clay into the eye holes, flatten them and form eyes.

We make pupils from black polymer clay.

We make a long thin sausage from burgundy clay, fold it in half and carefully, making sure that it does not tear, twist it clockwise.

We wrap the resulting double sausage around the snowman's head. This will be a hat.

We add a blue stripe to the cap and finish at the top of the head, carefully wrapping the tip of the sausage into the center of the cap.

We make a thin sausage from burgundy clay and form a smile.

Now we take the rest (or make a new one) of the twisted burgundy sausage and wrap it around the waistband, on a blue sweater.

We make a small ball from the same burgundy clay, flatten it and sculpt it in the center, this is our belt buckle.

We take pink polymer clay and make a small long tablet out of it.


Using black polymer clay (namely, a very thin sausage) we lay out any word on the plate.

We attach the sign to the hands of the snowman.

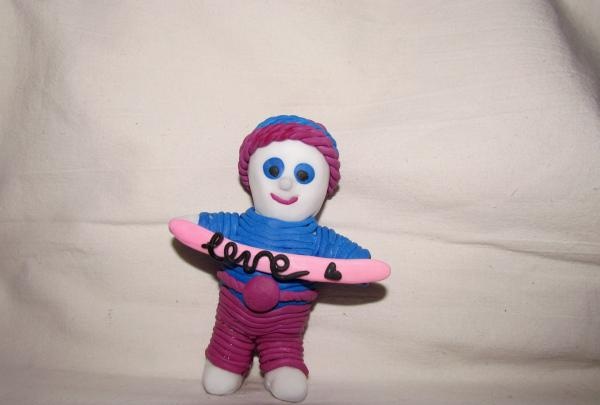
We bake our snowman according to the instructions for polymer clay and that’s it, our figurine is ready!

Similar master classes
Particularly interesting
Comments (0)

