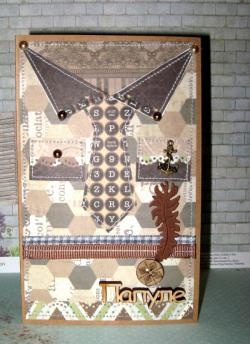
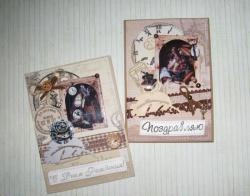
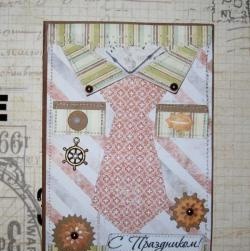
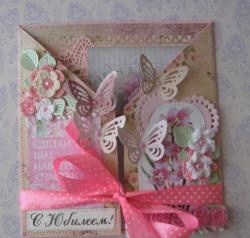
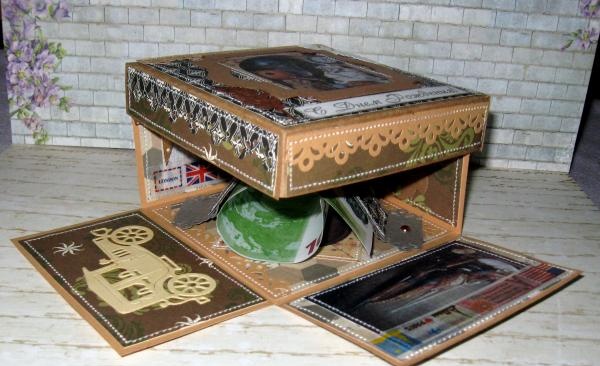
Men's greeting box "Happy Birthday"
No one ever really thinks about what to choose. present for a man until he encounters this problem. It would seem that this is special and is it really impossible to come up with something to congratulate a man on his birthday, February 23, Anniversary or professional holiday; as it turned out, there are enough reasons for congratulations, and for each of them you need to carefully prepare. So, let's look and think a little about men's gifts. This could be a diary, a collectible alcoholic drink, perfume deodorant, an elegant tie or a beautiful shirt, or some rare souvenir. It seems that, at first glance, it seems that the choice of gifts is large and you can easily pick something up, but you also need to take into account the fact whom you want to congratulate, your husband, son, brother, colleague, boss, teacher, doctor, or generally a person you barely know, for example, a newcomer to a team at work. As for collective congratulations, as a rule, mostly money is collected here and presented in an envelope or postcard.In order for your gift to be remembered somehow, you need to put a little effort into it and, for example, make that very interesting envelope, postcard or something more interesting with your own hands. Envelopes and postcards are somehow predictable, but you can make an interesting transforming box for a monetary gift. It can be done using a technique called scrapbooking and right now we will do this.
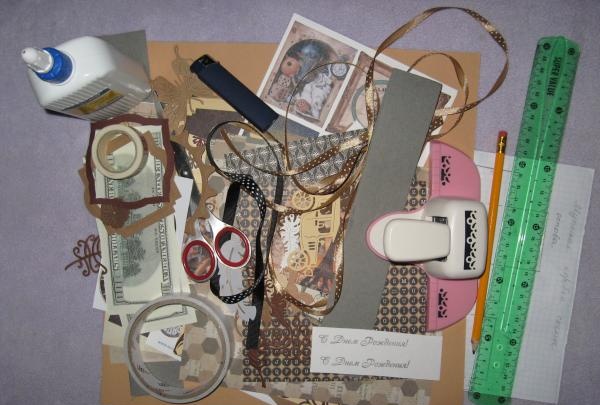
For the box we need to take:
• Kraft cardboard 15*15 cm and light brown pastel paper 20*20 cm;
• Template diagram for the box;
• Paper for scrapbooking in masculine colors;
• Men's pictures;
• The inscription stamped in black ink “Happy Birthday”;
• Cutting down brown and beige flowers: machine, feather, frame, sprig of leaves, feather;
• Figured hole punch;
• Colored tape;
• Brown satin ribbon with polka dots;
• Wooden button;
• Double-sided tape;
• Pencil, ruler, scissors;
• PVA glue;
• Glue gun.
First of all, using templates, we cut out the base of the lid and the box itself from pastel paper and craft paper.
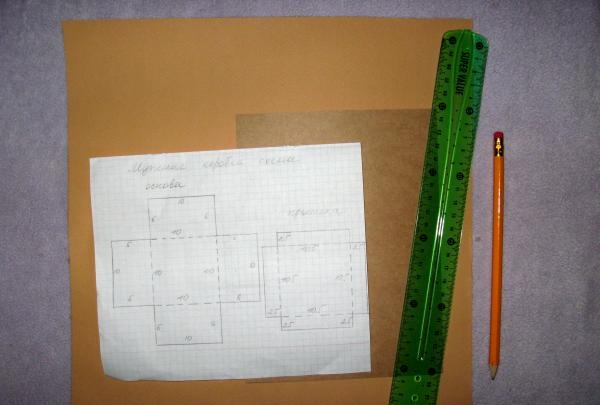
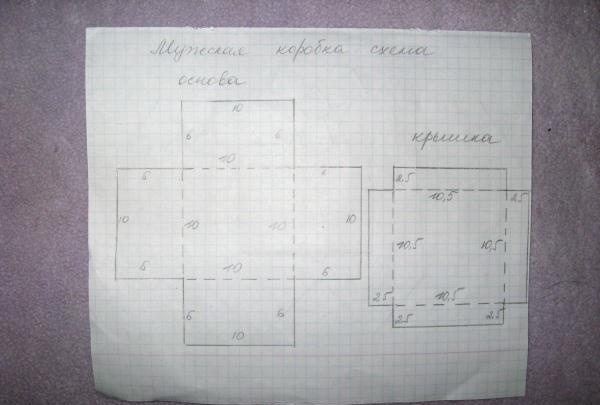
We make creases (bending lines) using scissors under a ruler.
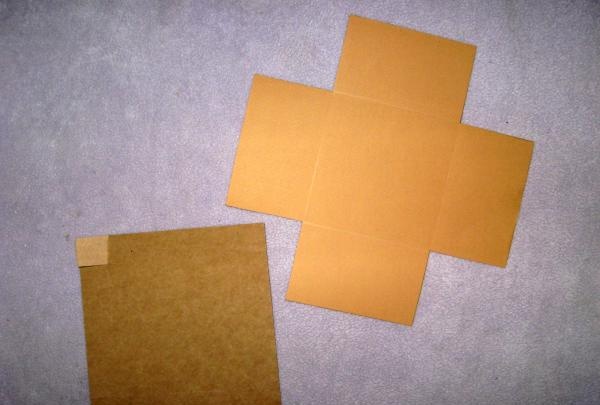
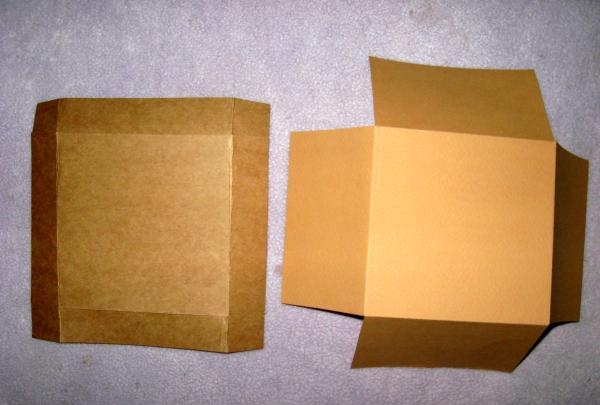
We cut out these different shapes from scrap paper.
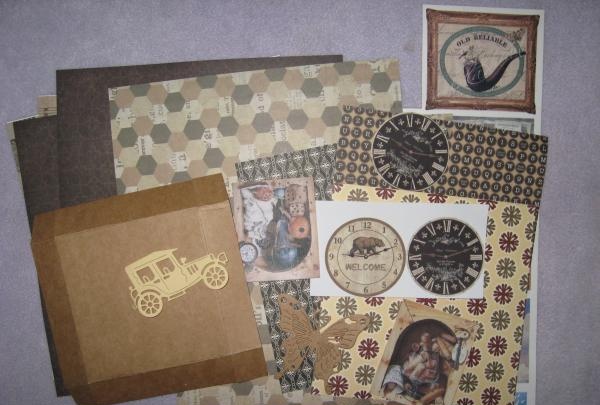
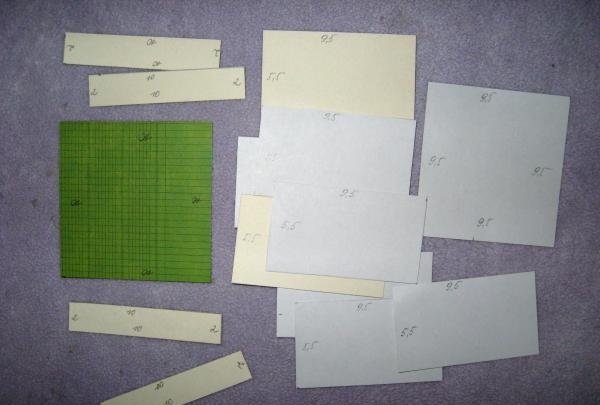
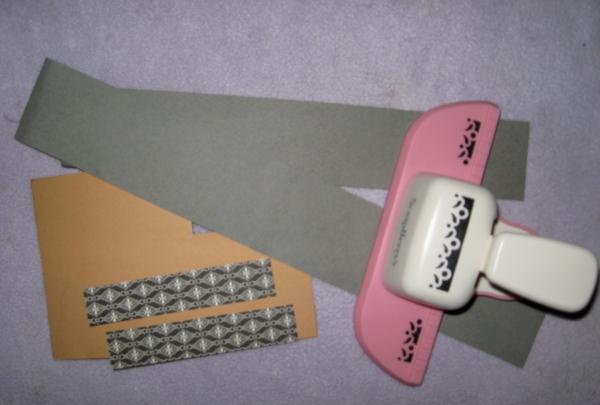
We make some strips into shapes using a hole punch.
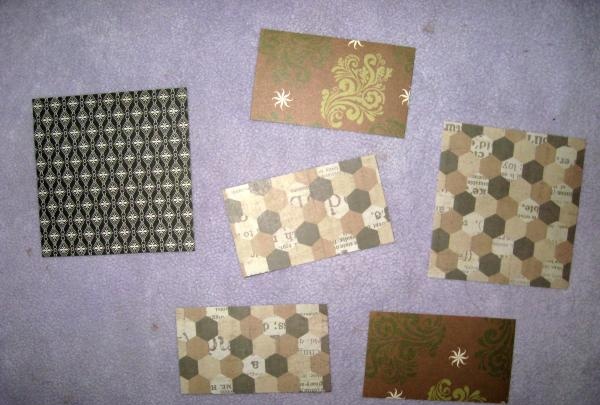
We glue the pictures onto the scrap blanks with double-sided tape. We glue the car from the cutting using PVA glue.
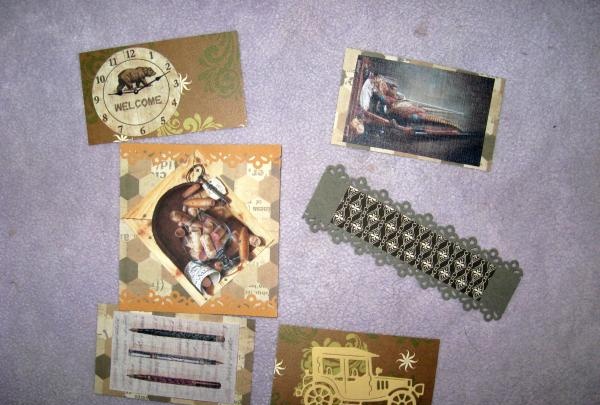
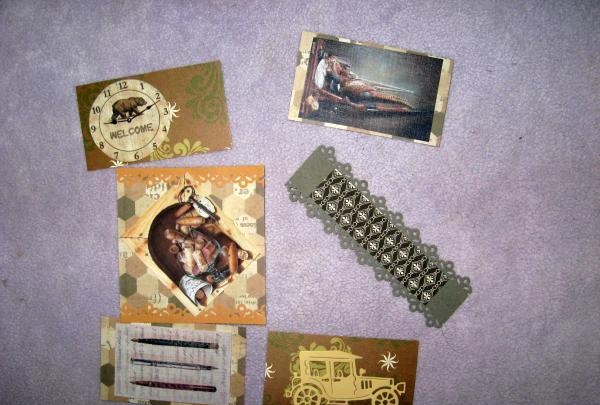
We glue the openwork strips onto paper using PVA glue. We sew the pictures on a typewriter. We tint the inscription along the edge with an ink pad. Now we glue all the scrap pieces to the base of the box and the lid with pieces of double-sided tape.
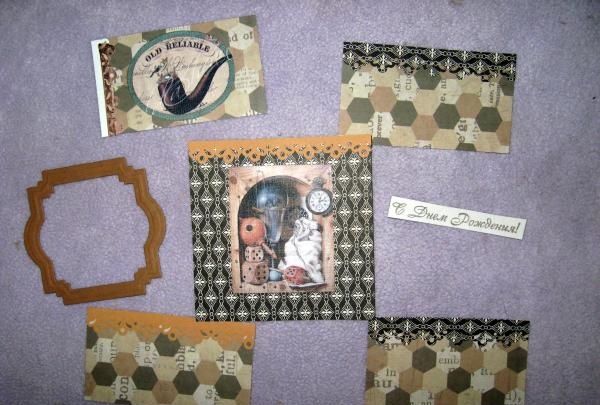
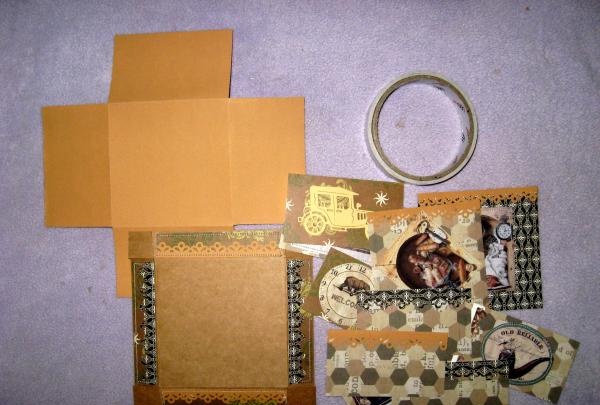
We sew the lid on the sides separately and in the center, we sew everything along the edge. We sew the very base of the box from the inside. We also make an openwork strip on both sides for investing money; we glue it inside the box with PVA glue.
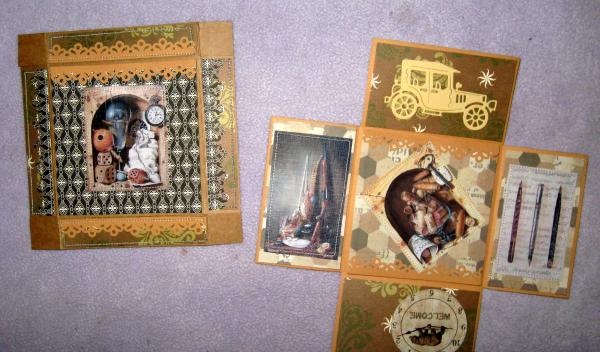
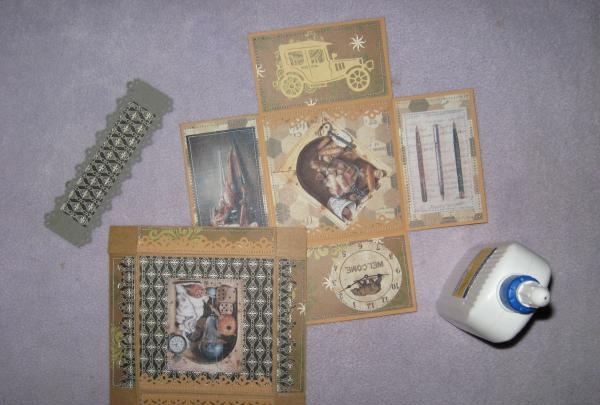
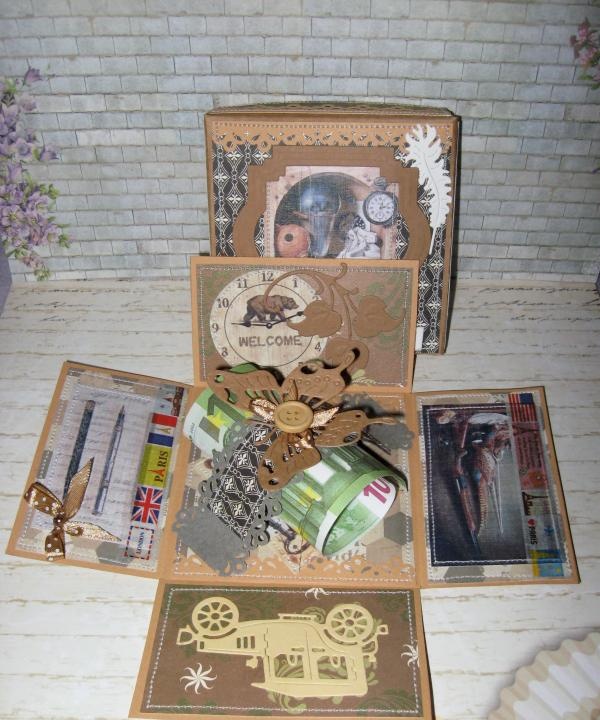
Now we glue the paper cut-outs, as in the photo, also using PVA glue and a glue gun.
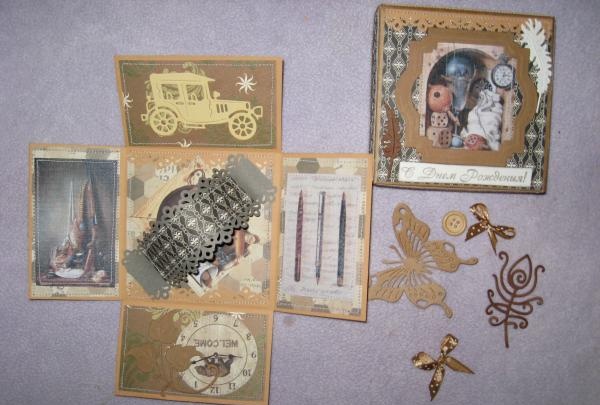
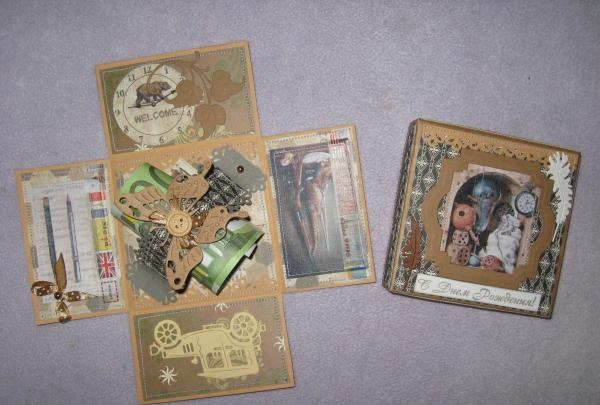
This is how the box is assembled and folded and covered with a lid. Done, put the money inside and congratulate the man.
For the box we need to take:
• Kraft cardboard 15*15 cm and light brown pastel paper 20*20 cm;
• Template diagram for the box;
• Paper for scrapbooking in masculine colors;
• Men's pictures;
• The inscription stamped in black ink “Happy Birthday”;
• Cutting down brown and beige flowers: machine, feather, frame, sprig of leaves, feather;
• Figured hole punch;
• Colored tape;
• Brown satin ribbon with polka dots;
• Wooden button;
• Double-sided tape;
• Pencil, ruler, scissors;
• PVA glue;
• Glue gun.


First of all, using templates, we cut out the base of the lid and the box itself from pastel paper and craft paper.


We make creases (bending lines) using scissors under a ruler.


We cut out these different shapes from scrap paper.


We make some strips into shapes using a hole punch.


We glue the pictures onto the scrap blanks with double-sided tape. We glue the car from the cutting using PVA glue.


We glue the openwork strips onto paper using PVA glue. We sew the pictures on a typewriter. We tint the inscription along the edge with an ink pad. Now we glue all the scrap pieces to the base of the box and the lid with pieces of double-sided tape.


We sew the lid on the sides separately and in the center, we sew everything along the edge. We sew the very base of the box from the inside. We also make an openwork strip on both sides for investing money; we glue it inside the box with PVA glue.


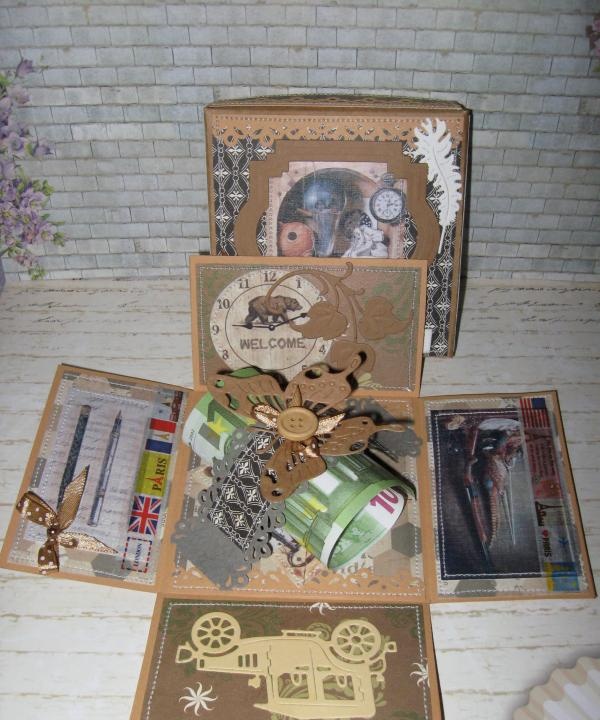
Now we glue the paper cut-outs, as in the photo, also using PVA glue and a glue gun.


This is how the box is assembled and folded and covered with a lid. Done, put the money inside and congratulate the man.


Similar master classes
Particularly interesting
Comments (0)


