Men's shirt card for dad
Men's present especially considered complex and more serious than women's. When choosing a gift for men, there should be a lot of qualities that must be taken into account. Firstly, it depends on which man the gift is given and chosen for: husband, son, dad, colleague, brother, father-in-law, etc. Secondly, you need to know at least a little about the tastes and preferences of the man you are going to congratulate. Thirdly, this applies to collective and corporate gifts, where the person is not particularly familiar to you, and basically this gift is called a match, where everyone chips in a certain amount and only then, after consulting, buys something. There are plenty of factors, and at first glance it may seem that everything is not so complicated, but in fact it is not. Sometimes, even for dad or husband, it’s hard to please and choose something as a gift, it’s better to pry it out from afar in advance, if possible. But there is some common detail in all men’s congratulations; these are words and wishes that are left in the postcard for a long memory.Here you can already think for a woman yourself and create an interesting postcard yourself and make it with your own hands. This is very interesting for yourself, and your man will simply be delighted with such a creation.
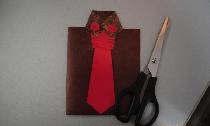
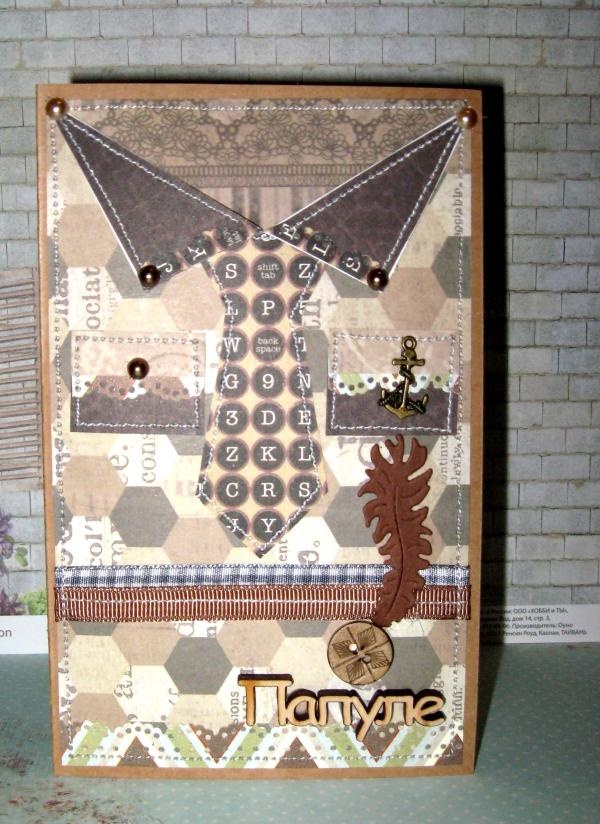
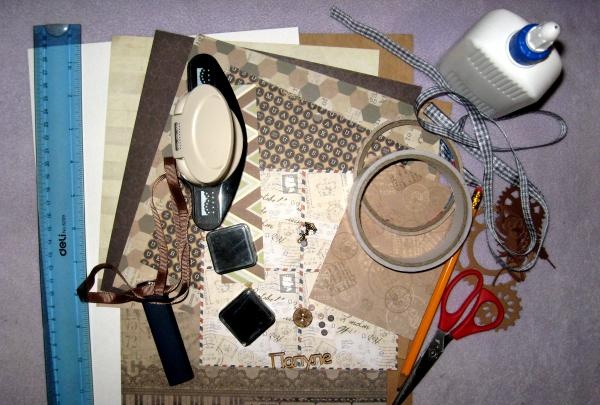
Right now we will look at an interesting master class on scrapbooking, in which we will make a postcard for dad in the form of a shirt with our own hands, which looks very elegant, strict and unusual. For the master class we take:
• Kraft cardboard size 20*20 cm;
• Three or four different papers for scrap, but similar in color, beige-brown-black color scheme, sheets 15*15 cm, 20*20 cm;
• Dark brown grosgrain ribbon, 5 mm wide; White-gray checkered satin ribbon 12 mm wide;
• Watercolor paper;
• Black ink pad;
• Acrylic stamps: curl, clock, “Congratulations”;
• Chipboard “Papule”;
• Curb hole punch;
• Brown die-cut feather;
• Metal pendant anchor bronze color;
• Brown pearl half beads;
• Wooden button;
• Tools: double-sided tape, pencil, PVA glue, ruler, scissors, glue gun; rubber.
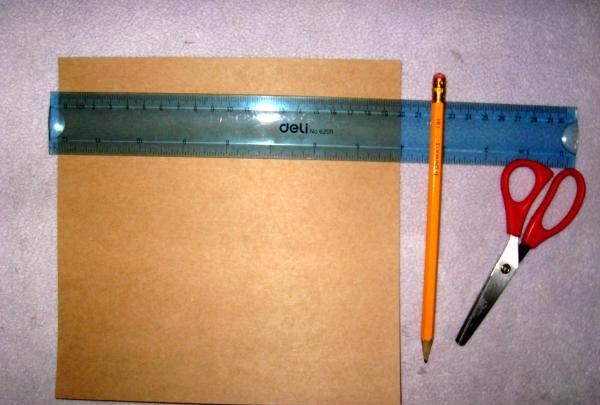
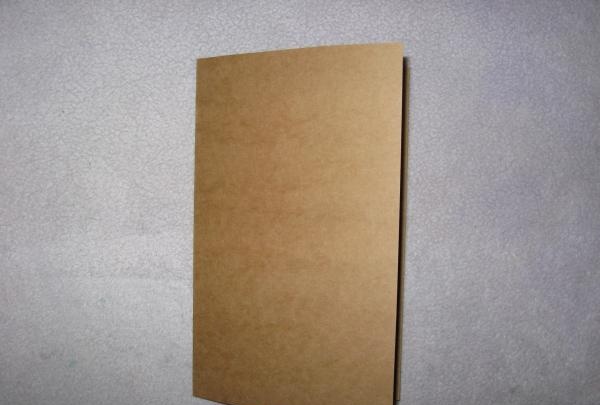
Let's get started, cut out the base of the postcard from kraft cardboard, divide it in half and get a folded piece measuring 10*16 cm.
From one sheet of scrap paper we cut out two rectangles 9.5 * 15.5 cm.
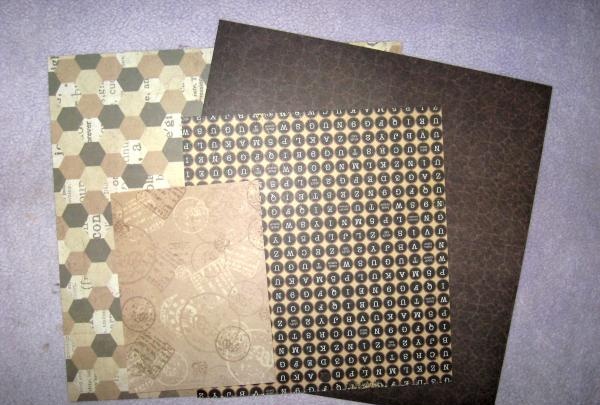
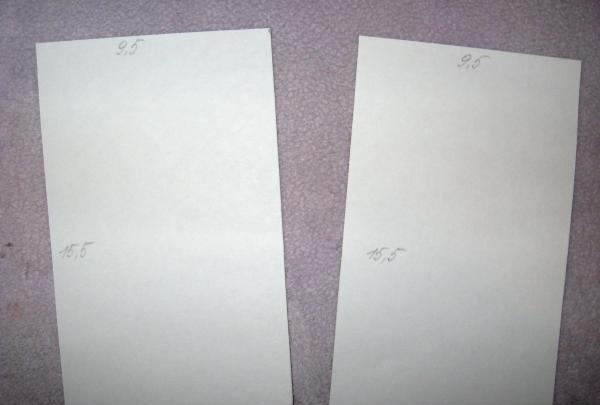
We will leave one, and from the second we will make shirts. Divide the sheet in half from the top and retreat 3 cm down. We draw the bend lines with scissors and turn our collar inside out.
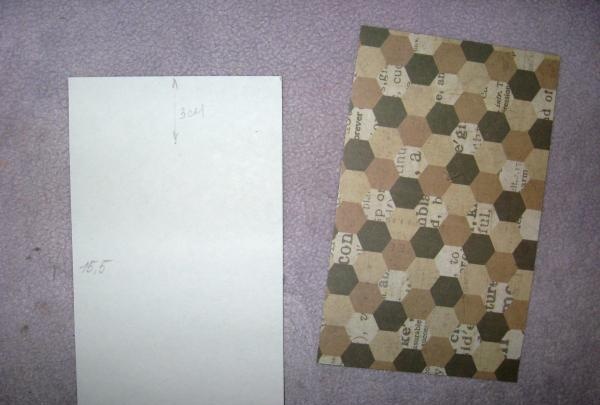
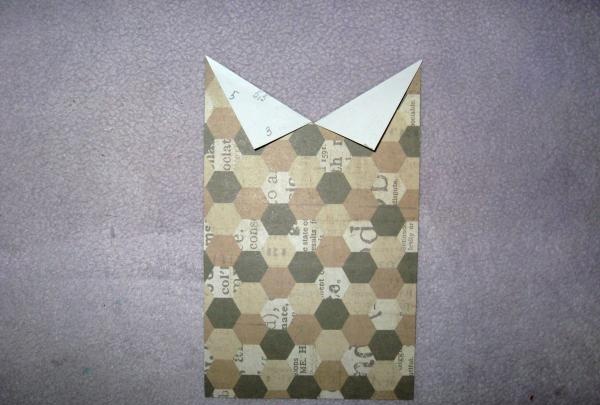
From another paper we cut out the corners for the collar and pockets, from the third paper we cut out a tie. We cut out a 9.5 * 15.5 cm rectangle from watercolor paper, and for the inner pocket we cut out an 8.5 * 9.8 cm rectangle. We make paper lace with a hole punch.
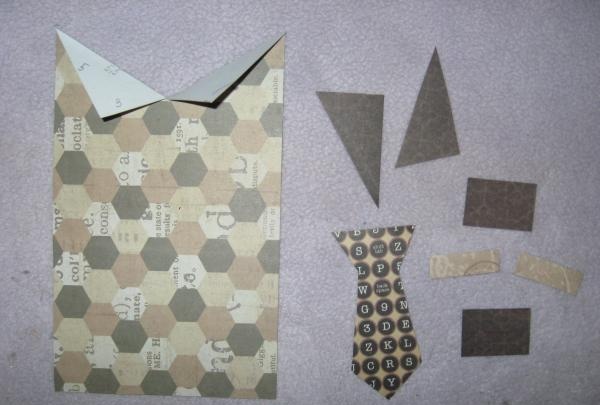
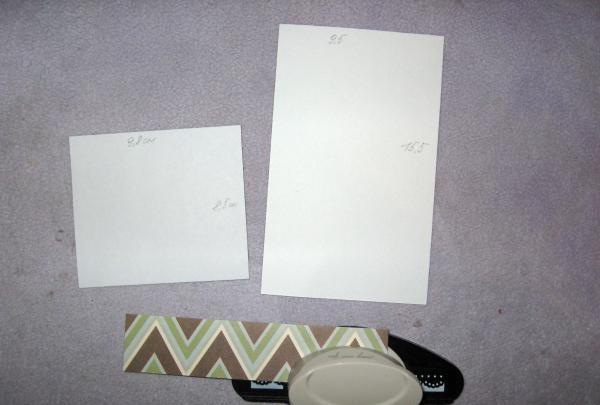
We make stamps on watercolor paper with black ink, and we also tint the sheet itself along the edges. We glue the pockets, tie and corners of the collar with strips of tape. We glue the lace strips at the bottom with PVA.
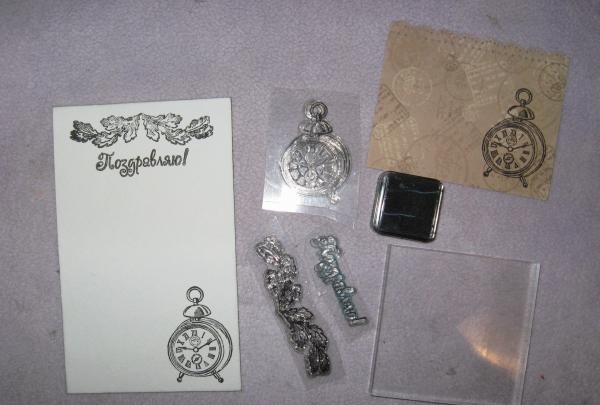
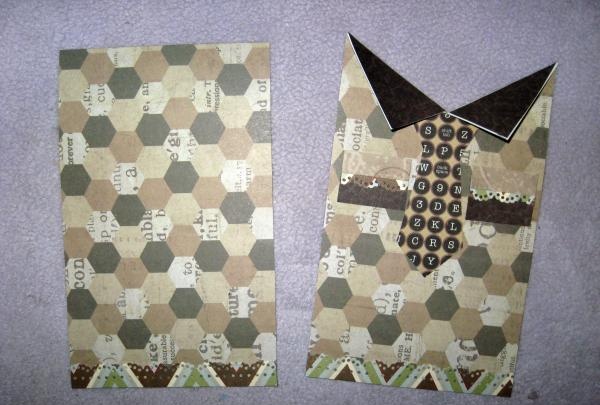
Glue the pocket inside and a watercolor rectangle on the other side. We glue a strip of lace onto the shirt.
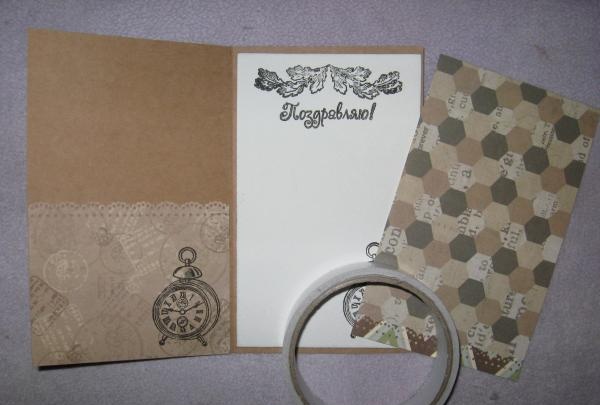
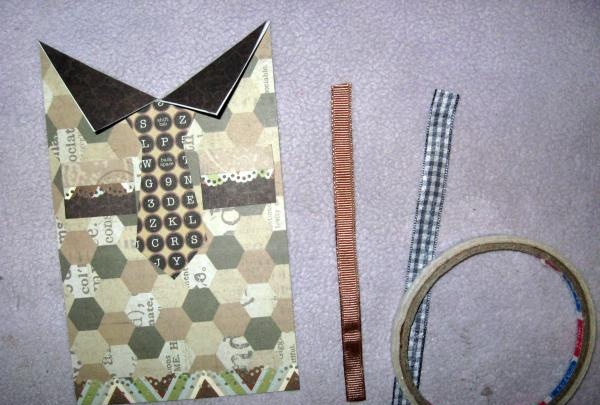
We sew on the tie, pockets and ribbons with a machine. We glue the blanks in front of the base and sew both sides of the card.
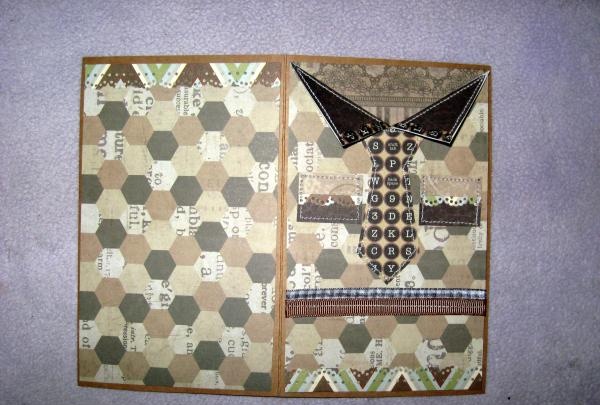
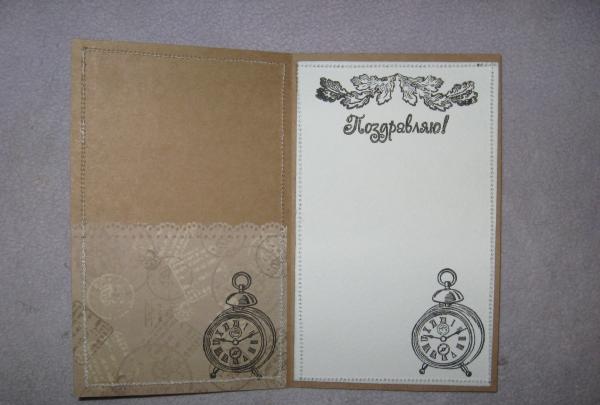
We glue decor: anchor on the pocket, a button with a feather, and at the bottom there is a chipboard, in the corners of the triangles and on the pocket we glue half beads.
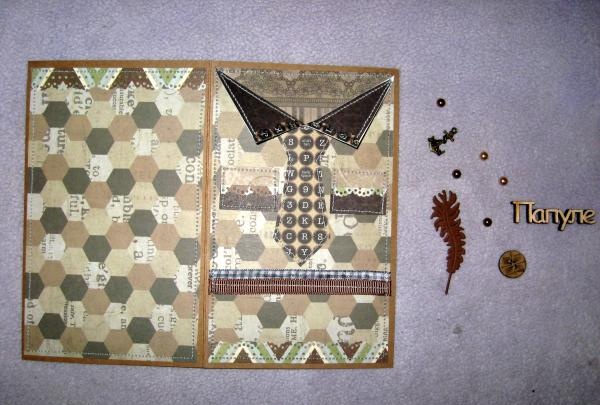
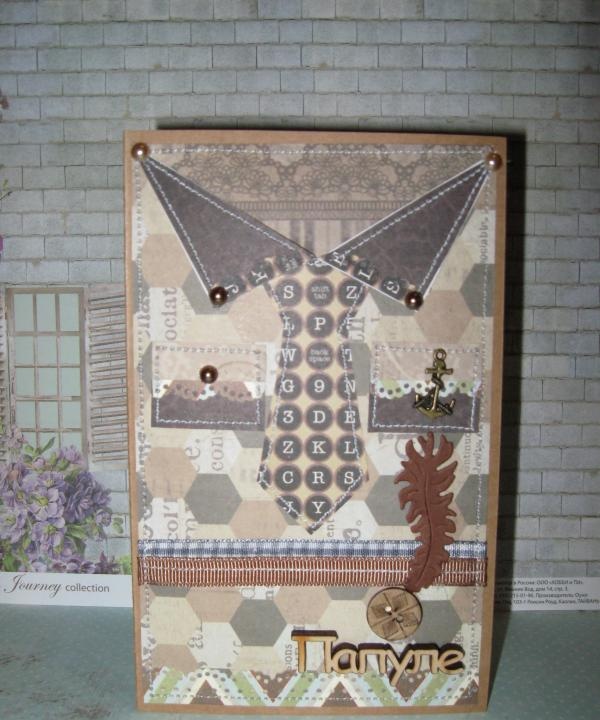
Ready. We get this stylish card-shirt for dad!
Right now we will look at an interesting master class on scrapbooking, in which we will make a postcard for dad in the form of a shirt with our own hands, which looks very elegant, strict and unusual. For the master class we take:
• Kraft cardboard size 20*20 cm;
• Three or four different papers for scrap, but similar in color, beige-brown-black color scheme, sheets 15*15 cm, 20*20 cm;
• Dark brown grosgrain ribbon, 5 mm wide; White-gray checkered satin ribbon 12 mm wide;
• Watercolor paper;
• Black ink pad;
• Acrylic stamps: curl, clock, “Congratulations”;
• Chipboard “Papule”;
• Curb hole punch;
• Brown die-cut feather;
• Metal pendant anchor bronze color;
• Brown pearl half beads;
• Wooden button;
• Tools: double-sided tape, pencil, PVA glue, ruler, scissors, glue gun; rubber.


Let's get started, cut out the base of the postcard from kraft cardboard, divide it in half and get a folded piece measuring 10*16 cm.


From one sheet of scrap paper we cut out two rectangles 9.5 * 15.5 cm.


We will leave one, and from the second we will make shirts. Divide the sheet in half from the top and retreat 3 cm down. We draw the bend lines with scissors and turn our collar inside out.


From another paper we cut out the corners for the collar and pockets, from the third paper we cut out a tie. We cut out a 9.5 * 15.5 cm rectangle from watercolor paper, and for the inner pocket we cut out an 8.5 * 9.8 cm rectangle. We make paper lace with a hole punch.


We make stamps on watercolor paper with black ink, and we also tint the sheet itself along the edges. We glue the pockets, tie and corners of the collar with strips of tape. We glue the lace strips at the bottom with PVA.


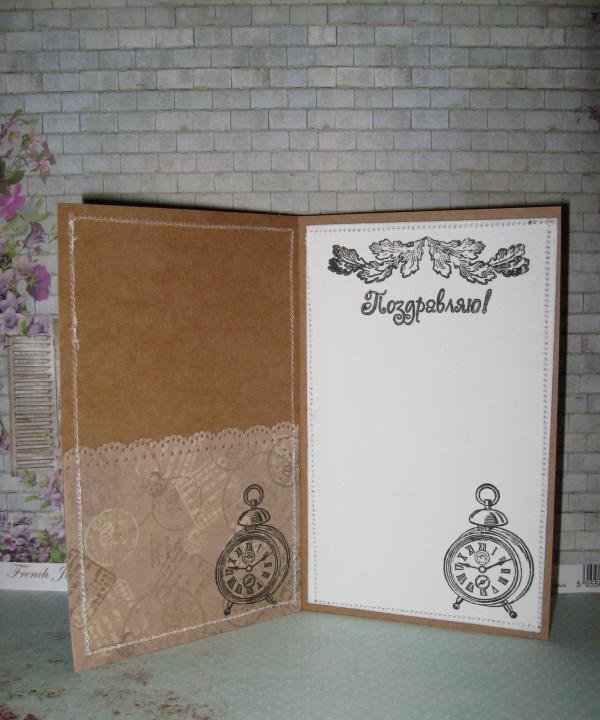
Glue the pocket inside and a watercolor rectangle on the other side. We glue a strip of lace onto the shirt.


We sew on the tie, pockets and ribbons with a machine. We glue the blanks in front of the base and sew both sides of the card.


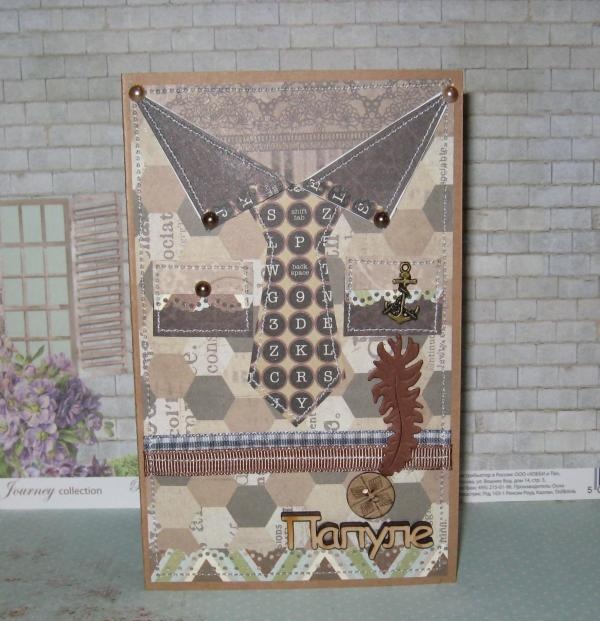
We glue decor: anchor on the pocket, a button with a feather, and at the bottom there is a chipboard, in the corners of the triangles and on the pocket we glue half beads.


Ready. We get this stylish card-shirt for dad!


Similar master classes
Particularly interesting
Comments (0)

