Postcards "New Year's bags"
2015 flew by very quickly and now it is nearing its end, and we are already on the threshold of meeting 2016. It's time to think about gifts and start stocking up on them right from now on. Mom, dad, husband, daughter, sister, brother, girlfriend, son, godfather, and so the list can go on forever, but the wallet, as they say, is not rubber, and the contents from it run out very quickly. Therefore, you need to be prepared for anything, but it is better that such situations do not happen, and that everyone is not left without your attention on New Year’s Eve. Nowadays, everything that every person does with his own hands is very popular. This is not just a thing, but a memory and reminiscence of you, since you do it with soul and trepidation, conveying only sincere and good wishes. So, at all times, the most significant gift has always been a card with warm and tender wishes. You don’t need to think about this for a long time, you can just take the most necessary tools and materials and make some very interesting New Year’s cards using technology with your own hands scrapbooking. Right now we’ll start looking at a master class on creating interesting postcard bags.
To make these postcard bags you need to take:
• Watercolor paper, sheet A3;
• Pattern of a postcard-bag;
• Double-sided New Year's paper, sheets 30*30 cm;
• Round pictures on a New Year theme;
• Die-cut circles in red and white;
• Stamped “Happy New Year” inscriptions in black ink;
• Gold ink pad;
• Wooden snowflakes;
• Cotton cord, red and white;
• Golden metal bells;
• Ribbons: green and red organza, satin in a New Year's pattern, red and green;
• Twine cord;
• Red sisal;
• Cinnamon;
• Small cones;
• Sugared berries are red, golden, dark green;
• New Year's brads;
• Stamens in sugar bouquets;
• Glue stick, PVA glue, heat gun, double-sided tape;
• Scissors and pencil;
• Brown fawn from a log.
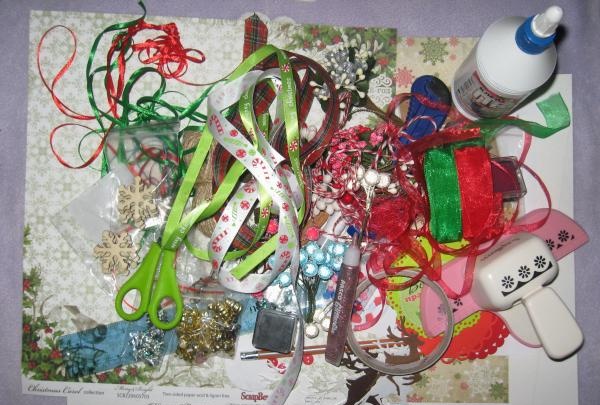
We take the diagram and cut out the template of our interesting bag.
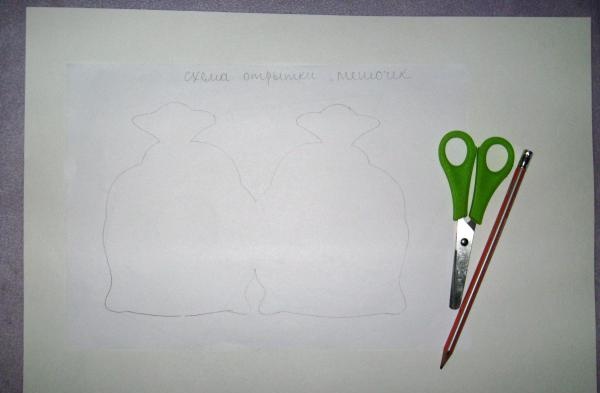
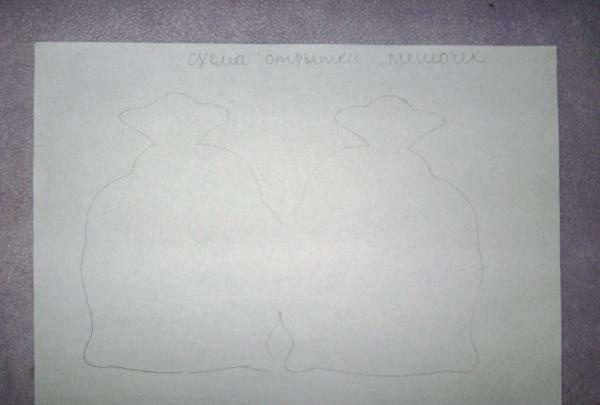
In the master class we will make three bags, so both the material and the process are designed for this amount. Cut out three blanks from watercolor paper.
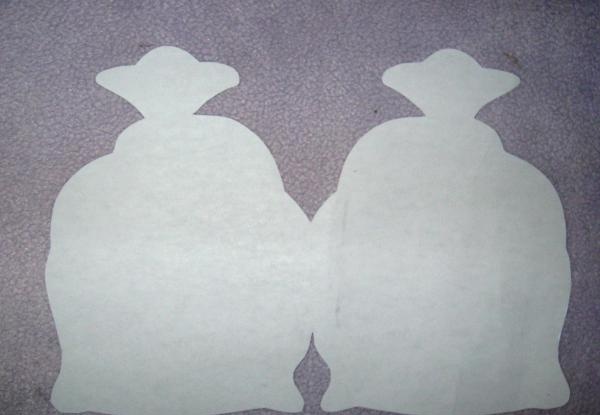
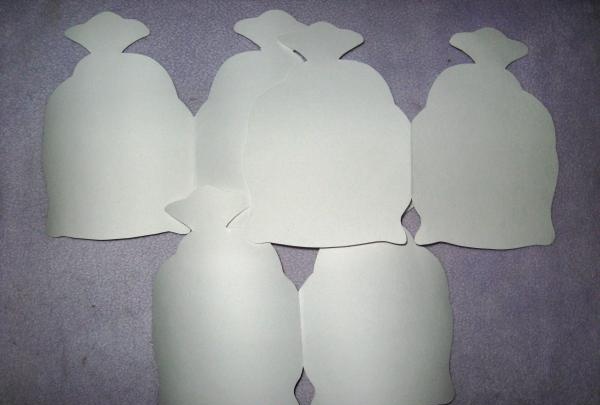
Now we tint each of the blanks along the edges, giving an aging effect.
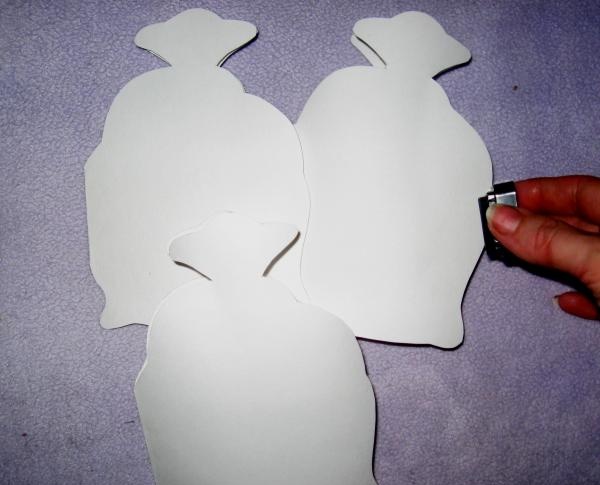

We cut the template in half and trim the whole thing by 2 mm. Now we apply a single template to scrap paper and cut out two blanks for three cards, six in total.
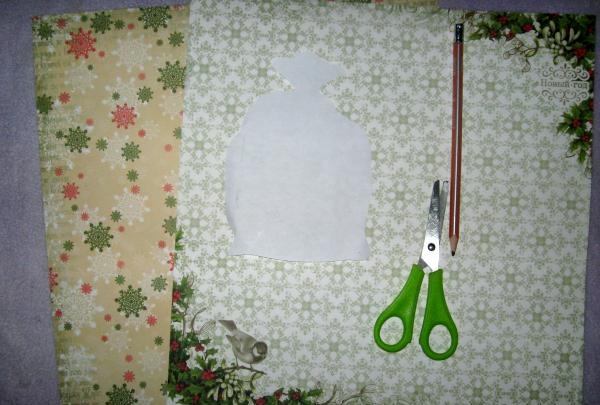
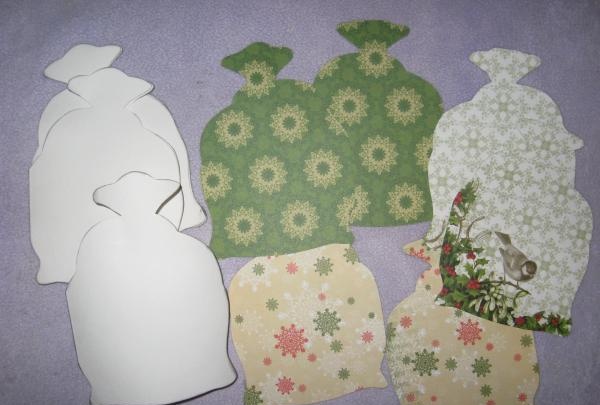
We immediately glue a bag of scrap paper onto the back bases, and we will decorate the front bags.

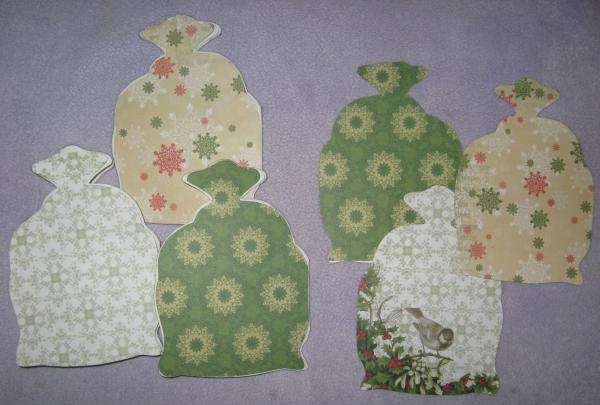
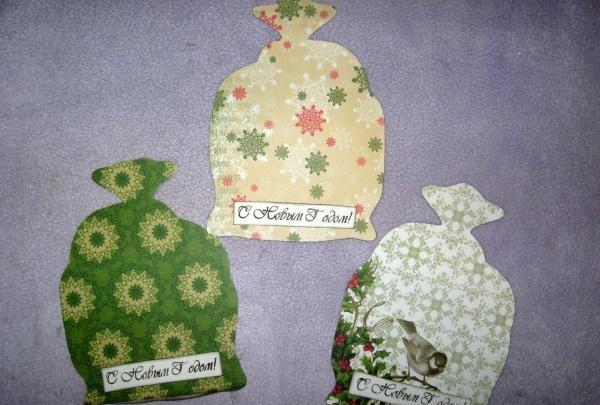
We cut off according to the inscription, tint each one along the edge, and glue it onto the blanks.
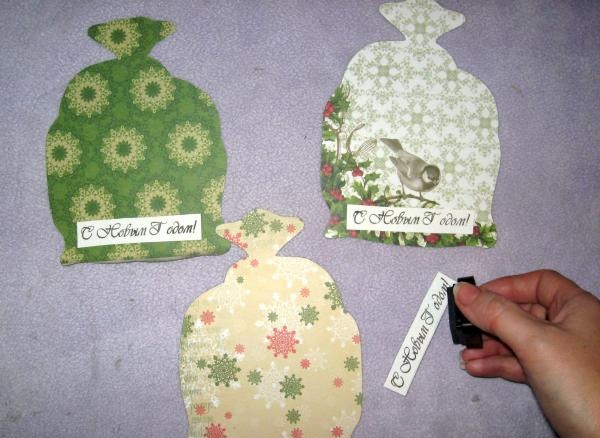
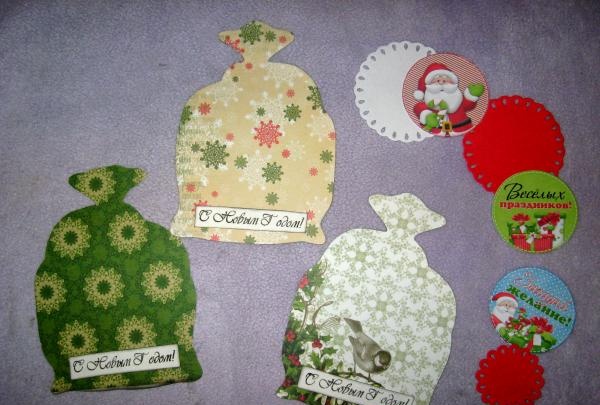
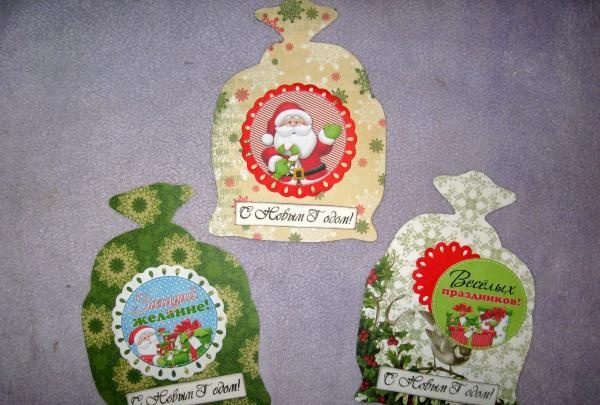
Now we glue it in a circle and according to the picture. We sew on both the inscriptions and pictures using a typewriter.
Any bag is tied, so for each bag we cut different strips of ribbons and cords. We tie our bags.
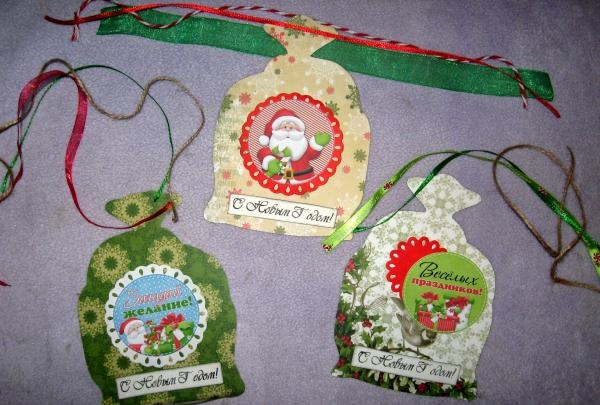
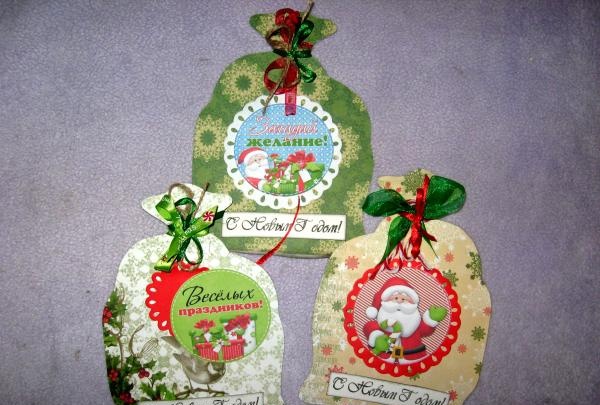
We tie three bows and attach them to the bags using brads. We glue the bags to the base and sew each one.
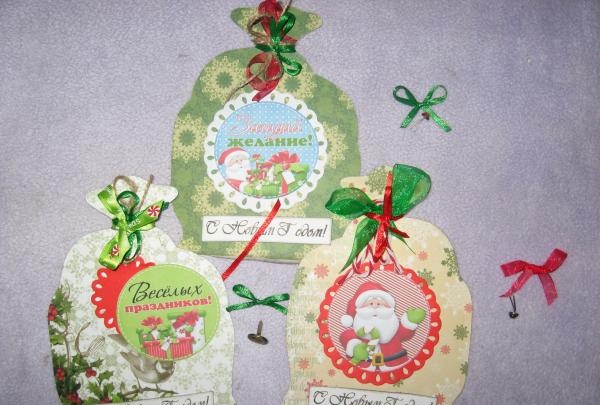
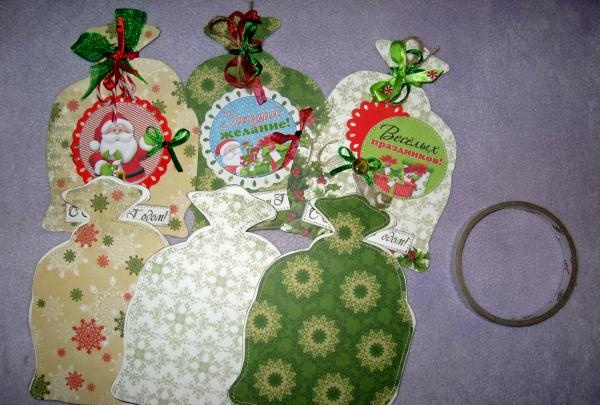
Now we twist balls from sisal, knit bows with bells from cords, and make bouquets.
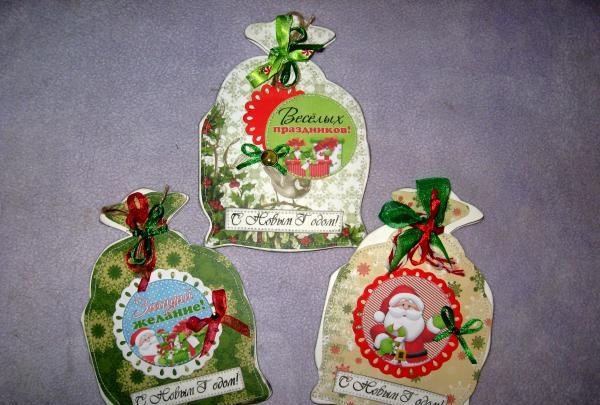
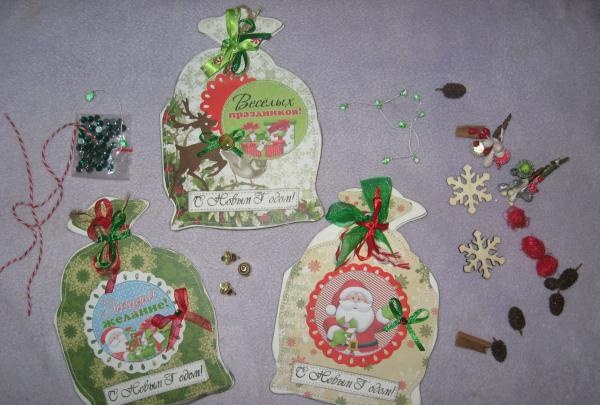
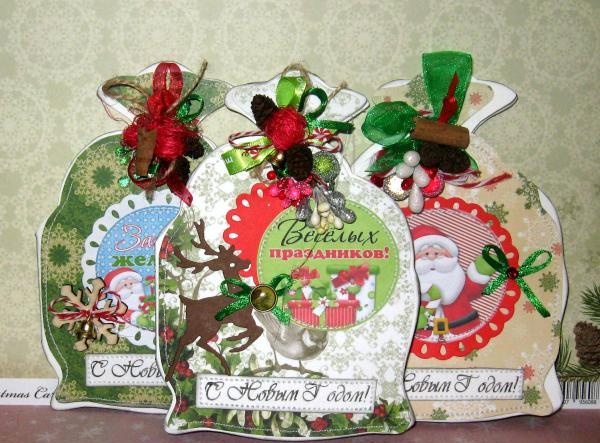
We glue the decorations to our bags. All is ready! It turned out so very interesting and great!
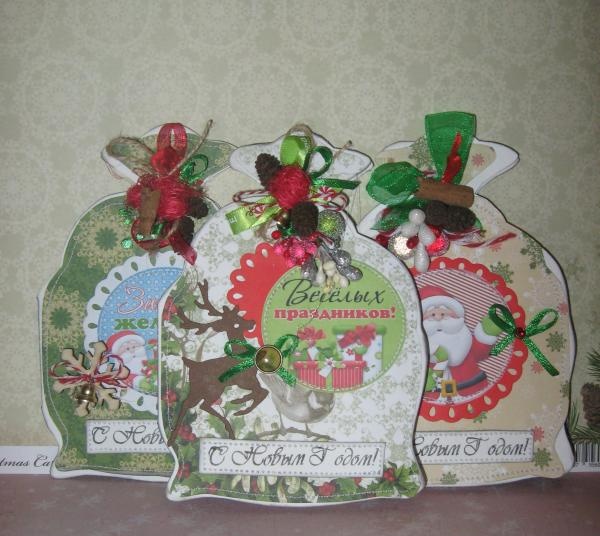
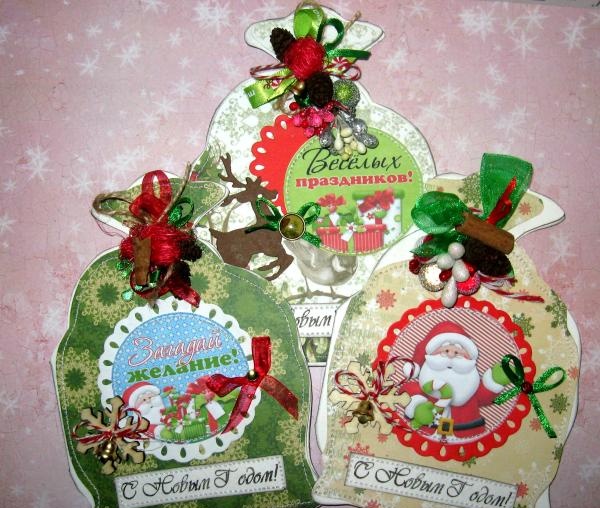
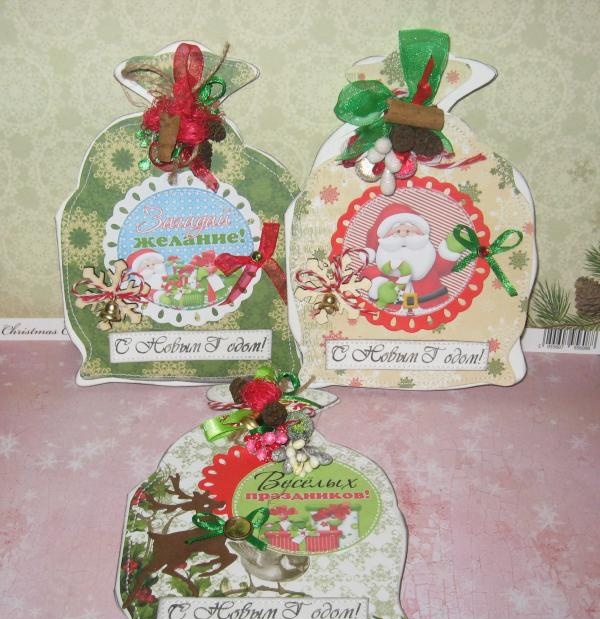
To make these postcard bags you need to take:
• Watercolor paper, sheet A3;
• Pattern of a postcard-bag;
• Double-sided New Year's paper, sheets 30*30 cm;
• Round pictures on a New Year theme;
• Die-cut circles in red and white;
• Stamped “Happy New Year” inscriptions in black ink;
• Gold ink pad;
• Wooden snowflakes;
• Cotton cord, red and white;
• Golden metal bells;
• Ribbons: green and red organza, satin in a New Year's pattern, red and green;
• Twine cord;
• Red sisal;
• Cinnamon;
• Small cones;
• Sugared berries are red, golden, dark green;
• New Year's brads;
• Stamens in sugar bouquets;
• Glue stick, PVA glue, heat gun, double-sided tape;
• Scissors and pencil;
• Brown fawn from a log.


We take the diagram and cut out the template of our interesting bag.


In the master class we will make three bags, so both the material and the process are designed for this amount. Cut out three blanks from watercolor paper.


Now we tint each of the blanks along the edges, giving an aging effect.


We cut the template in half and trim the whole thing by 2 mm. Now we apply a single template to scrap paper and cut out two blanks for three cards, six in total.


We immediately glue a bag of scrap paper onto the back bases, and we will decorate the front bags.


We cut off according to the inscription, tint each one along the edge, and glue it onto the blanks.


Now we glue it in a circle and according to the picture. We sew on both the inscriptions and pictures using a typewriter.


Any bag is tied, so for each bag we cut different strips of ribbons and cords. We tie our bags.


We tie three bows and attach them to the bags using brads. We glue the bags to the base and sew each one.


Now we twist balls from sisal, knit bows with bells from cords, and make bouquets.


We glue the decorations to our bags. All is ready! It turned out so very interesting and great!


Similar master classes
Particularly interesting
Comments (0)


