Satin ribbon basket
A quick way to create an original basket for the holiday table in honor of Easter! Now serving “krashenki” will be doubly pleasant, and guests will definitely remember such a gift for a long time.
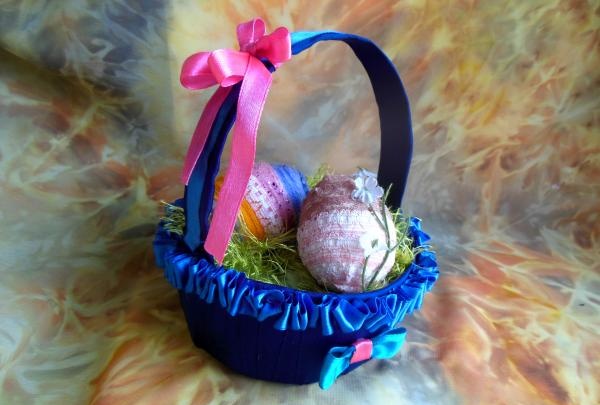
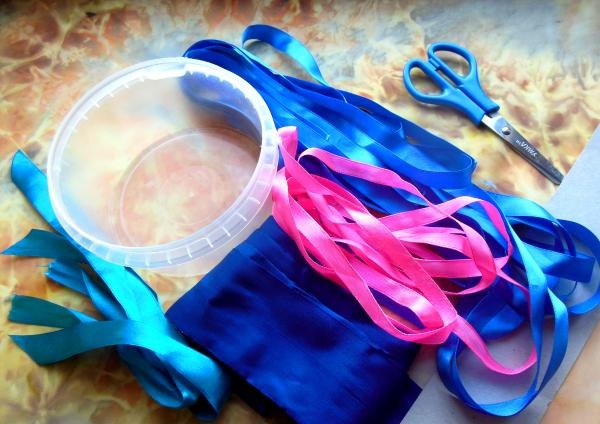
To make a small basket with your own hands, prepare the following materials:
• plastic container with a volume of 300 ml;
• 7 meters of wide satin ribbon (2 cm wide);
• 4 meters of satin ribbon of a similar shade, but slightly worse (width from 0.8 cm to 1 cm);
• a strip of any cardboard, 40 cm long (this can be either a solid sheet of colored cardboard or scraps of any packaging container);
• dense fabric for bottom treatment;
• universal polymer glue;
• scissors;
• a sewing needle and, accordingly, threads of the required tones;
• 2-3 types of colored ribbons for creating small additional elements.
Before starting work, first prepare the base for the basket. To do this, carefully cut out the bottom and get rid of the hollow top margins (if any).
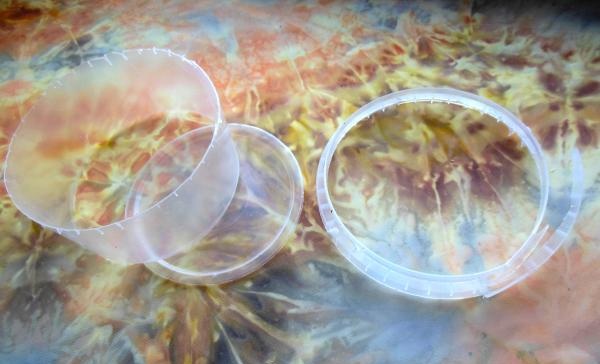
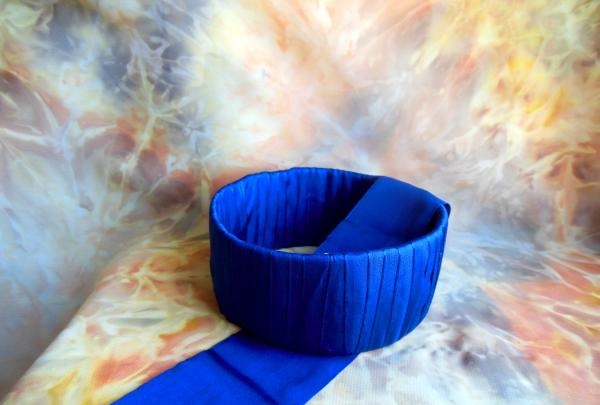
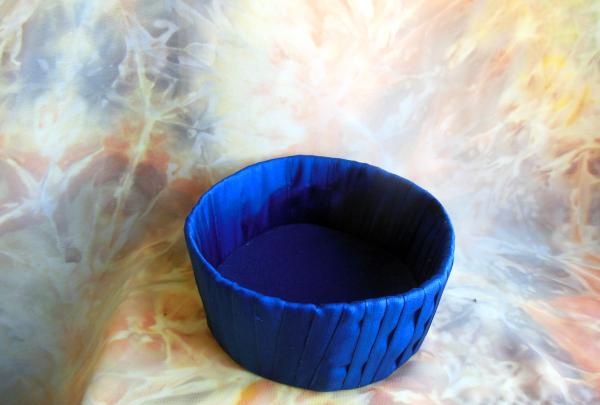
Next, wrap the middle part with tape, placing each new strip tightly on top of the previous one.

Try to move in equal steps so that the distance from one edge of the tape to the other is always the same.At the end of the winding, sew the cut edge of the tape using a needle and thread (it is better to sew inside).
Now you can start covering the bottom. Fabric, as well as an ordinary needle and thread, will help us with this.
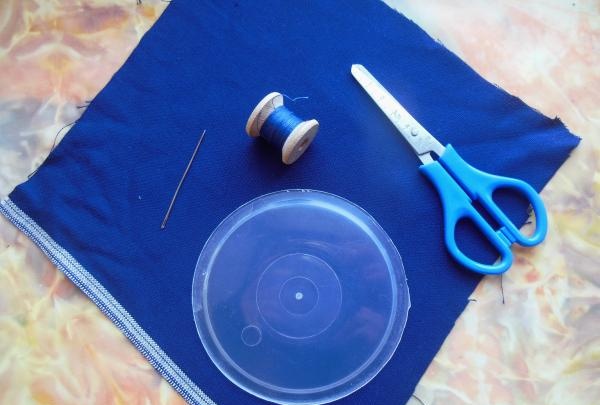
Cut a round piece from the fabric with a small seam allowance, which you then sew along with the plastic bottom along the entire circumference.
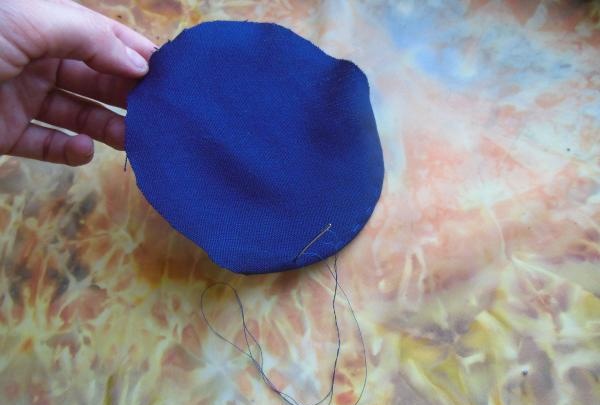
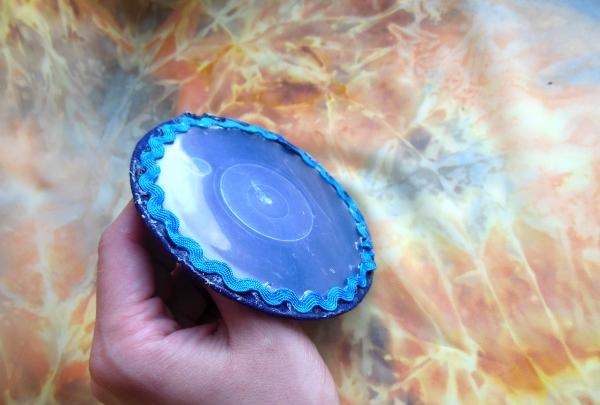
Then mask this outer seam with tape attached to polymer adhesive.
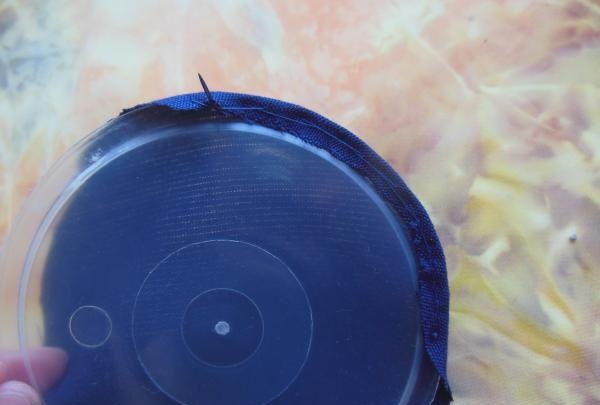
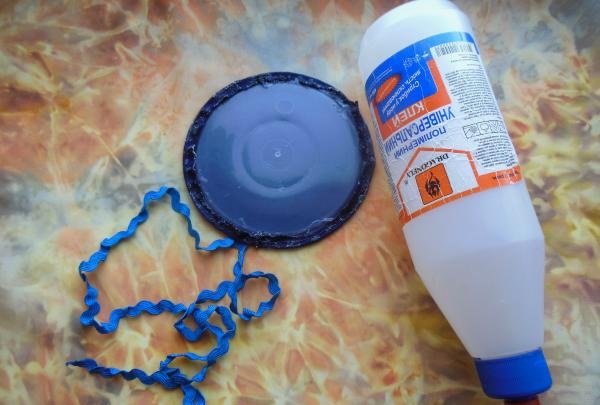
There is no need to glue the bottom for a long time or somehow strengthen it. It is enough to simply insert it inside and enjoy the completed stage of work, because now only a little remains.
Cut a 2-3 cm strip of cardboard, tighten it tightly with a wide ribbon and sew along the center of its edge.
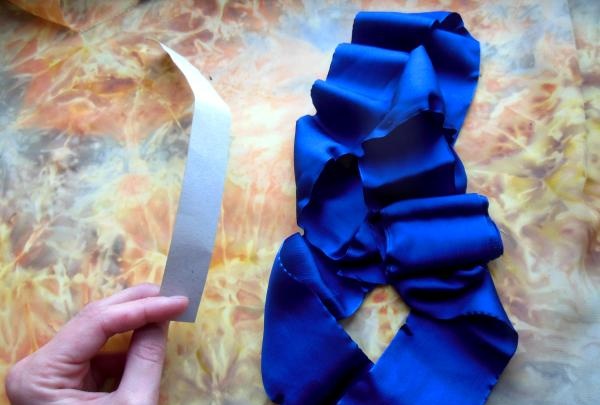
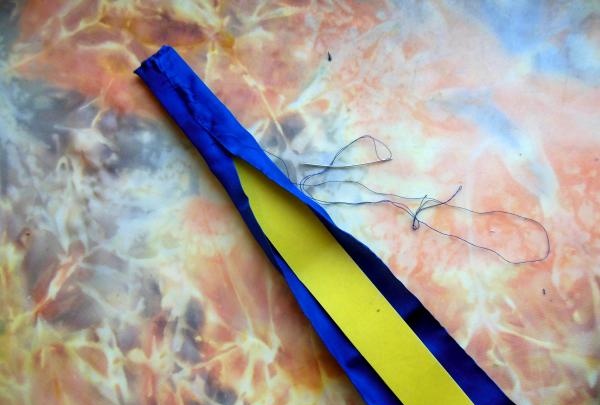
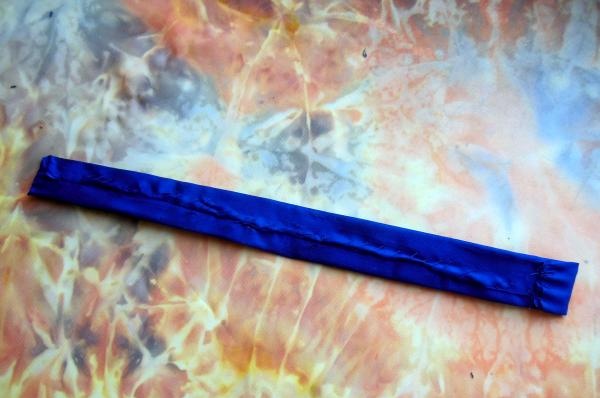
After this, sew the finished handle to the bottom of the basket with the seam facing out. And now the basket is ready.
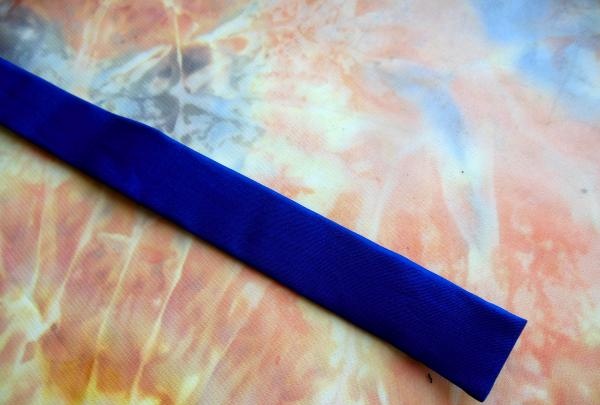
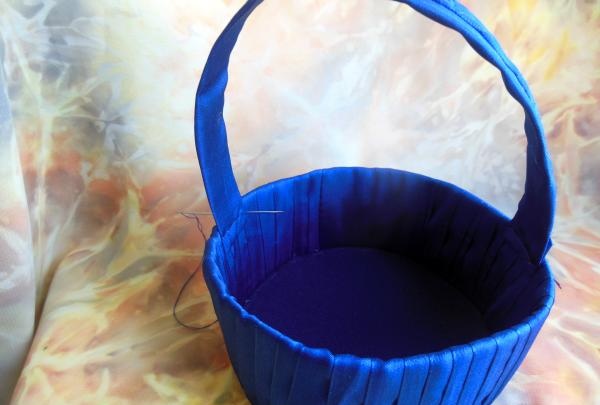
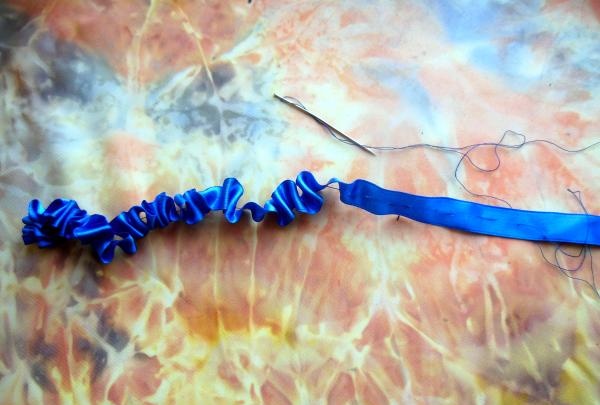
All you have to do is decorate it and you can safely show it to the public. To do this, take a narrow ribbon and sew along it with even stitches. The thread needs to be pulled a little so that the ribbon begins to look like ruffles.
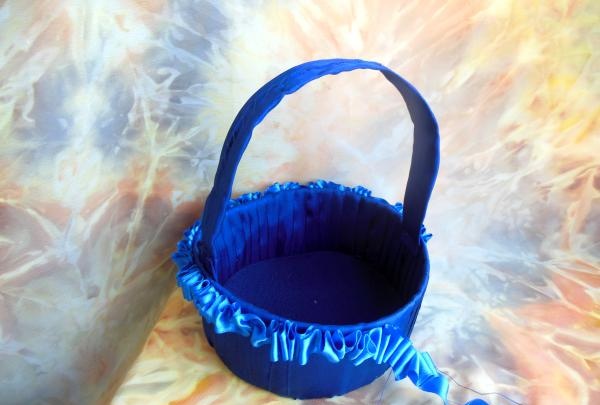
Next, carefully sew these ruffles along the entire perimeter of the top edge and trim off the excess.
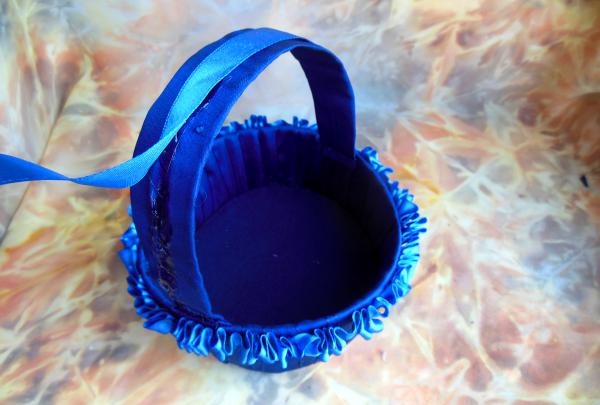
Use the rest of the tape to hide the seam on the handle, gluing it with polymer glue.
A bright bow on the handle, which can be tied from any thin braid, will look nice. The bow will also help to “outline” the front side of the product, which will make it more solemn and ceremonial.
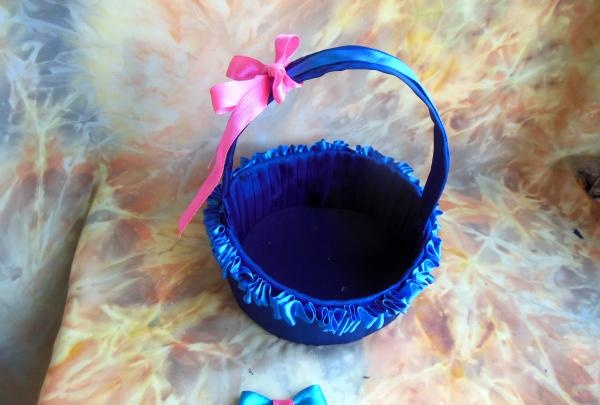
Now you need to fill the basket with “greens” (you can use fabric, faux fur, “Grass” knitting yarn and even natural dried moss). On a green background, paints look very natural and natural.


To make a small basket with your own hands, prepare the following materials:
• plastic container with a volume of 300 ml;
• 7 meters of wide satin ribbon (2 cm wide);
• 4 meters of satin ribbon of a similar shade, but slightly worse (width from 0.8 cm to 1 cm);
• a strip of any cardboard, 40 cm long (this can be either a solid sheet of colored cardboard or scraps of any packaging container);
• dense fabric for bottom treatment;
• universal polymer glue;
• scissors;
• a sewing needle and, accordingly, threads of the required tones;
• 2-3 types of colored ribbons for creating small additional elements.

Before starting work, first prepare the base for the basket. To do this, carefully cut out the bottom and get rid of the hollow top margins (if any).

Next, wrap the middle part with tape, placing each new strip tightly on top of the previous one.

Try to move in equal steps so that the distance from one edge of the tape to the other is always the same.At the end of the winding, sew the cut edge of the tape using a needle and thread (it is better to sew inside).

Now you can start covering the bottom. Fabric, as well as an ordinary needle and thread, will help us with this.

Cut a round piece from the fabric with a small seam allowance, which you then sew along with the plastic bottom along the entire circumference.

Then mask this outer seam with tape attached to polymer adhesive.


There is no need to glue the bottom for a long time or somehow strengthen it. It is enough to simply insert it inside and enjoy the completed stage of work, because now only a little remains.

Cut a 2-3 cm strip of cardboard, tighten it tightly with a wide ribbon and sew along the center of its edge.


After this, sew the finished handle to the bottom of the basket with the seam facing out. And now the basket is ready.


All you have to do is decorate it and you can safely show it to the public. To do this, take a narrow ribbon and sew along it with even stitches. The thread needs to be pulled a little so that the ribbon begins to look like ruffles.

Next, carefully sew these ruffles along the entire perimeter of the top edge and trim off the excess.

Use the rest of the tape to hide the seam on the handle, gluing it with polymer glue.

A bright bow on the handle, which can be tied from any thin braid, will look nice. The bow will also help to “outline” the front side of the product, which will make it more solemn and ceremonial.

Now you need to fill the basket with “greens” (you can use fabric, faux fur, “Grass” knitting yarn and even natural dried moss). On a green background, paints look very natural and natural.

Similar master classes
Particularly interesting
Comments (0)


