Purse
An elegant accessory for the most necessary and important little things! In a miniature bag you can quickly find any thing: money, keys, lipstick, napkins, mobile phone... Now your faithful assistants will not go anywhere and will always be at your fingertips!
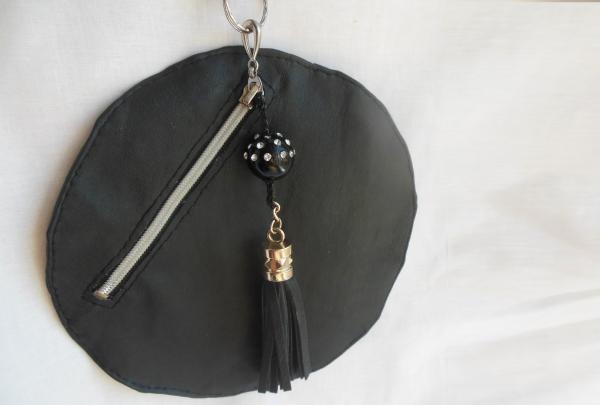
Surprisingly, sewing a round bag is not at all difficult, because there is no need for lining, a variety of seams or special sewing tricks. And it is the external stitching that makes it perfectly round, since the stitched base from the inside “at the exit” has the shape of an ellipse.
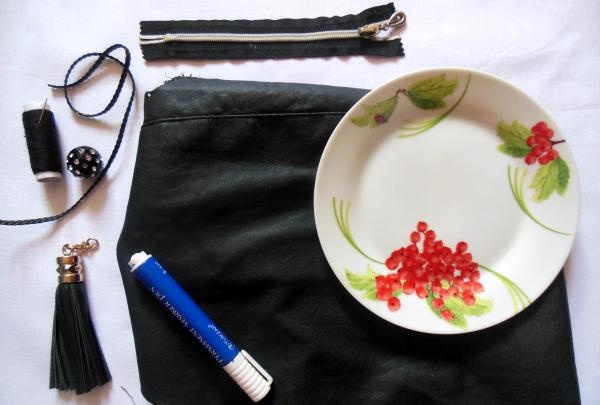
So, it's time to get acquainted with the main list of materials needed for work. This:
• a piece of leather or leatherette (you can use old things as a base; for this model, for example, even a jacket sleeve will be enough);
• zipper 15-20 cm long;
• a decorative keychain or tassel to decorate a bag (you can make one like this yourself, but the factory version will look more advantageous);
• leather braid in the form of a braid (up to 30 cm);
• a large bead or any elastic ball with a through and sufficiently wide hole;
• needle and thread for sewing (No. 30);
• table flat plate;
• universal waterproof glue (better specifically for working with leather);
• Double-sided tape;
• marker.
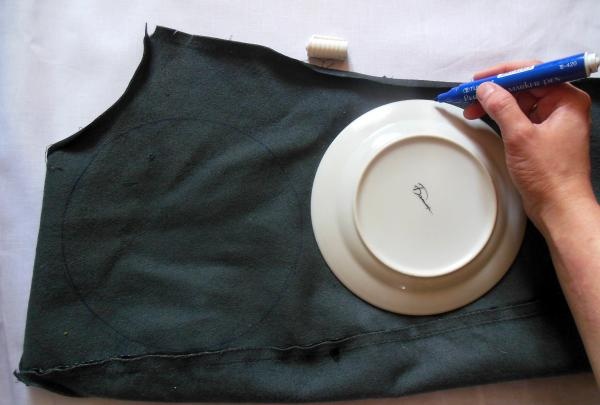
Make two round pieces from leather. To do this, attach a plate template to the reverse side and outline it with a marker.
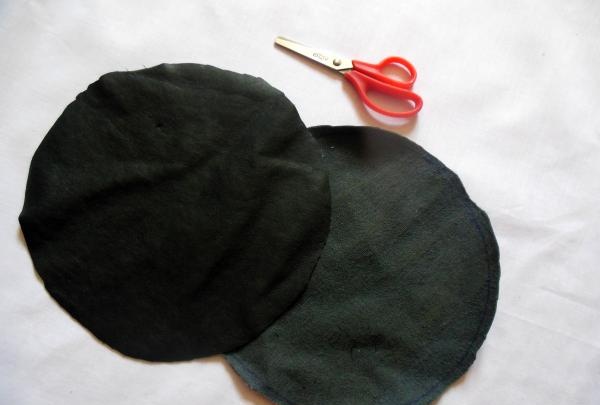
Cut both with a small hem allowance for gluing, up to 1 cm from the outer edge of the circles.
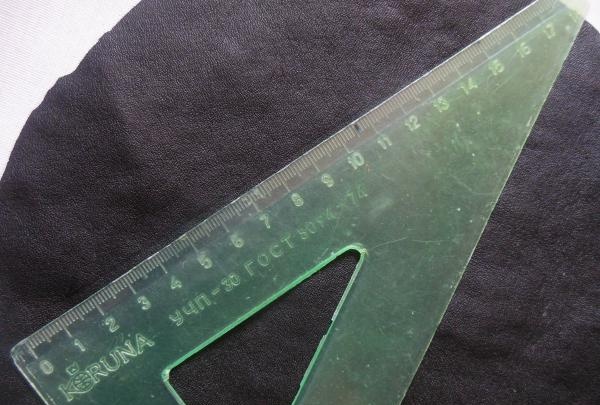
On the front side of one of the circles, make a cut for a zipper. It should be accurately marked with a ruler and be sure to be made “oblique”. The zipper will be equidistant from each edge only if the same distance is removed from the outer sides (within 1.5 cm).
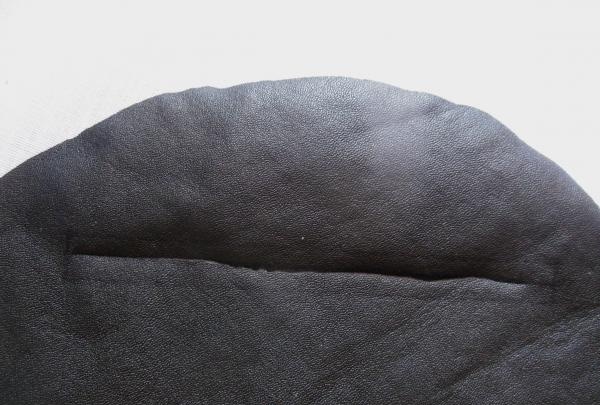
Now the cut area needs to be expanded and a small strip cut inside, making the slot more voluminous.
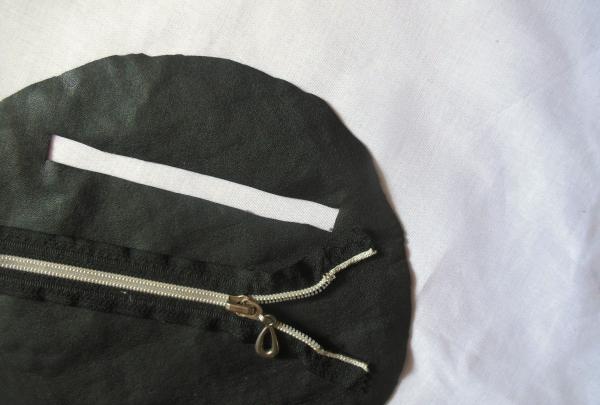
On the wrong side, near the opposite edges of the cut, glue tape that will help hold the zipper in one position.
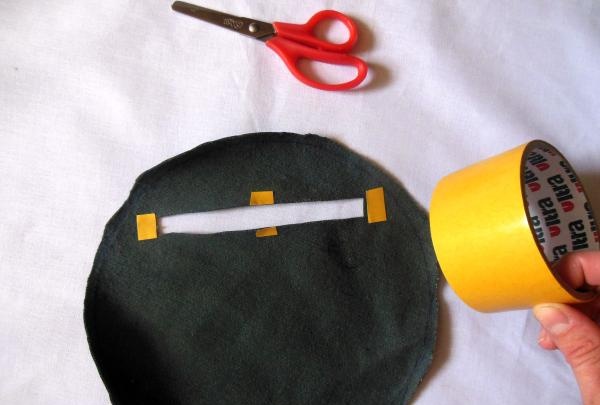
Sew it around the entire perimeter of the rectangle with even stitches from the front side.
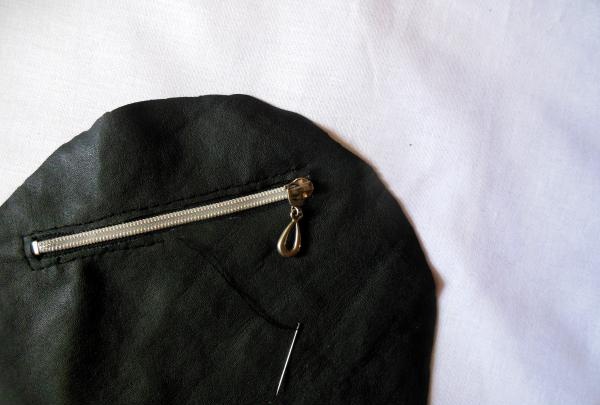
Next, lubricate the edge in the outlined area with glue and tuck it in.
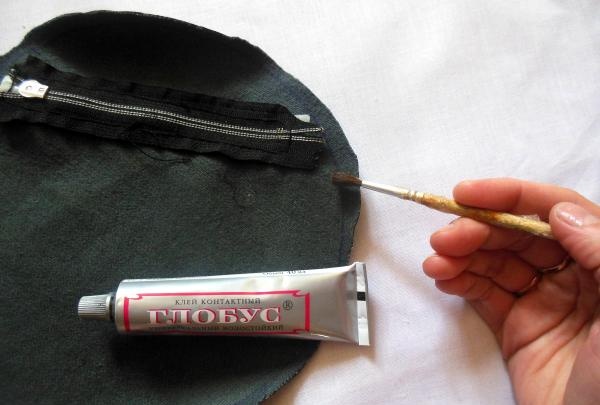
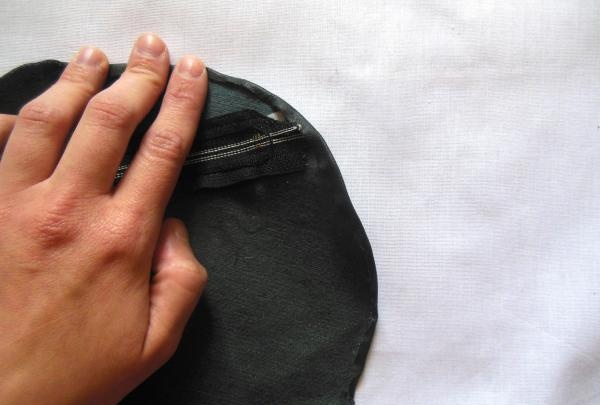
After a short period of time, the glue will set and fix the fabric in the desired position.
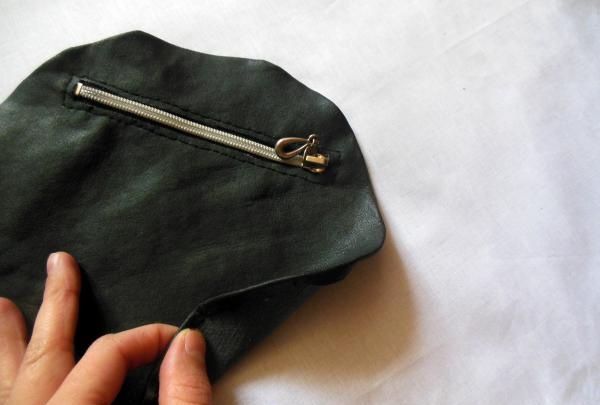
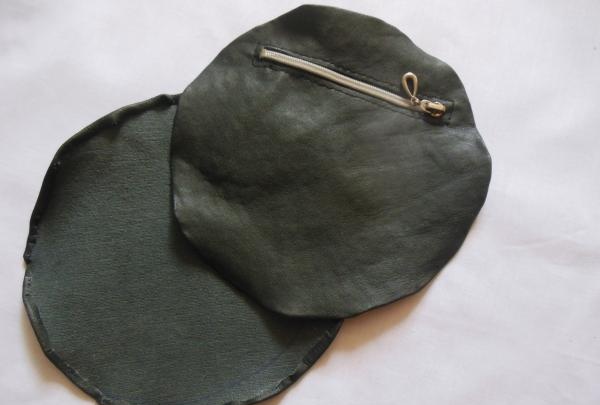
After this, you can immediately begin stitching the parts together without preliminary basting.
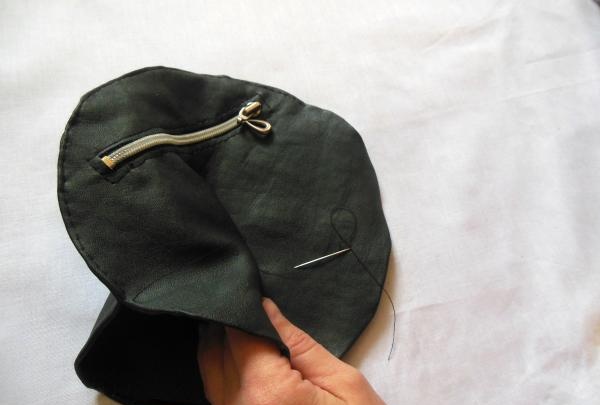
Now you need to make a handle. Cut a longitudinal strip 50 cm long and fold the outer edges inward. Grab them with a needle, threading the center of this workpiece from top to bottom.
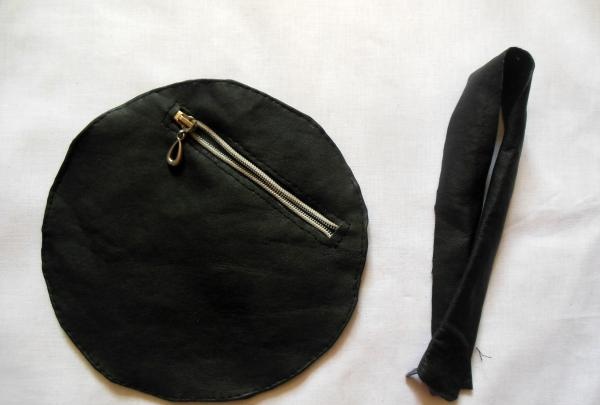
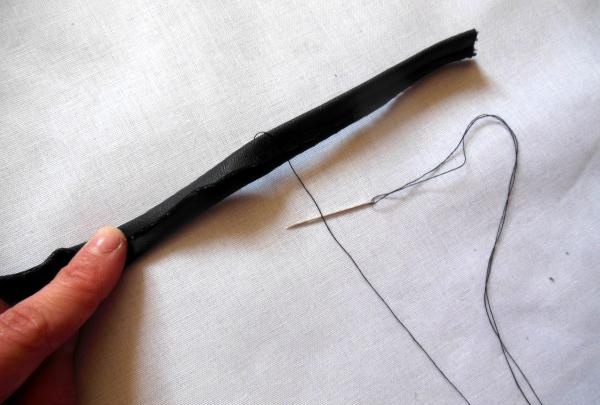
At the end of the finished handle, attach a small ring, which will serve as a connecting link with the zipper.
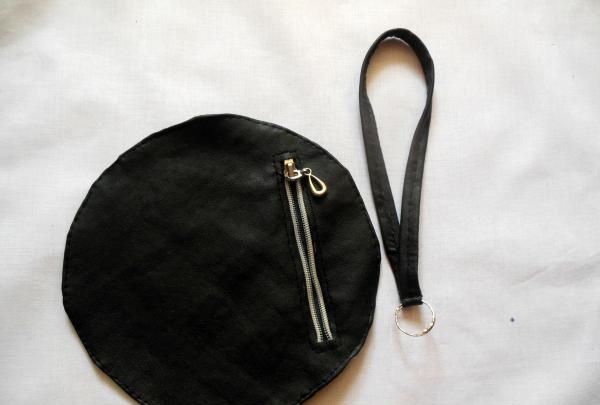
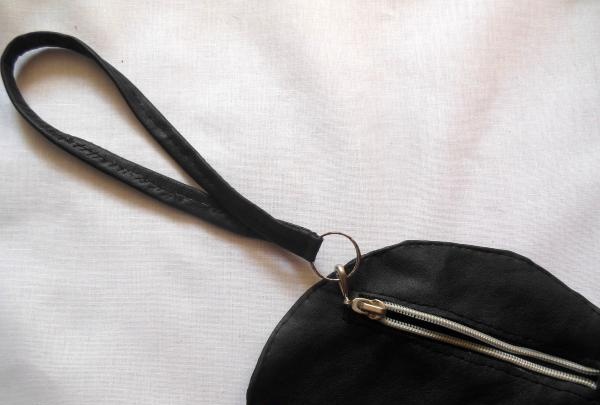
Attach the edge of the curly braid to the same fastener and thread the ball through.
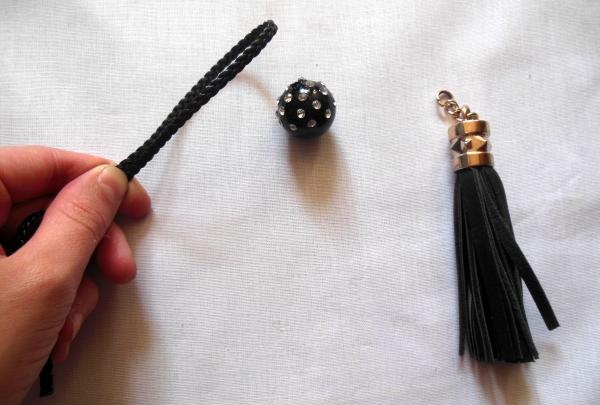
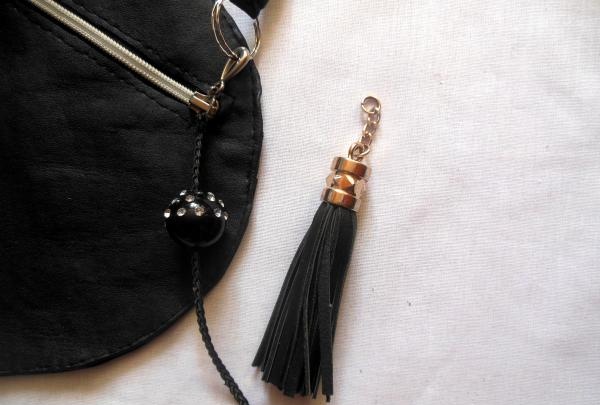
All that remains is to “close” the braid with a brush and the bag is ready!
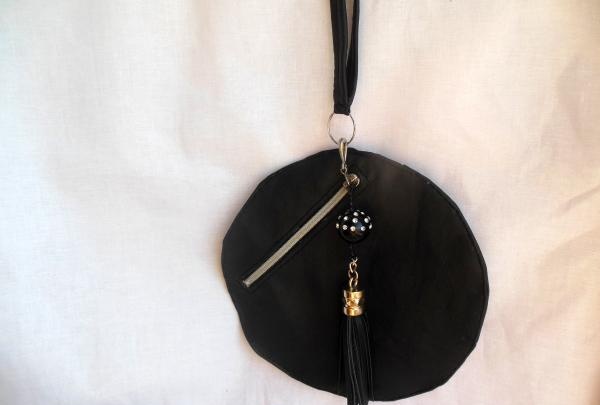
Agree, it’s always nice to add another stylish accessory to your wardrobe. And if you can also save money on this, it’s doubly pleasant.

Surprisingly, sewing a round bag is not at all difficult, because there is no need for lining, a variety of seams or special sewing tricks. And it is the external stitching that makes it perfectly round, since the stitched base from the inside “at the exit” has the shape of an ellipse.
So, it's time to get acquainted with the main list of materials needed for work. This:
• a piece of leather or leatherette (you can use old things as a base; for this model, for example, even a jacket sleeve will be enough);
• zipper 15-20 cm long;
• a decorative keychain or tassel to decorate a bag (you can make one like this yourself, but the factory version will look more advantageous);
• leather braid in the form of a braid (up to 30 cm);
• a large bead or any elastic ball with a through and sufficiently wide hole;
• needle and thread for sewing (No. 30);
• table flat plate;
• universal waterproof glue (better specifically for working with leather);
• Double-sided tape;
• marker.

Make two round pieces from leather. To do this, attach a plate template to the reverse side and outline it with a marker.

Cut both with a small hem allowance for gluing, up to 1 cm from the outer edge of the circles.

On the front side of one of the circles, make a cut for a zipper. It should be accurately marked with a ruler and be sure to be made “oblique”. The zipper will be equidistant from each edge only if the same distance is removed from the outer sides (within 1.5 cm).


Now the cut area needs to be expanded and a small strip cut inside, making the slot more voluminous.

On the wrong side, near the opposite edges of the cut, glue tape that will help hold the zipper in one position.

Sew it around the entire perimeter of the rectangle with even stitches from the front side.

Next, lubricate the edge in the outlined area with glue and tuck it in.


After a short period of time, the glue will set and fix the fabric in the desired position.


After this, you can immediately begin stitching the parts together without preliminary basting.

Now you need to make a handle. Cut a longitudinal strip 50 cm long and fold the outer edges inward. Grab them with a needle, threading the center of this workpiece from top to bottom.


At the end of the finished handle, attach a small ring, which will serve as a connecting link with the zipper.


Attach the edge of the curly braid to the same fastener and thread the ball through.


All that remains is to “close” the braid with a brush and the bag is ready!

Agree, it’s always nice to add another stylish accessory to your wardrobe. And if you can also save money on this, it’s doubly pleasant.
Similar master classes
Particularly interesting
Comments (0)


