Notepad with denim trim
An interesting cover for your notebook. A practical and convenient finishing format will make the diary more durable, pleasant to the touch, and also protect it from rubbing and unwanted dirt.
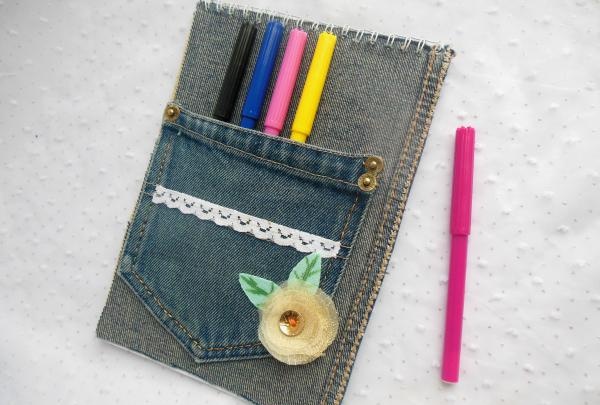
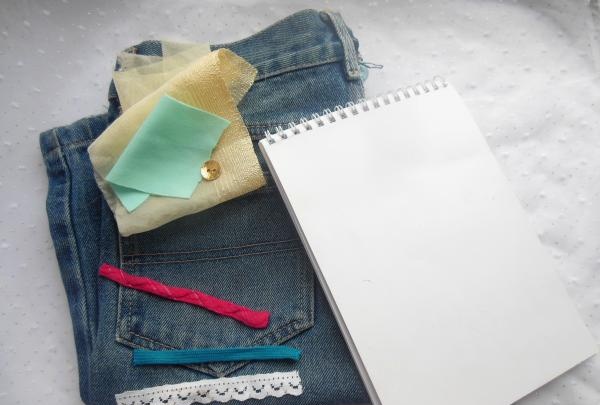
To start updating your notepad, prepare the following materials:
• notebook on a spring, A5 format;
• a piece of jeans (a pant leg from any old jeans will do, but it must have a pocket);
• two small colored ribbons + a narrow openwork ribbon in light colors;
• voile fabric or a piece of transparent tulle;
• dense green fabric;
• green felt-tip pen;
• button;
• sewing needle and brown thread No. 30;
• scissors;
• universal polymer glue.
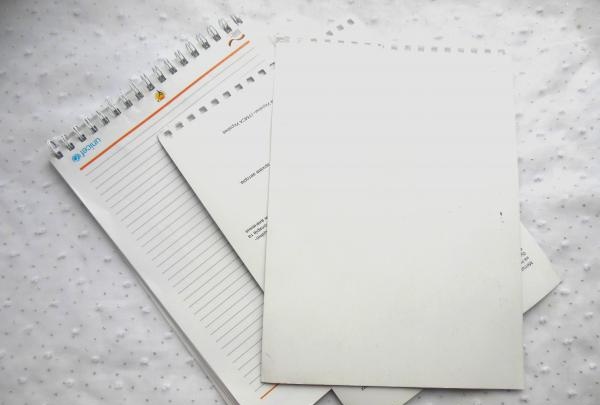
Remove the cardboard base from the front and back of the notebook, carefully exposing its mounting mechanism.
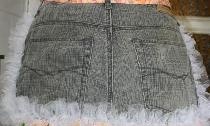
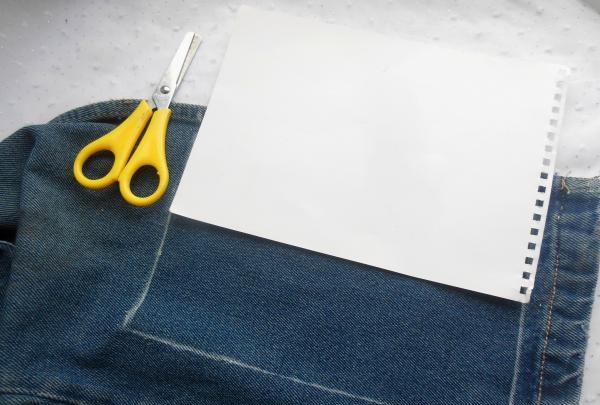
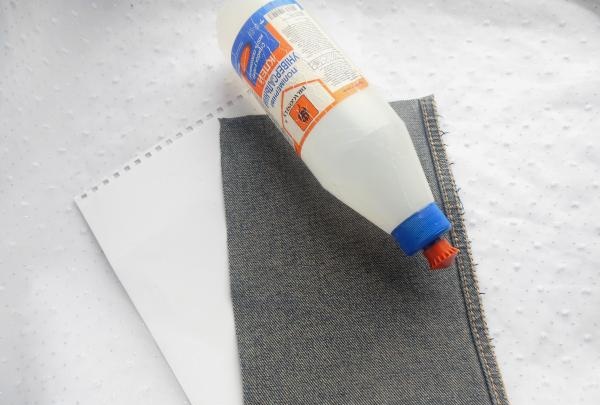
Then trace the cover onto the denim and cut it out along the outlined outline (without leaving any allowance or extra fabric for hems).
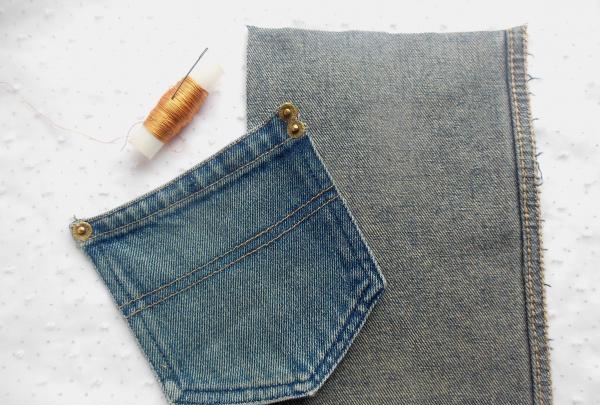
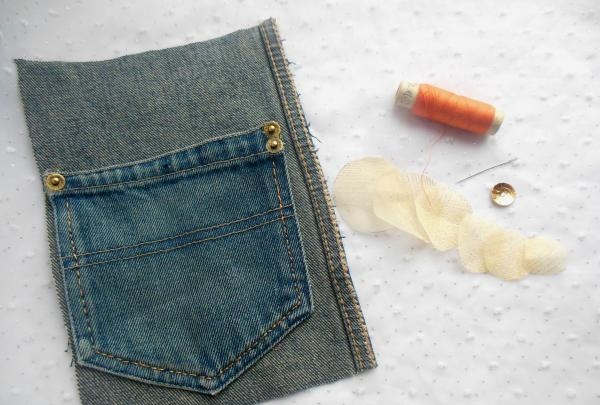
Now sew the back pocket from the former jeans to this piece. To get some contrast, it is better to turn this denim blank over to the other side (wrong side up).

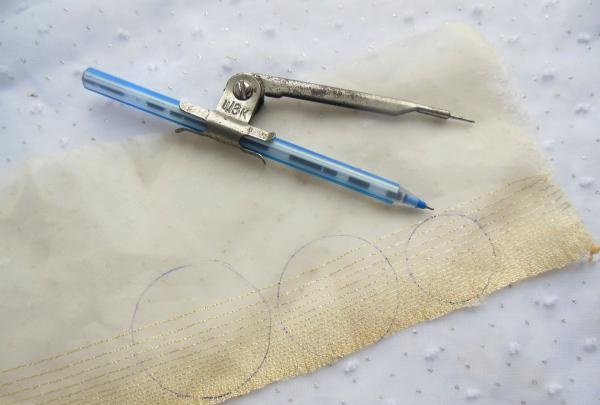
Soft and airy fabrics will help brighten up such a cover.You need to make a small flower from the veil, for which you need to cut out 5-6 round blanks of different sizes.
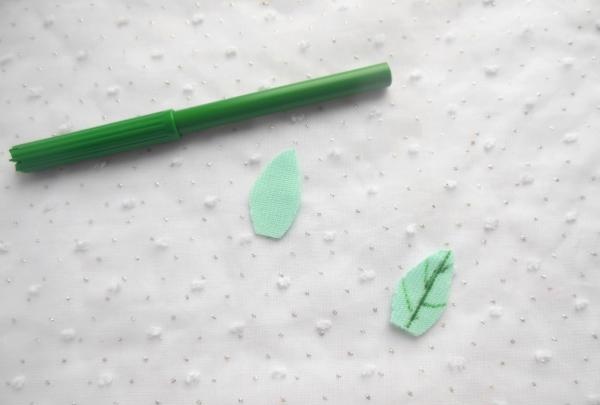
It is better to make the leaves from any elastic fabric (you can take artificial leather or suede of a suitable color), so as not to additionally process or hem the edges of such small parts. Just draw the veins with a felt-tip pen and your leaves will look quite decent.
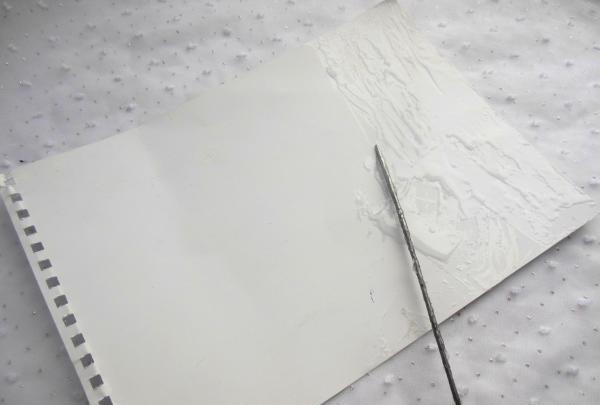
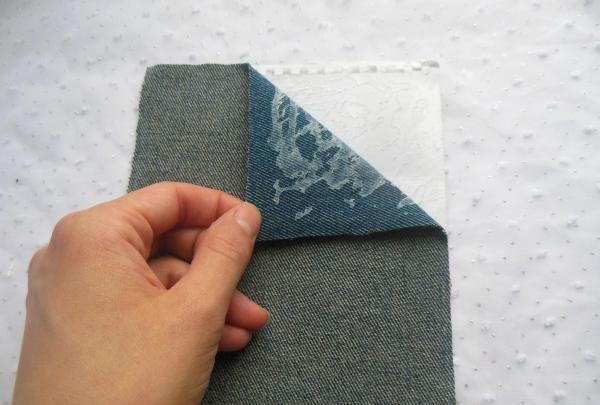
Now grease the cardboard surface with glue and place a soft base with a pocket on it (and on the back of the cardboard cover without a pocket).
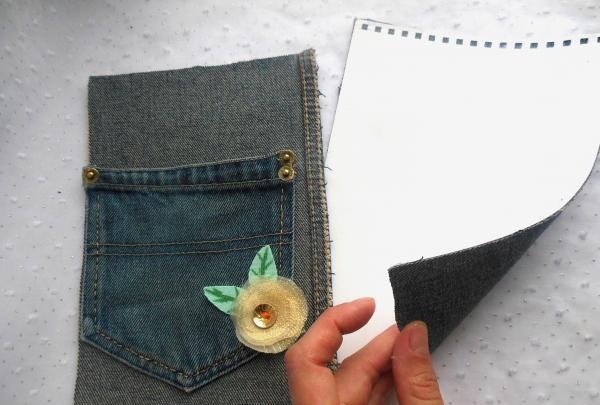
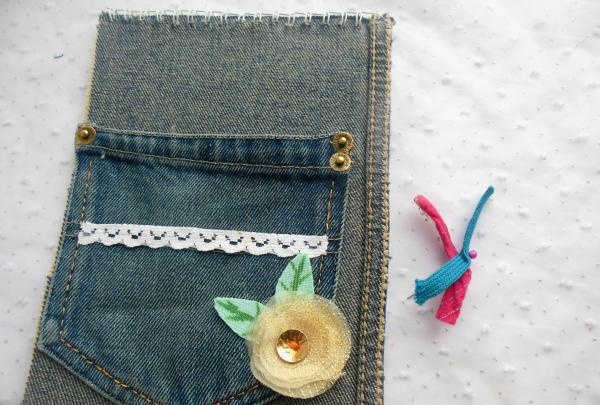
Sew the flower in the lower right corner of the pocket, fixing the thread inside it. You can simply glue the leaves.
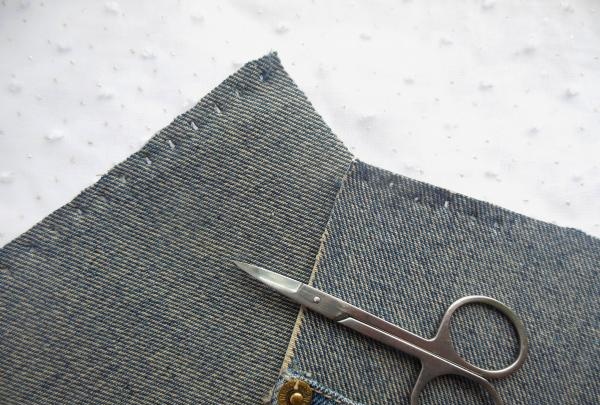
When the two parts of the cover are thoroughly dry, take an awl or nail scissors and pierce the fabric in the places where these parts with springs are attached.
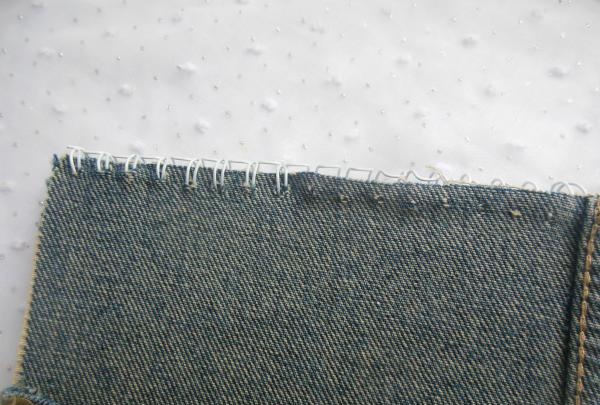
Then carefully return the cover to its place, first threading the back (after and front) wall back onto the spring. At the end, be sure to close this mechanism tightly.
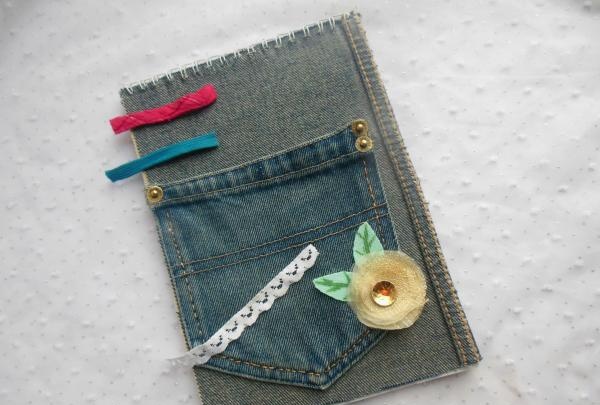
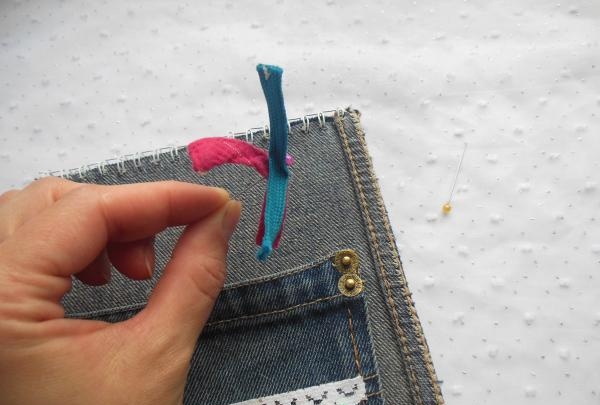
Glue the openwork braid onto the pocket, and use the remaining ribbons to make a bookmark (optional).
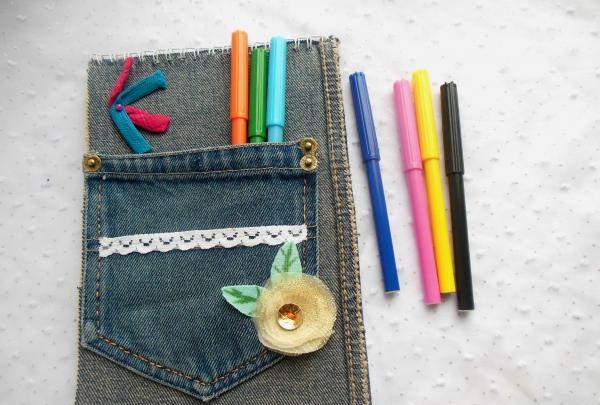
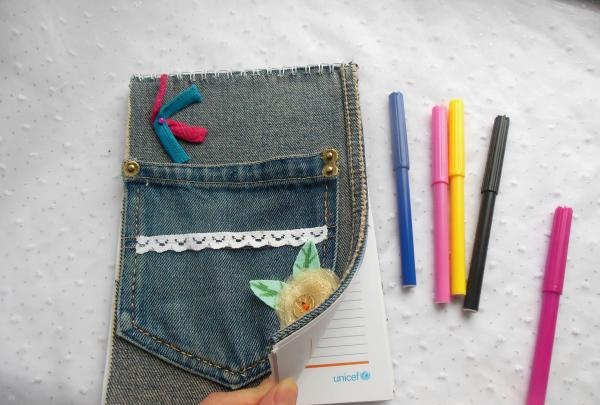
You can simply pin it above the pocket with a stationery pin, and if there is a need to mark any page, you need to remove the tape and tie it on the inside of the spring.
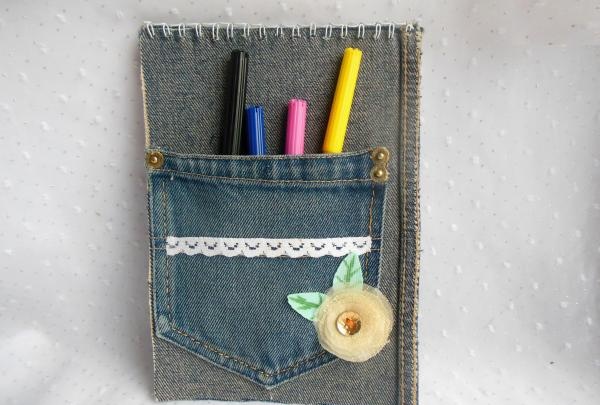
This is how quickly a completely creative notebook turns out from an ordinary notepad. And in the pocket you can put pens, pencils, markers and other handy stationery.

To start updating your notepad, prepare the following materials:
• notebook on a spring, A5 format;
• a piece of jeans (a pant leg from any old jeans will do, but it must have a pocket);
• two small colored ribbons + a narrow openwork ribbon in light colors;
• voile fabric or a piece of transparent tulle;
• dense green fabric;
• green felt-tip pen;
• button;
• sewing needle and brown thread No. 30;
• scissors;
• universal polymer glue.

Remove the cardboard base from the front and back of the notebook, carefully exposing its mounting mechanism.

Then trace the cover onto the denim and cut it out along the outlined outline (without leaving any allowance or extra fabric for hems).


Now sew the back pocket from the former jeans to this piece. To get some contrast, it is better to turn this denim blank over to the other side (wrong side up).


Soft and airy fabrics will help brighten up such a cover.You need to make a small flower from the veil, for which you need to cut out 5-6 round blanks of different sizes.


It is better to make the leaves from any elastic fabric (you can take artificial leather or suede of a suitable color), so as not to additionally process or hem the edges of such small parts. Just draw the veins with a felt-tip pen and your leaves will look quite decent.


Now grease the cardboard surface with glue and place a soft base with a pocket on it (and on the back of the cardboard cover without a pocket).


Sew the flower in the lower right corner of the pocket, fixing the thread inside it. You can simply glue the leaves.

When the two parts of the cover are thoroughly dry, take an awl or nail scissors and pierce the fabric in the places where these parts with springs are attached.

Then carefully return the cover to its place, first threading the back (after and front) wall back onto the spring. At the end, be sure to close this mechanism tightly.

Glue the openwork braid onto the pocket, and use the remaining ribbons to make a bookmark (optional).

You can simply pin it above the pocket with a stationery pin, and if there is a need to mark any page, you need to remove the tape and tie it on the inside of the spring.


This is how quickly a completely creative notebook turns out from an ordinary notepad. And in the pocket you can put pens, pencils, markers and other handy stationery.


Similar master classes
Particularly interesting
Comments (1)


