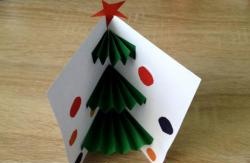
How to make a cockerel from colored paper
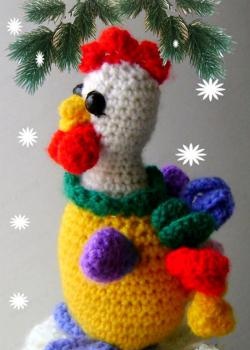
There is very little time left until the New Year! It's time to cook present relatives and friends. Don't know what to give to your loved ones? Let's make a symbol for next year - a cockerel. Maybe he can give us some advice and direct our thoughts in the right direction.
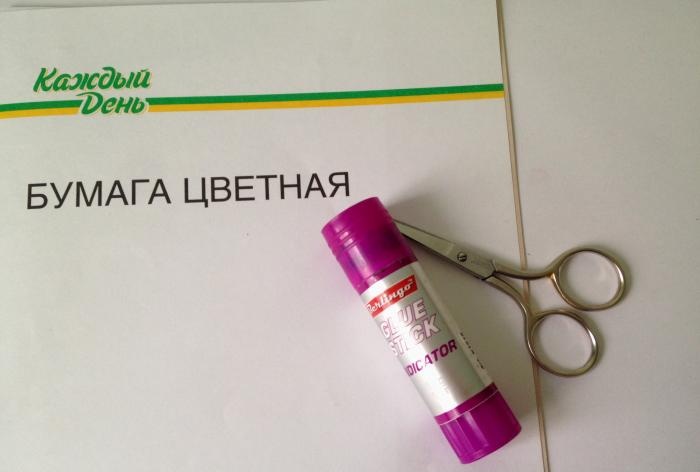
We will need these materials:
• colored paper 3 colors:
- pink,
- yellow,
- blue,
- black,
- white,
• sharp scissors,
• red felt-tip pen,
• glue stick.
Manufacturing steps:
1. Cut out a circle and a small rectangle from yellow paper.
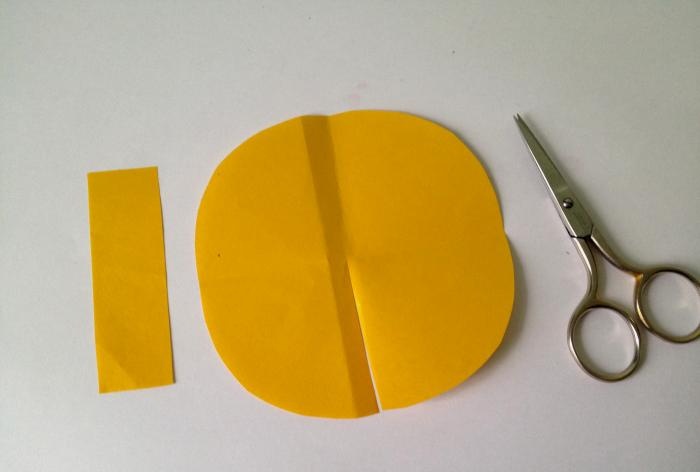
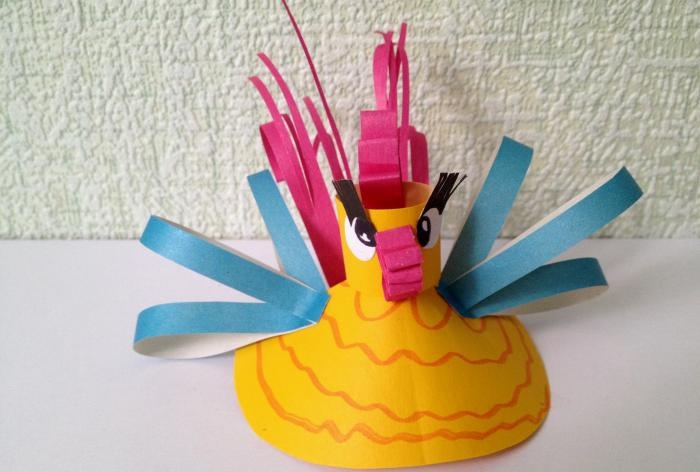
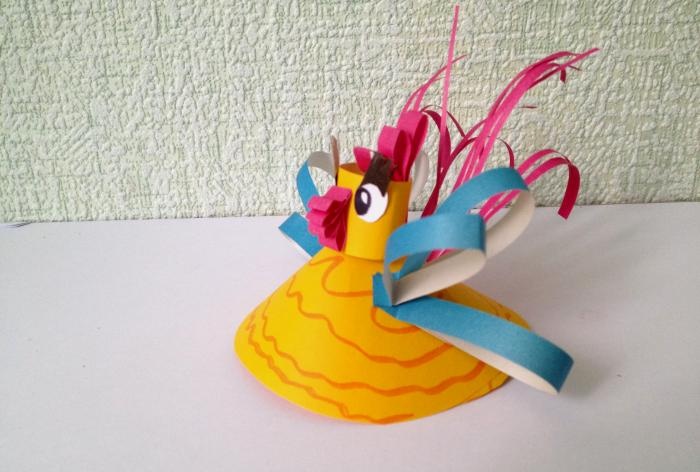
2. On the circle, make a straight cut to the middle. Roll it into a cone and draw diverging circles from the center with a felt-tip pen. We have the body of a cockerel.
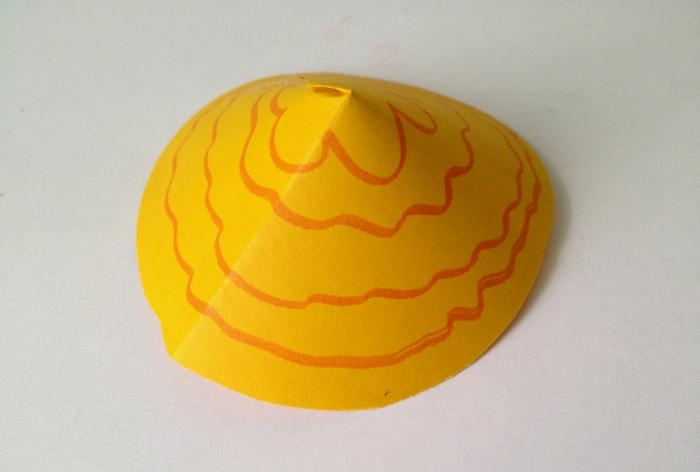
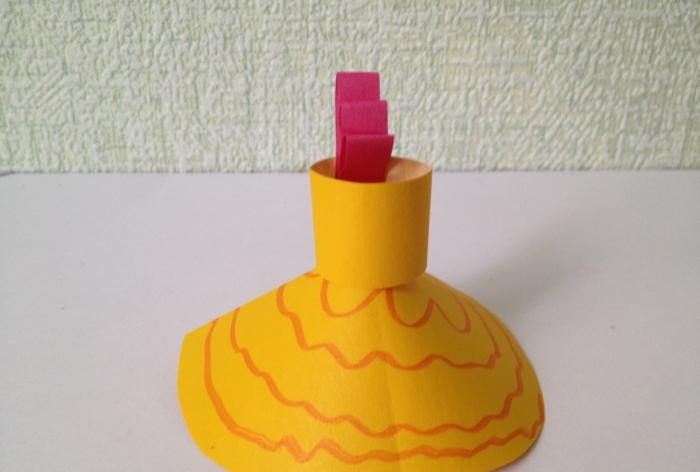
3. Connect the cut out yellow rectangle with the long ends. As a result, we get a cylinder - the head of a bird. Glue it to the body. Now let's make a ridge. From pink paper we cut out several strips of different lengths and a width of 1 centimeter. We take 3 strips of different sizes and connect the ends of each facing each other. We fasten them together and glue them to the bird's head.
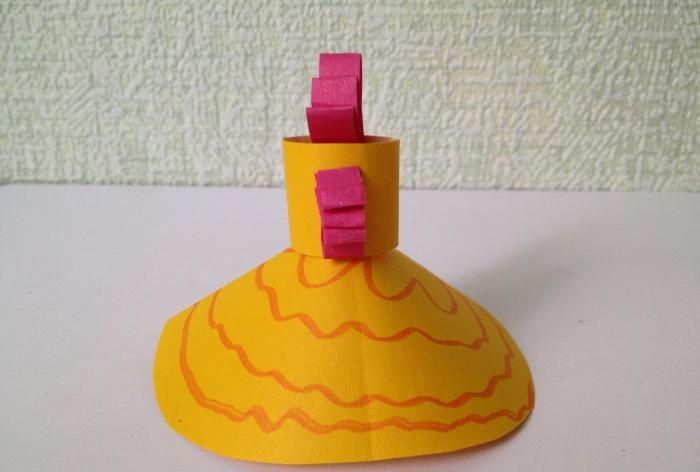
4. Now it’s the beak’s turn.Take several short pink strips and glue the ends of each strip facing each other. Glue the resulting strips in the center of the cylinder, placing them on top of each other.
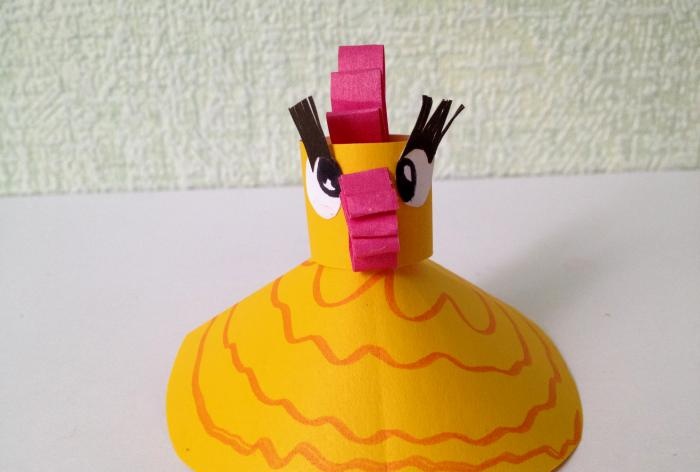
5. From white and black paper we will make eyes by cutting out circles and glue them to the bird’s head. We will also make eyelashes - we will make frequent cuts on 2 small pieces of black paper with scissors. Use glue to secure the eyelashes above the rooster's eyes.
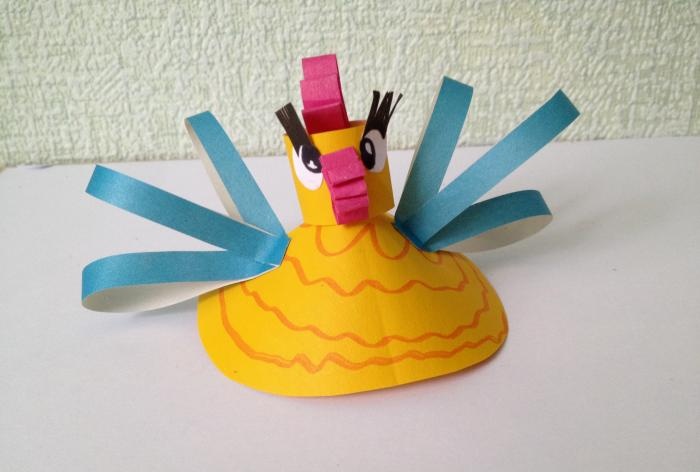
6. Let's make wings: cut out 2 long strips and 4 shorter ones from blue paper. We fasten the ends of each with glue, then glue 1 long and 2 short ones on each side of the bird’s body.
7. All that remains is to make the fluffy tail of the rooster. Cut the pink paper into long strips. We glue one end of each strip to the body of the cockerel in place of the tail, bend the other end with scissors, then cut it lengthwise, without bringing the scissors to the end of the strip.

8. Our paper cockerel is ready!

We will need these materials:
• colored paper 3 colors:
- pink,
- yellow,
- blue,
- black,
- white,
• sharp scissors,
• red felt-tip pen,
• glue stick.
Manufacturing steps:
1. Cut out a circle and a small rectangle from yellow paper.

2. On the circle, make a straight cut to the middle. Roll it into a cone and draw diverging circles from the center with a felt-tip pen. We have the body of a cockerel.

3. Connect the cut out yellow rectangle with the long ends. As a result, we get a cylinder - the head of a bird. Glue it to the body. Now let's make a ridge. From pink paper we cut out several strips of different lengths and a width of 1 centimeter. We take 3 strips of different sizes and connect the ends of each facing each other. We fasten them together and glue them to the bird's head.

4. Now it’s the beak’s turn.Take several short pink strips and glue the ends of each strip facing each other. Glue the resulting strips in the center of the cylinder, placing them on top of each other.

5. From white and black paper we will make eyes by cutting out circles and glue them to the bird’s head. We will also make eyelashes - we will make frequent cuts on 2 small pieces of black paper with scissors. Use glue to secure the eyelashes above the rooster's eyes.

6. Let's make wings: cut out 2 long strips and 4 shorter ones from blue paper. We fasten the ends of each with glue, then glue 1 long and 2 short ones on each side of the bird’s body.

7. All that remains is to make the fluffy tail of the rooster. Cut the pink paper into long strips. We glue one end of each strip to the body of the cockerel in place of the tail, bend the other end with scissors, then cut it lengthwise, without bringing the scissors to the end of the strip.

8. Our paper cockerel is ready!


Similar master classes
Particularly interesting
Comments (0)

