Installing a tablet in a car
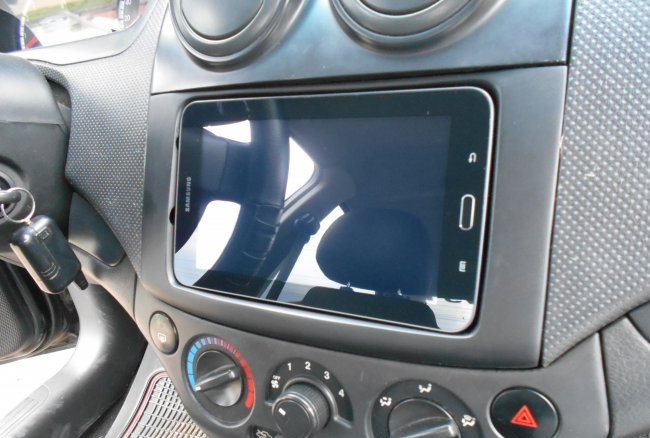
Today it is difficult to imagine a car without a radio. Often, the owners of their cars want to improve the comfort inside the car. To do this, buy multimedia radios with a variety of functions. But not everyone can afford a branded multimedia radio. After all, it costs a lot of money. And when buying a cheap Chinese radio, you will have to play the “lottery”. After all, no one knows how long it will work, not even the manufacturer. The way out of this situation is to install a tablet in the car. The average branded tablet now costs the same as a cheap Chinese multimedia radio. Additional advantages of the tablet are a proprietary warranty for this product and the ability to take the tablet home. In fact, one tablet can replace both a radio in a car and a computer at home. You can kill two birds with one stone.
To ensure that the installation of the tablet in the car is carried out accurately, and it organically fits into the design of the car's interior, you will have to try and spend a little time and effort.
How to install the tablet in the car
Installing a tablet in a car involves several steps:- preparing space for the tablet;
- making a shelf for a tablet;
- installation of the amplifier and supply of power wires;
- installing the tablet in the car and setting it up.
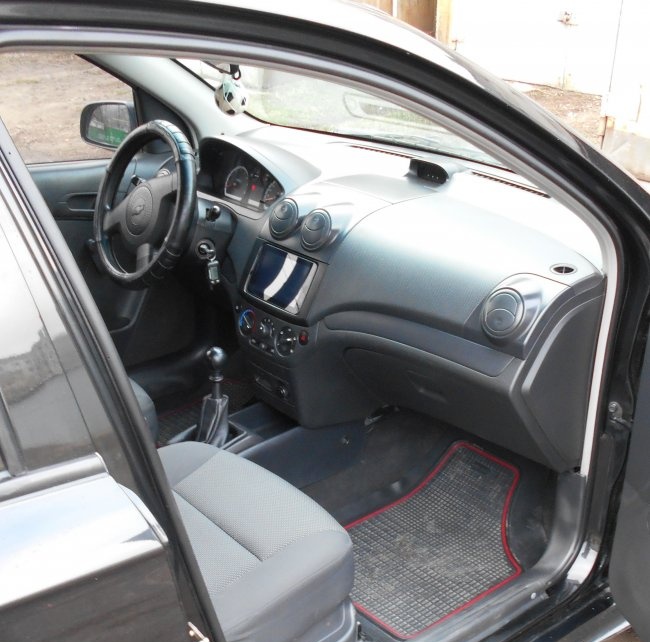
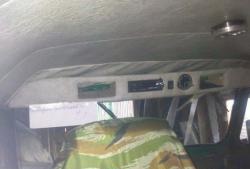
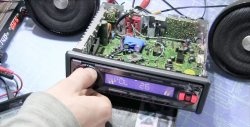
First of all, you need to prepare a place for the tablet. It is placed in the central part of the car's dashboard so that there is a good view from all seats. In almost all cars, this place houses a standard radio and glove box. These amenities will have to be sacrificed. If there are any buttons at the installation site of the future tablet, they need to be moved to another place convenient for use. The old radio needs to be removed, but the power cable and speaker leads left. The tablet will be connected to them. Then you need to remove the part of the torpedo on which the tablet will be installed.
Making a shelf for a tablet
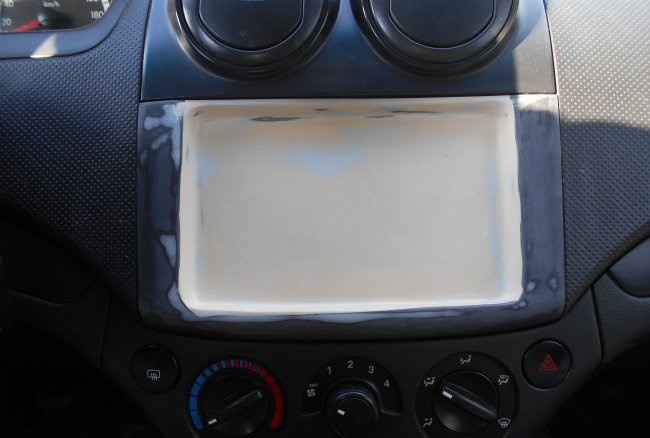
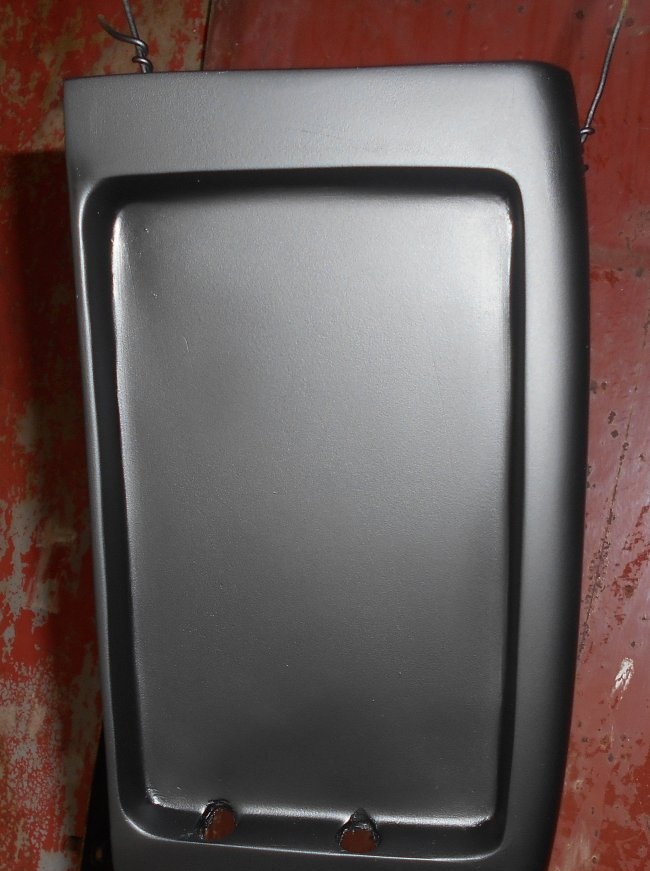
The next step will be making a shelf for the tablet. To do this, you need to purchase a tablet (if you don’t already have one), epoxy resin, putty for plastic, rubber spatulas, and a can of aerosol paint in the color of the car’s dashboard. Prepare a jigsaw, sandpaper, a drill, a lot of plastic bags, a bandage, and tape. Then place the removed part of the torpedo on the table. Place the tablet on it the way it will be installed. Mark the boundaries of the tablet on the future shelf and use a jigsaw to cut off all unnecessary bulges. Then put the tablet in plastic bags. It is advisable in different positions so that the tablet is completely packed in them, and wrap it all well with tape. Place the tablet on the table with the display down. Place a shelf on it in the same way that the tablet will be placed on it in the future. Using epoxy resin, fill all the bumps and unnecessary holes on the back of the shelf directly onto the tablet.For strength, it is necessary to lay the bandage on epoxy resin in several layers. When the entire surface of the shelf has been treated, it must be left to dry for 2-3 days.
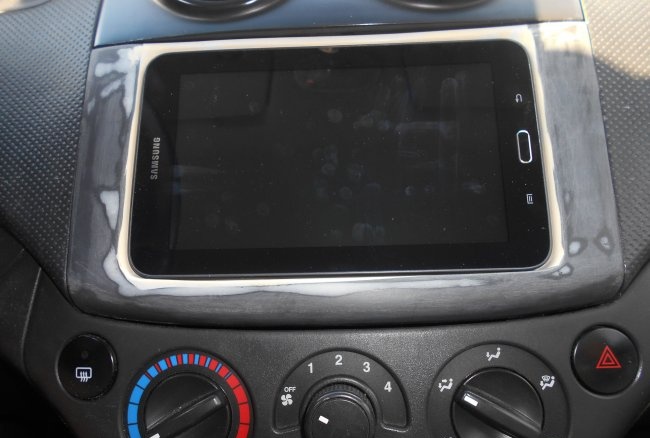
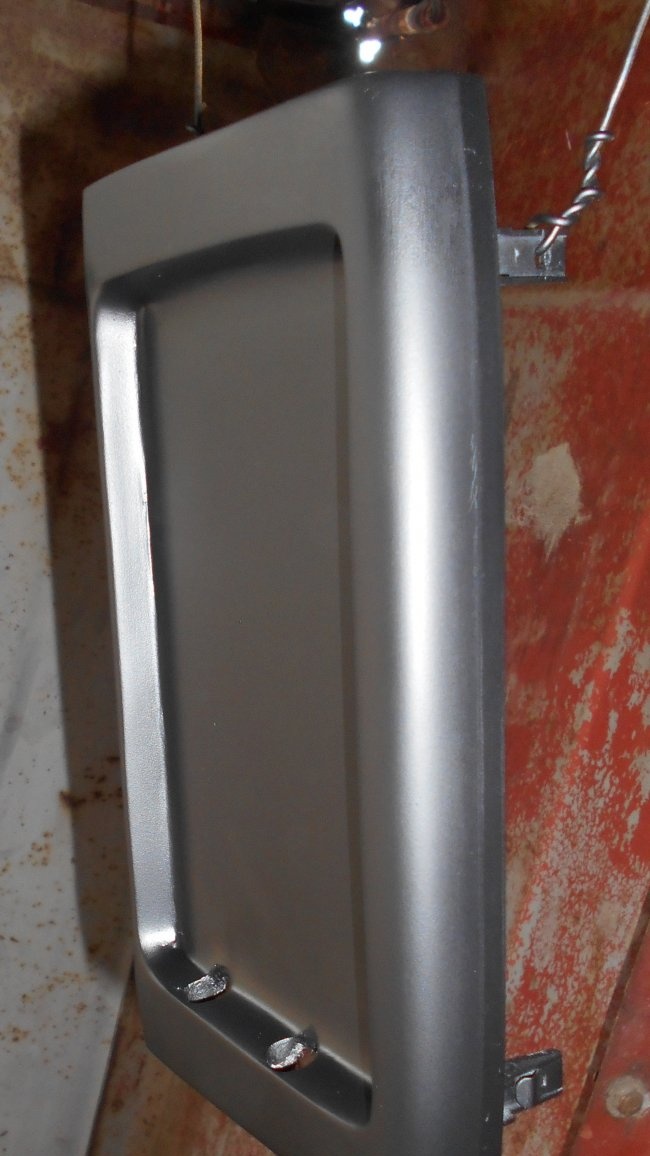
In this case, the tablet must not be pulled out under any circumstances. You should get a high-quality cast. After the epoxy resin has completely dried, you need to remove the tablet and process the resulting cast into a neat shelf. Immediately you need to drill two holes for connectors for charging and headphones. Then sand the shelf to remove rough edges. Using a rubber spatula, apply several layers of plastic putty one after another. After the putty has dried, sand the shelf and try on the tablet. If necessary, remove excess putty or add an additional layer. If the tablet fits neatly into place, then the shelf is ready. Finally, you need to paint the shelf with spray paint. The best way to do this is to hang it up. After painting, wait for the shelf to dry completely.
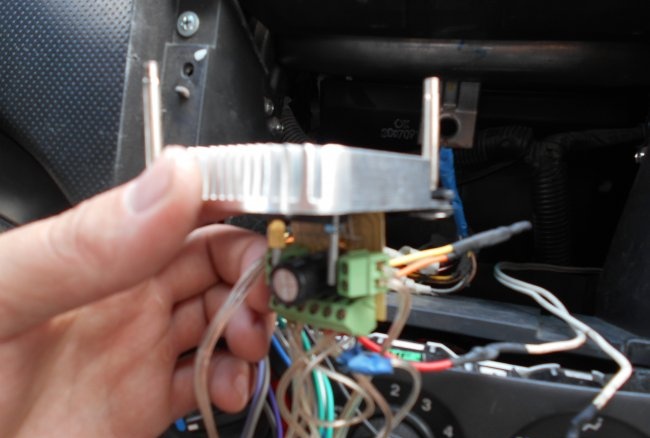
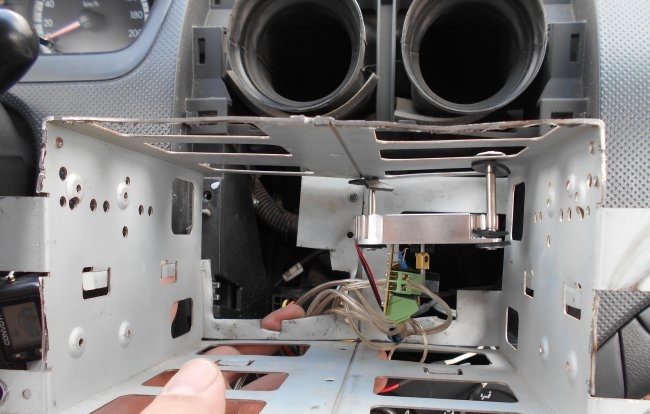
For clear and loud sound you need an amplifier. You can install it in place of the old radio. From the amplifier you need to make wire taps for the speakers and a tap for supplying a signal from the tablet. The plug is needed for a 3.5 jack, like on headphones. After installing the amplifier, you need to supply power to the tablet. To do this, you need to connect the cigarette lighter to the power cord that was left over from the old radio, and insert a car charger for the tablet into it and insulate it all well.
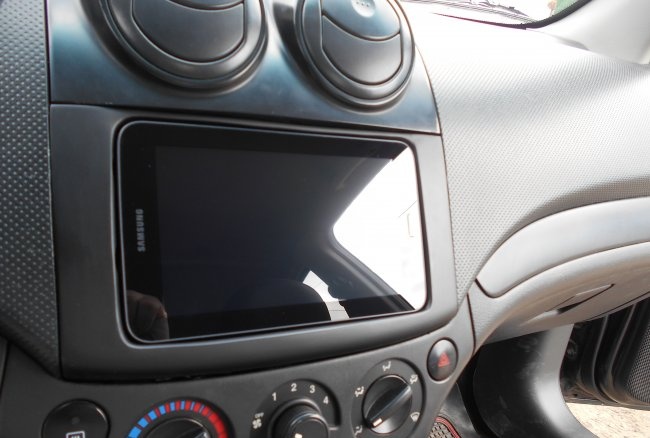
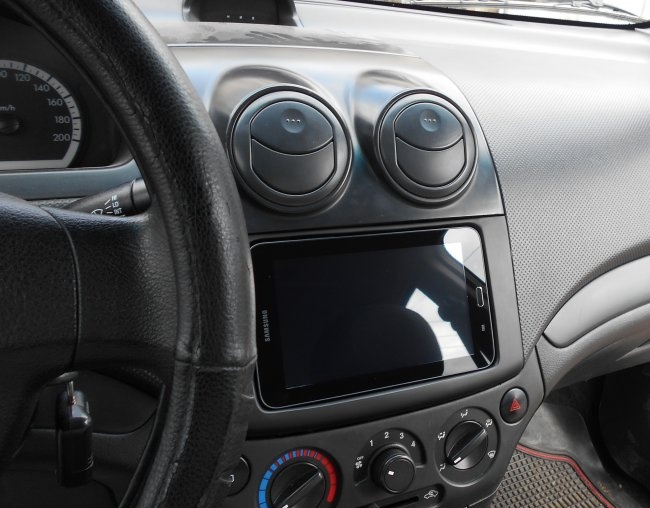
After completing all the preparatory work, all that remains is to install the tablet in the car. To do this, you need to take the tablet shelf and insert it into the car dashboard. At the same time, do not forget to route the power cable and the output to the speakers into the holes prepared in advance in the shelf.Place the tablet on the shelf, connect the speaker and power connectors to it. Configure sound, video and navigation settings on your tablet according to your personal preferences. This completes the installation of the tablet in the car.
Now your car has a high-quality multimedia center with the Internet, a navigator, high-quality music, films and many additional functions that a tablet has. And installing a tablet in a car will not pose any difficulties, even if you do all the work yourself.

