How to replace a faucet without turning off the water
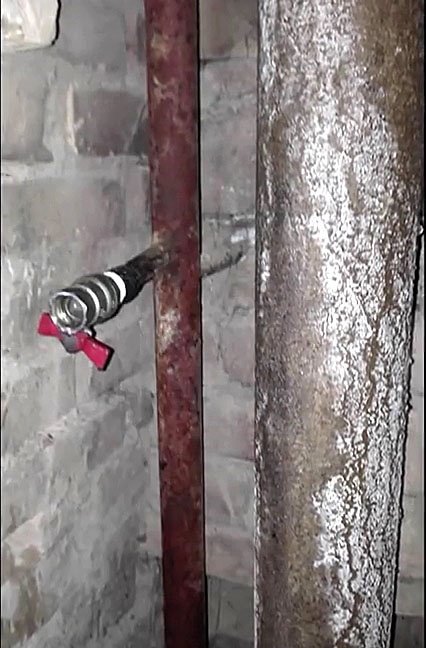
It often becomes necessary to install a new faucet into the water riser instead of an old faucet that has stopped holding water. It seems that there shouldn’t be any problems: you turn out or cut off the old fittings using a grinder, electric or gas welding, and screw or weld a new analogue in its place.
Yes, this will be so if it is possible to turn off the water using another tap or valve. But most often they are not there, and if they are, they have long been out of order and do not perform their direct functions, that is, they do not hold water. Sometimes, as a result of numerous reconstructions of a building, alterations or redevelopments, their location may even be forgotten or it turned out to be completely inaccessible.
It seems that the situation has become hopeless. However, don't despair. Now we will try to implement our plans using simple and quite accessible tools and materials and, nevertheless, install a new product instead of the old faucet.
Materials and tools used
For this work we will need the following tools and materials:
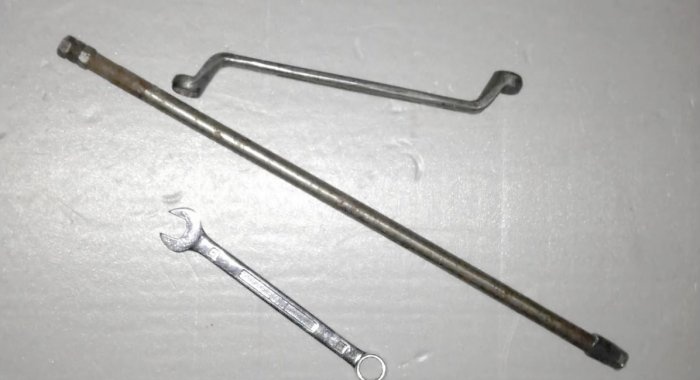
- an adjustable wrench for unscrewing an old, worn-out faucet;
- an open-end or socket wrench of the appropriate size;
- squeegee (a piece of pipe with a thread at one end);
- FUM tape;
- a special device for shutting off water in the riser outlet;
- Bulgarian;
- welding machine;
- new faucet.
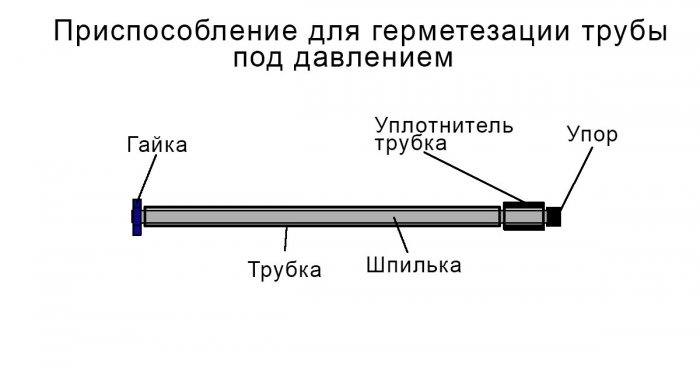
Pipe sealing device
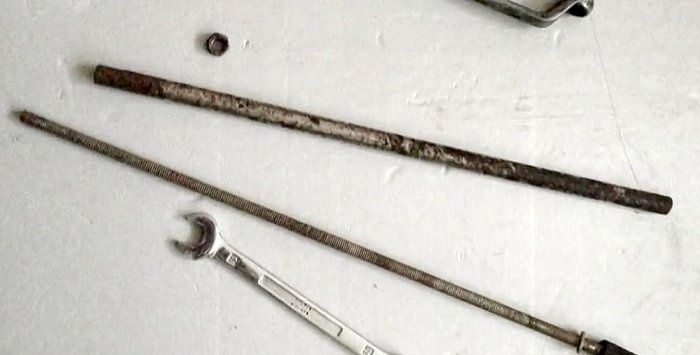
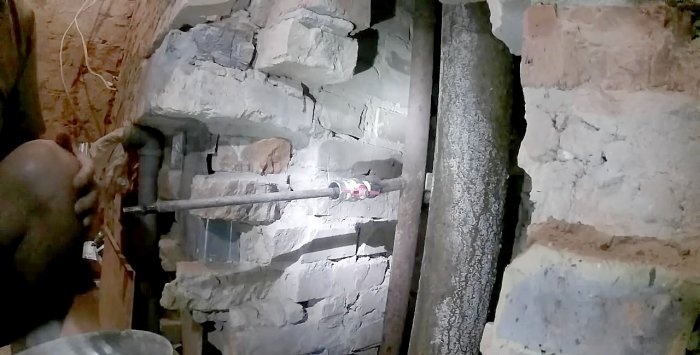
It is probably necessary to briefly describe the design of the device for shutting off the water and its operation. It is a pin, at one end of which a valve made of elastic material is attached - a piece of rubber hose, and at the other end a nut is screwed on. And between them there is a piece of pipe into which the pin fits freely. The length of the pipe should be shorter than the section of the stud from the valve to approximately the middle of the thread, so that after installing the device in the right place, it is possible to tighten the nut on the stud and, thereby, compress the elastic valve, sealing the annular gap between it and the inner wall of the riser outlet pipe.
Pressure tap replacement process
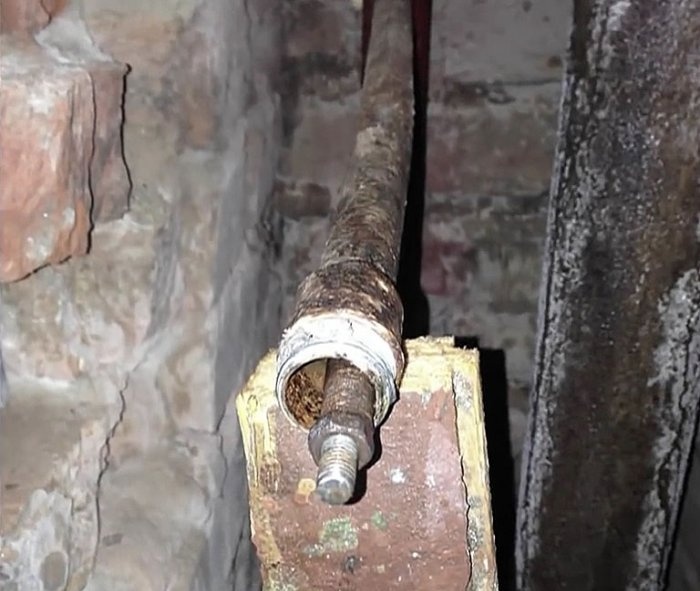
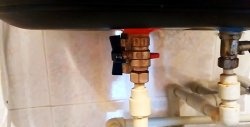
Since it was not possible to turn off the water, it is barely contained under pressure by the old tap, which at any moment can give an even bigger leak. It is necessary to act very quickly and it is highly advisable to act together.
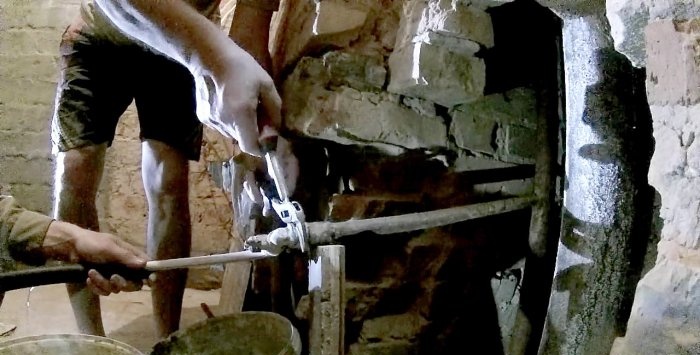
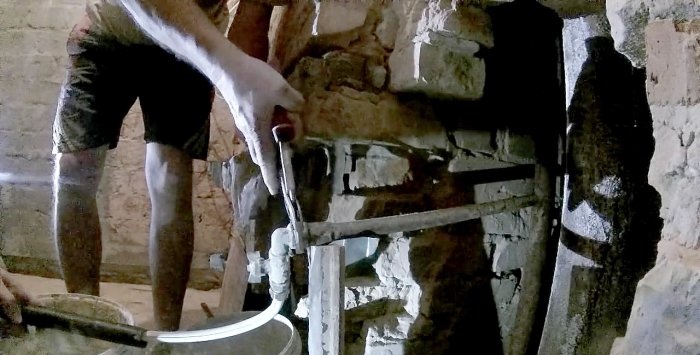
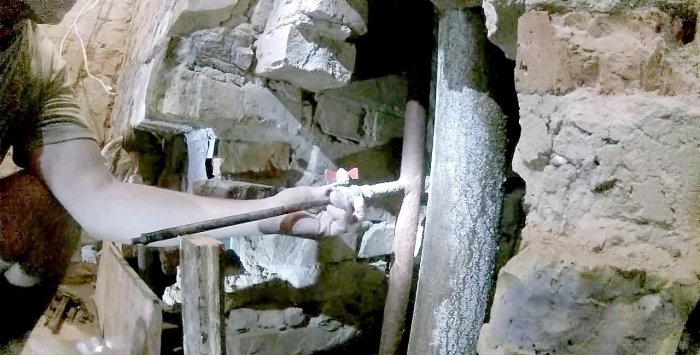
You should, as quickly as possible, use an adjustable wrench to unscrew the used tap and insert, overcoming the water pressure, the sealing device into the outlet to the required depth.
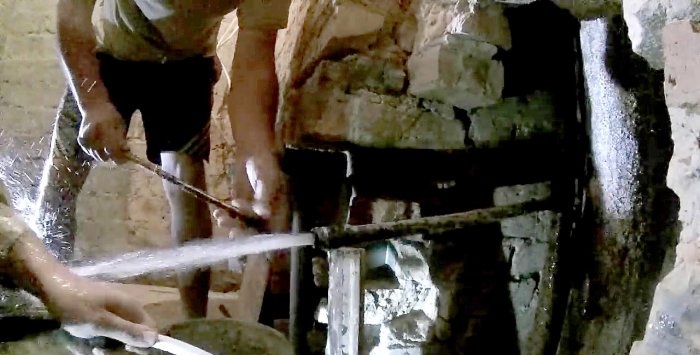
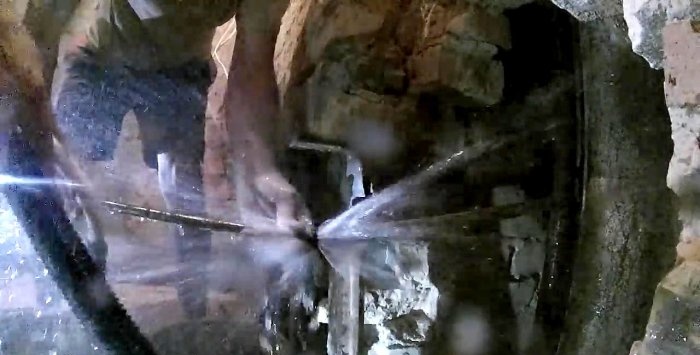
I turned on the tap and the pressure came out.
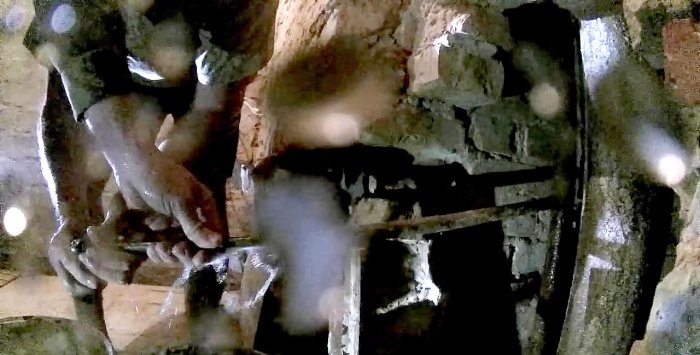
We insert the device.
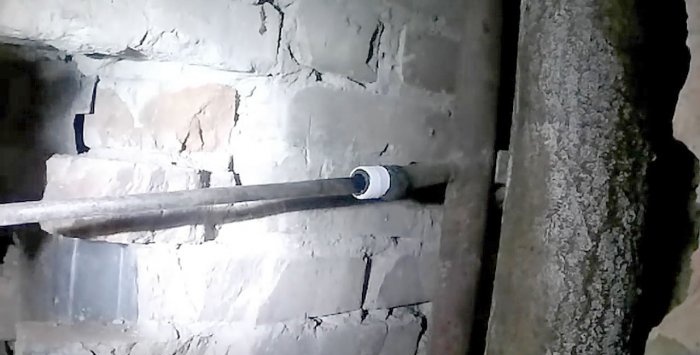
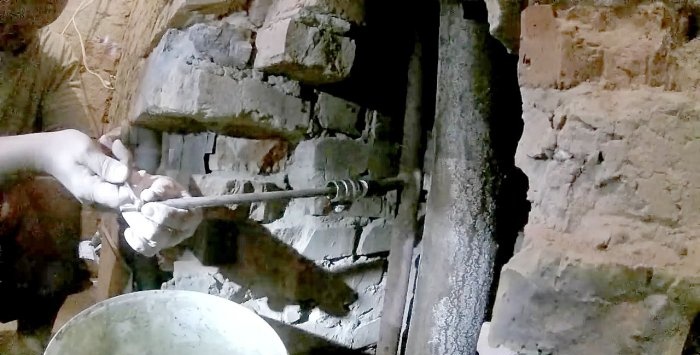
Then, holding it in the pipe, use a wrench to tighten the nut on the rod of the fixture until water stops flowing from the gap between the steel extension and the fixture.
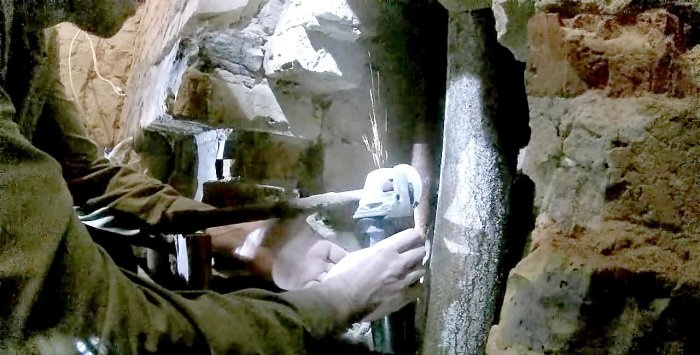
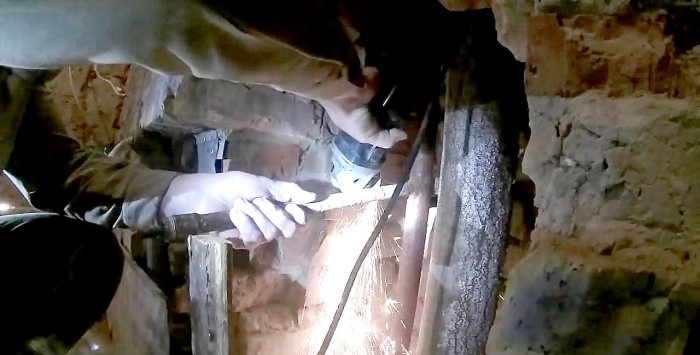
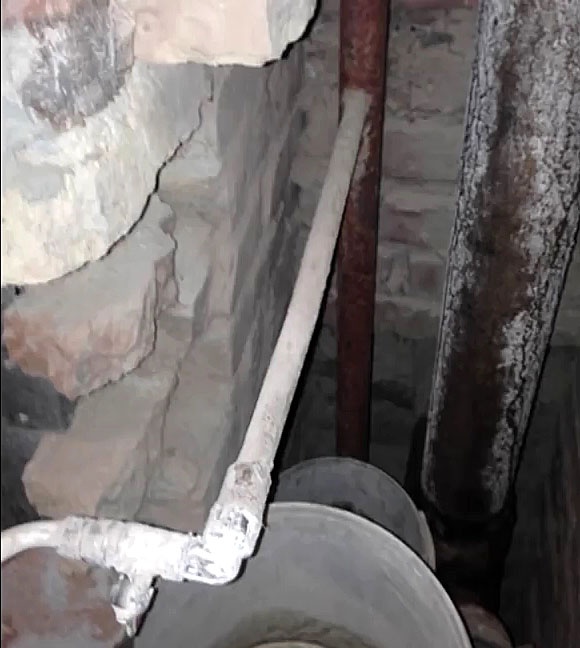
Now you can, without fear of leaks, cut off part of the outlet using a grinder.Moreover, the location of the cut must be marked, not reaching the section where the valve of the device seals the outlet of the riser. After complete separation, the piece of pipe should be carefully removed without forcing the device too much.
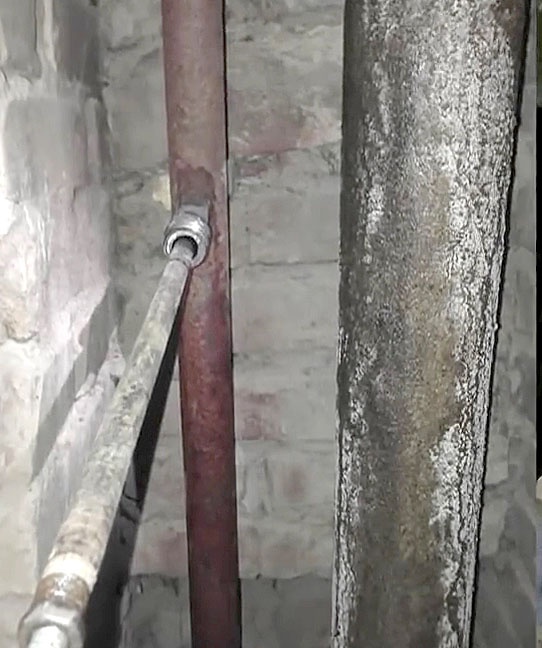
To imagine how the new faucet will be located on the pipe, you can try it on in place, placing the wing on top, side or bottom, to determine the most convenient position during operation.
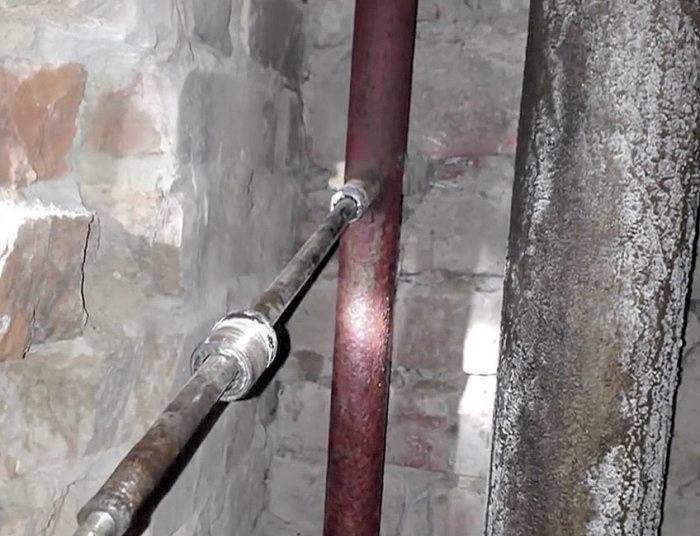
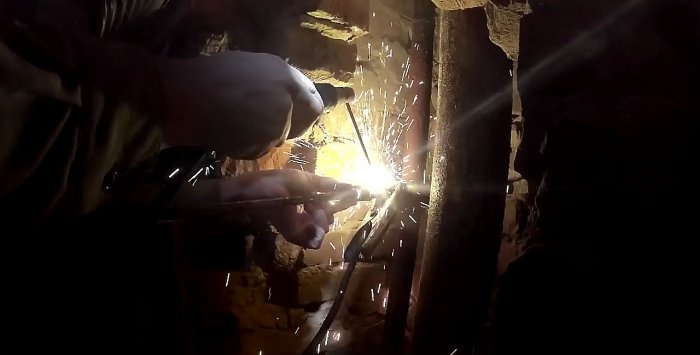
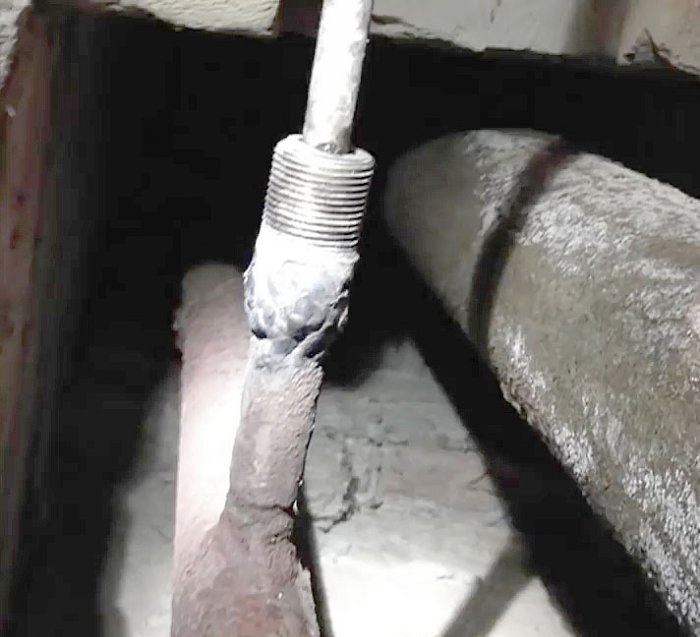
The next stage is very important: using electric welding, it is necessary to weld a squeegee to the outlet, onto which we will later screw a new tap. Before starting welding work, to ensure a reliable connection, you can make a small chamfer at the end of the cut pipe using a metal file. It is usually already available at the stages. This will allow the weld to fit well into the formed recess and ensure the quality, tightness and reliability of the connection.
After the squeegee has cooled, several layers of FUM tape should be wound onto its threads in the screwing direction, i.e. clockwise. This will increase the tightness of the fit of the new valve on the runoff and the tightness of the connection point. You need to screw on the tap with one hand, slowly and carefully, especially at the beginning, so as to get into the thread and not accidentally break it. At the very end, you can tighten it with a key, but at a small angle.
After the final installation of the new faucet, it is time to unscrew the sealing device. It is necessary to loosen the nut using a wrench and slightly move the rod towards the riser in order to release the elastic element in the longitudinal direction, which will allow it to lengthen and at the same time decrease in cross section. Now, without hesitation, we pull out the device, rocking it from side to side, and quickly close the new valve.The job has been successfully completed.
Conclusion
The pipe sealing device should be checked before use, especially if it has not been used for a long time. The elastic element acting as a valve must not have cracks or tears. The threads on the rod must be cleaned of dust, dirt, rust and lubricated with some oil. Then run the nut along the thread from end to end several times.
To seal the thread between the outlet and the tap, instead of FUM tape, it is preferable to use a universal nylon cord impregnated with a special sealing compound. It is more reliable, is not afraid of cold and heat, and is not weakened by vibration.
It is not recommended to change the faucet on the hot water riser in this way. And in general, if you have at least some opportunity to block the riser, then you should take advantage of it, and use this method only as a last resort.
Watch the video
Similar master classes
How to solder a polypropylene pipe when water is flowing

How to close a ball valve if it is stuck
Repair of axle box crane without replacement
The faucet is leaking, we are repairing a single lever mixer
How to revive a ball valve if it is jammed

The water tap is dripping: how to fix the water leak?
Particularly interesting
Comments (31)

