How to make a solar lamp from a bottle
In an old garage, workshop, utility shed or utility room, there is always a nook that lacks light even on the brightest sunny day. Pulling electrical wiring there to connect a light bulb is impractical, both from an organizational and economic point of view, and from fire safety.
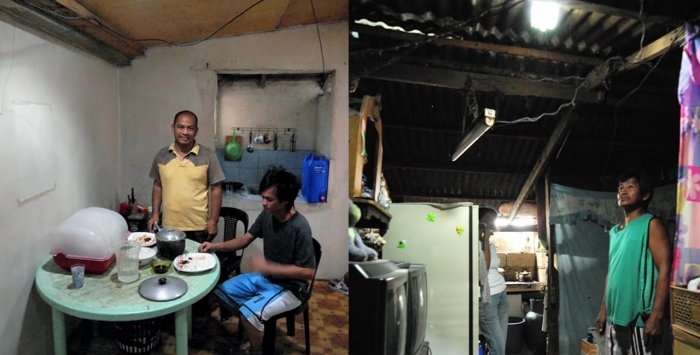
There is a very simple, free and safe way to illuminate such dark corners, which has been successfully and widely used for more than 17 years in developing countries in Southeast Asia, Africa and South America.
To implement it, no special knowledge, sophisticated skills, special tools or any scarce, rarely found materials are required. Every inquisitive person can cope with this work.
Will need
- Plastic transparent drinks bottle with a volume of 1.5-2 liters;
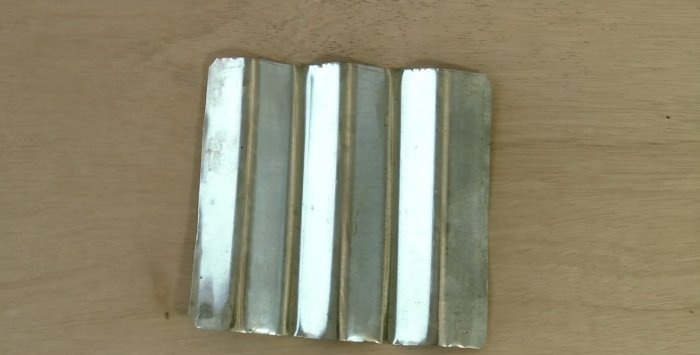
- Corrugated or flat galvanized iron sheet;
- rubber sealant;
- bleach (or any liquid chlorine-containing product);
- distilled or filtered water;
- sandpaper or wire brush;
- metal scissors;
- pliers;
- electric drill;
- chisel and hammer;
- cardboard and marker;
- self-tapping screws, screws, bolts or rivets.
Solar bulb manufacturing process
It consists of several distinct stages.
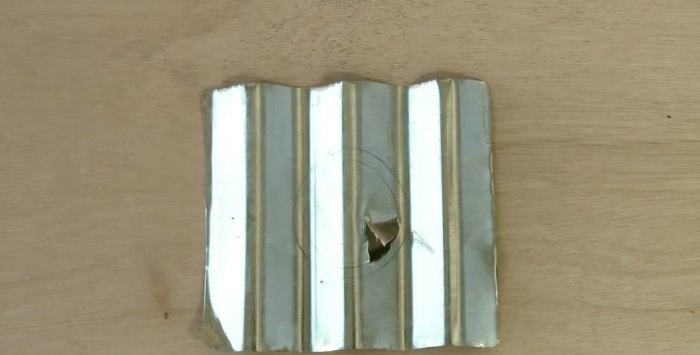
1. We apply two concentric circles to a sheet of smooth or corrugated iron using pre-prepared cardboard circles (templates), the first of which corresponds to the outer diameter of the bottle at a distance of 1/3 from its neck, the second - 20 mm less.
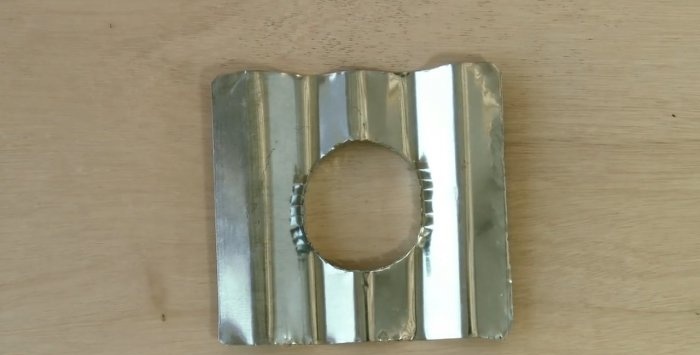
2. Using a chisel and a hammer, make a three-sided notch deep into the sheet on a smaller circle and bend the resulting “tooth” with pliers. The resulting “window” is needed to use metal scissors and cut out a smaller circle along the previously drawn circle.
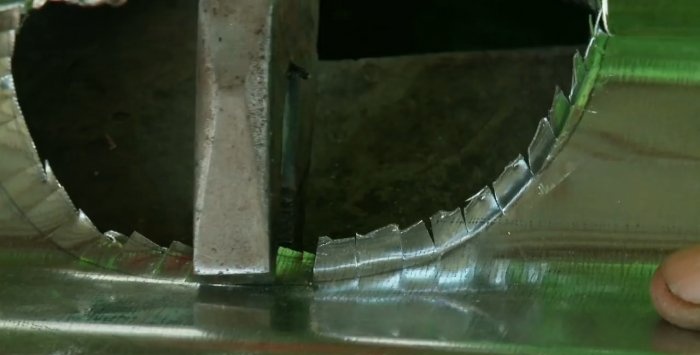
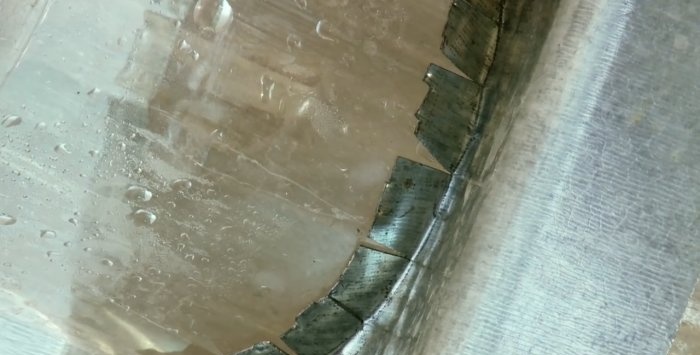
3. Using the same metal scissors, we make diametric cuts to the mark of a large circle about 20 mm wide. Slightly straighten the sheet in the area of the notches and use pliers to bend them outward by about 45 degrees.
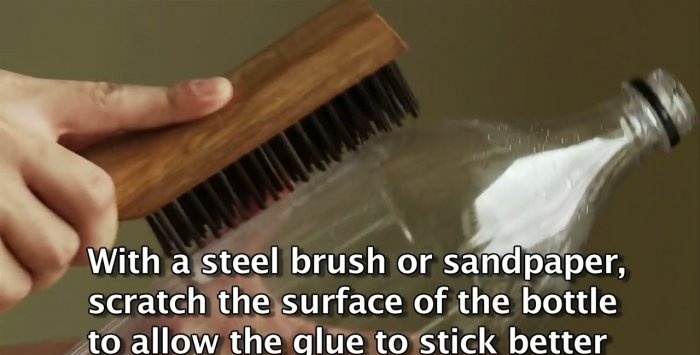
4. Using sandpaper or a metal brush, we process the outer perimeter of the bottle in the area of its contact with the notches of the corrugated sheet (this is necessary for better adhesion of the sealant to the surface of the plastic container).
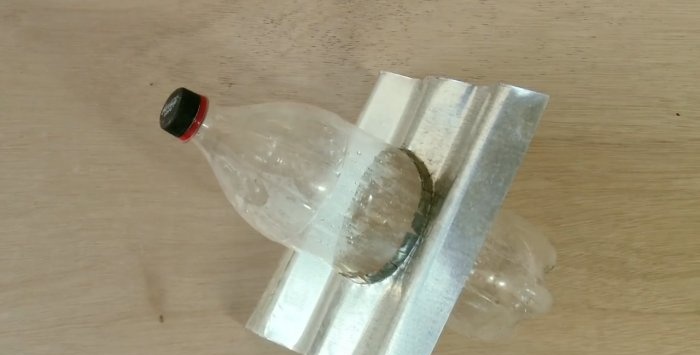
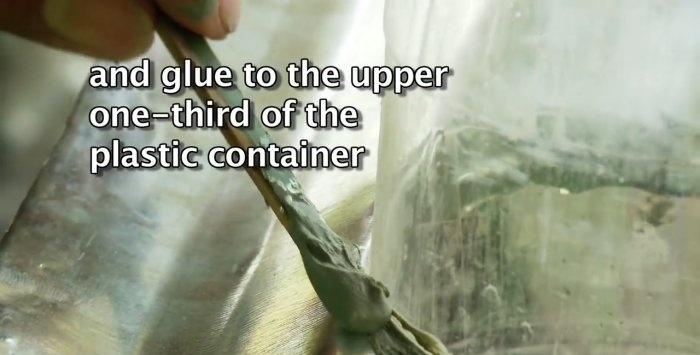
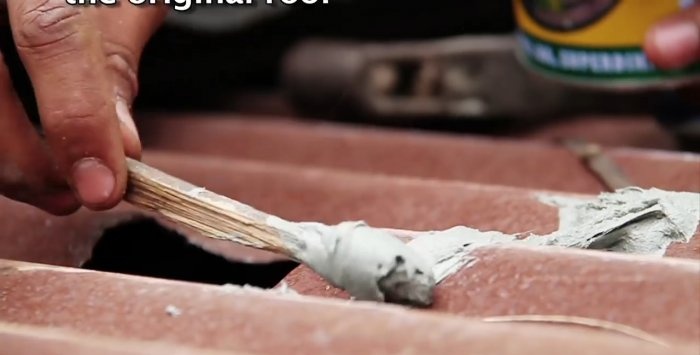
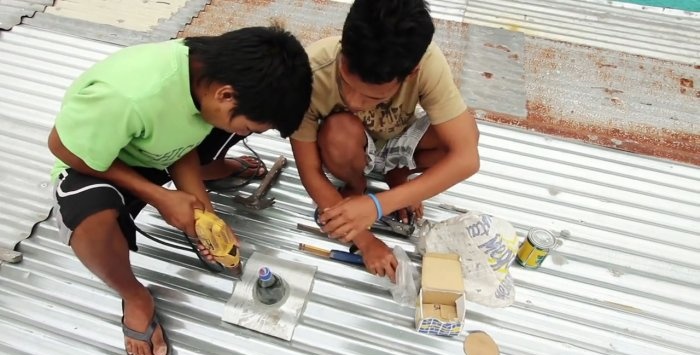
5. Apply sealant using a glue gun or simply with a stick around the circumference of the bottle at the point of its contact with the corrugated sheet. We put the sheet on the bottle from the neck to the previously applied adhesive belt. After this, we repeat the application of sealant on top of the sheet along the surface of the notches.
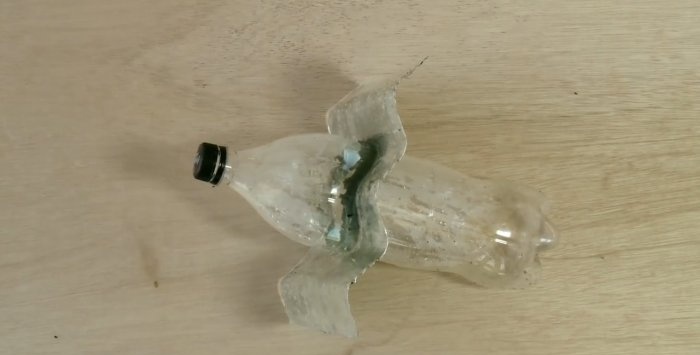
6. We compact the sealant on both sides and distribute it evenly to create a sealed annular belt. If there is not enough sealing compound in some places, add it with a glue gun.
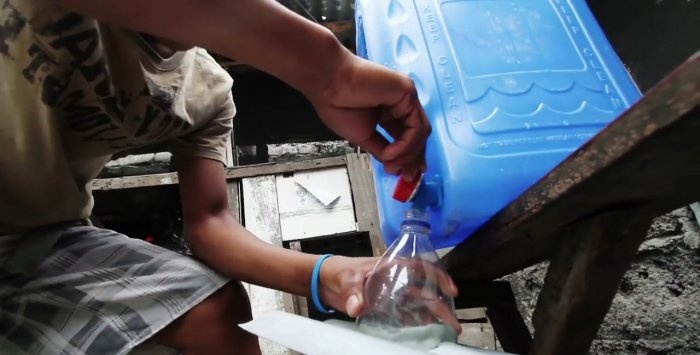
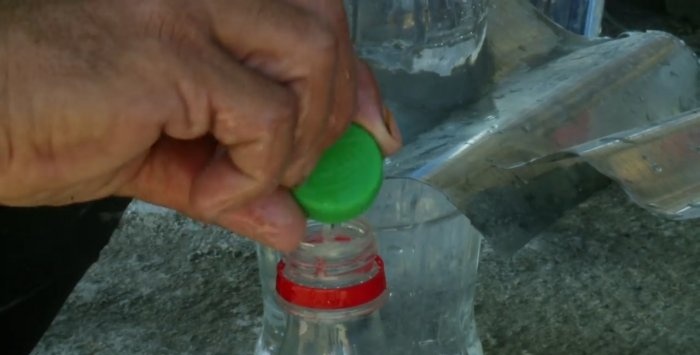
7. Pour bleach into a plastic bottle at the rate of 2 caps per 1 liter of distilled water.This is necessary so that the water in the bottle does not spoil for a long time (does not bloom). Fill the container with clean water and screw the lid tightly.
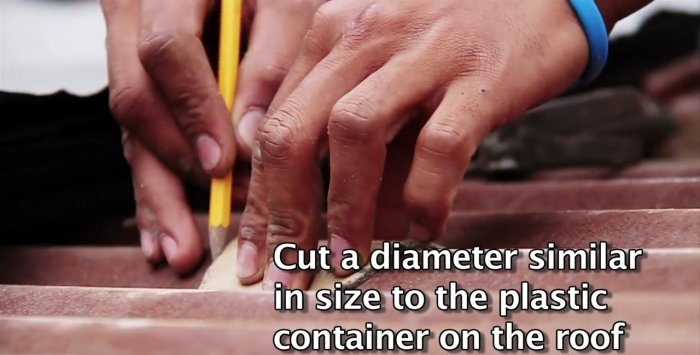
8. Cut a hole in the roof at the planned location for the outer diameter of the bottle using a chisel, hammer and metal scissors.
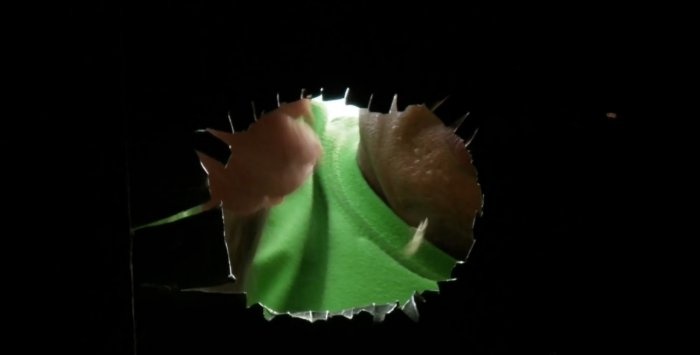
9. We insert a bottle of water and bleach into the resulting hole up to the corrugated iron sheet attached to it, having previously degreased the contact area on the roof and covered it with glue.
10. Apply sealant around the hole.
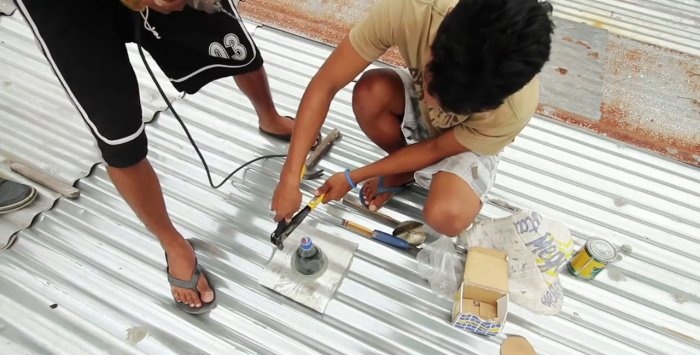
We make several through holes around the perimeter of the sheet and fasten it to the roof with self-tapping screws, screws or bolts, rivets.
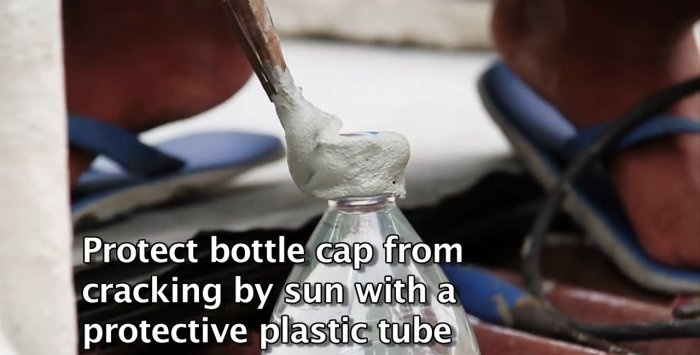
11. We completely cover the bottle cap with a layer of sealant, which is necessary not only to prevent water evaporation, but also to protect the cap from ultraviolet rays, from which it fades, cracks and, ultimately, crumbles.
Result
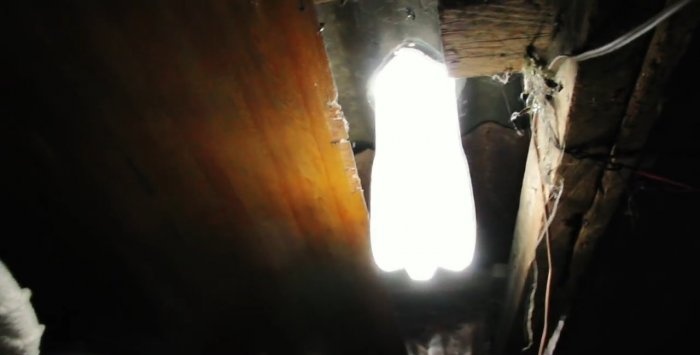
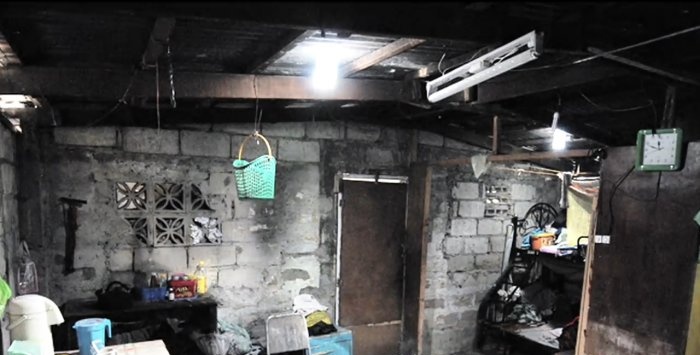
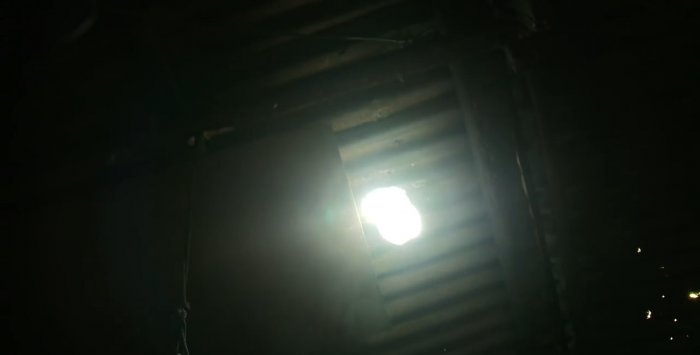
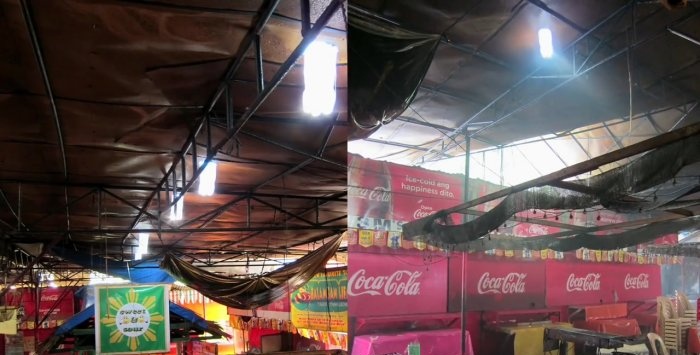
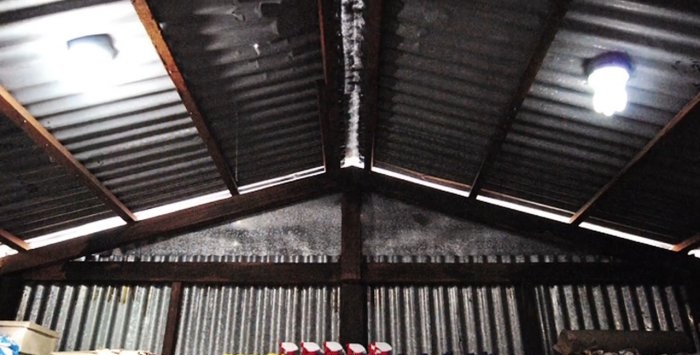
Many people are interested in the nature of the glow of a solar bulb from a plastic bottle. This occurs due to the refraction of sunlight in water and the effective dispersion of light inside a dark room. Experiments have shown that the luminosity of a two-liter bottle of water approximately corresponds to a 50 ± 10-watt incandescent light bulb.
In order for the solar lamp to properly emit light, it is necessary to keep the outer surface of the bottle clean and periodically remove accumulated dust and dirt from it.
Watch the video
Similar master classes
Particularly interesting
Comments (6)

