USB twisted pair extension cable
Hi all! Today I want to tell you how to make a USB extension cable from twisted pair wire. The length of such an extension cord can reach 50 meters, in my case it is 15 meters. You can connect any USB device to it.
For work we will need:
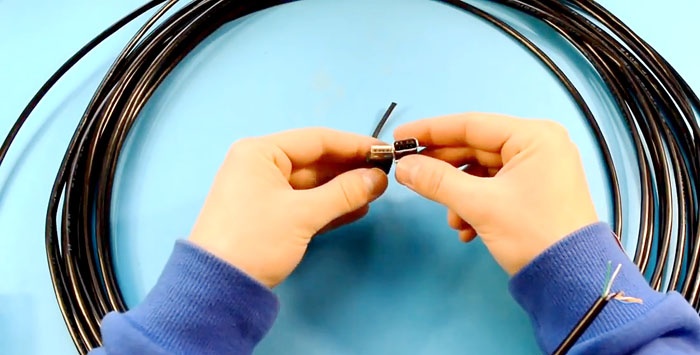
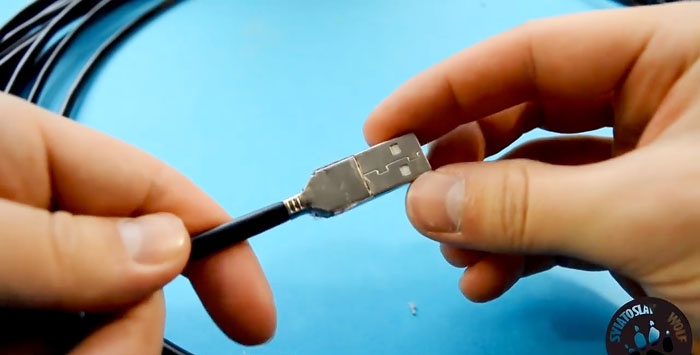
Let's deal with the plug first. Using a sharp knife, make slits in the rubber filling on both sides. The rubber should be cut through to the metal.
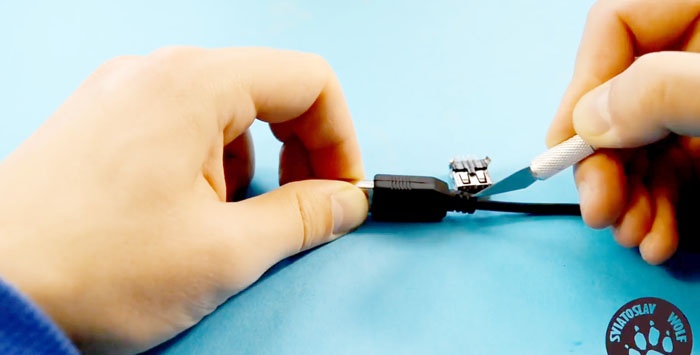
We heat the rubber shell with a soldering hairdryer until it softens and remove the plug from it.
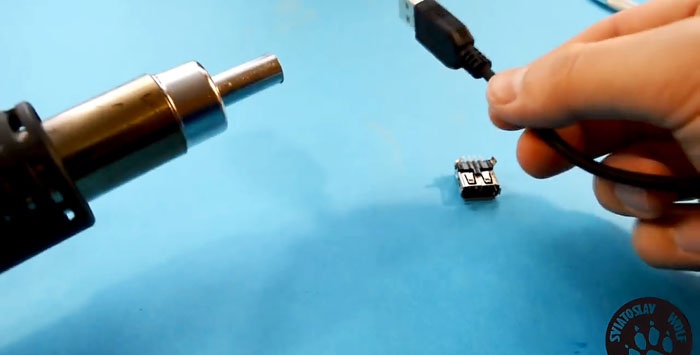
We make the cuts as carefully as possible, since after soldering the “twisted pair” wires to the plug contacts, the shell can be put back on the glue.
Next, we open the petals of the metal lock holding the cable and clean off the layer of compound covering the contact tracks. You need to be careful here, I personally damaged one of the solder pads a little.
Let's start cutting the cable.After removing the insulation, we strip the ends of the wires on one side of the cable. When soldering the cable, you need to be especially careful not to mix up the order of the wires, otherwise the extension cord simply will not work.

So, we turn the plug with the front side facing us so that the plastic base on which the contacts are attached is at the top. We see four current-carrying paths that serve to connect to the socket contacts. We start counting from left to right:
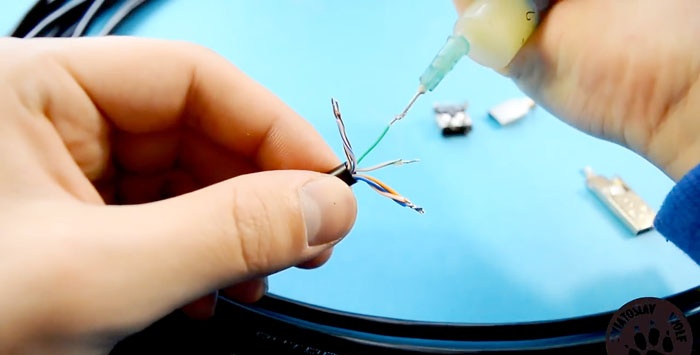
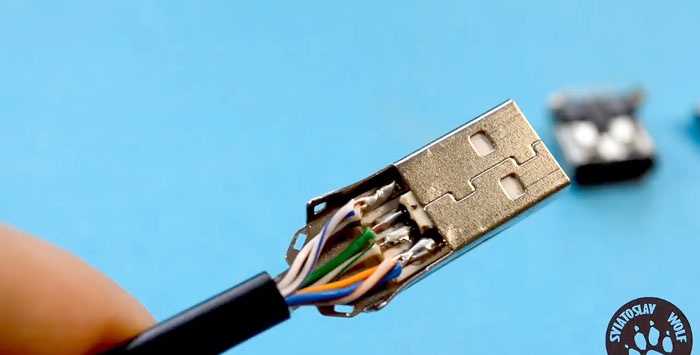
We twist the triple wires of the power circuits, tin all 4 resulting ends and solder them to the plug. Fill the solder joint with hot glue or sealant and clamp the cable with a metal lock.
Let's start stripping the second end of the twisted pair. We carefully study the pinout of the USB socket:
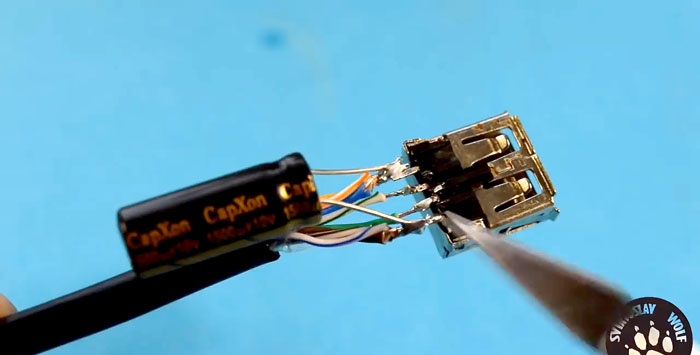
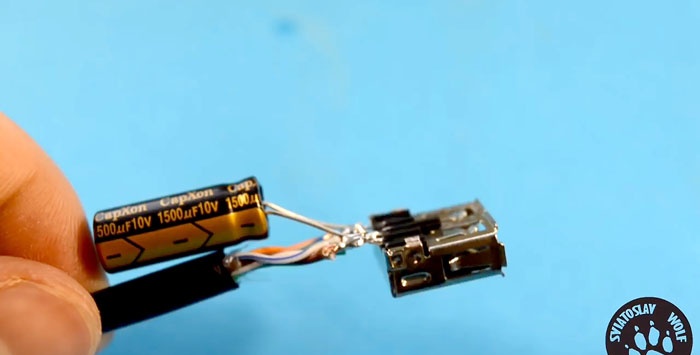
In addition to the power circuits (+5V, -5V), it is necessary to solder a capacitor with a capacity of at least 1500 microfarads to avoid a drop in the supply voltage. We make the connection in accordance with the polarity of the capacitor - “+” to the 1st contact, “-” to the 4th.
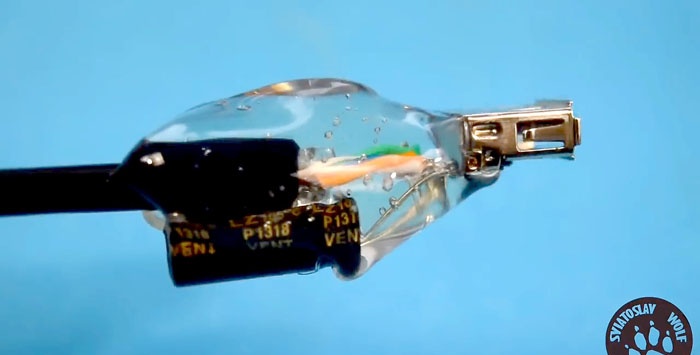
All that remains is to fill the solder joint of the socket with hot glue or sealant. You can start testing. If you didn't make any mistakes when making connections, the extension cord should work.
This extension cord was made to connect an external antenna with an adapter.
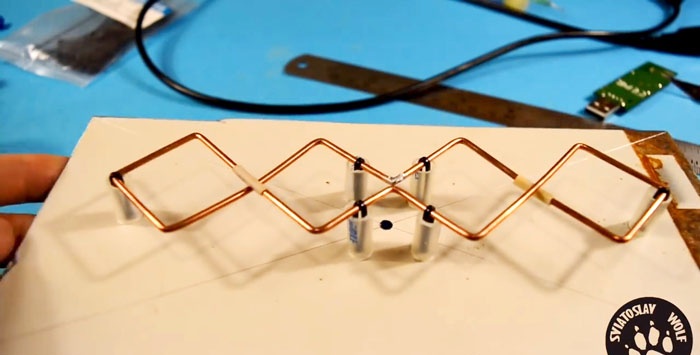
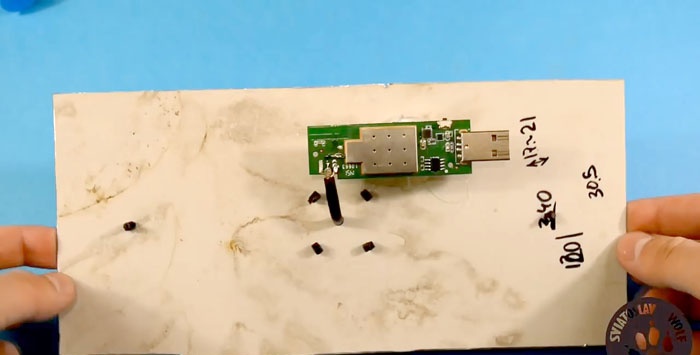
The antenna is located at a distance of several meters, the adapter glows with a green light.

The cable I chose has 4 pairs, that is, 8 cores. You can use a cable with a different number of cores. When choosing, it is important to remember the following:
Goodbye, good luck to everyone.
Required tools and materials
For work we will need:
- plug and socket of a USB connector, you can use a plug from an old wire and remove the socket from unused equipment;
- twisted pair cable of the required length, I used a 4-pair cable;
- soldering supplies, preferably with a hair dryer;
- sharp knife (scalpel).

Description of the manufacturing process
Let's deal with the plug first. Using a sharp knife, make slits in the rubber filling on both sides. The rubber should be cut through to the metal.

We heat the rubber shell with a soldering hairdryer until it softens and remove the plug from it.

We make the cuts as carefully as possible, since after soldering the “twisted pair” wires to the plug contacts, the shell can be put back on the glue.
Next, we open the petals of the metal lock holding the cable and clean off the layer of compound covering the contact tracks. You need to be careful here, I personally damaged one of the solder pads a little.
Let's start cutting the cable.After removing the insulation, we strip the ends of the wires on one side of the cable. When soldering the cable, you need to be especially careful not to mix up the order of the wires, otherwise the extension cord simply will not work.

So, we turn the plug with the front side facing us so that the plastic base on which the contacts are attached is at the top. We see four current-carrying paths that serve to connect to the socket contacts. We start counting from left to right:
- the first contact is +5V power supply, we solder 3 wires to it - blue, orange and white-orange;
- the second contact is –Data, solder the white-green wire here;
- third - +Data, solder green;
- fourth - power supply -5V, solder brown, white-brown and white-blue.

We twist the triple wires of the power circuits, tin all 4 resulting ends and solder them to the plug. Fill the solder joint with hot glue or sealant and clamp the cable with a metal lock.


Let's start stripping the second end of the twisted pair. We carefully study the pinout of the USB socket:
- the first - wires of blue, orange and white-orange colors;
- the second is a white-green wire;
- third - green wire;
- fourth - wires of brown, white-brown and white-blue colors.

In addition to the power circuits (+5V, -5V), it is necessary to solder a capacitor with a capacity of at least 1500 microfarads to avoid a drop in the supply voltage. We make the connection in accordance with the polarity of the capacitor - “+” to the 1st contact, “-” to the 4th.

All that remains is to fill the solder joint of the socket with hot glue or sealant. You can start testing. If you didn't make any mistakes when making connections, the extension cord should work.

This extension cord was made to connect an external antenna with an adapter.


The antenna is located at a distance of several meters, the adapter glows with a green light.

Conclusion
The cable I chose has 4 pairs, that is, 8 cores. You can use a cable with a different number of cores. When choosing, it is important to remember the following:
- There can be at least 4 cores, according to the number of pins of the USB connector;
- It is advisable to increase the cross-section of the power circuit wires by combining several wires, as I did.
Goodbye, good luck to everyone.
Watch the video
Similar master classes
Particularly interesting
Comments (9)


