From leftover drywall: a box for storing any accessories
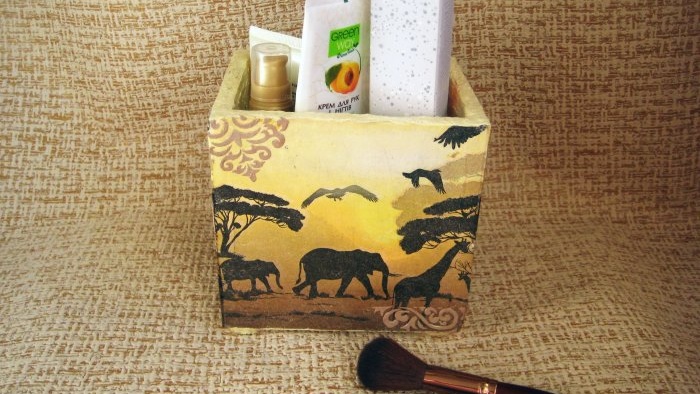
Drywall is a universal material that can be used not only for leveling walls and ceilings, but also in handicrafts. You can make a box of any size from drywall to store various small items.
Let's try to make a box from plasterboard for storing women's cosmetics.
To make the box you will need the following materials:
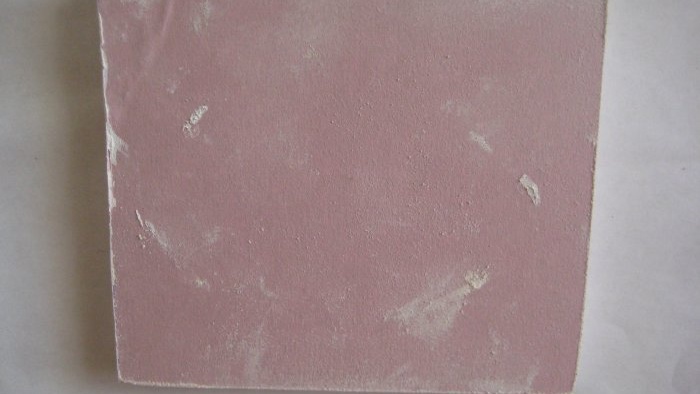
1. First of all, you need to decide on the size of the future box. Then we mark the 4 sides of the box and the bottom on the drywall. Under the ruler, draw a sharp knife along the drawn line. Then we place the resulting cut on the edge of the table and break off the remaining part of the drywall. So cut out all 5 parts.
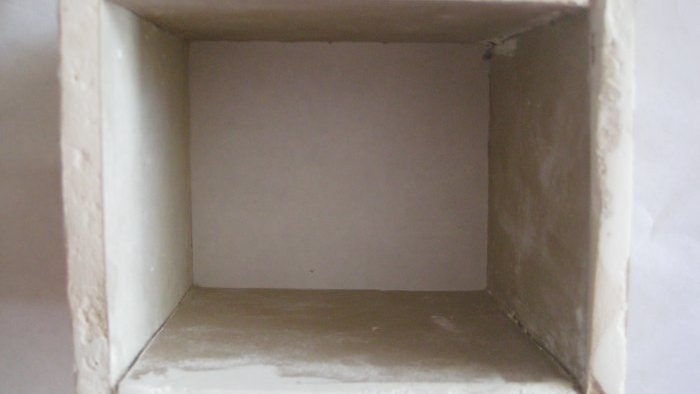
2. Next we glue together all the sides of the box.
3. Then we glue the bottom to the frame.
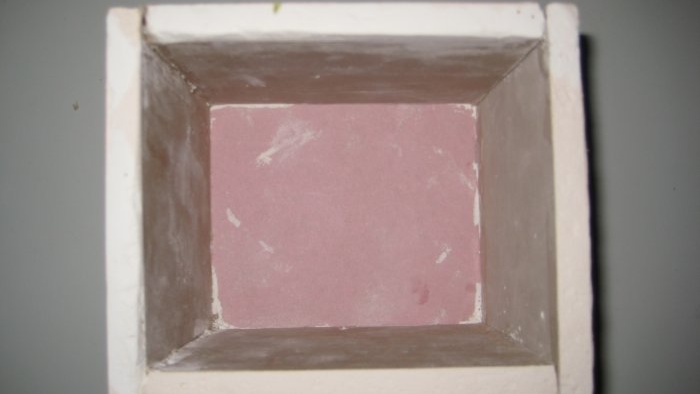
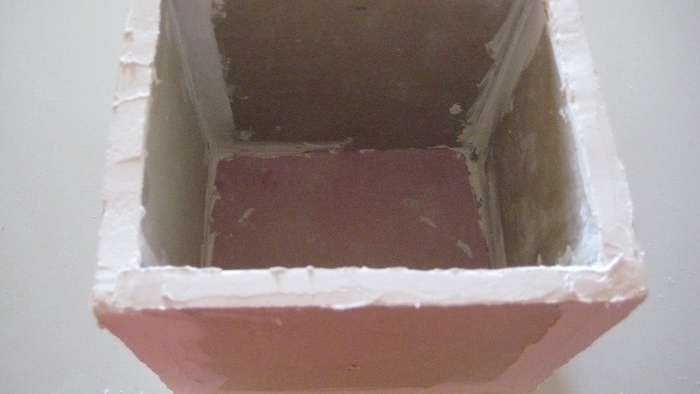
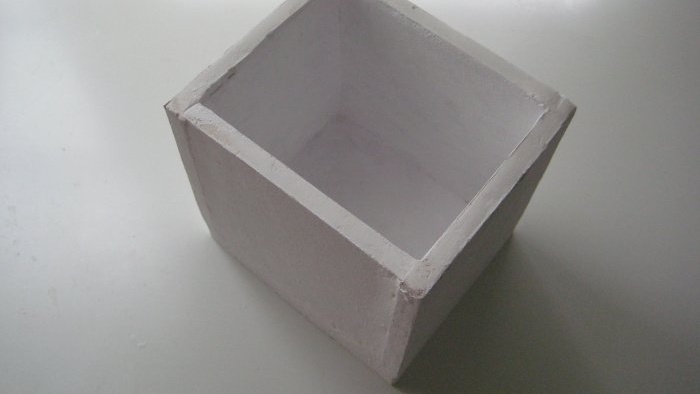
4.The next step is to smooth out all the unevenness on the drywall. To do this, use putty to smooth out the recesses, cover the seams and sand the entire treated surface with sandpaper. Next, prime the box with white acrylic paint.
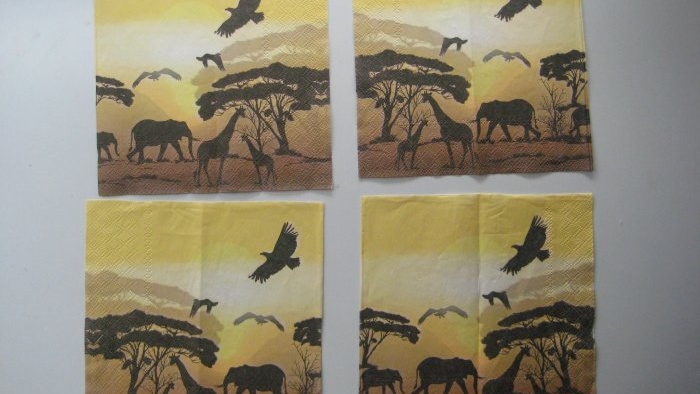
5. Let's start decorating the box. To do this, take a decoupage napkin and cut it into 4 parts.
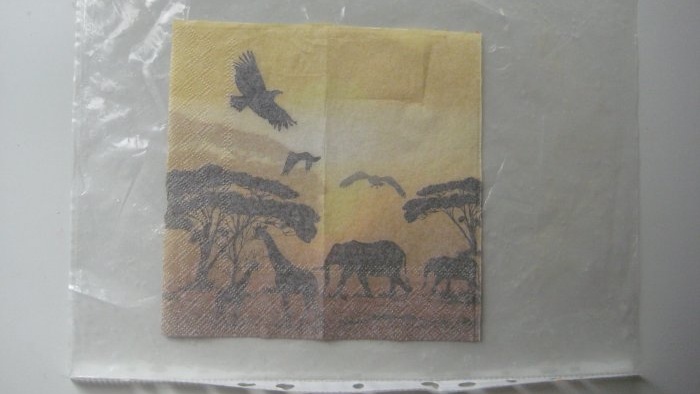
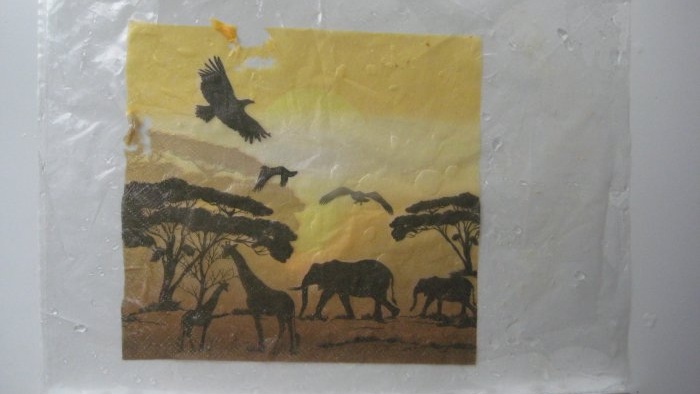
6. Take 1 part of the napkin motif and place it face down on the file.
7. Then moisten the napkin with water and smooth out the folds.
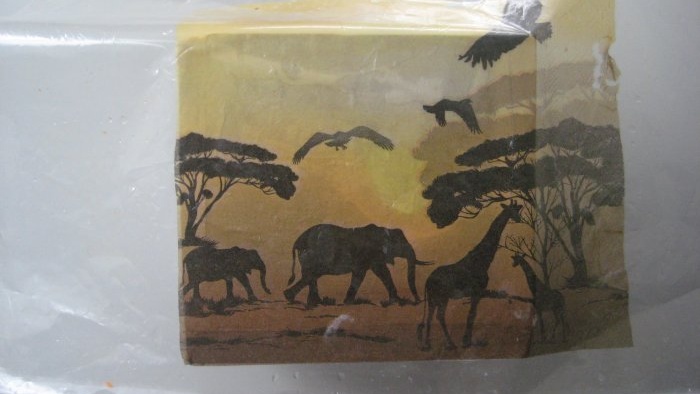
8. Attach the file with the motif to one of the sides of the box.
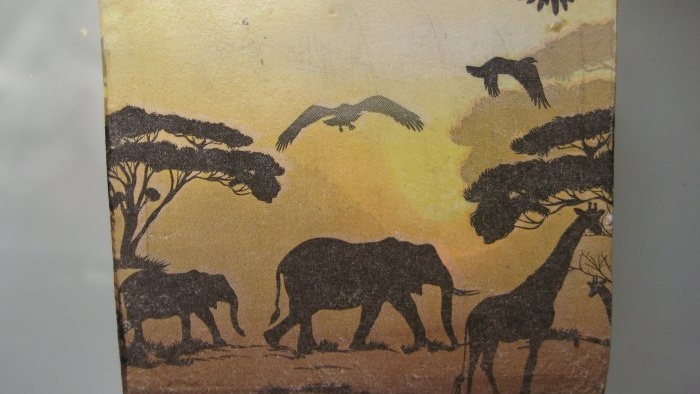
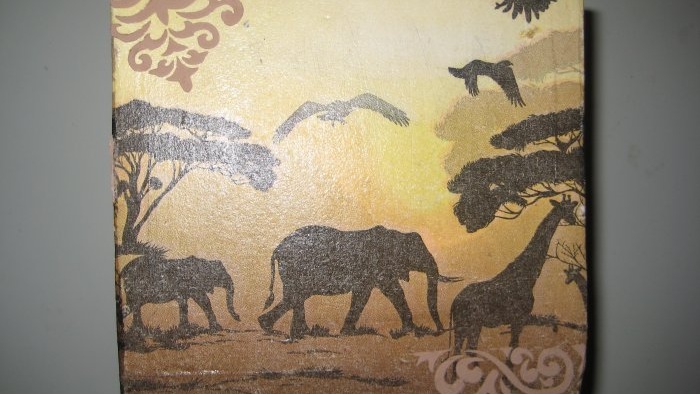
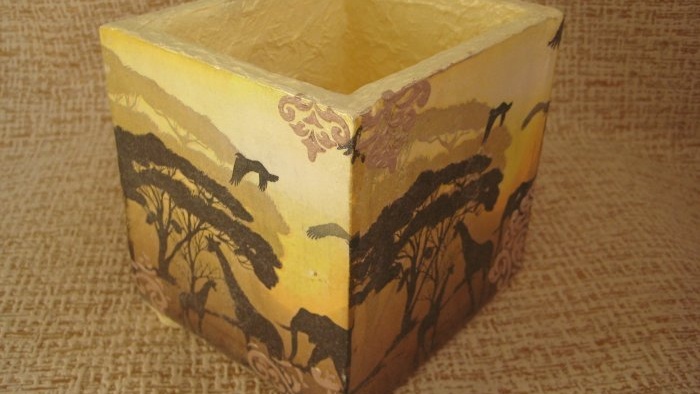
9. Smooth the napkin and remove the file. We remove the excess napkin with sandpaper. So we cover all the remaining sides of the box, except the bottom. Cover the napkin with acrylic varnish and let it dry.
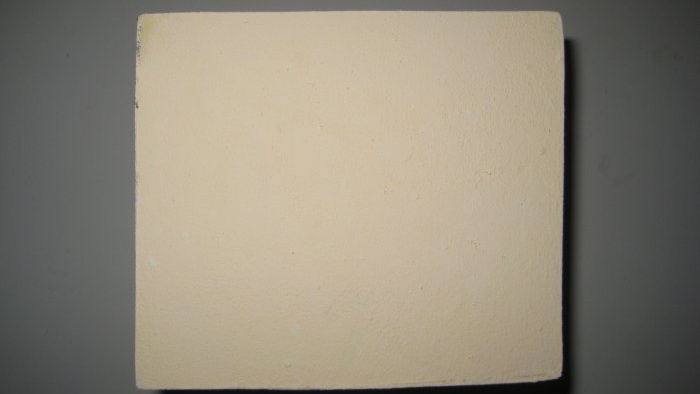
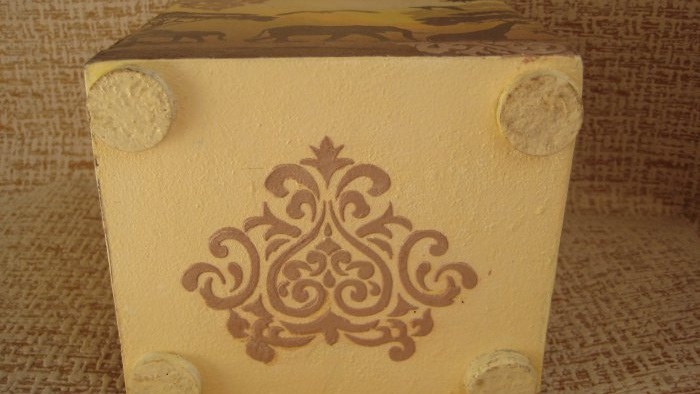
10. Paint the bottom with light beige paint.
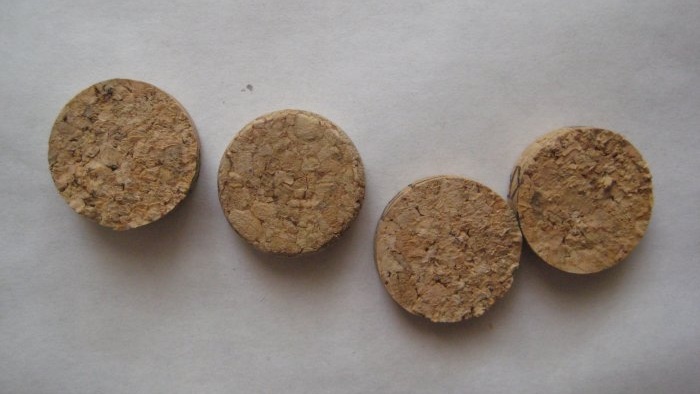
11. Next we make the legs for the box. To do this, cut the wine cork into 4 parts.
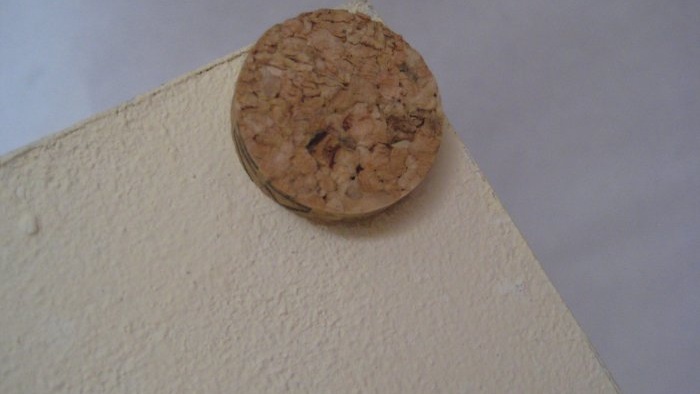
12. Glue the legs at the corners of the bottom.
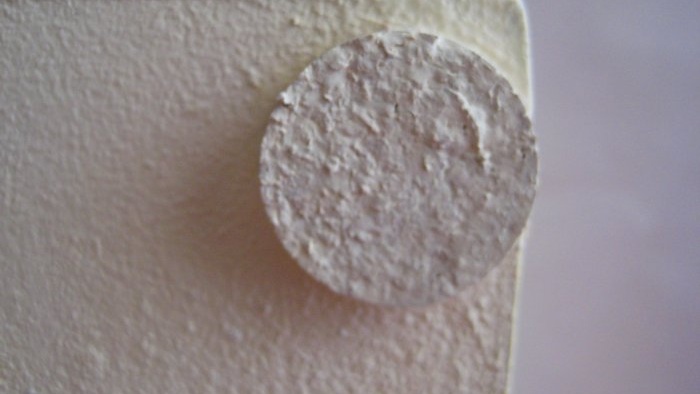
13. Paint the cork the same color as the bottom.
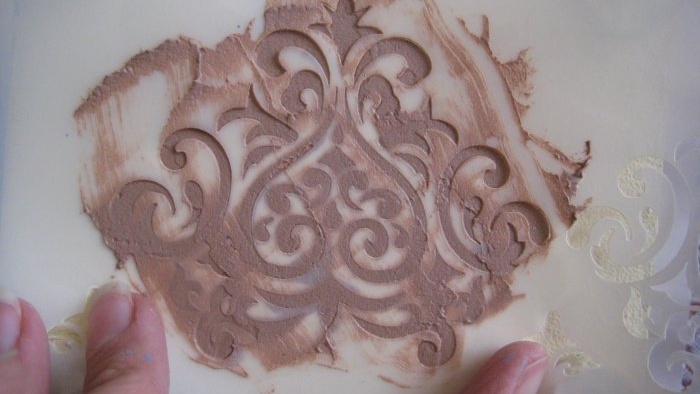
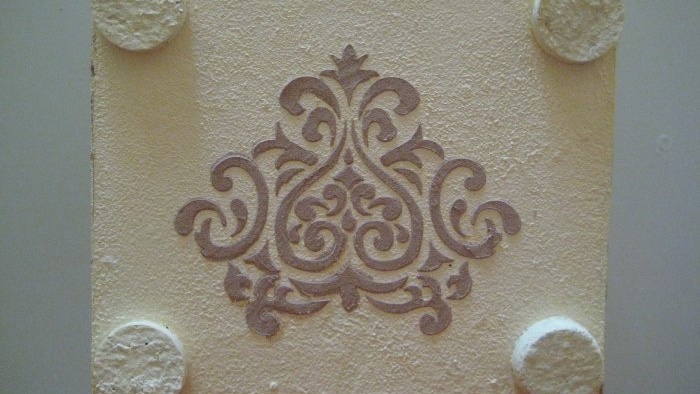
14. Decorate the central part of the bottom with a three-dimensional pattern. To do this, place the stencil in the center of the object and apply colored putty using a palette knife.
15. Remove the stencil and let the pattern dry.
16. Then we start decorating the sides of the box. We apply putty through a stencil in the form of small patterns.
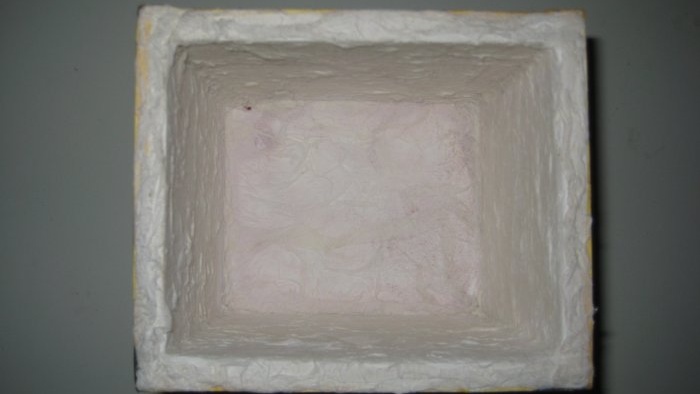
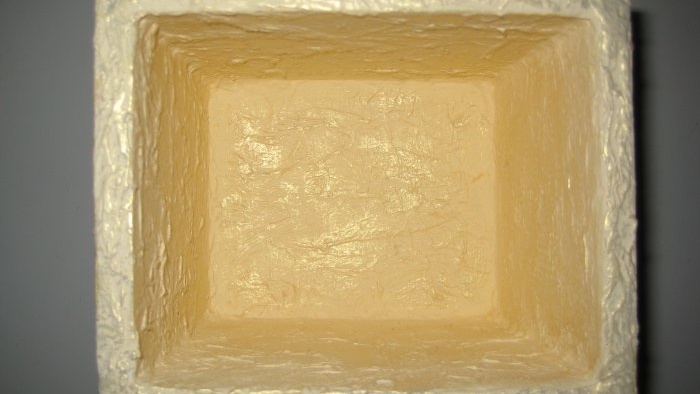
17. Cover the inside of the box with a crumpled white napkin.
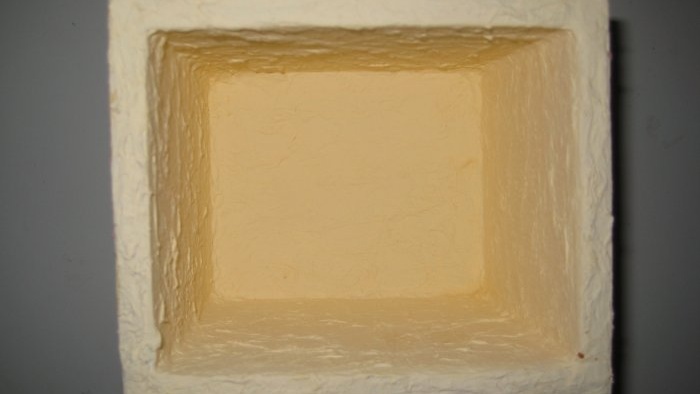
18. Paint the inside of the box with yellow paint.
19. We highlight the relief inside the box using gold acrylic paint.
17. Finally, cover the entire box with several layers of varnish. Dry each layer for at least 40 minutes.
18. The box for storing cosmetics is ready.
Let's try to make a box from plasterboard for storing women's cosmetics.
Will need
To make the box you will need the following materials:
- 1. Drywall (offcuts).
- 2. Universal putty.
- 3. Sandpaper.
- 4. Palette knife.
- 5. Napkin for decoupage.
- 6. File.
- 7. Acrylic paints.
- 8. Acrylic varnish.
- 9. Stencil.
- 10. Wine cork.
- 11. Stationery knife.
- 12. Ruler.
- 13. Pencil.
- 14. Glue gun.
Box manufacturing process
1. First of all, you need to decide on the size of the future box. Then we mark the 4 sides of the box and the bottom on the drywall. Under the ruler, draw a sharp knife along the drawn line. Then we place the resulting cut on the edge of the table and break off the remaining part of the drywall. So cut out all 5 parts.
2. Next we glue together all the sides of the box.
3. Then we glue the bottom to the frame.
4.The next step is to smooth out all the unevenness on the drywall. To do this, use putty to smooth out the recesses, cover the seams and sand the entire treated surface with sandpaper. Next, prime the box with white acrylic paint.
5. Let's start decorating the box. To do this, take a decoupage napkin and cut it into 4 parts.
6. Take 1 part of the napkin motif and place it face down on the file.
7. Then moisten the napkin with water and smooth out the folds.
8. Attach the file with the motif to one of the sides of the box.
9. Smooth the napkin and remove the file. We remove the excess napkin with sandpaper. So we cover all the remaining sides of the box, except the bottom. Cover the napkin with acrylic varnish and let it dry.
10. Paint the bottom with light beige paint.
11. Next we make the legs for the box. To do this, cut the wine cork into 4 parts.
12. Glue the legs at the corners of the bottom.
13. Paint the cork the same color as the bottom.
14. Decorate the central part of the bottom with a three-dimensional pattern. To do this, place the stencil in the center of the object and apply colored putty using a palette knife.
15. Remove the stencil and let the pattern dry.
16. Then we start decorating the sides of the box. We apply putty through a stencil in the form of small patterns.
17. Cover the inside of the box with a crumpled white napkin.
18. Paint the inside of the box with yellow paint.
19. We highlight the relief inside the box using gold acrylic paint.
17. Finally, cover the entire box with several layers of varnish. Dry each layer for at least 40 minutes.
18. The box for storing cosmetics is ready.
Similar master classes
Particularly interesting
Comments (2)

