How to quickly plant a lot of potatoes using a homemade hiller plow
Many people still plant potatoes with a shovel. This is extremely difficult and time-consuming. It is much faster and easier to plant potatoes in rows. If you make a hiller plow for this, the whole process will be simplified and accelerated as much as possible.
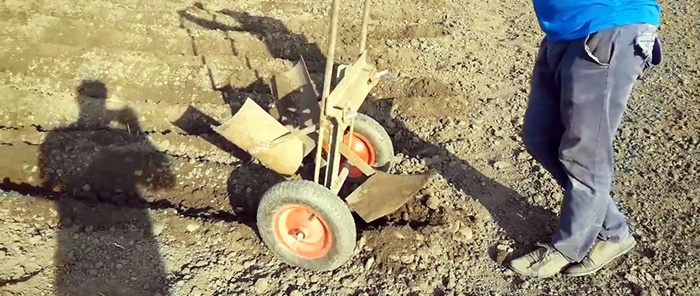
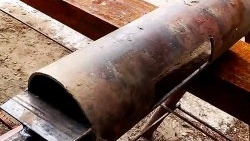
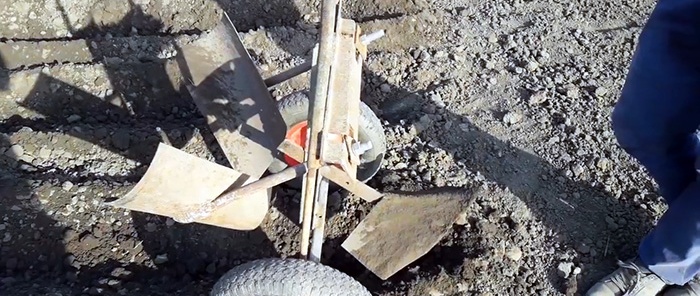
When making a test device, you need to install the wheels on the axle so that the wheelbase is 60 cm. Then a T-shaped frame from a corner is welded to it. A purchased or homemade plow is attached to the bed. It is welded closer to the wheels. On the opposite side of the plow, 2 cheeks are welded on stands, located at an angle relative to each other. They can be bent from sheet steel or simply cut from a large-diameter thick-walled pipe. Then a long U-shaped handle from the tube is welded. It is connected to the wheel axle and the frame.
The first row is marked on the site.It is important that it is straight, then all subsequent ones will also be straight. Then the device is installed by the plow on the marking. It pulls towards itself, while the movement is performed backwards.
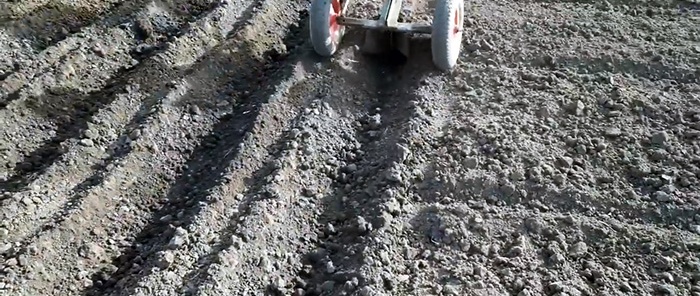
To dig a second trench, the device is turned around and installed with a wheel in its old track. Thus, it will be possible to maintain a distance of 60 cm between the rows.
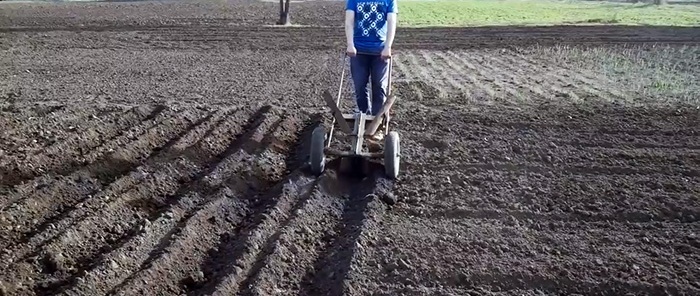
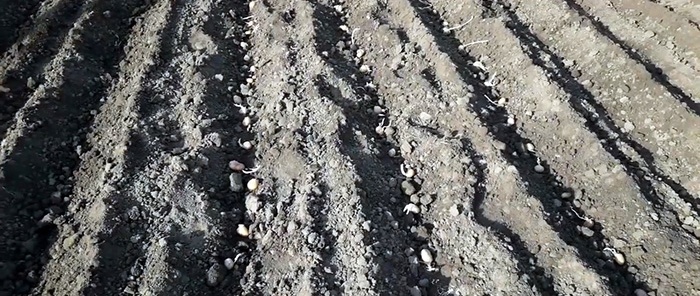
At this time, assistants throw potatoes into rows with an interval between tubers according to the recommended planting pattern for the selected variety. Usually this is 30 cm. If the soil at the time of work turns out to be too dense, then a weighting agent is tied to the top of the frame.
Having pulled out 4-6 rows, you need to return to the beginning, and turning the device over, on the contrary, stretch it with the hillers down.
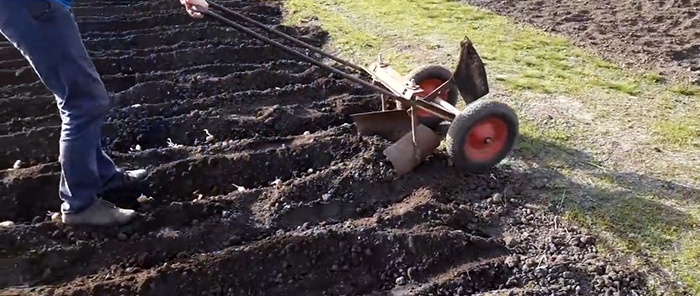
They will move the excavated soil into the trench, creating a ridge above it. It is important to alternate between digging and burying so that the exposed soil does not have time to dry out.
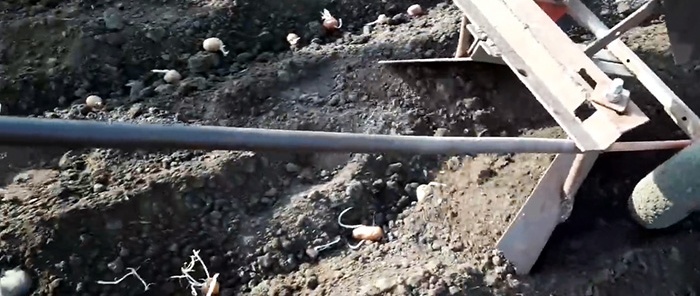
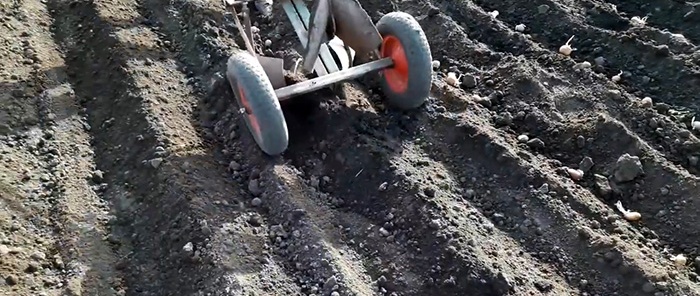
In the future, as soon as the first shoots appear, while the bushes are low, you can once again walk along the rows with your cheeks. They will refresh the comb and make it taller. Subsequently, when the tops become tall, the device is no longer used.
Ripened potatoes can be dug with the same plow that was used when planting. You just need to dig a row. If you do not do this, the wheels will crush the potatoes in the previous dump. First, the crop is pulled out and harvested through the row, then the remaining ridges are processed.
When using this device for planting potatoes, productivity increases significantly. It is advisable to have at least several assistants for laying out the tubers so that they can keep up with the plow.

Materials:
- Wheelbarrow wheels – 2 pcs.;
- pipes;
- corner;
- Sheet steel;
- plow.
The device of a manual plow-hiller
When making a test device, you need to install the wheels on the axle so that the wheelbase is 60 cm. Then a T-shaped frame from a corner is welded to it. A purchased or homemade plow is attached to the bed. It is welded closer to the wheels. On the opposite side of the plow, 2 cheeks are welded on stands, located at an angle relative to each other. They can be bent from sheet steel or simply cut from a large-diameter thick-walled pipe. Then a long U-shaped handle from the tube is welded. It is connected to the wheel axle and the frame.

Technology of using a double-sided hiller plow
The first row is marked on the site.It is important that it is straight, then all subsequent ones will also be straight. Then the device is installed by the plow on the marking. It pulls towards itself, while the movement is performed backwards.

To dig a second trench, the device is turned around and installed with a wheel in its old track. Thus, it will be possible to maintain a distance of 60 cm between the rows.

At this time, assistants throw potatoes into rows with an interval between tubers according to the recommended planting pattern for the selected variety. Usually this is 30 cm. If the soil at the time of work turns out to be too dense, then a weighting agent is tied to the top of the frame.

Having pulled out 4-6 rows, you need to return to the beginning, and turning the device over, on the contrary, stretch it with the hillers down.

They will move the excavated soil into the trench, creating a ridge above it. It is important to alternate between digging and burying so that the exposed soil does not have time to dry out.


In the future, as soon as the first shoots appear, while the bushes are low, you can once again walk along the rows with your cheeks. They will refresh the comb and make it taller. Subsequently, when the tops become tall, the device is no longer used.
Ripened potatoes can be dug with the same plow that was used when planting. You just need to dig a row. If you do not do this, the wheels will crush the potatoes in the previous dump. First, the crop is pulled out and harvested through the row, then the remaining ridges are processed.
When using this device for planting potatoes, productivity increases significantly. It is advisable to have at least several assistants for laying out the tubers so that they can keep up with the plow.
Watch the video
Similar master classes
Particularly interesting
Comments (1)

