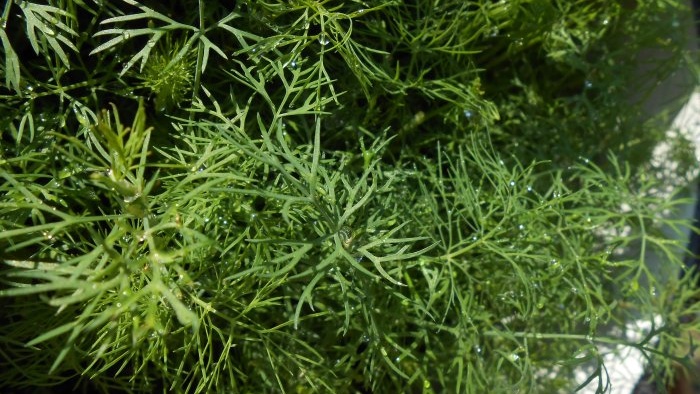
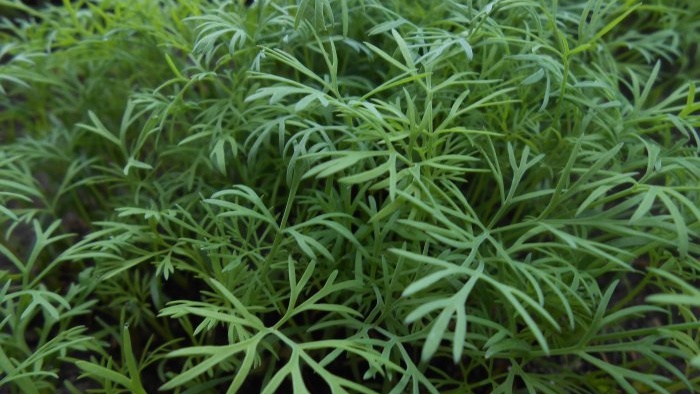
How to grow dill at home
Growing juicy and fragrant greens throughout the year on your own windowsill is a fascinating and useful hobby. It’s so nice to always have juicy sprigs of dill and parsley or basil and lettuce leaves on hand to decorate cold dishes and flavor hot dishes.
In addition, the greens of all vegetable crops are a source of not only vitamins and microelements, but also phytonutrients that are very beneficial for health (fatty oils, including especially valuable polyunsaturated fatty acids, proteins, fiber, organic acids, bioflavonoids, phytoncides, etc.).
And in order for your work in a mini garden to be crowned with success, you must follow certain recommendations from experienced plant growers and fans of organic farming. How to get a good harvest of the most popular leaf crop - dill - on the windowsill both in winter and summer?
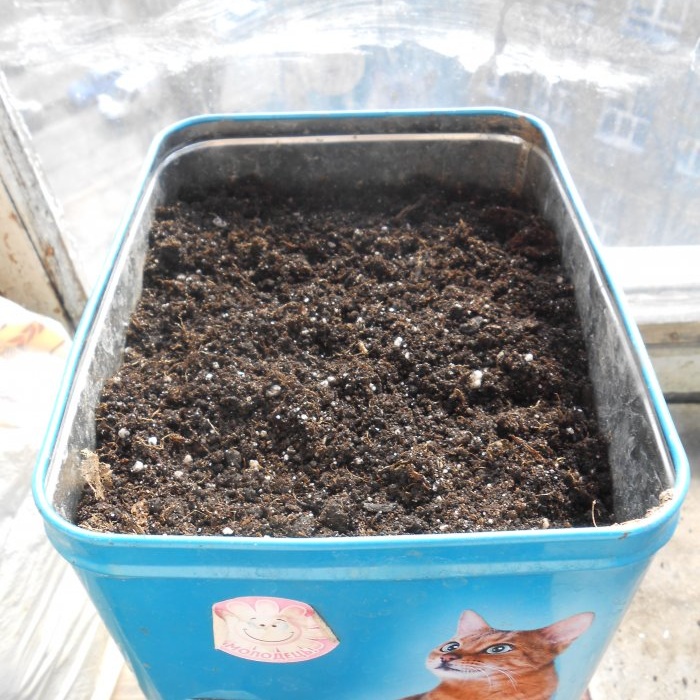
Dill can be grown in specialized containers for herbs, flower boxes, pots, flowerpots and any available containers whose depth exceeds 12 cm.
The presence of drainage holes in containers is desirable, but not required.In their absence, the bottom of the containers is covered with a two-centimeter layer of expanded clay, agroperlite, brick chips or fine gravel.
At home, it is recommended to grow early and mid-season varieties of dill, which are distinguished by their unpretentiousness and ability for abundant tillering, for example, “Amazon”, “Grenadier”, “Gribovsky”, “Dalniy”, “Redut”, “Umbrella”, “Lesnogorodsky”, “ Richelieu."
Dill seeds can be purchased both in specialized stores and on the market, where their cost is much lower. Or you can prepare planting material yourself by collecting ripened grains of your favorite varieties of umbrella crops in your own garden in the summer or early autumn.
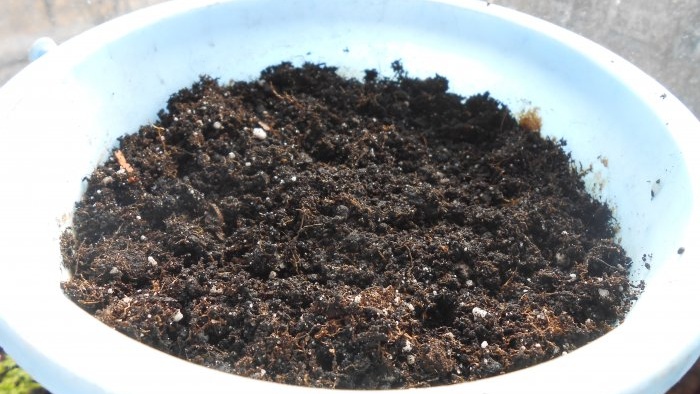
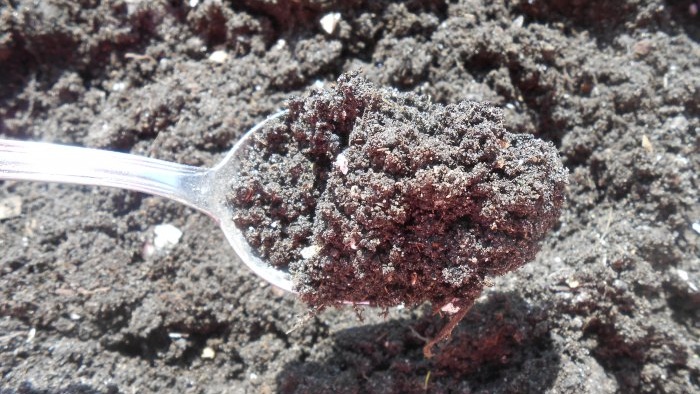
The optimal substrate for growing dill on a windowsill is a mixture of garden soil and ready-made peat-based soil with neutral acidity, for example, “Universal peat mixture for flowering and potted plants.”
The turf soil should be brought from the garden in advance, sifted through a fine-mesh sieve and baked in the oven for 30 minutes. The disinfected soil is mixed with the peat substrate in a 1:1 ratio, removing any large fractions (root residues, etc.).
On an open or glassed balcony facing east, south or west, dill produces stable harvests from April until the end of September. On the windowsill of a south-facing window, an insulated loggia or kitchen, the crop is grown without additional lighting from spring until early autumn.
In all other cases, obtaining a green harvest without installing additional lighting sources is impossible. The best option is to purchase specialized phytolamps or LED installations that provide plants with the required radiation spectrum.
Some gardeners use fluorescent lamps and fluorescent lamps. According to reviews from owners of bio lamps, electricity consumption when organizing additional illumination of plants does not increase significantly, since such devices are equipped with economical lamps.
In winter and in cloudy weather, daylight hours for dill should be 13-15 hours. On sunny days, additional lighting can be turned on early in the morning and after sunset. Lack of light is detrimental to plants. First, the dill shoots stretch out, then turn pale, and then become thinner and wither.
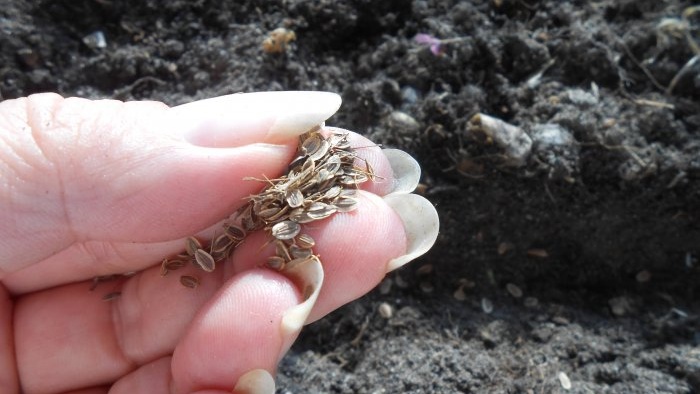
To speed up germination, it is recommended to soak dill seeds for a day before planting, changing the water in the container every 5 hours. This technique will allow the shell of essential oils that tightly covers the grains to partially dissolve. Before sowing, the seeds must be dried.
Fill the selected container with dry substrate and thoroughly moisten it with a mini watering can or spray bottle. Cut shallow grooves (up to 1 cm) on the surface of the earth and moisten the soil in them again. Sow the dill seeds densely and gently sprinkle them with dry soil.
It is also permissible to sow dill completely, without cutting furrows, and after spreading them evenly over the surface, moisten them with a spray bottle and sprinkle them with dry soil (a layer of about 5 mm).
Cover the container with plastic or glass and place in a dark place for 1 week. If you did everything correctly, then after a few hours drops of water - condensation - will appear on the inner surface of the film. The optimal temperature for germinating dill is from +20 to 24°C. Don’t forget to ventilate the mini greenhouse every day by removing the cover for a few minutes.
After the first shoots appear, place the container on a windowsill or under fluorescent lamps.
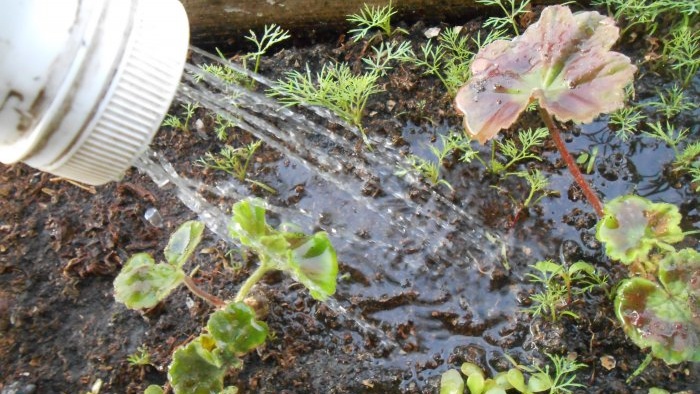
Water the sprouts from a sprinkler or mini watering can after the top layer of the earthen ball has dried (once every 2-3 days). Use water that has been settled or softened with special means without chlorine for irrigation.
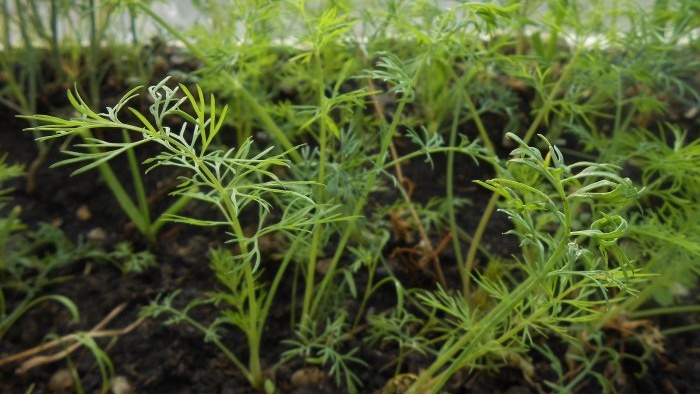
Grown sprigs of dill can be cut off after their length exceeds 15 cm. Trimming adult plants not only does not worsen the condition of the seedlings, but also promotes the formation of numerous new shoots. After the bushes weaken and new leaves stop appearing on them, they are removed.
As you can see, even a novice gardener and indoor gardening enthusiast can master growing leafy greens on a windowsill. We wish you excellent dill harvests at home!
In addition, the greens of all vegetable crops are a source of not only vitamins and microelements, but also phytonutrients that are very beneficial for health (fatty oils, including especially valuable polyunsaturated fatty acids, proteins, fiber, organic acids, bioflavonoids, phytoncides, etc.).
And in order for your work in a mini garden to be crowned with success, you must follow certain recommendations from experienced plant growers and fans of organic farming. How to get a good harvest of the most popular leaf crop - dill - on the windowsill both in winter and summer?
Planting containers
Dill can be grown in specialized containers for herbs, flower boxes, pots, flowerpots and any available containers whose depth exceeds 12 cm.
The presence of drainage holes in containers is desirable, but not required.In their absence, the bottom of the containers is covered with a two-centimeter layer of expanded clay, agroperlite, brick chips or fine gravel.
The best varieties
At home, it is recommended to grow early and mid-season varieties of dill, which are distinguished by their unpretentiousness and ability for abundant tillering, for example, “Amazon”, “Grenadier”, “Gribovsky”, “Dalniy”, “Redut”, “Umbrella”, “Lesnogorodsky”, “ Richelieu."
Dill seeds can be purchased both in specialized stores and on the market, where their cost is much lower. Or you can prepare planting material yourself by collecting ripened grains of your favorite varieties of umbrella crops in your own garden in the summer or early autumn.
Soil
The optimal substrate for growing dill on a windowsill is a mixture of garden soil and ready-made peat-based soil with neutral acidity, for example, “Universal peat mixture for flowering and potted plants.”
The turf soil should be brought from the garden in advance, sifted through a fine-mesh sieve and baked in the oven for 30 minutes. The disinfected soil is mixed with the peat substrate in a 1:1 ratio, removing any large fractions (root residues, etc.).
Lighting
On an open or glassed balcony facing east, south or west, dill produces stable harvests from April until the end of September. On the windowsill of a south-facing window, an insulated loggia or kitchen, the crop is grown without additional lighting from spring until early autumn.
In all other cases, obtaining a green harvest without installing additional lighting sources is impossible. The best option is to purchase specialized phytolamps or LED installations that provide plants with the required radiation spectrum.
Some gardeners use fluorescent lamps and fluorescent lamps. According to reviews from owners of bio lamps, electricity consumption when organizing additional illumination of plants does not increase significantly, since such devices are equipped with economical lamps.
In winter and in cloudy weather, daylight hours for dill should be 13-15 hours. On sunny days, additional lighting can be turned on early in the morning and after sunset. Lack of light is detrimental to plants. First, the dill shoots stretch out, then turn pale, and then become thinner and wither.
Sowing
To speed up germination, it is recommended to soak dill seeds for a day before planting, changing the water in the container every 5 hours. This technique will allow the shell of essential oils that tightly covers the grains to partially dissolve. Before sowing, the seeds must be dried.
Fill the selected container with dry substrate and thoroughly moisten it with a mini watering can or spray bottle. Cut shallow grooves (up to 1 cm) on the surface of the earth and moisten the soil in them again. Sow the dill seeds densely and gently sprinkle them with dry soil.
It is also permissible to sow dill completely, without cutting furrows, and after spreading them evenly over the surface, moisten them with a spray bottle and sprinkle them with dry soil (a layer of about 5 mm).
Cover the container with plastic or glass and place in a dark place for 1 week. If you did everything correctly, then after a few hours drops of water - condensation - will appear on the inner surface of the film. The optimal temperature for germinating dill is from +20 to 24°C. Don’t forget to ventilate the mini greenhouse every day by removing the cover for a few minutes.
Care
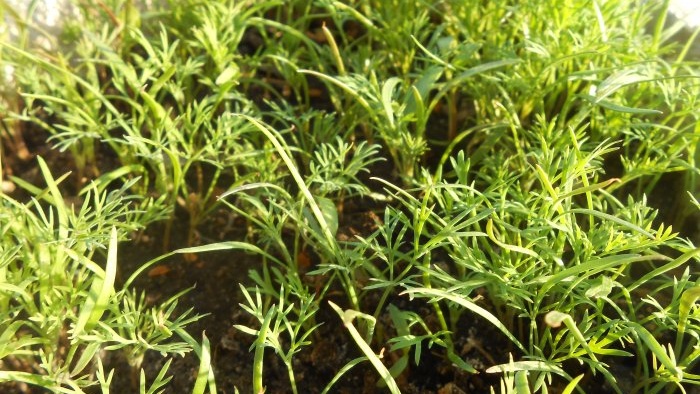
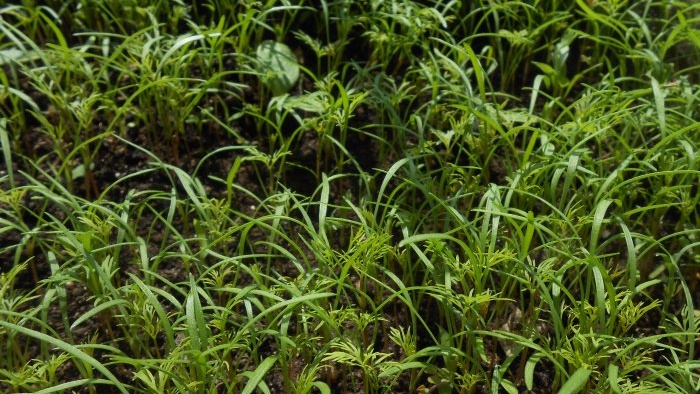
After the first shoots appear, place the container on a windowsill or under fluorescent lamps.
Water the sprouts from a sprinkler or mini watering can after the top layer of the earthen ball has dried (once every 2-3 days). Use water that has been settled or softened with special means without chlorine for irrigation.
Grown sprigs of dill can be cut off after their length exceeds 15 cm. Trimming adult plants not only does not worsen the condition of the seedlings, but also promotes the formation of numerous new shoots. After the bushes weaken and new leaves stop appearing on them, they are removed.
As you can see, even a novice gardener and indoor gardening enthusiast can master growing leafy greens on a windowsill. We wish you excellent dill harvests at home!
Similar master classes

How to grow green onions and garlic on a windowsill

How to preserve the germination of vegetable and flower seeds in
So as not to buy later: how to properly collect and dry dill

Forcing onions onto greens at home in water and soil

Anyone can grow green onions on a windowsill without any worries.
Onions on greens in a city apartment
Particularly interesting
Comments (0)

