Christmas ball made of wrapping paper
Master class on creating a Christmas ball from wrapping paper. It is very easy to make such a craft with your own hands. You can decorate the entire Christmas tree with these balls. You can make your Christmas tree stylish and unique by changing both the size of the toys and the color scheme. To change the size, make cone blanks either smaller or larger. To make a red toy, you will need to make the cones with the silver color facing out and that's it.
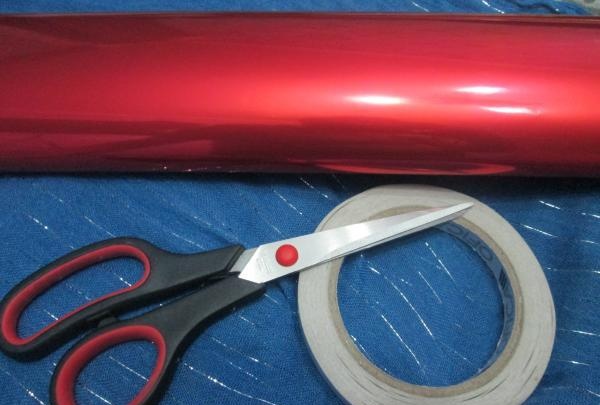
1. We will need:
• Wrapping paper. (Two-color).
• Double-sided tape.
• Scissors.
2. We make these templates. A semicircle is needed to cut out identical pieces. The second is to roll the blanks into identical cones.
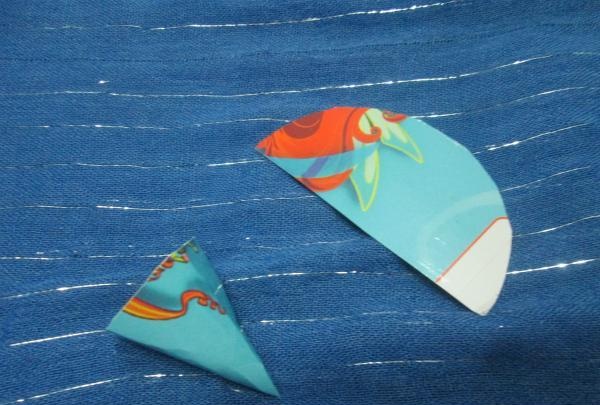
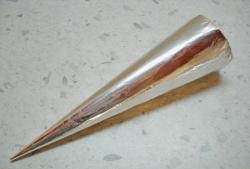
3. We cut out the blanks, the diameter of one such blank is 9 cm. We will need about 50 of them.
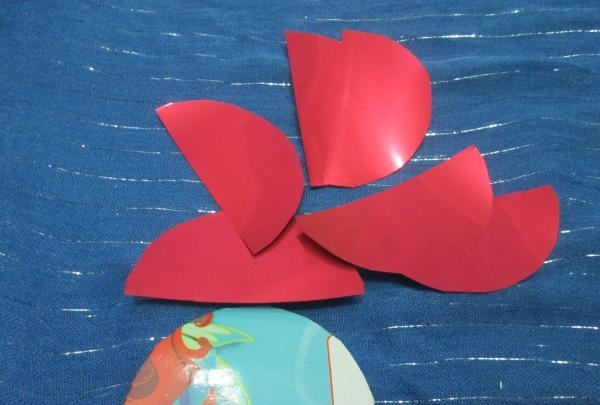
4. Place the cone template in the center of the workpiece.
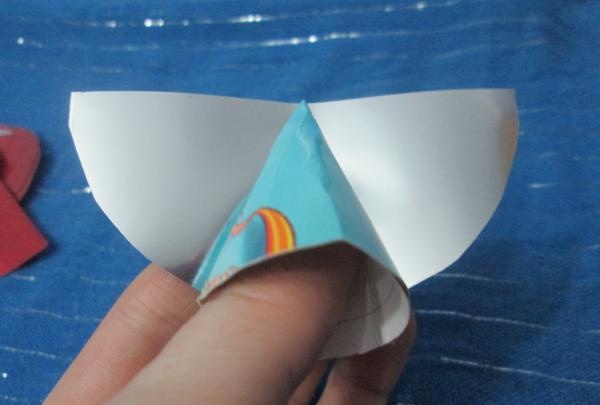
5. First we wrap one corner, and then the second corner.
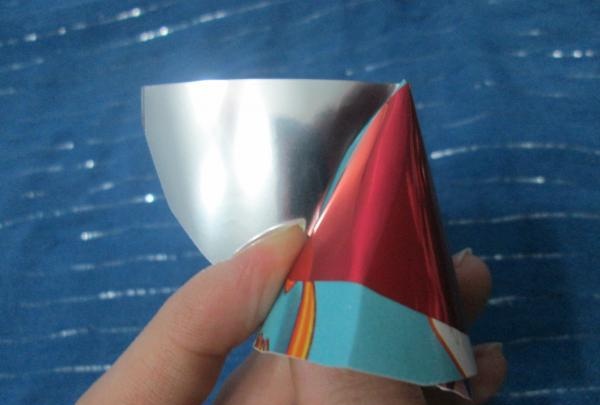
6. Secure with double-sided tape. Set aside without removing the protective film.
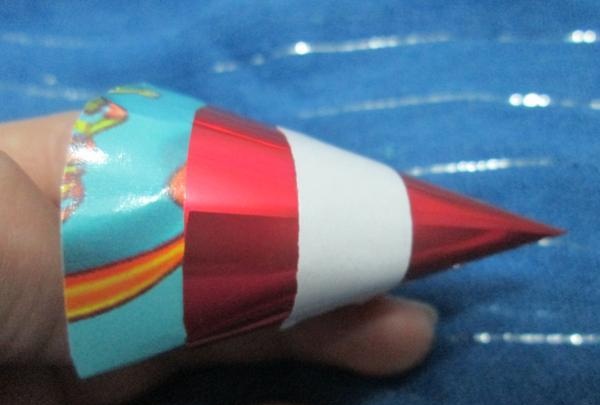
7. Thus, we make a sufficient number of cone blanks.
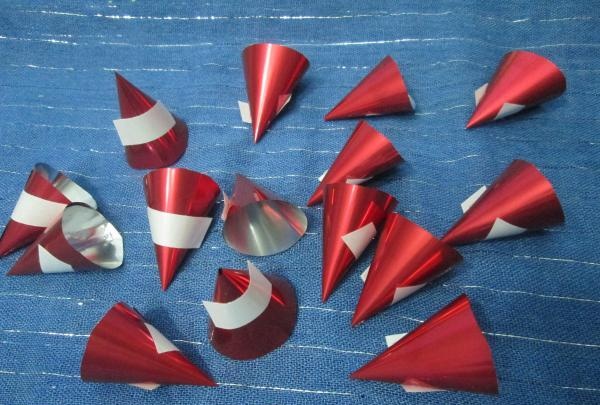
8. Remove the protective film and begin gluing the cones together.You should end up with a circle like this.
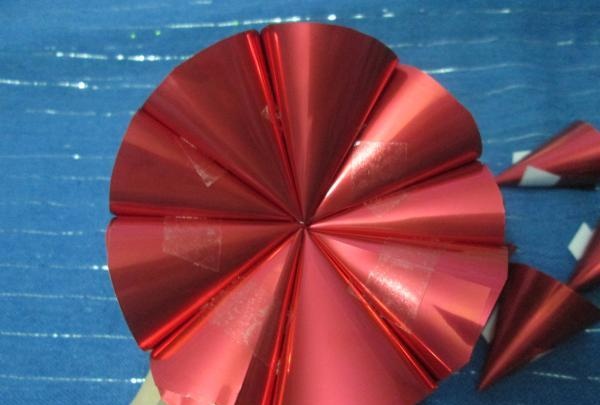
9. Place the second row of blanks on top. And continue until the empty space runs out.
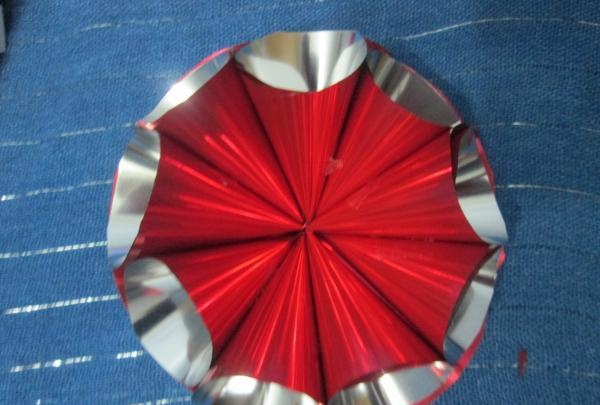
10. One half of the toy is ready.
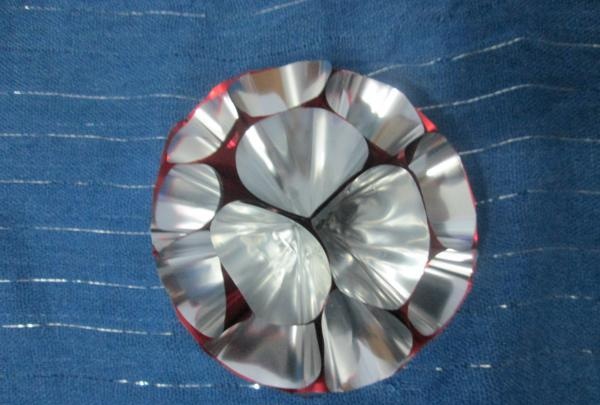
11. Turn over half the ball and place the cones further.
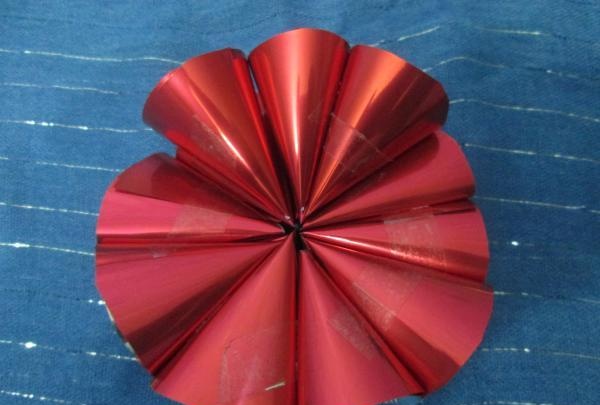
12. The Christmas tree toy is ready.
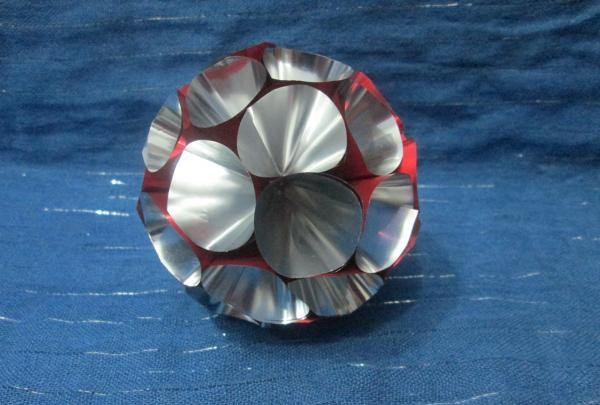
1. We will need:
• Wrapping paper. (Two-color).
• Double-sided tape.
• Scissors.

2. We make these templates. A semicircle is needed to cut out identical pieces. The second is to roll the blanks into identical cones.

3. We cut out the blanks, the diameter of one such blank is 9 cm. We will need about 50 of them.

4. Place the cone template in the center of the workpiece.

5. First we wrap one corner, and then the second corner.

6. Secure with double-sided tape. Set aside without removing the protective film.

7. Thus, we make a sufficient number of cone blanks.

8. Remove the protective film and begin gluing the cones together.You should end up with a circle like this.

9. Place the second row of blanks on top. And continue until the empty space runs out.

10. One half of the toy is ready.

11. Turn over half the ball and place the cones further.

12. The Christmas tree toy is ready.

Similar master classes
Particularly interesting
Comments (0)


