Pastry cones for baking
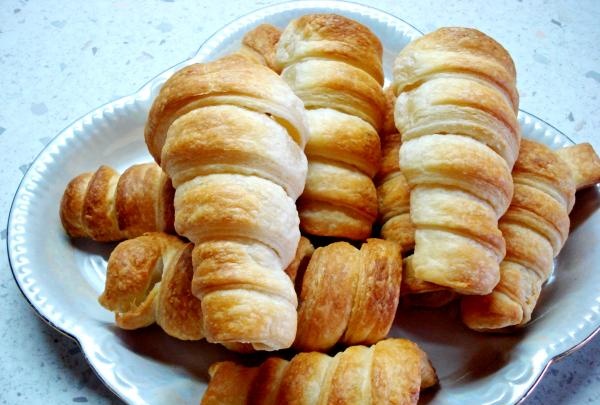
The very popular “Cream Rolls” cakes require a base on which strips of dough will be wound. You can prepare many different desserts from all kinds of dough using this cone shape as a base.
Option I: reusable pastry cone
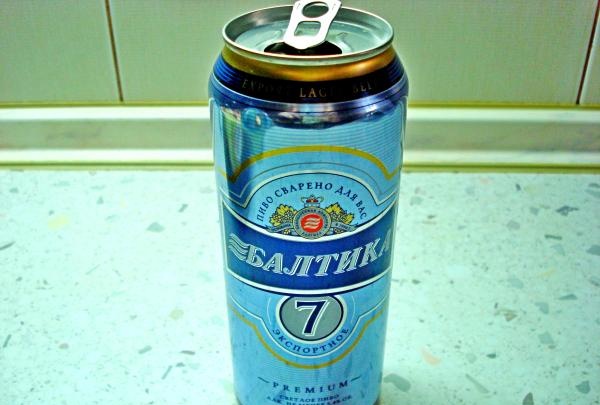
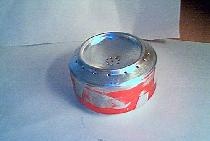
This confectionery cone is made from beverage cans. This makes it possible to use food-grade (which is very important) tin, which is thin and therefore easy to process.
To make your own 8 pastry cones for baking straws, you will need the following items:
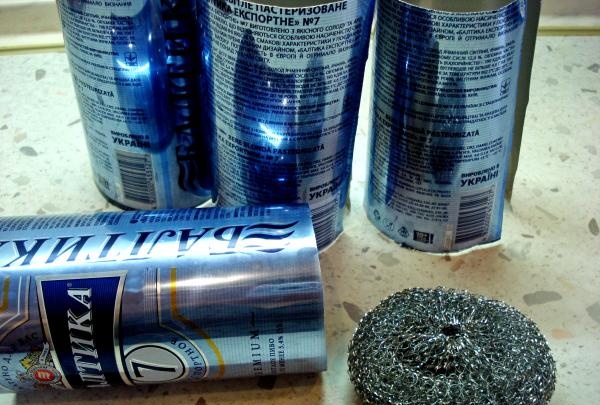
1. Used beverage cans – 4 pcs.;
2. Steel wool;
3. Ruler;
4. Scissors.
Manufacturing sequence:
1. For tin cans, you need to cut off the top and bottom with scissors, having first made the first hole along the cut line with a knife.
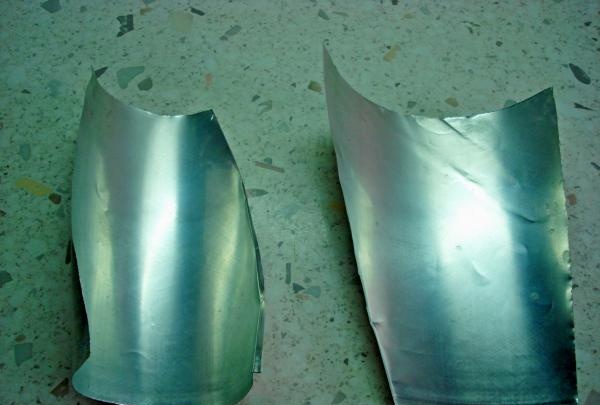
2. Cut the resulting cylinders lengthwise.
3. Use steel wool to clean off the entire pattern from the can.
4. Divide the long sides of the resulting rectangle into 3 equal parts, making notches with a knife.
5.Cut the rectangle into 2 trapezoids, one base of which is 1/3 of the marked side of the rectangle, and the second base is 2/3 of this side.
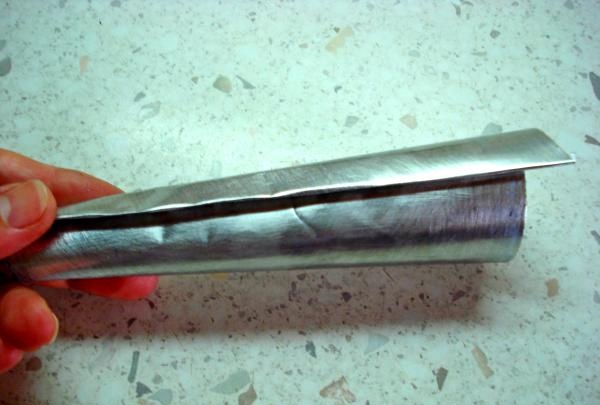
6. Make 3 mm bends on the sides of the trapezoids, and they should be directed in opposite directions from each other. In the future, this will be a kind of lock that holds the cone in a folded position.
7. Roll the tube into a cone, interlocking the bent sides together.

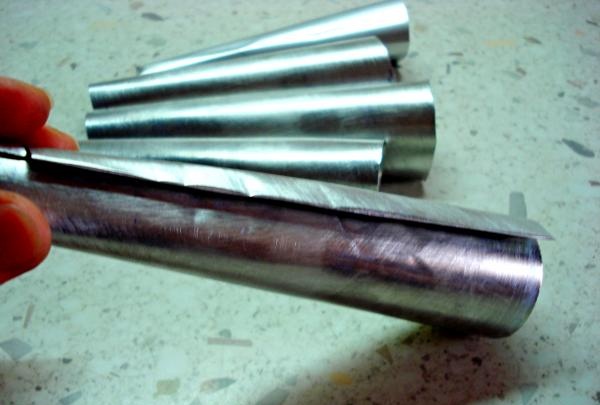
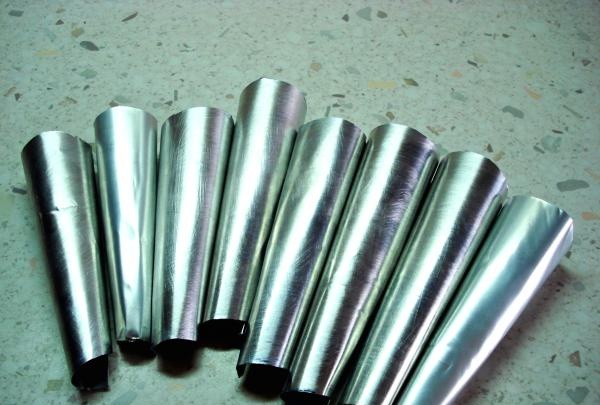
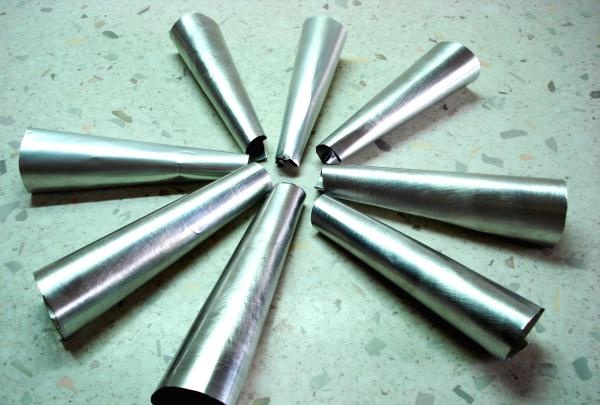
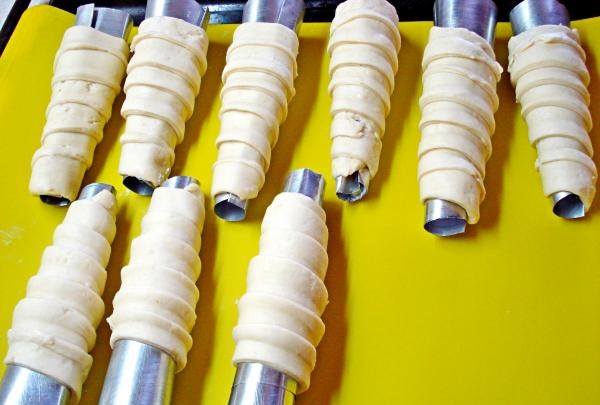

The reusable pastry cone is ready. After baking the dough tubes, the tin cones are easily removed: you just need to press them down a little so that they reduce their diameter, and the baked goods themselves will slide onto the prepared dish.
Washed and dried metal tubes are stacked one on top of the other and stored until next time.
Option II: quick-to-make pastry cone, but not for long-term use
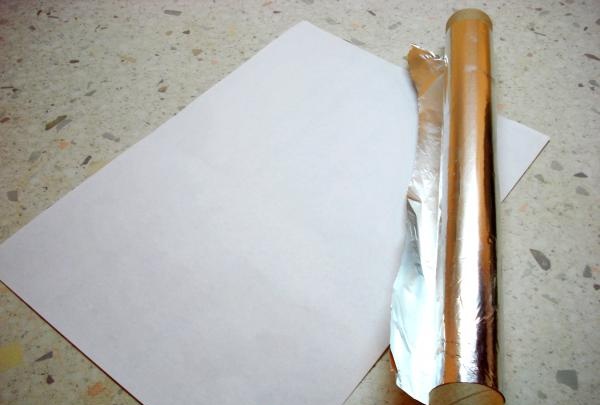
There are situations when you urgently need a pastry cone for baking, but there are no blanks for making it. In this case, you need to stock up on the most common items:
1. Blank A-4 paper;
2. Food foil;
3. Scissors.
Manufacturing sequence:
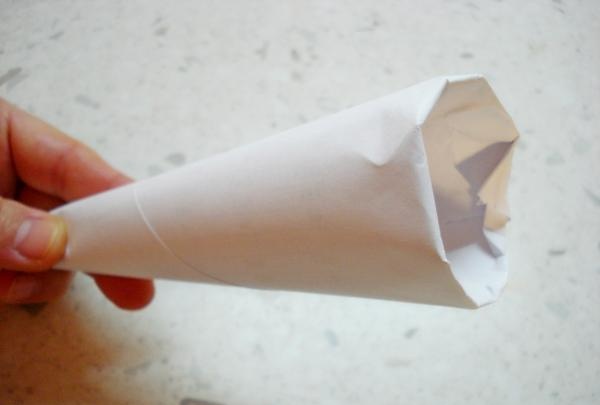
1. Roll a ball out of paper.
2. Tuck the protruding parts inside the bag so that you get a circle at the base of the cone.
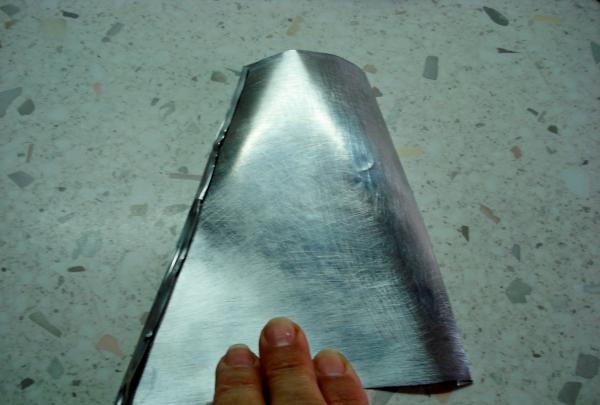
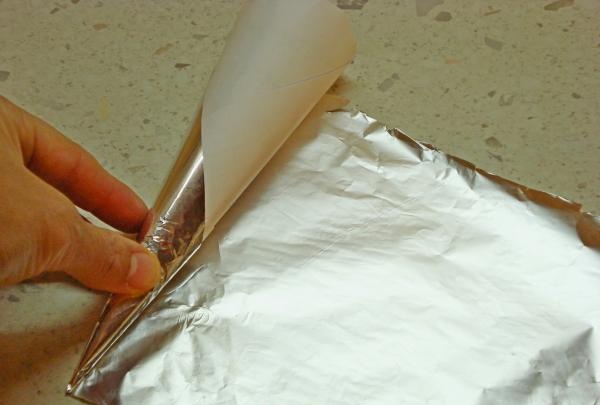
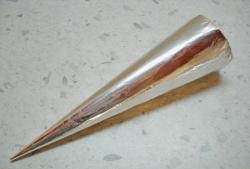
3. Screw the foil onto the paper cone.
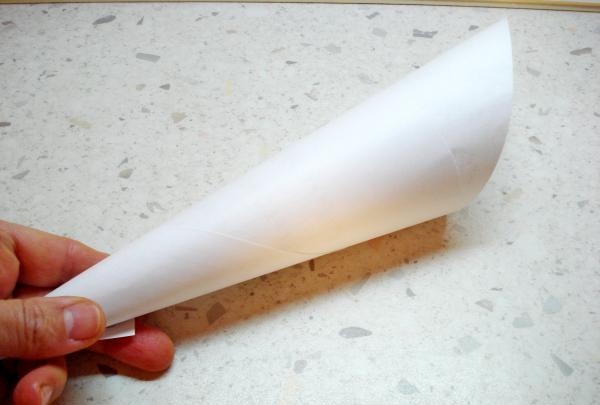

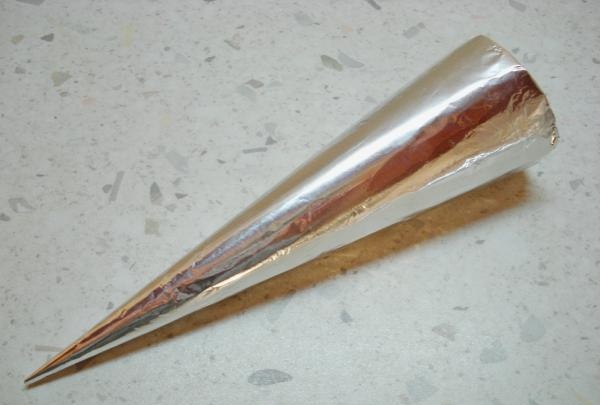
The paper cone covered with foil is ready. Such a confectionery cone usually crumples after the first use and is unsuitable for further use. But in difficult times it helps a lot.
All that remains is to decide which pastry cone to make. Good luck!
Option I: reusable pastry cone
This confectionery cone is made from beverage cans. This makes it possible to use food-grade (which is very important) tin, which is thin and therefore easy to process.
To make your own 8 pastry cones for baking straws, you will need the following items:
1. Used beverage cans – 4 pcs.;
2. Steel wool;
3. Ruler;
4. Scissors.
Manufacturing sequence:
1. For tin cans, you need to cut off the top and bottom with scissors, having first made the first hole along the cut line with a knife.
2. Cut the resulting cylinders lengthwise.
3. Use steel wool to clean off the entire pattern from the can.
4. Divide the long sides of the resulting rectangle into 3 equal parts, making notches with a knife.
5.Cut the rectangle into 2 trapezoids, one base of which is 1/3 of the marked side of the rectangle, and the second base is 2/3 of this side.
6. Make 3 mm bends on the sides of the trapezoids, and they should be directed in opposite directions from each other. In the future, this will be a kind of lock that holds the cone in a folded position.
7. Roll the tube into a cone, interlocking the bent sides together.
The reusable pastry cone is ready. After baking the dough tubes, the tin cones are easily removed: you just need to press them down a little so that they reduce their diameter, and the baked goods themselves will slide onto the prepared dish.
Washed and dried metal tubes are stacked one on top of the other and stored until next time.
Option II: quick-to-make pastry cone, but not for long-term use
There are situations when you urgently need a pastry cone for baking, but there are no blanks for making it. In this case, you need to stock up on the most common items:
1. Blank A-4 paper;
2. Food foil;
3. Scissors.
Manufacturing sequence:
1. Roll a ball out of paper.
2. Tuck the protruding parts inside the bag so that you get a circle at the base of the cone.
3. Screw the foil onto the paper cone.
The paper cone covered with foil is ready. Such a confectionery cone usually crumples after the first use and is unsuitable for further use. But in difficult times it helps a lot.
All that remains is to decide which pastry cone to make. Good luck!
Similar master classes


Particularly interesting


Comments (2)
