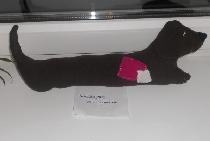
How to sew a soft toy dog
In order to sew a soft toy with our own hands, we will need two types of cotton fabric, cotton wool for stuffing, threads to match the color of the fabric, a needle, black threads to make the nose and claws, ribbon for decoration, special eyes for toys that can be purchase in sewing accessories stores, or instead just black beads and glue.
Manufacturing process:
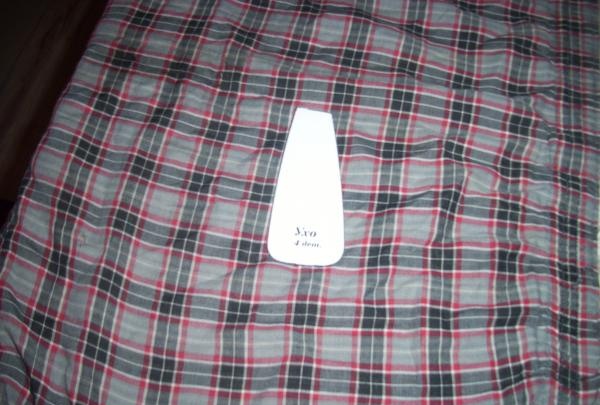
1. Cut out a pattern from paper, cardboard or old newspapers. Next, cut out the necessary parts from the fabric. The number of parts is indicated in the diagram. We cut out the body, paws, head and tail from one fabric, and the ears from another. To save money, you can use old clothes, which are usually discarded as rags. I used an old white t-shirt and old shorts.
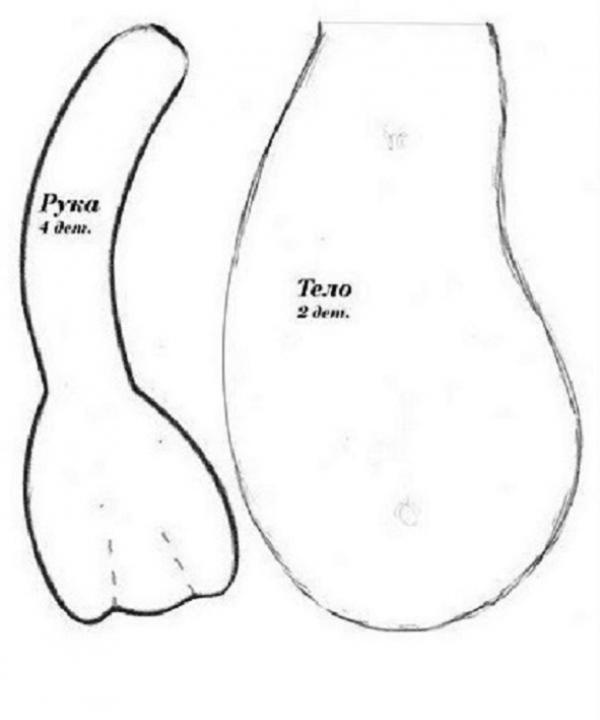
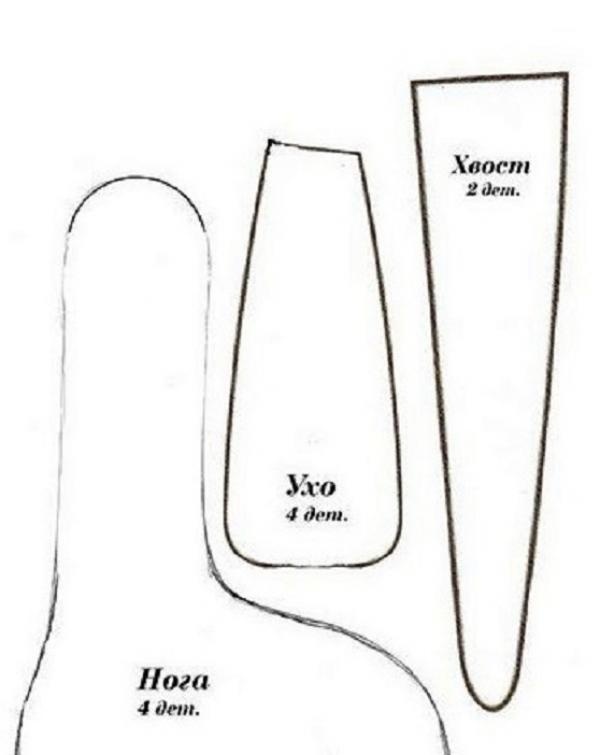
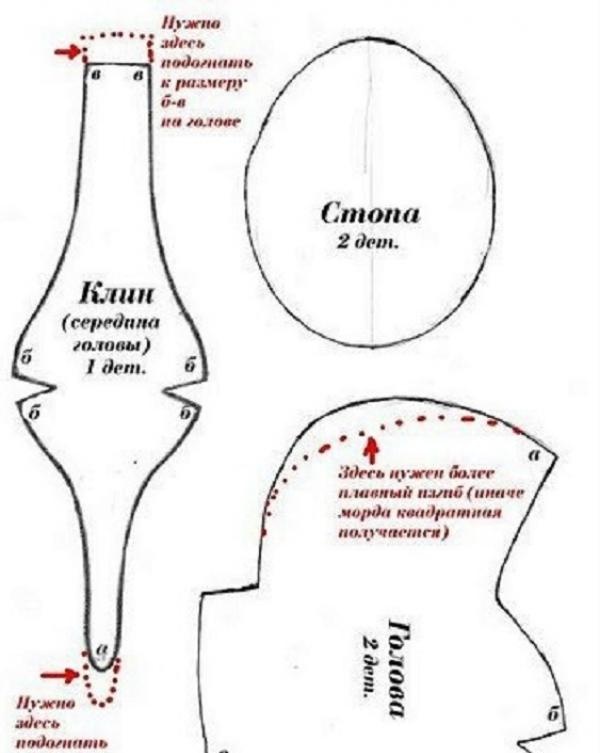
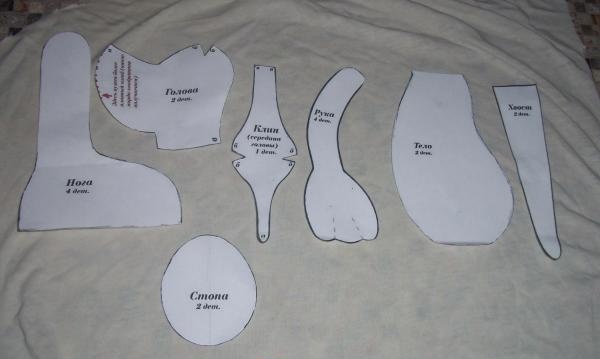
2. It is necessary to sew the parts of the head together from the inside out, using a needle and thread of a suitable color. You can sew with an overlock stitch or a regular connecting stitch. Turn it inside out and stuff it with cotton wool.
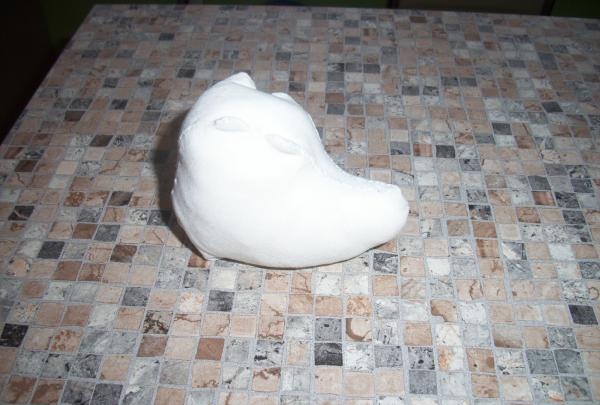
3. Sew together the details of the ears. Turn it inside out and stuff it with cotton wool.
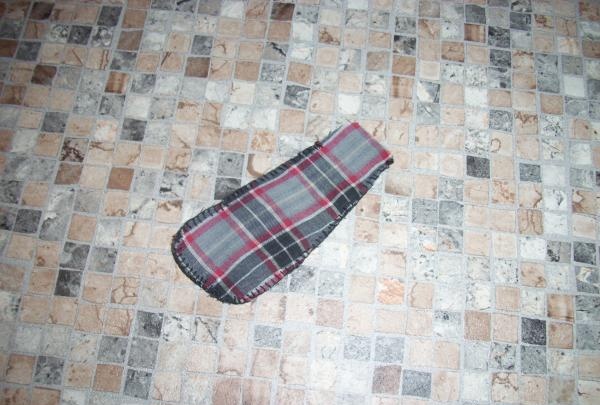
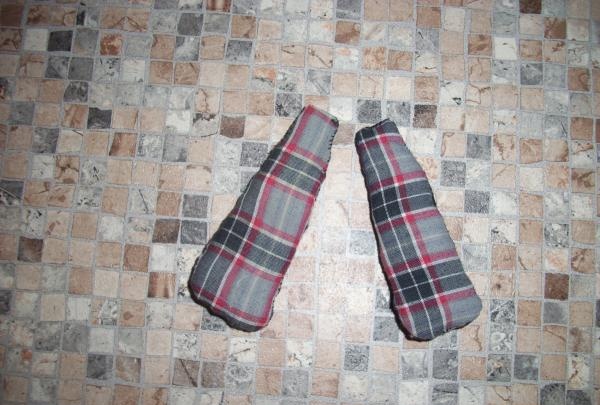
4. We also sew together the parts of the paws and tail and also stuff them well with cotton wool.You can sew feet to the paws, but this is not necessary, since this toy is not meant to stand.
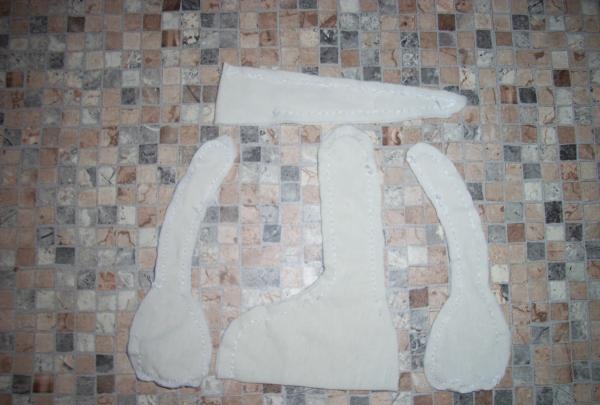
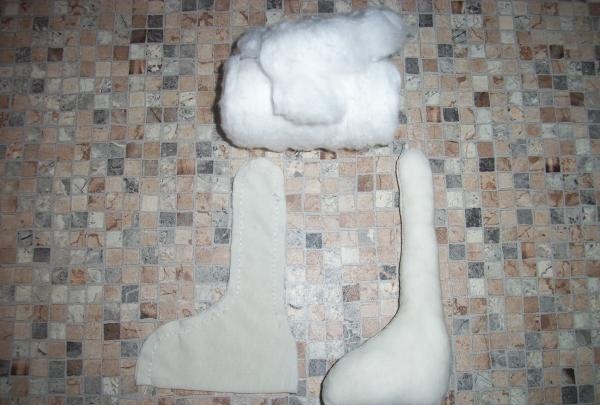
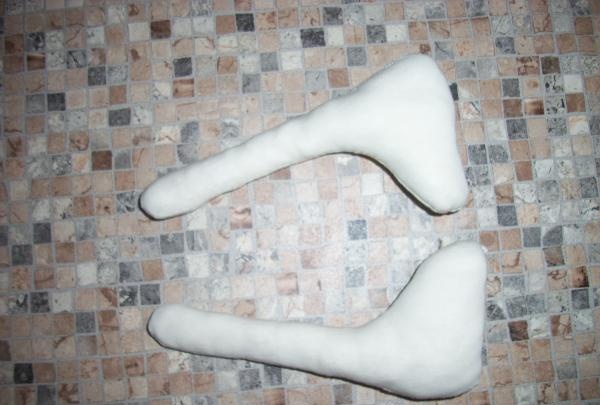
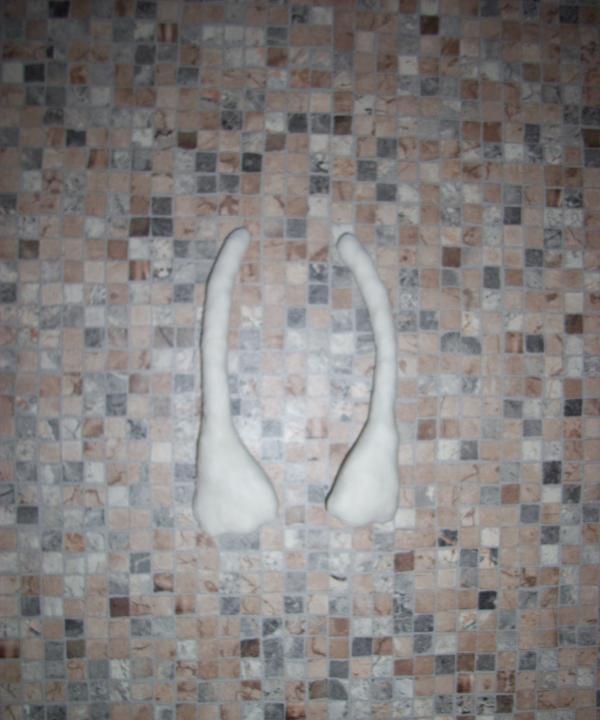
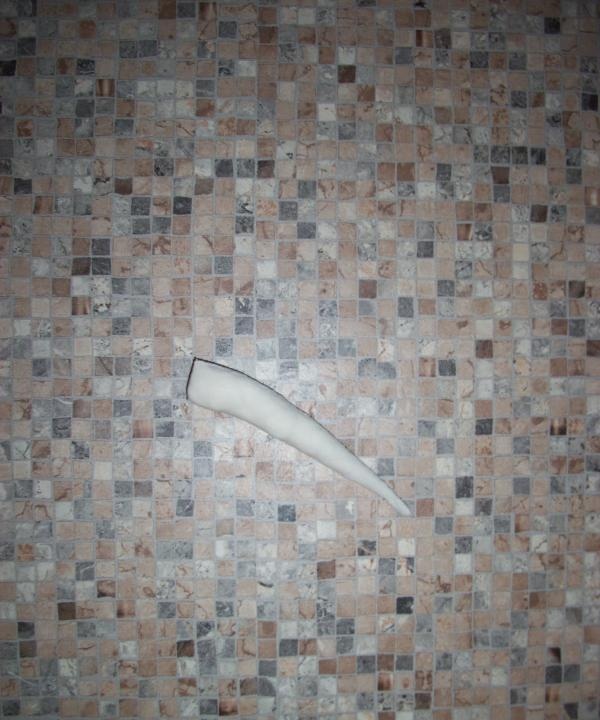
5. We sew together the parts of the dog’s body, stuff it with cotton wool and sew the head to it.
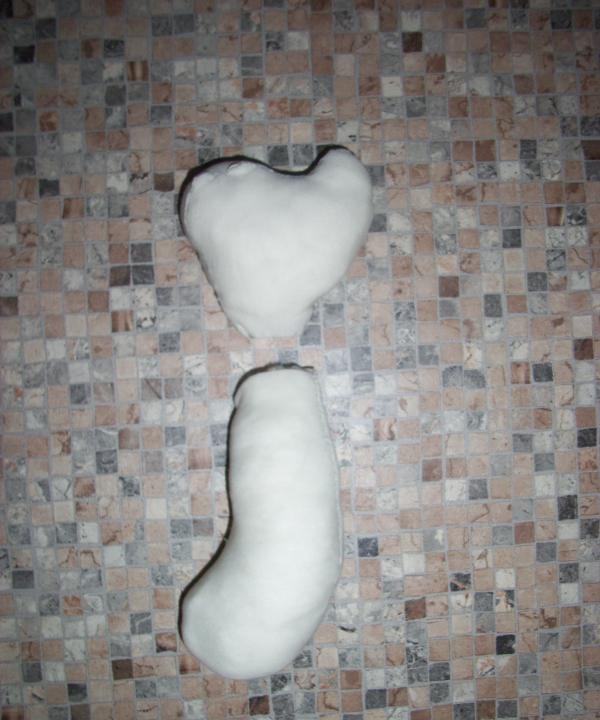
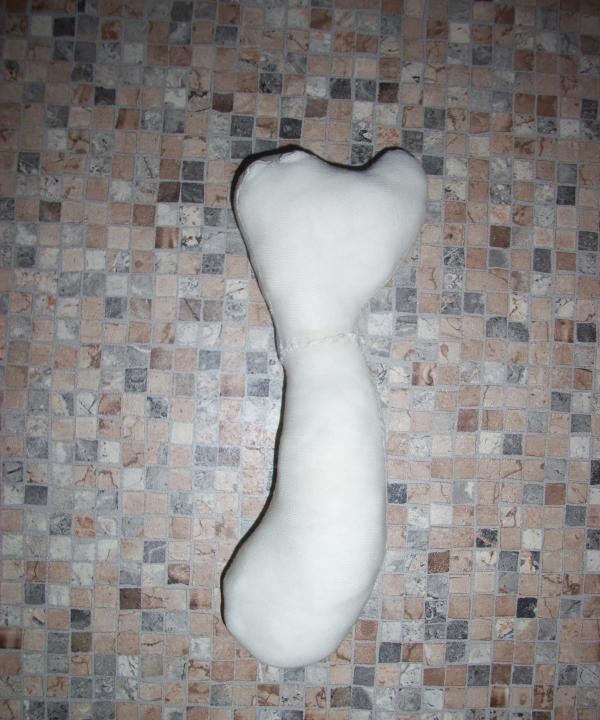
6. Sew the paws and tail to the body.
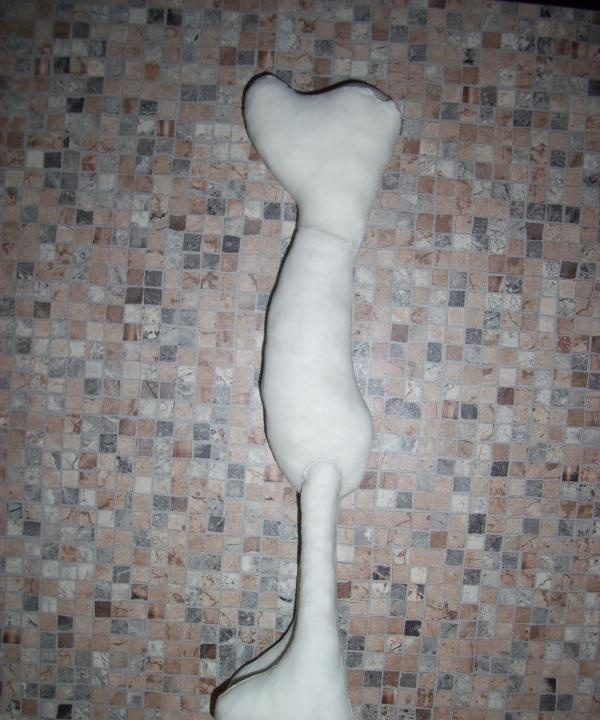
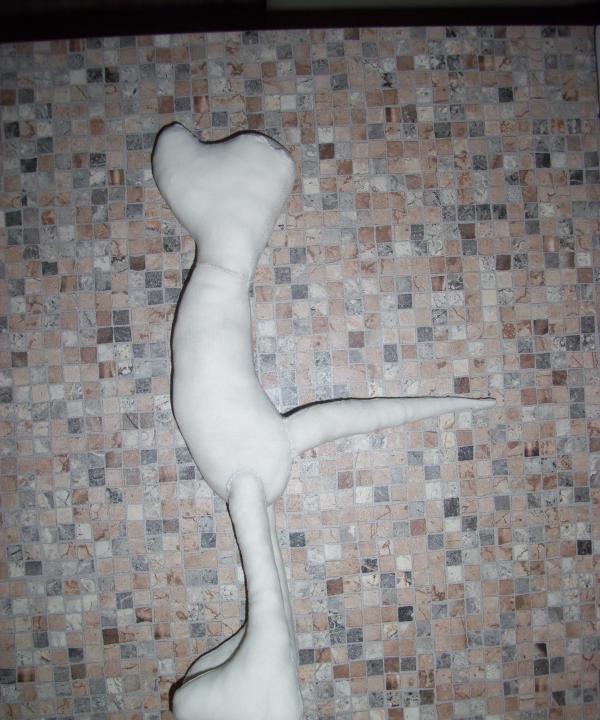
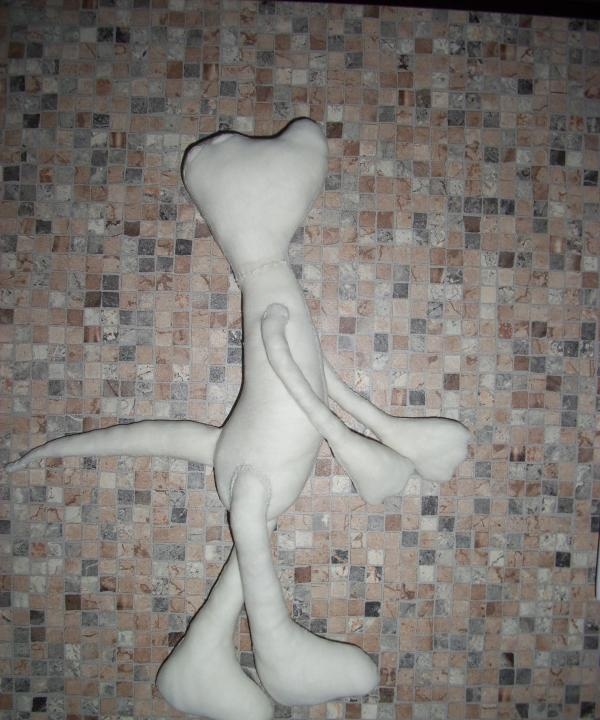
7. Sew the ears to the head. We take a needle and black thread and embroider a nose and mouth on the dog’s head. We embroider claws on the paws.
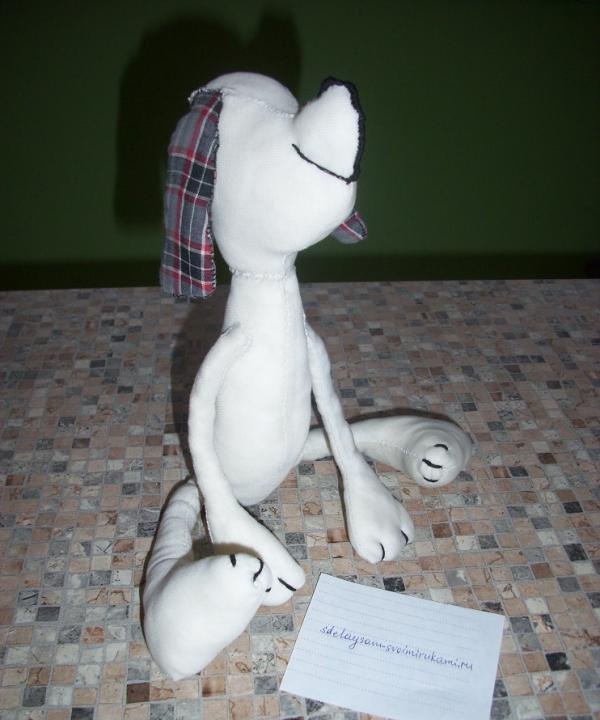
8. Take the eyes bought at a sewing accessories store and glue them onto the head. If there are no such eyes, then you can sew on black beads. Tie a ribbon around the neck for decoration. The dog is ready.
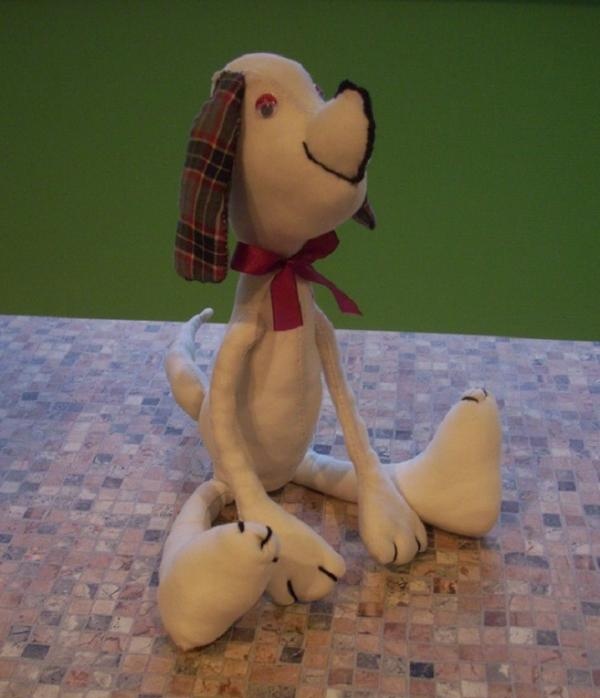
If you wish, you can come up with and sew some kind of suit or dress for this toy. You can make necklaces from any beads. You just need a little imagination.
Manufacturing process:
1. Cut out a pattern from paper, cardboard or old newspapers. Next, cut out the necessary parts from the fabric. The number of parts is indicated in the diagram. We cut out the body, paws, head and tail from one fabric, and the ears from another. To save money, you can use old clothes, which are usually discarded as rags. I used an old white t-shirt and old shorts.


2. It is necessary to sew the parts of the head together from the inside out, using a needle and thread of a suitable color. You can sew with an overlock stitch or a regular connecting stitch. Turn it inside out and stuff it with cotton wool.

3. Sew together the details of the ears. Turn it inside out and stuff it with cotton wool.


4. We also sew together the parts of the paws and tail and also stuff them well with cotton wool.You can sew feet to the paws, but this is not necessary, since this toy is not meant to stand.


5. We sew together the parts of the dog’s body, stuff it with cotton wool and sew the head to it.


6. Sew the paws and tail to the body.


7. Sew the ears to the head. We take a needle and black thread and embroider a nose and mouth on the dog’s head. We embroider claws on the paws.

8. Take the eyes bought at a sewing accessories store and glue them onto the head. If there are no such eyes, then you can sew on black beads. Tie a ribbon around the neck for decoration. The dog is ready.

If you wish, you can come up with and sew some kind of suit or dress for this toy. You can make necklaces from any beads. You just need a little imagination.
Similar master classes
Particularly interesting
Comments (0)

