How to sew a scops owl pillow with your own hands
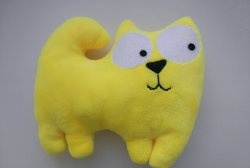
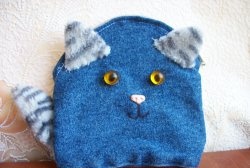
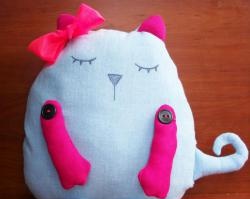
Little children love to sleep with soft toys. They also just love to sleep with lots of pillows. You can combine all your children's desires and sew a pillow, which is nicknamed the Scops Owls cat. And if you have the opportunity to sew several of these pillows, your child will be simply happy. Moreover, this is a budget version of the toy. You don’t even have to spend a penny on this if you have fabric and any filling for toys at home (it can be foam rubber or padding polyester from old toys or pillows).
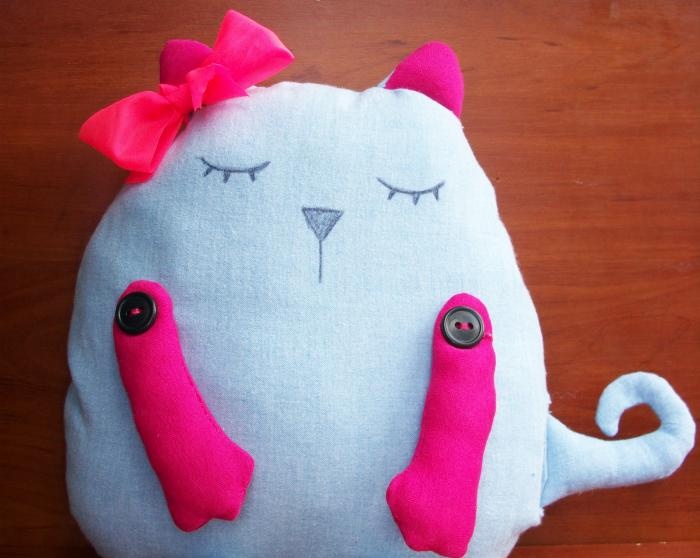
It will be convenient to sew on a sewing machine, but you can sew the cat by hand.
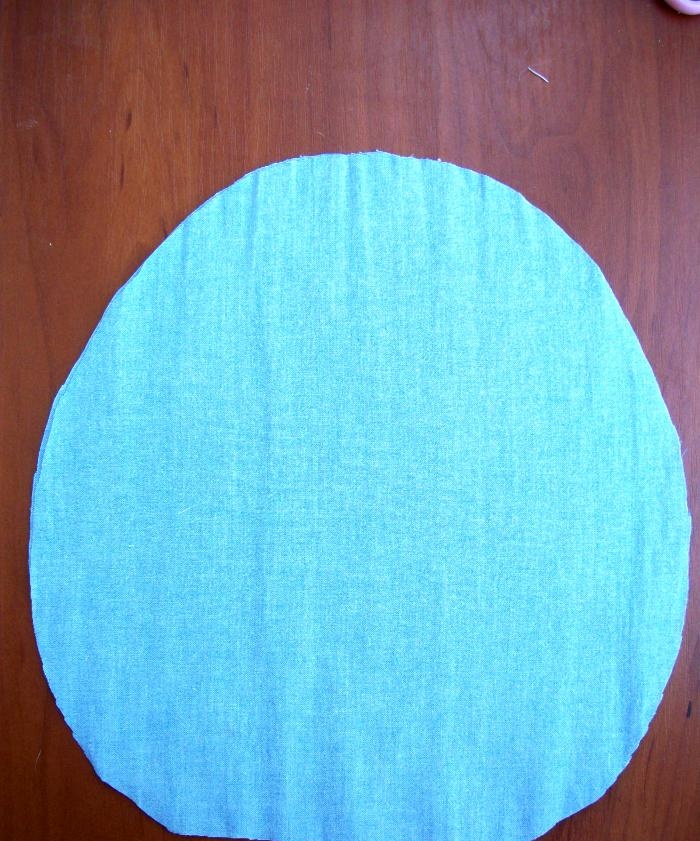
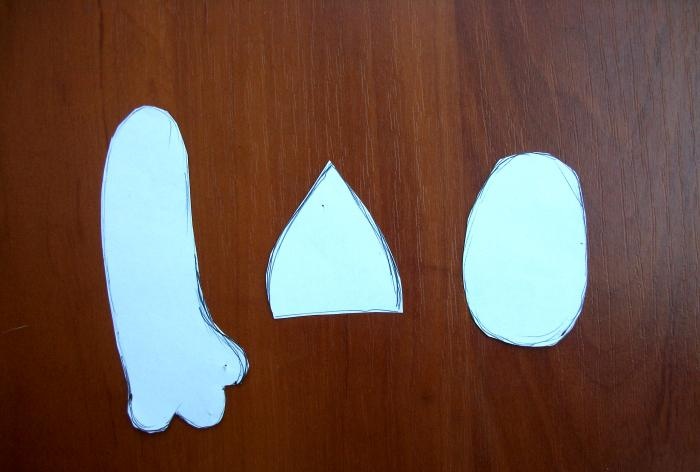
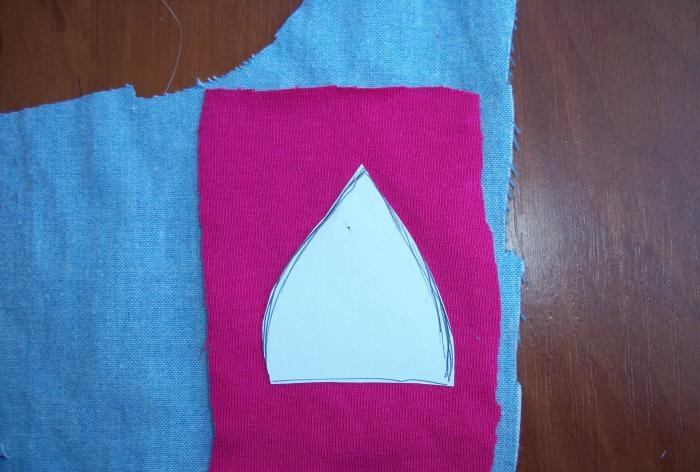
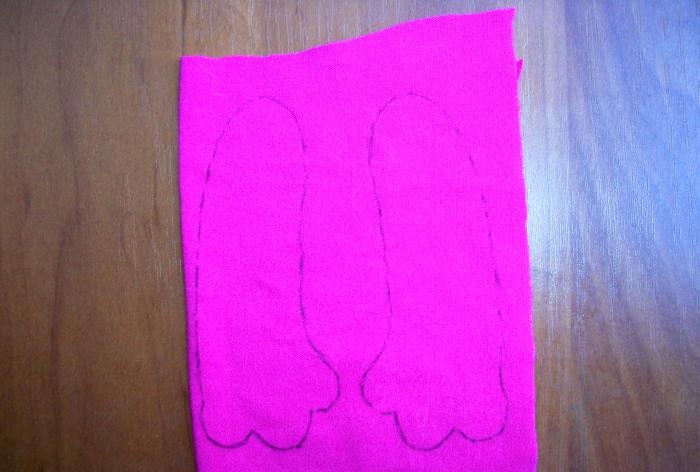
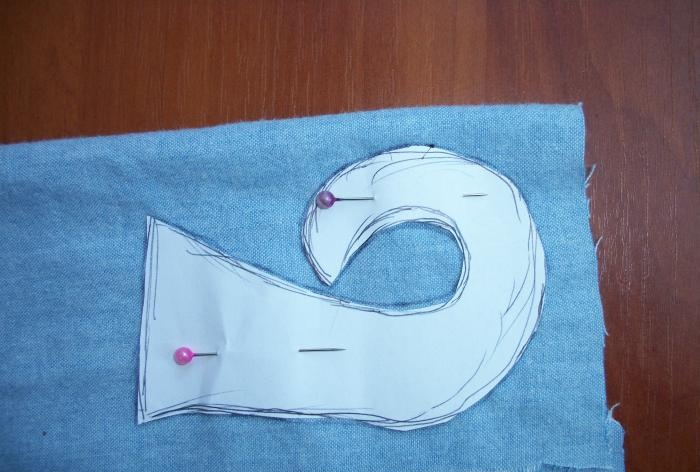
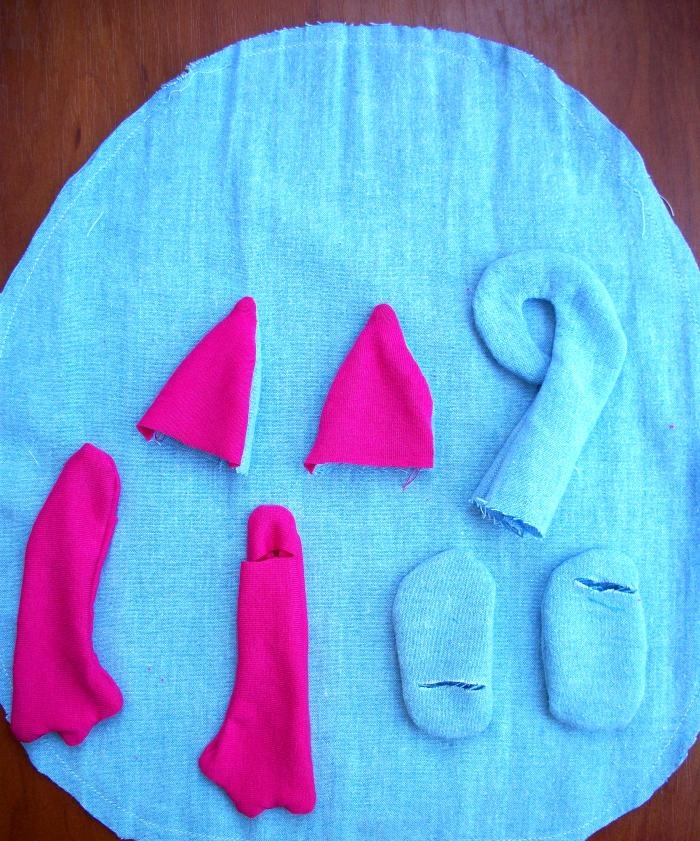
Let's make a pattern for small details (ears, legs, arms and tail). The body will be quite large, so we draw it directly on the fabric (on the wrong side, folding the fabric in half). To draw the body evenly, you need to draw half an oval, then fold the fabric in half and cut it out. Then we cut out the ears. To make them look prettier, you can make the front part from bright fabric. I also cut out parts for the handles from a different fabric.
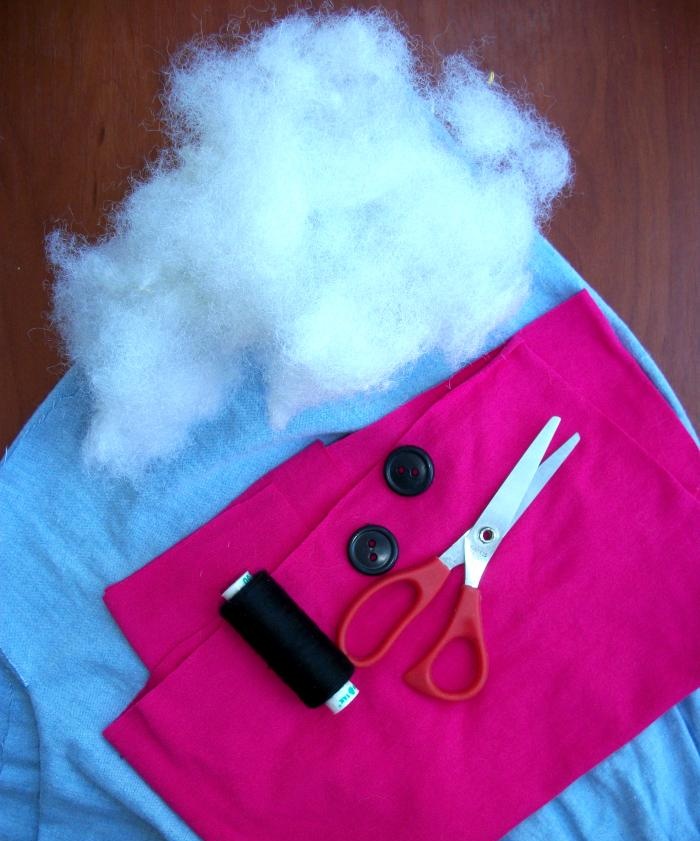
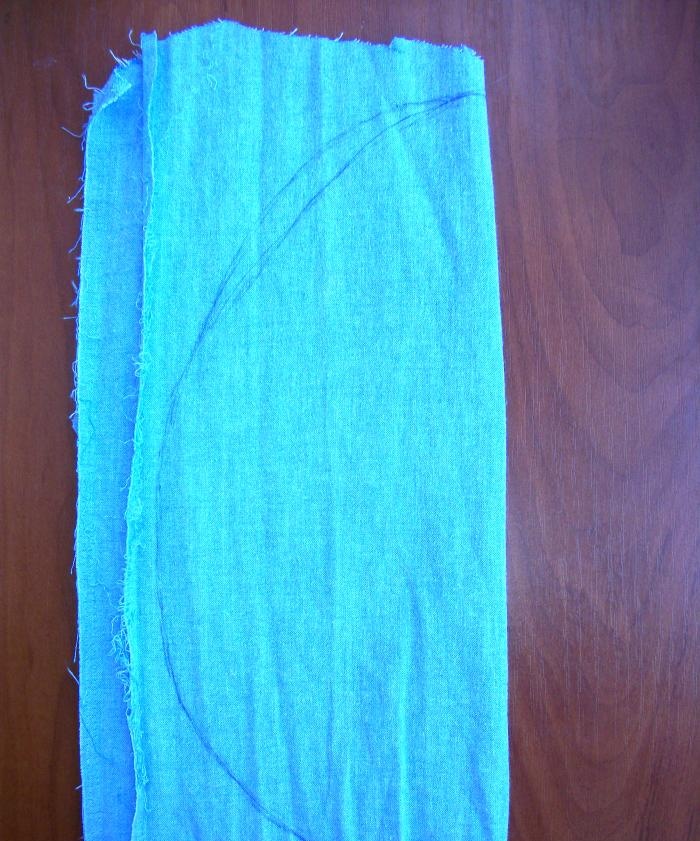
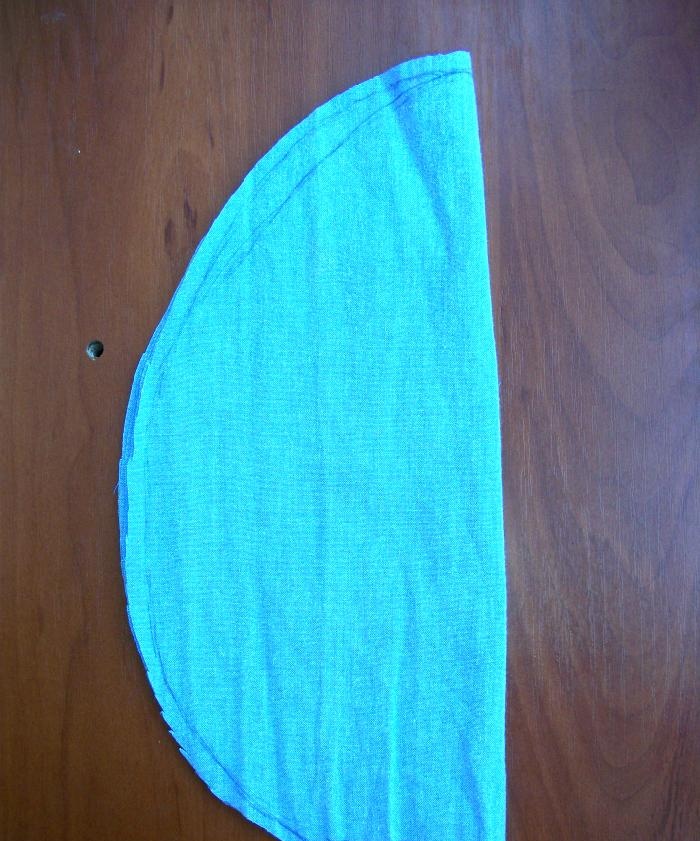
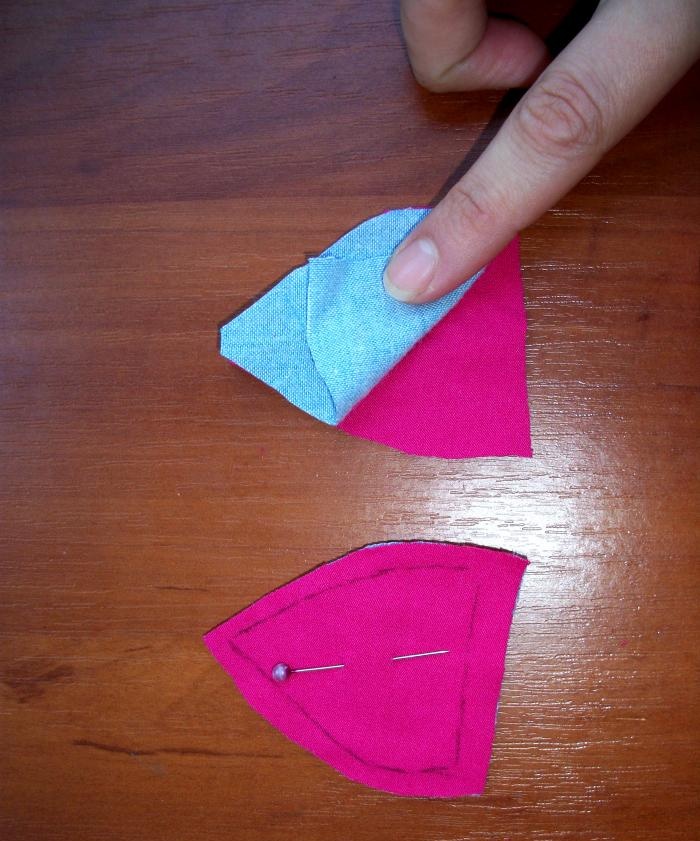
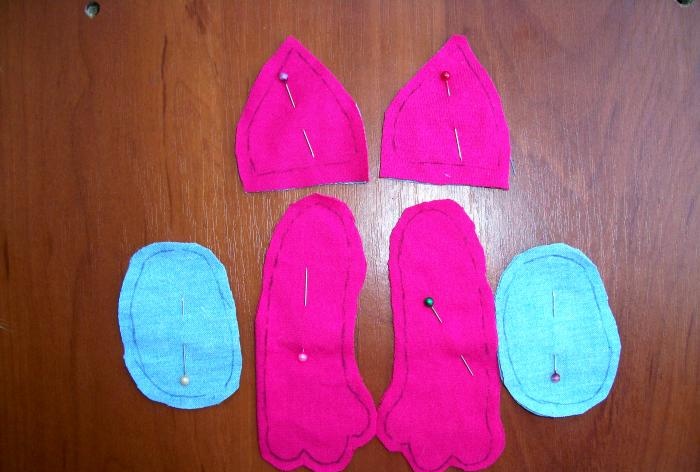
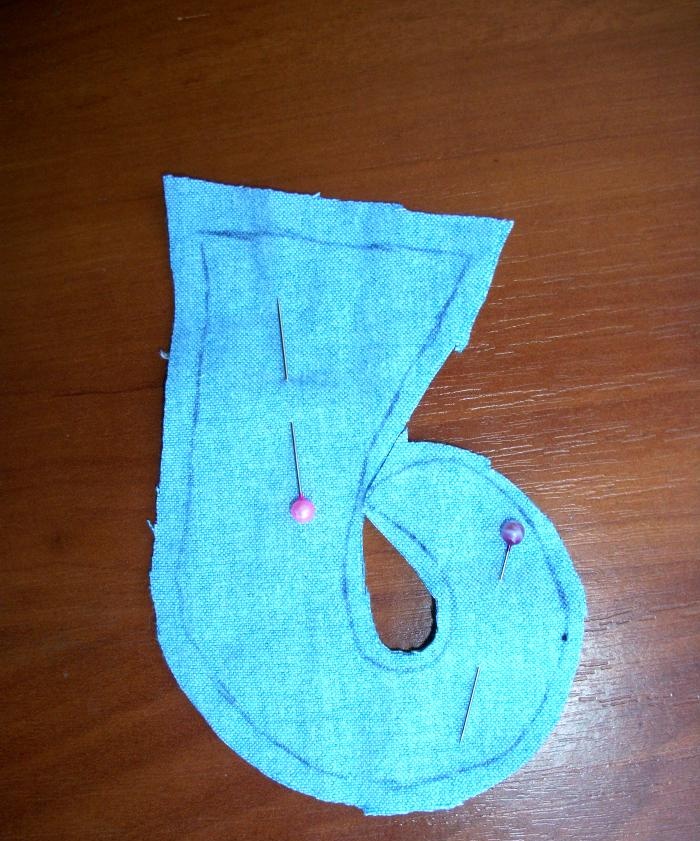
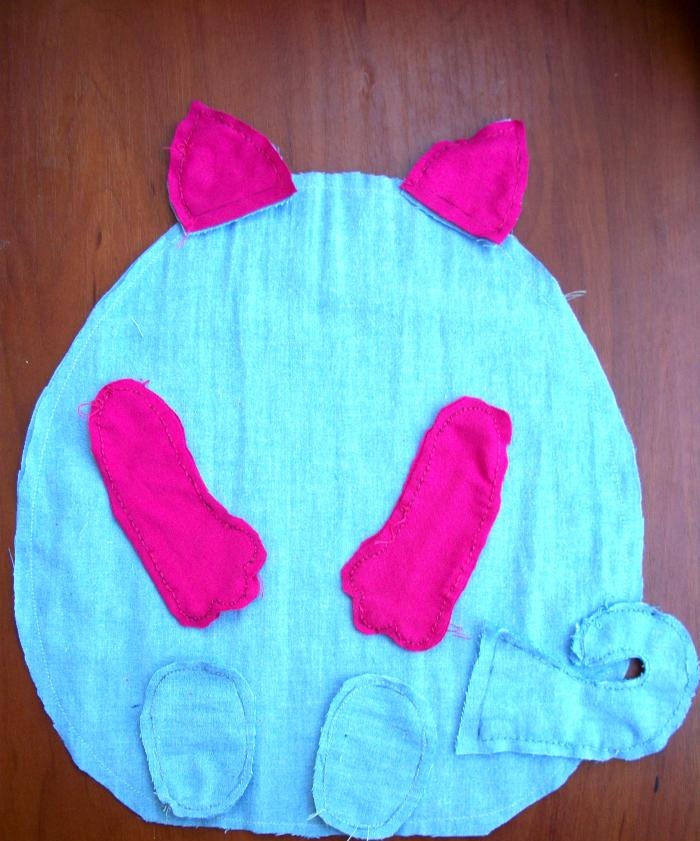
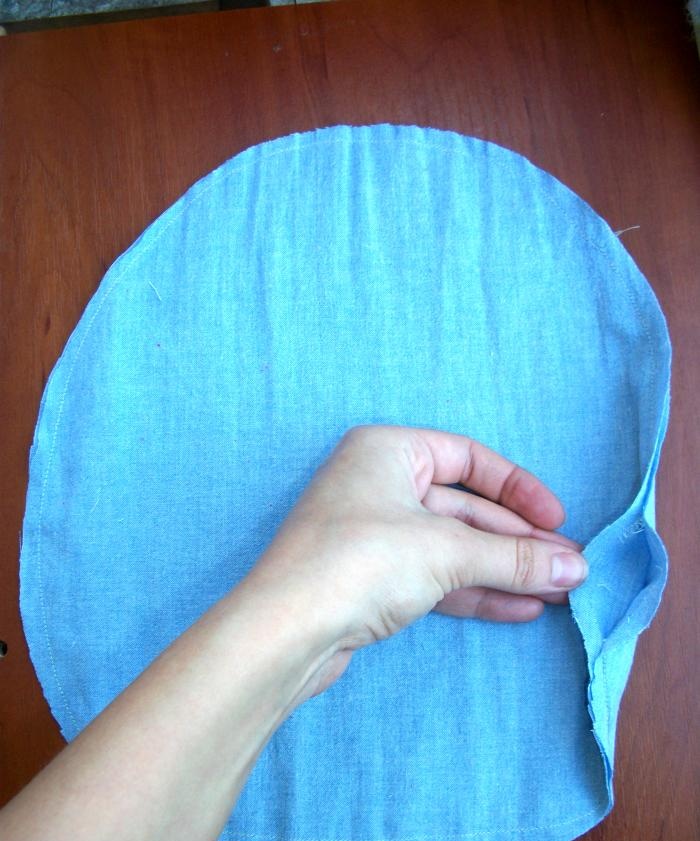
We sew all the details. We sew the arms and legs completely. When you sew the body, leave an unstitched area in the tail area.
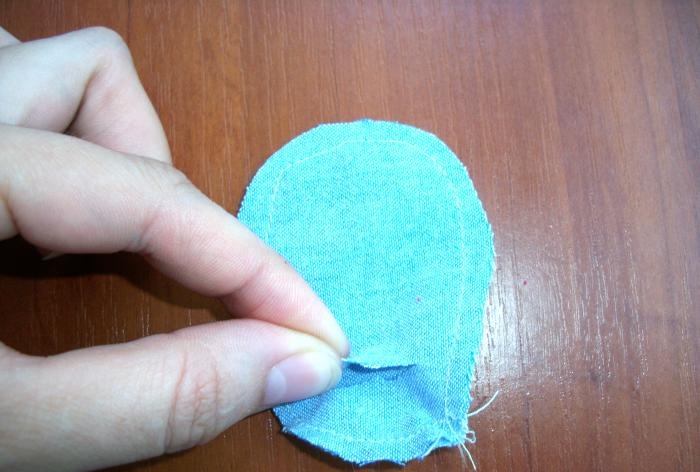
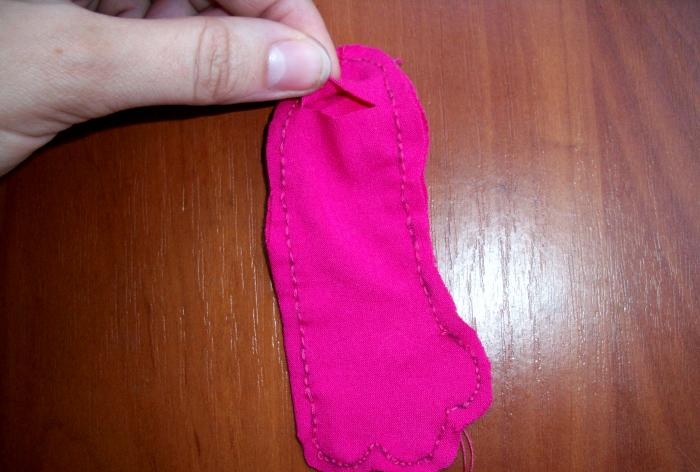
To turn the legs and arms out from behind, we make small cuts. Then turn it inside out and fill it with padding polyester.
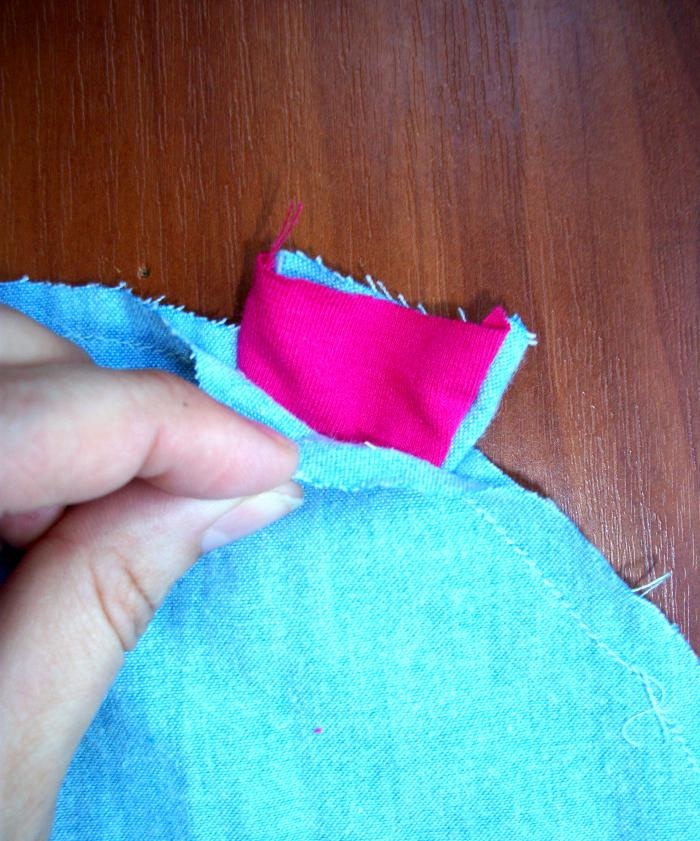
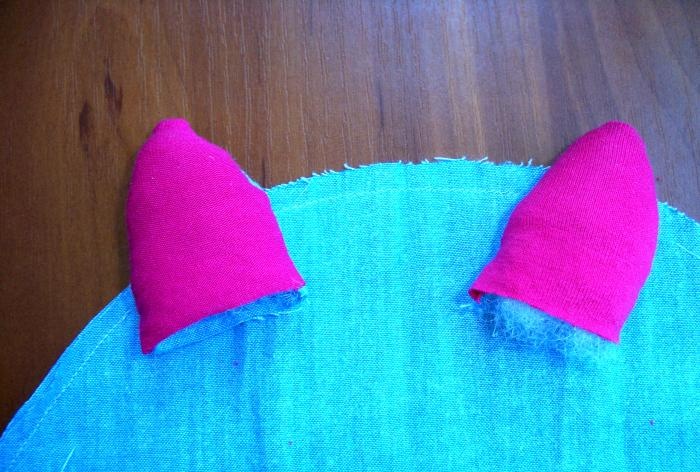
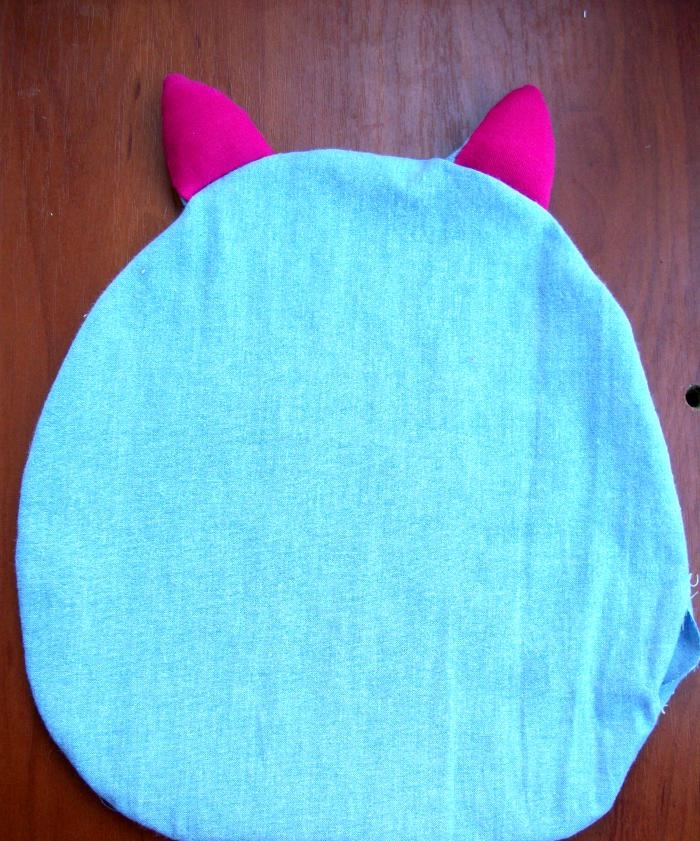
We also fill the ears a little with synthetic padding, then we make two cuts in the body and insert the ears there as shown in the photo and sew a line. Then we turn the body inside out and fill it with padding polyester. There is no need to stuff it tightly; the body should be soft.
We sew up the cuts on the arms and legs. Fill it a little with padding polyester.
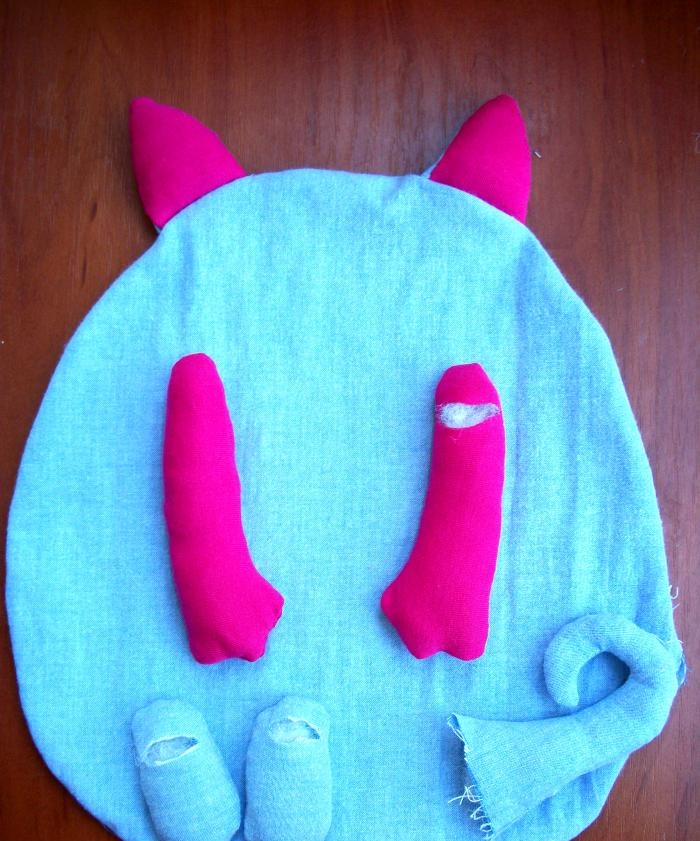
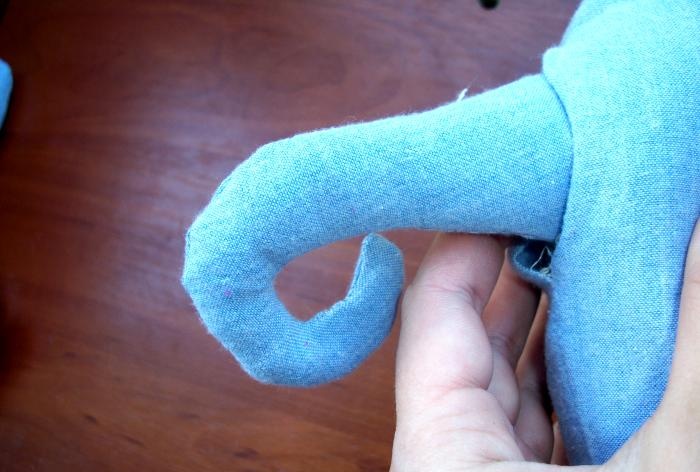
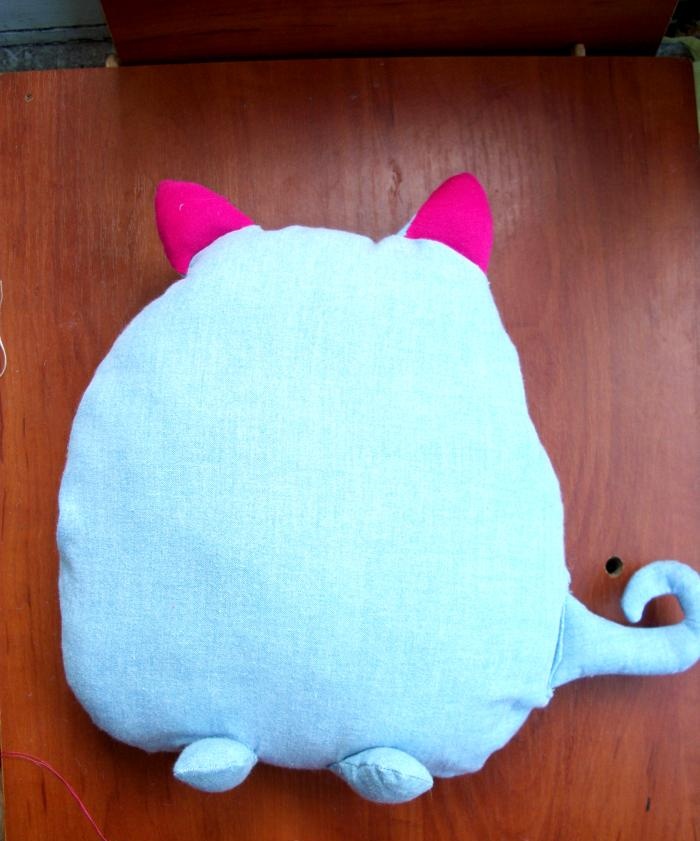
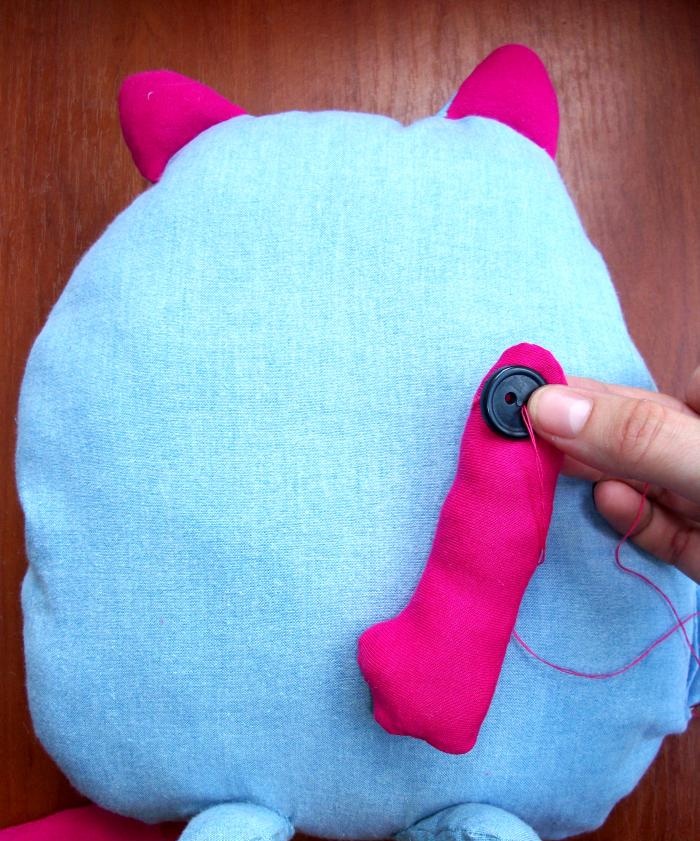
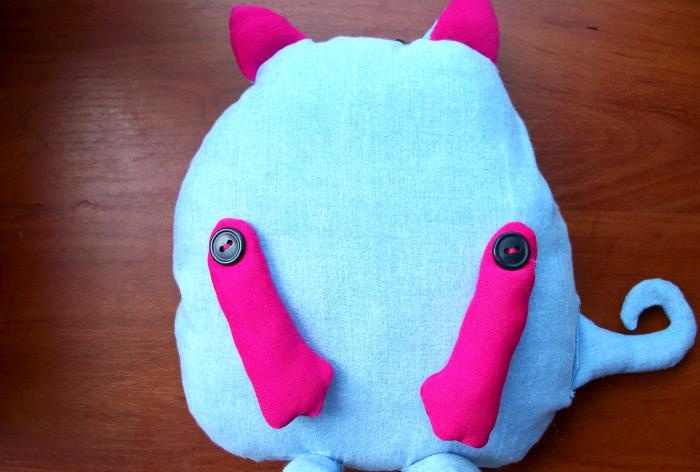
We take two large buttons and use them to sew on the handles.
Why do we sew the legs? We insert the tail into the hole and sew a line.
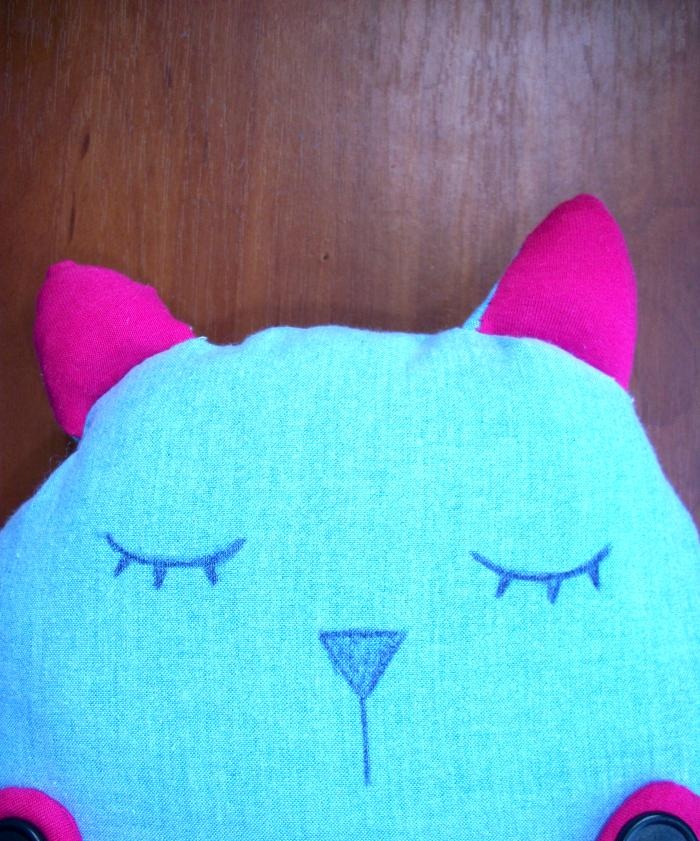
All that remains is to make the cat's eyes and nose. If you know how to embroider, you can embroider eyes. Or just draw with a black pen or marker.
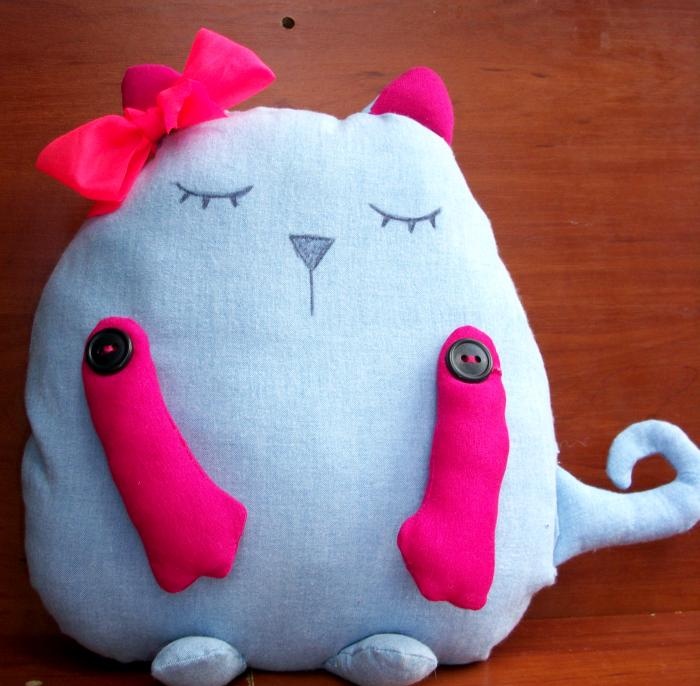

For decoration, you can tie a bow on your ear.
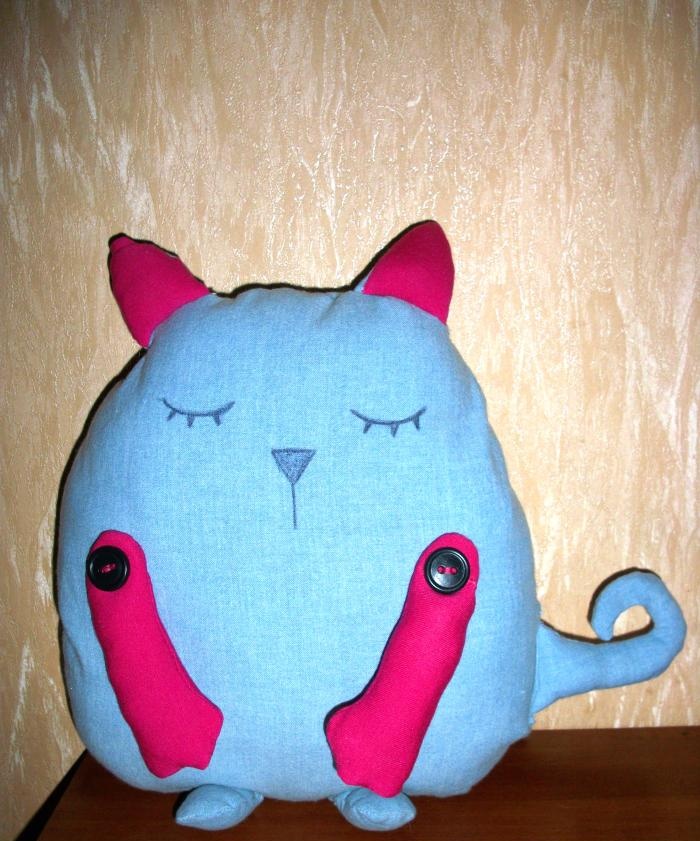
The toy pillow is ready.

It will be convenient to sew on a sewing machine, but you can sew the cat by hand.
Let's make a pattern for small details (ears, legs, arms and tail). The body will be quite large, so we draw it directly on the fabric (on the wrong side, folding the fabric in half). To draw the body evenly, you need to draw half an oval, then fold the fabric in half and cut it out. Then we cut out the ears. To make them look prettier, you can make the front part from bright fabric. I also cut out parts for the handles from a different fabric.


We sew all the details. We sew the arms and legs completely. When you sew the body, leave an unstitched area in the tail area.
To turn the legs and arms out from behind, we make small cuts. Then turn it inside out and fill it with padding polyester.
We also fill the ears a little with synthetic padding, then we make two cuts in the body and insert the ears there as shown in the photo and sew a line. Then we turn the body inside out and fill it with padding polyester. There is no need to stuff it tightly; the body should be soft.
We sew up the cuts on the arms and legs. Fill it a little with padding polyester.


We take two large buttons and use them to sew on the handles.
Why do we sew the legs? We insert the tail into the hole and sew a line.
All that remains is to make the cat's eyes and nose. If you know how to embroider, you can embroider eyes. Or just draw with a black pen or marker.


For decoration, you can tie a bow on your ear.
The toy pillow is ready.
Similar master classes
Particularly interesting
Comments (2)


