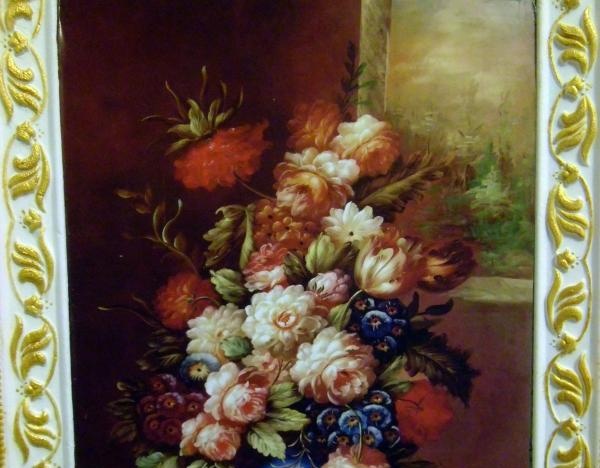
Luxurious picture frame
Everyone knows how the environment changes, all you have to do is hang a few paintings on the wall. Especially those, you know, solid, luxurious ones, in a heavy gilded frame. But, as soon as you ask the price for such frames for a picture in framing workshops, you feel sadness and sadness - the desire to own such works slowly but surely flows into the category of dreams, postponed for a bright, distant future.
Don't rush to part with your desires. You can create a stunning decoration for your home in just a few hours and with minimal investment. This master class will tell you step by step how to create such a picture with your own hands.
We will need:
• several ceiling curb plates
• wood putty
• black or dark brown acrylic paint
• gold acrylic paint
• acrylic lacquer
• glue moment
• an unnecessary piece of cardboard or an old box
• picture
•
The front side of a chocolate box can serve as the basis for the picture.
Mark the work surface. To do this, carefully cut the drawing, place it on the box and trace it on all sides with a marker, measuring the dimensions of our future baguette. Top and side.
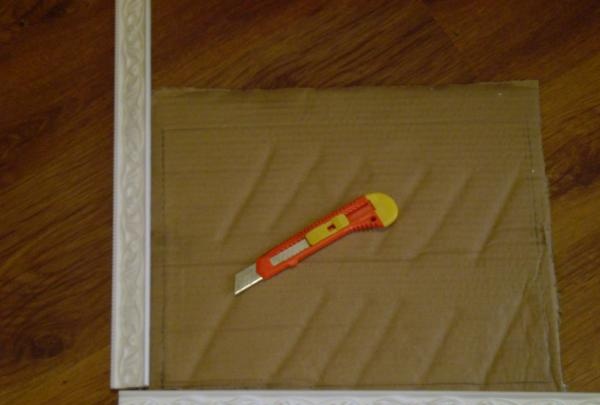
We cut the border, making sure that the joint angle is smooth and neat.
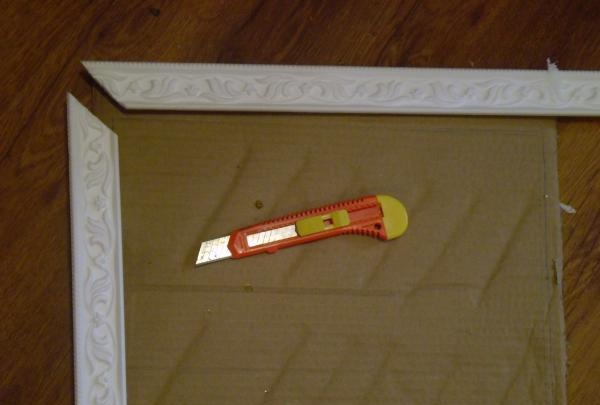
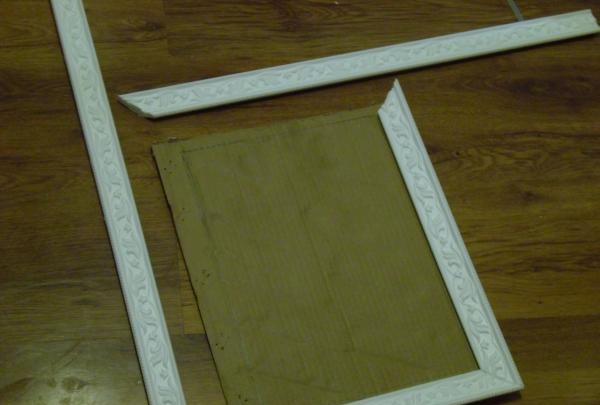
Carefully glue the frame strips prepared from the ceiling plinth to the cardboard.
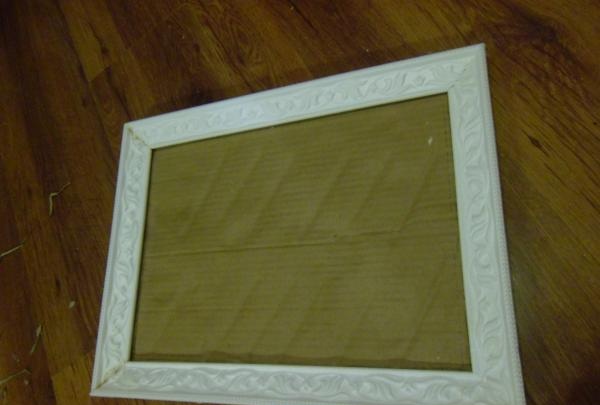
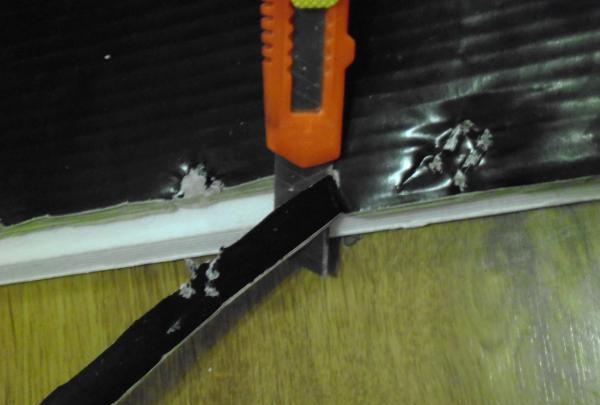
Cut off excess cardboard.
The most creative part begins.
Carefully cover the plinth with putty, thoroughly coating every depression and recess. Let it dry.
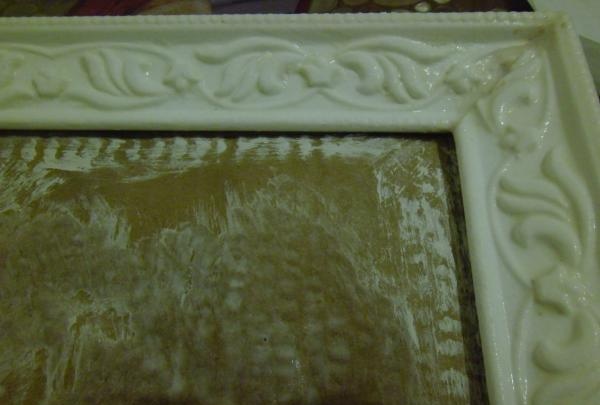
Using a thin paint brush, paint the frame twice, each time letting it dry thoroughly.
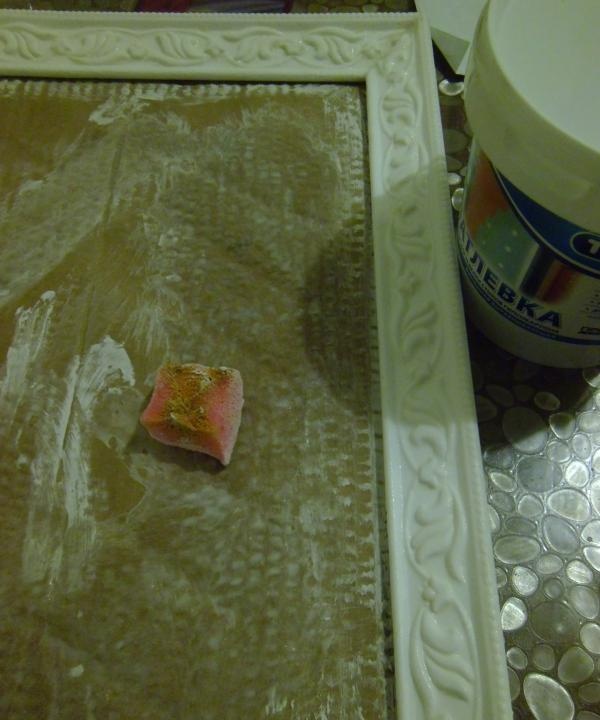
Squeeze the gold paint out of the tube onto a horizontal surface.
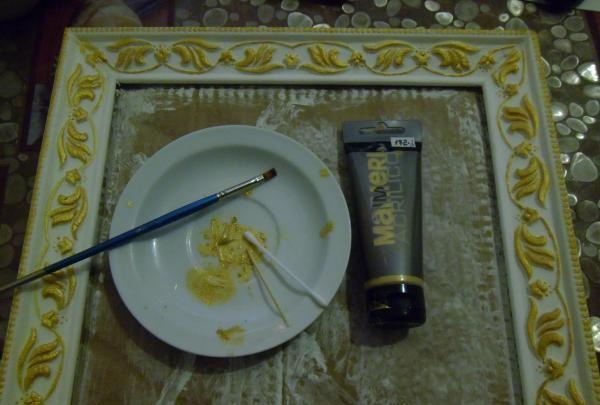
Using a dry sponge, take a very small amount of gold. We begin gilding our product. Movements should be light, sliding, almost weightless. The frame should be lightly “rubbed” with gold. The movements should be as if you were wiping dust from the surface. Clearly protruding, large parts of the picture are painted over with a thin artistic brush. After a little effort you should get this result:
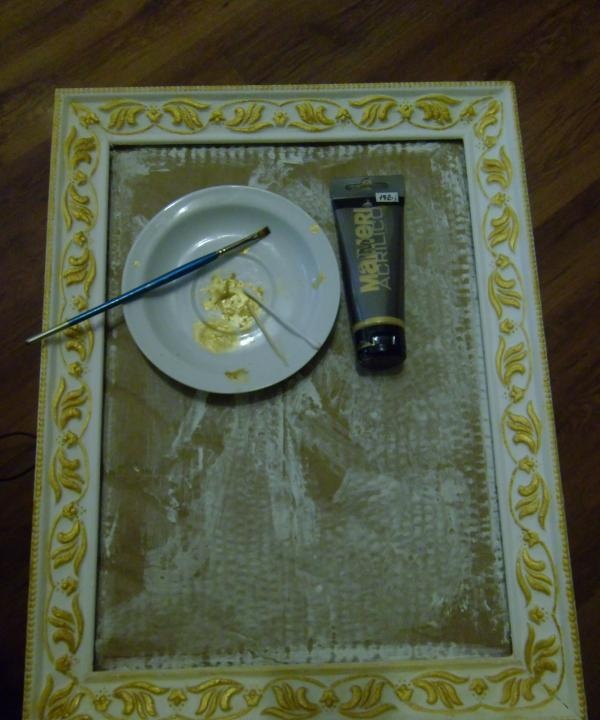
All that remains is to paste our picture in place and hang the composition on the wall.
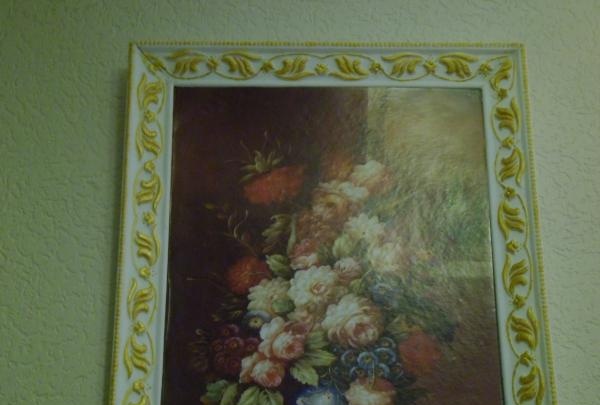
I wish you pleasant emotions and comfort in your home.
Don't rush to part with your desires. You can create a stunning decoration for your home in just a few hours and with minimal investment. This master class will tell you step by step how to create such a picture with your own hands.

We will need:
• several ceiling curb plates
• wood putty
• black or dark brown acrylic paint
• gold acrylic paint
• acrylic lacquer
• glue moment
• an unnecessary piece of cardboard or an old box
• picture
•
The front side of a chocolate box can serve as the basis for the picture.
Mark the work surface. To do this, carefully cut the drawing, place it on the box and trace it on all sides with a marker, measuring the dimensions of our future baguette. Top and side.

We cut the border, making sure that the joint angle is smooth and neat.


Carefully glue the frame strips prepared from the ceiling plinth to the cardboard.

Cut off excess cardboard.

The most creative part begins.
Carefully cover the plinth with putty, thoroughly coating every depression and recess. Let it dry.

Using a thin paint brush, paint the frame twice, each time letting it dry thoroughly.

Squeeze the gold paint out of the tube onto a horizontal surface.

Using a dry sponge, take a very small amount of gold. We begin gilding our product. Movements should be light, sliding, almost weightless. The frame should be lightly “rubbed” with gold. The movements should be as if you were wiping dust from the surface. Clearly protruding, large parts of the picture are painted over with a thin artistic brush. After a little effort you should get this result:

All that remains is to paste our picture in place and hang the composition on the wall.

I wish you pleasant emotions and comfort in your home.
Similar master classes
Particularly interesting
Comments (6)


