Volumetric paper bow
A voluminous bow made from paper with your own hands will be useful when decorating gifts - it will give the packaging an unusual, original look and will serve as an addition to cards and envelopes.
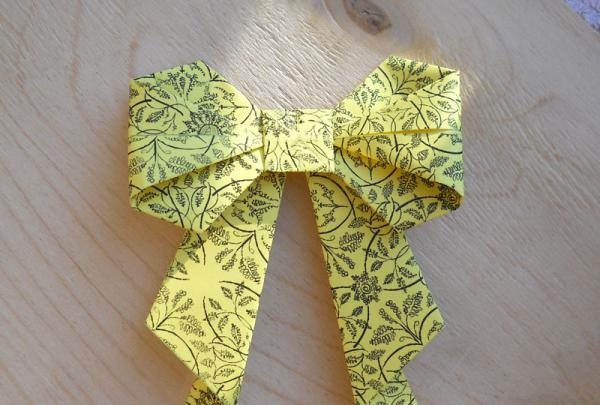
The technique is quite simple, similar to origami. The only difference is that some cuts will be required in some places. The entire manufacturing procedure will take no more than twenty minutes; all you need from materials is a sheet of paper.
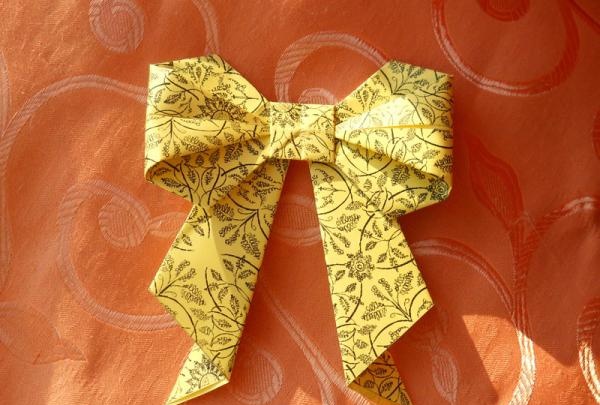
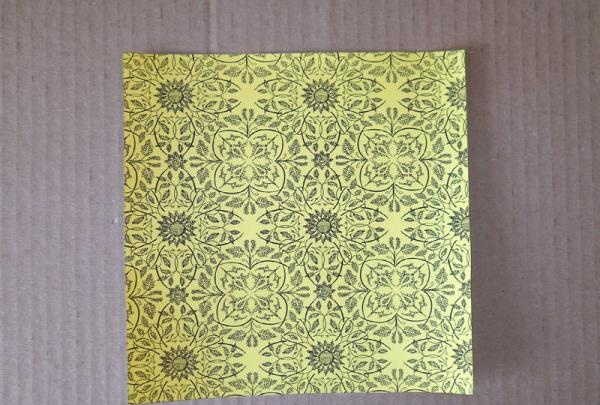
Take a square of paper with a beautiful front side. If you have ordinary colored paper, but want something interesting, you can add a pattern - print the required design on an A4 sheet of paper and cut out a square of the required size. I took a side length of 19 cm and got a fairly large bow, measuring 11 cm by 13 cm. If you want it smaller, then cut out a smaller square.
Place the sheet with the wrong side up.
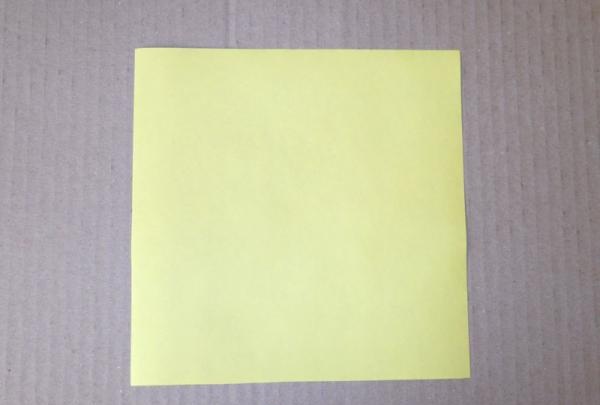
We bend it in half, right side inward, unfold it back, turn it 90 degrees and bend it in the same way. We get two folds.
Now we unfold it again and bend it diagonally, in the other direction. Let's straighten it out.

We fold such a figure (those who have already made similar models from paper before probably recognized the basic shape of origami “double square”).
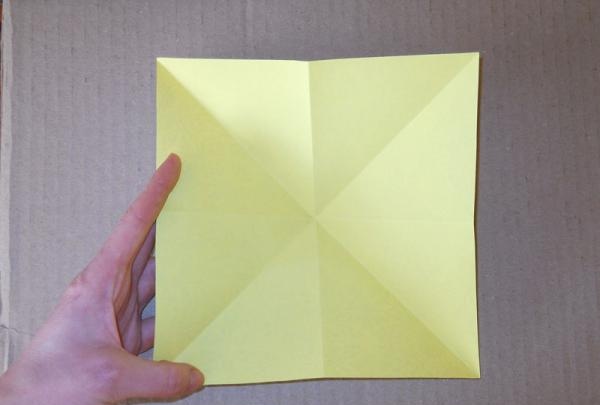
We arrange it in the form of a diamond and bend the upper triangle down.
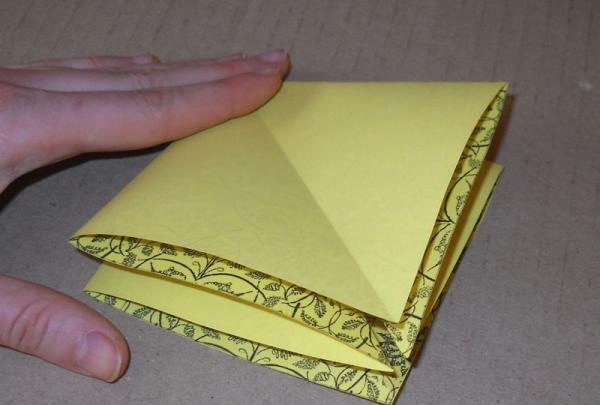
Expand the sheet to its original state.
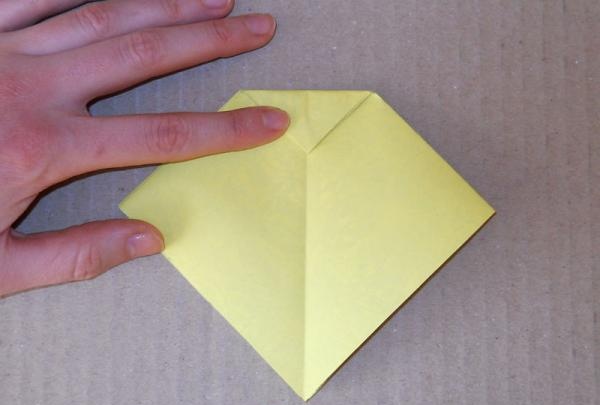
We make folds in the center to form a square.
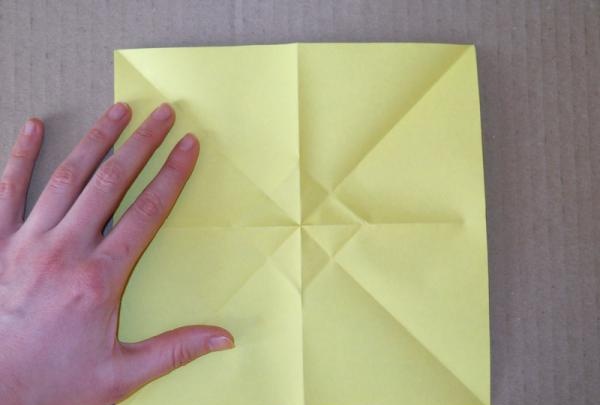
We bend the sides, flatten them and get this shape.
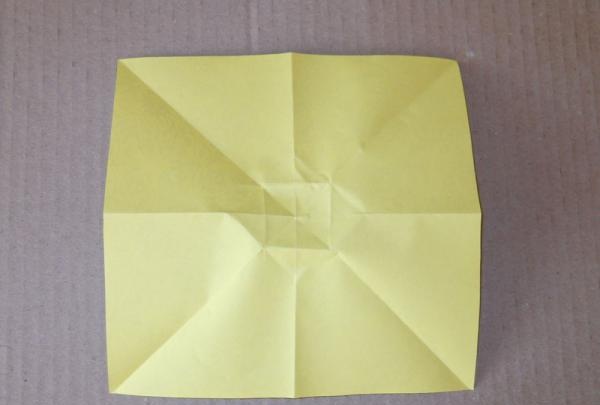
We bend the top parts.
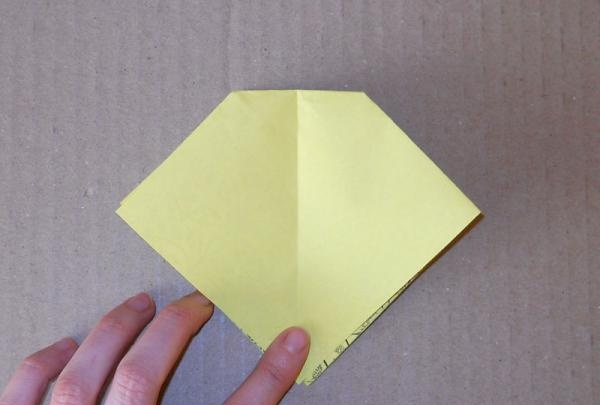
Turn it over and fold it in the same way.
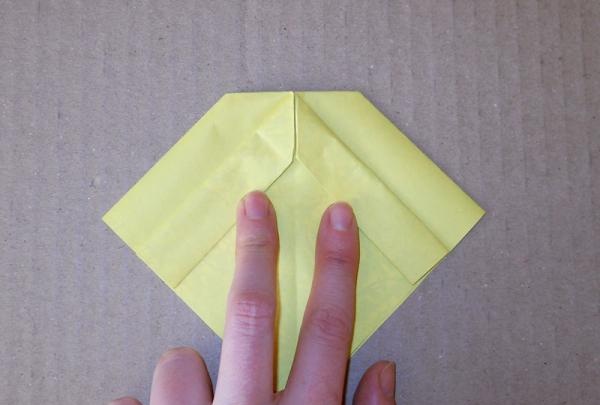
We begin to unbend the structure.
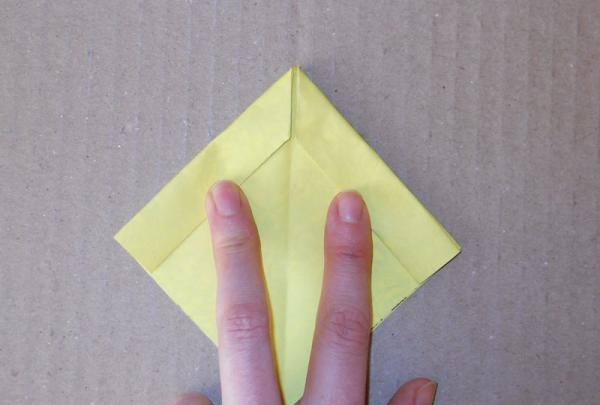
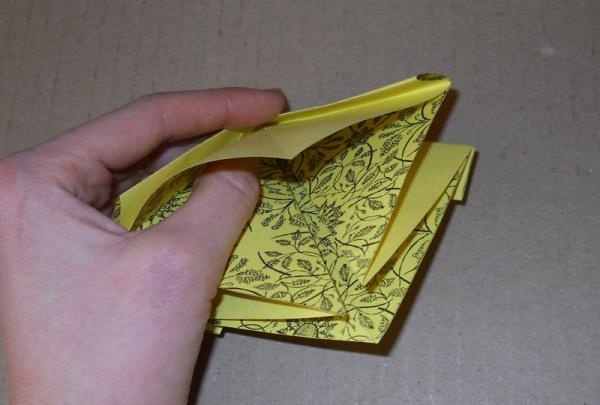
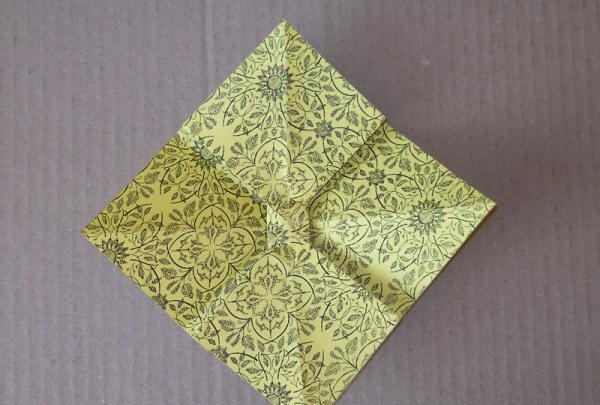
Carefully unwrap it by pulling the ends. If everything is done correctly, there should be a small square in the center of the sheet. The figurine already somewhat resembles a bow.
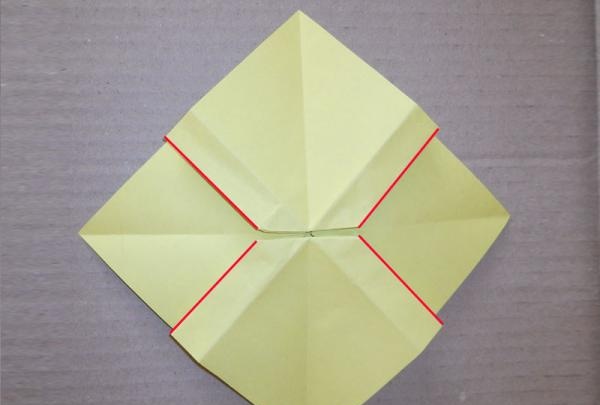
Turn over to work with the wrong side. We make cuts with scissors along the lines drawn in the photo - 4 cuts in total.
We bend the upper part downwards.
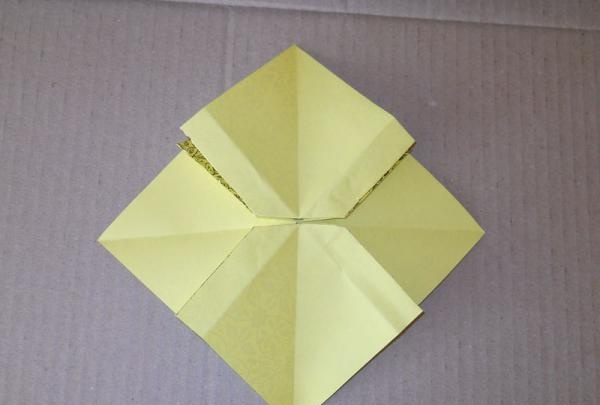
On the left and right we bend the triangles to the horizontal fold line.
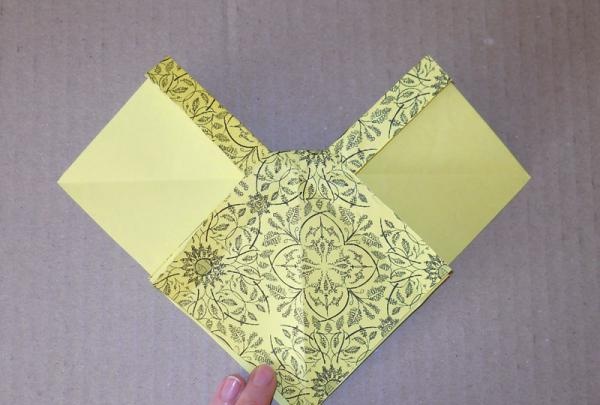
At the central part we bend two triangles exactly as shown in the photo.
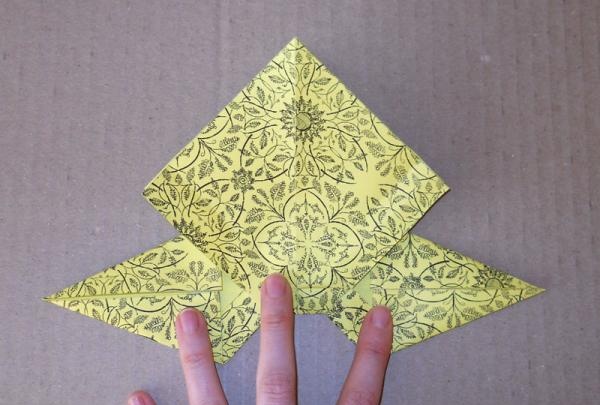
Cut along the fold line in the middle.
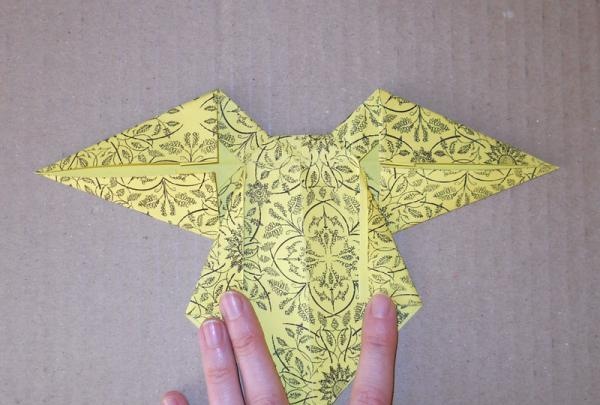
We bend the two parts so that the bow has beautiful and proportional ends.
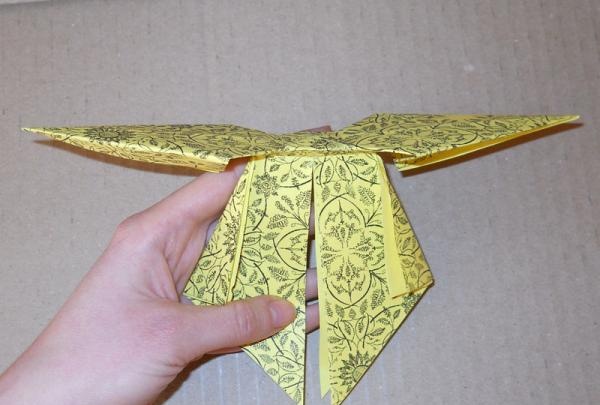
Turn it over.
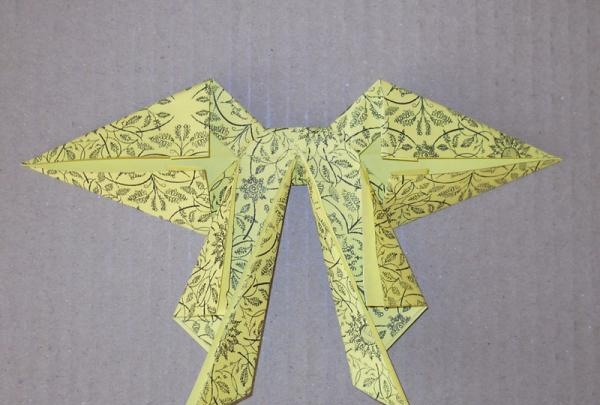
All that remains is to bend the right and left triangle towards the middle, and the voluminous paper bow is ready!
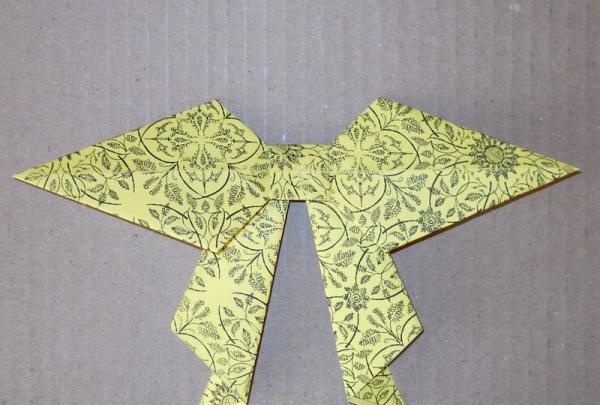
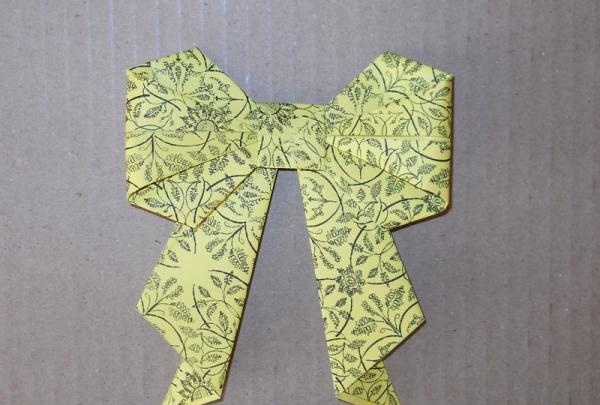
No glue is required here. We made an elegant decoration for the holiday with our own hands. You can leave it voluminous, or you can flatten it. It looks beautiful if you glue rhinestones and sequins to the middle.

The technique is quite simple, similar to origami. The only difference is that some cuts will be required in some places. The entire manufacturing procedure will take no more than twenty minutes; all you need from materials is a sheet of paper.
Take a square of paper with a beautiful front side. If you have ordinary colored paper, but want something interesting, you can add a pattern - print the required design on an A4 sheet of paper and cut out a square of the required size. I took a side length of 19 cm and got a fairly large bow, measuring 11 cm by 13 cm. If you want it smaller, then cut out a smaller square.

Place the sheet with the wrong side up.

We bend it in half, right side inward, unfold it back, turn it 90 degrees and bend it in the same way. We get two folds.

Now we unfold it again and bend it diagonally, in the other direction. Let's straighten it out.

We fold such a figure (those who have already made similar models from paper before probably recognized the basic shape of origami “double square”).

We arrange it in the form of a diamond and bend the upper triangle down.

Expand the sheet to its original state.

We make folds in the center to form a square.

We bend the sides, flatten them and get this shape.

We bend the top parts.

Turn it over and fold it in the same way.

We begin to unbend the structure.

Carefully unwrap it by pulling the ends. If everything is done correctly, there should be a small square in the center of the sheet. The figurine already somewhat resembles a bow.

Turn over to work with the wrong side. We make cuts with scissors along the lines drawn in the photo - 4 cuts in total.


We bend the upper part downwards.

On the left and right we bend the triangles to the horizontal fold line.

At the central part we bend two triangles exactly as shown in the photo.

Cut along the fold line in the middle.

We bend the two parts so that the bow has beautiful and proportional ends.

Turn it over.

All that remains is to bend the right and left triangle towards the middle, and the voluminous paper bow is ready!

No glue is required here. We made an elegant decoration for the holiday with our own hands. You can leave it voluminous, or you can flatten it. It looks beautiful if you glue rhinestones and sequins to the middle.

Similar master classes
Particularly interesting
Comments (1)


