Openwork gloves made of white goat down
I will share the local secret of handicrafts from our rural capital, Uryupinsk. Down gloves made from goat down, how to knit them?
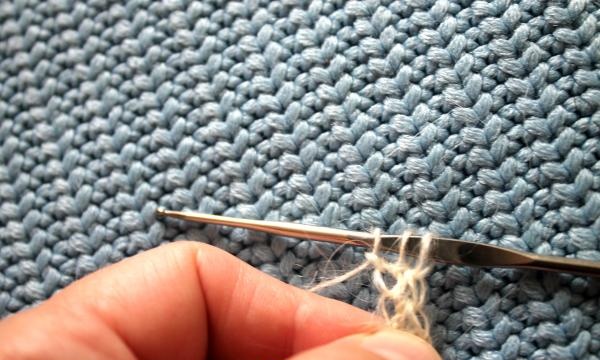
For a pair of gloves you will need about 40-50 grams of fine white goat down yarn. Spinning is performed on cotton thread size No. 40-50, and hook No. 1.5-2
We knit an elastic cast-on edge made from double crochets.
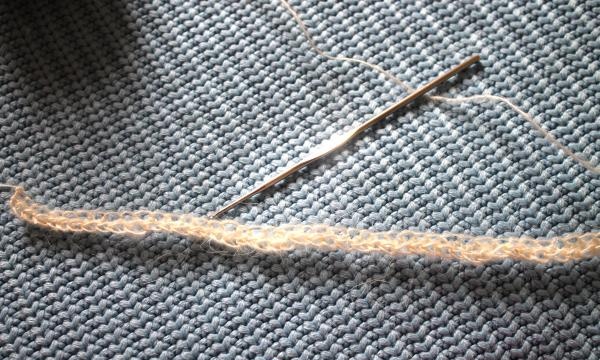
We calculate its length using the edge loops. There should be 54 of them. Carefully connect the edge into a ring. And from 54 loops we form 27 cells.
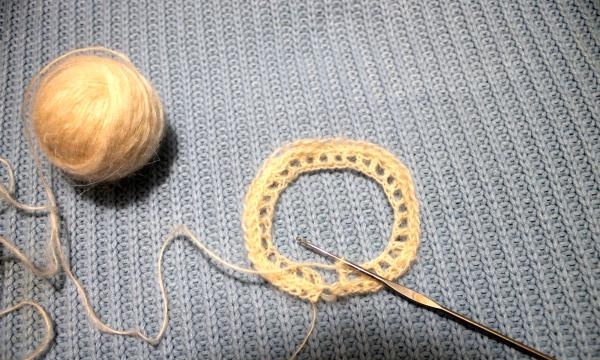
Then we perform fillet knitting in a circle. You need to knit 3 or 4 rows. Depending on the size of the palm. The smaller it is, the fewer rows you need to make.
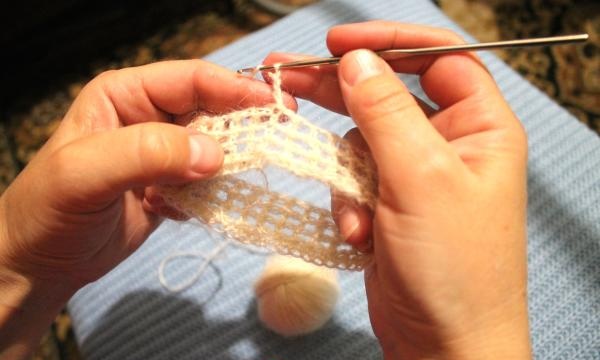
We knit a glove on the left hand.
Then we knit 2 squares from the junction (this is our 5th row). And immediately we make a dilution for the thumb.
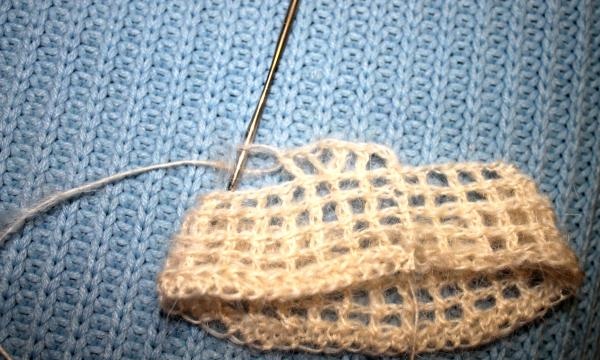
We knit this and the next row to the end according to the pattern. Then in the next row we also knit 2 squares and make another dilution.
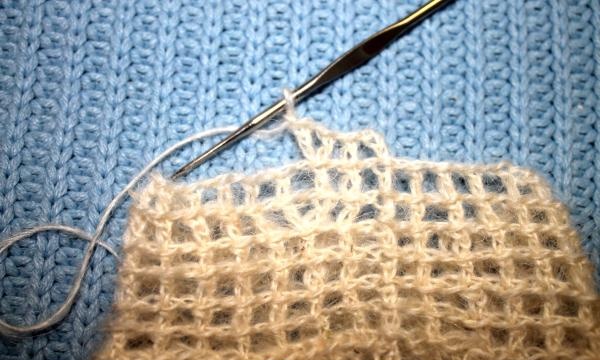
We knit according to the pattern until the next dilution and make the second one.
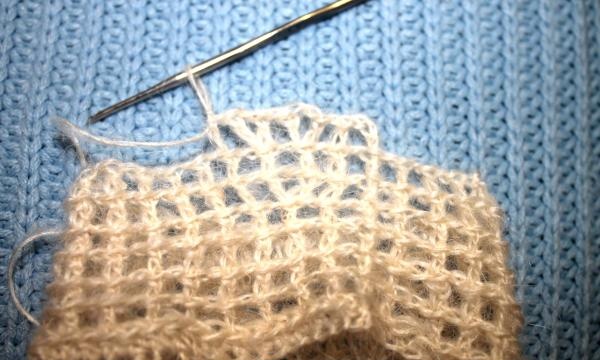
We knit this row and the next one to the end. That is, after each row we repeat 2 dilutions. It turns out like a “wedge”.
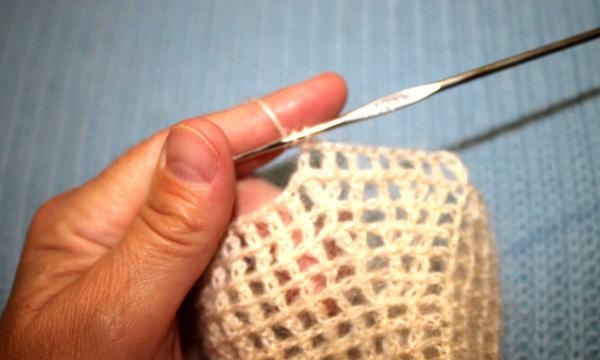
We finish making it when there are 9 cells between dilutions. Then in the next row, having reached the dilution, we simply knit 10 air loops.
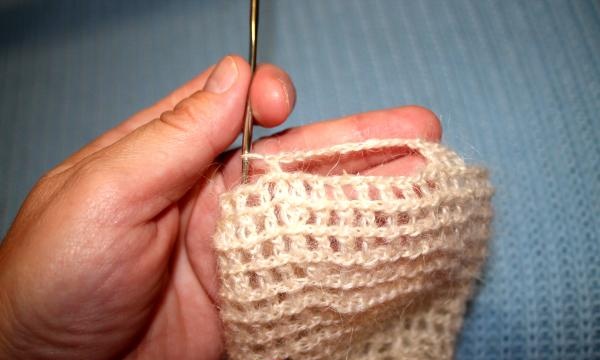
They will be the basis for the continuation of the glove.
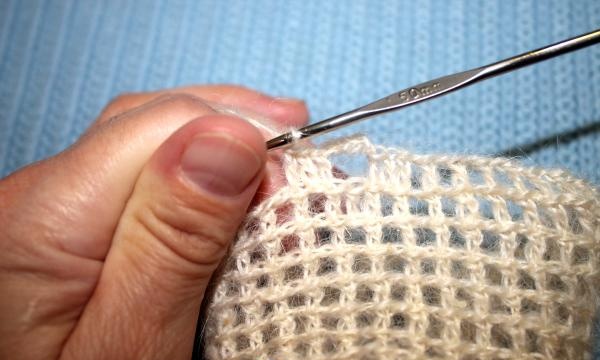
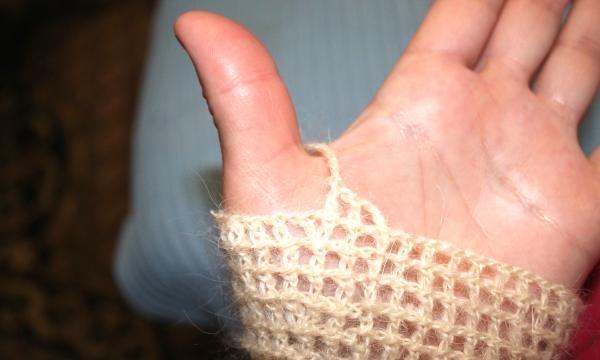
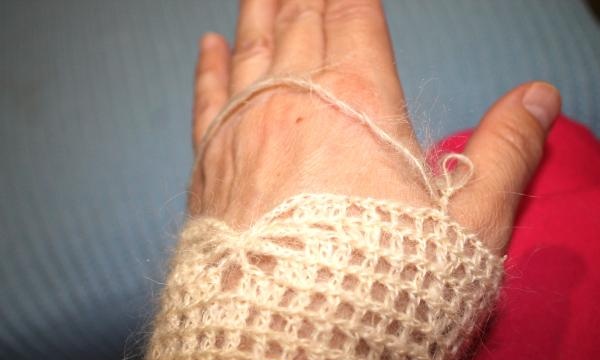
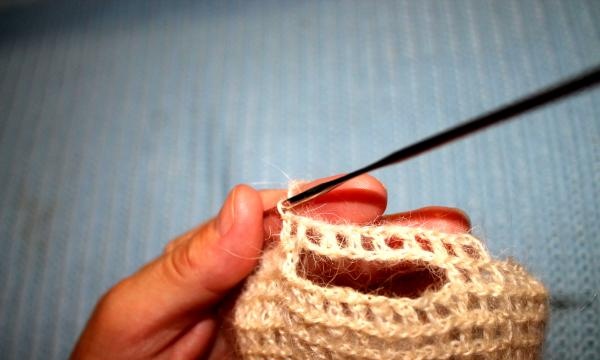
Don't forget about the central design on the back of the glove. They begin to knit it on the 9th row of cells. This is done as follows. In order for the pattern to be exactly in the center, after the second dilution it is necessary to knit another 7 cells, and the eighth to knit with a column inside. The result is not an empty cell, but a filled cell. Using these cells and air loops we will knit a pattern.
In the next rows of cells in a checkerboard pattern we knit the filled ones, which are connected to each other with air loops (VP).
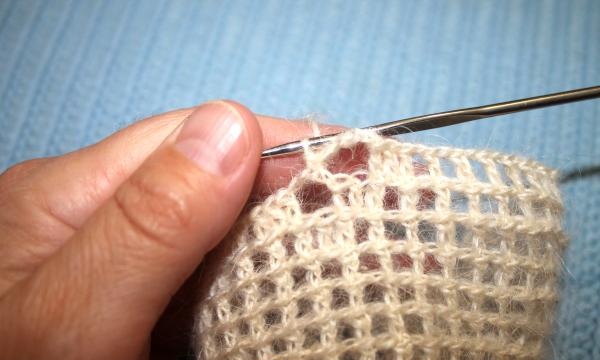
VPs are connected only in the center:
First with one loop, in the next row with three, and in the third with five loops. Then the drawing begins to narrow. Then in the next row the VP must be connected with three loops, and then with one.
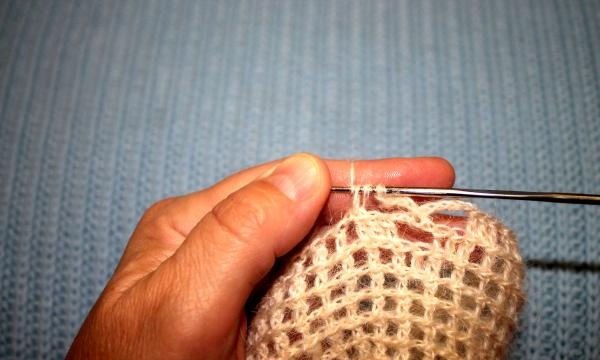
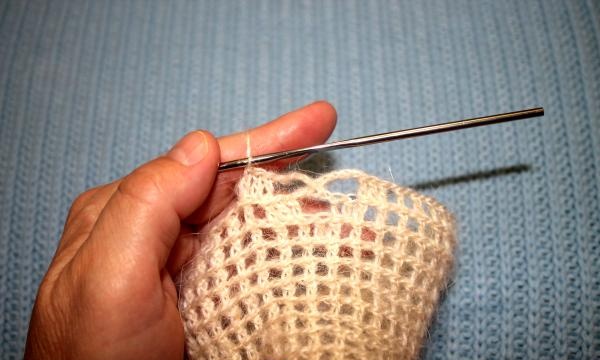
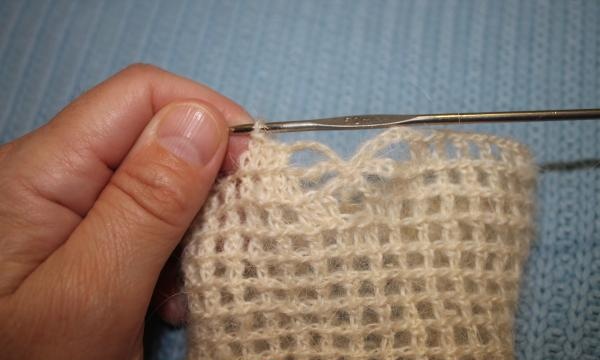
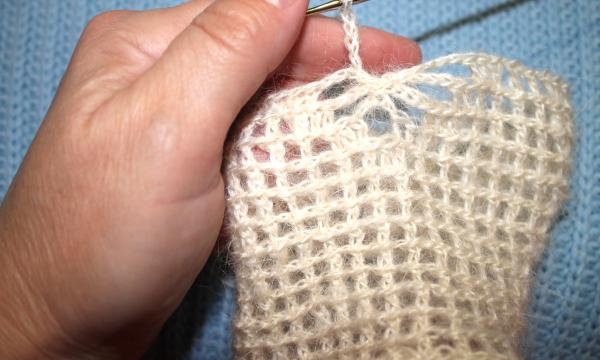
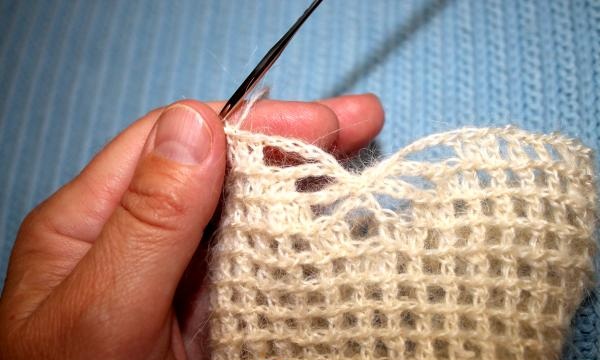
We knit the fabric of the glove according to the pattern until the bases of the fingers are hidden. We break the thread.
Now we knit the fingers. Let's start with the index finger. From the junction of the rows - the seam (it is located in the palm of your hand), retreat 2 cells to the left and attach the thread.
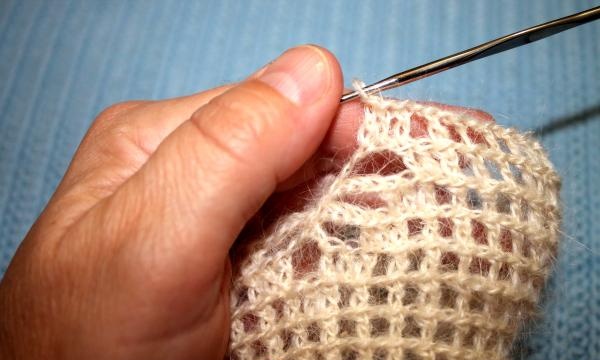
We knit 4 VPs, count 10 squares to the left from the junction of the thread and connect them to the back of the glove FIGURE 17. We knit 3 VPs for lifting and knit the index finger in a circle. You need to knit until the top of the finger is hidden. Then we lower and close the loops.
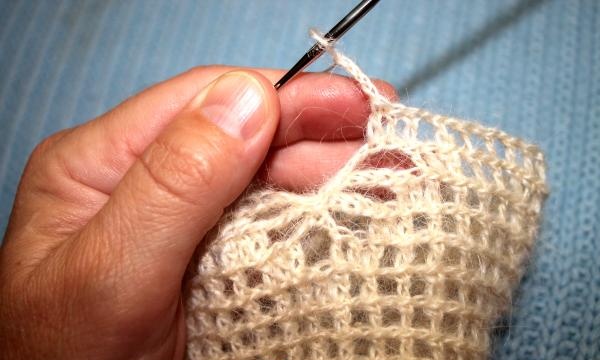
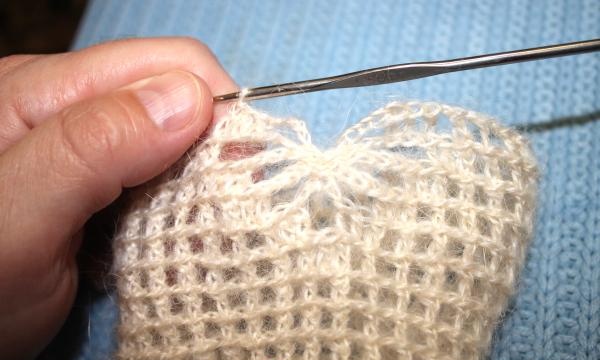
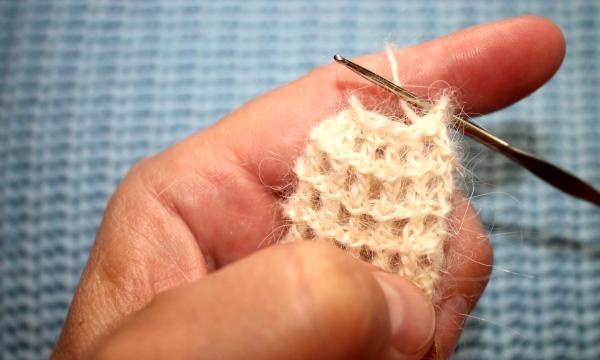
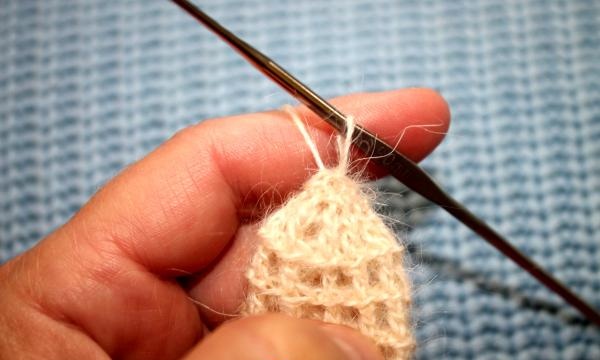
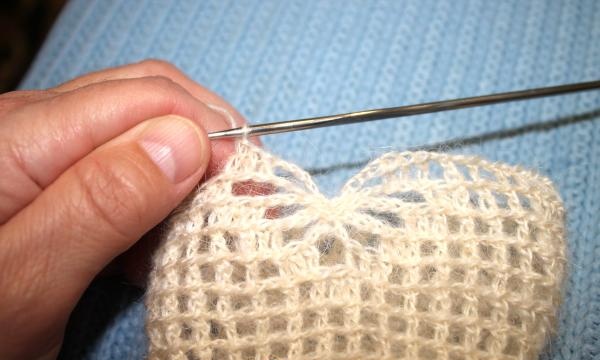
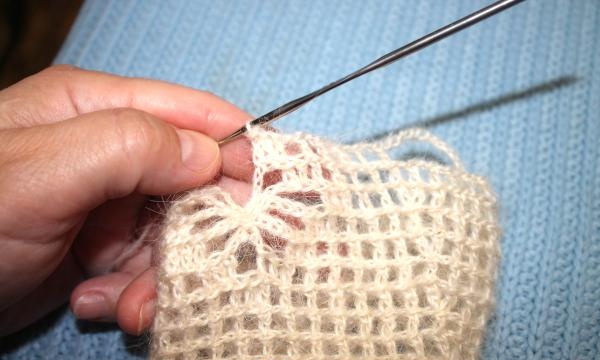
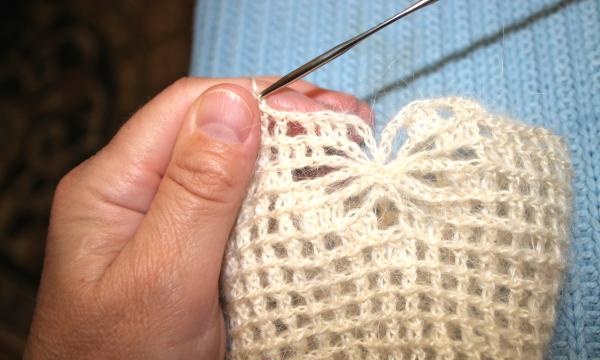
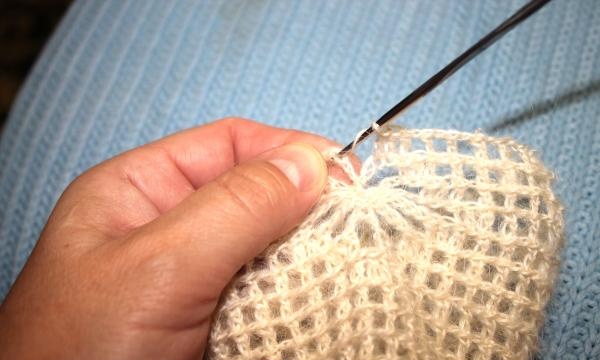
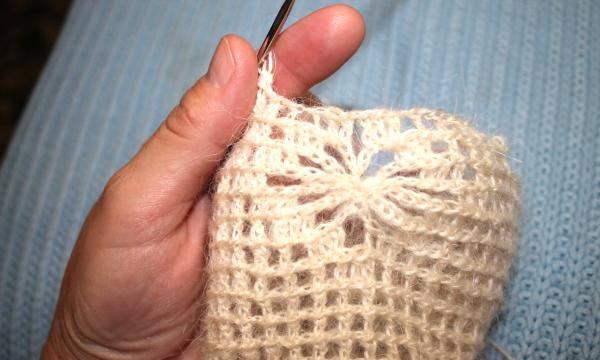
Then, on the back of the glove, from the base of the index finger, we step back 4 squares to the left and tie a thread. Then we proceed as in the previous version and knit the middle finger. Only on the palm side, 3 cells recede from the index finger.
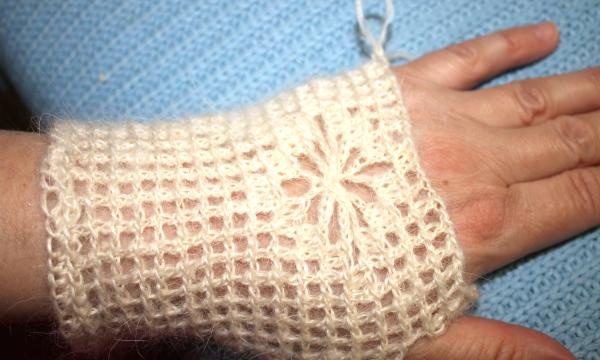
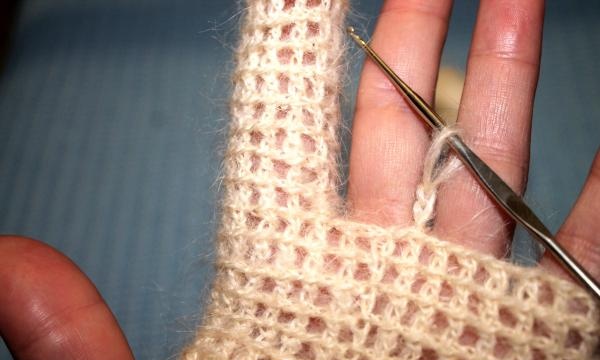
For the ring finger we retreat 3 cells, and for the little finger we retreat all the remaining ones.
Thumb
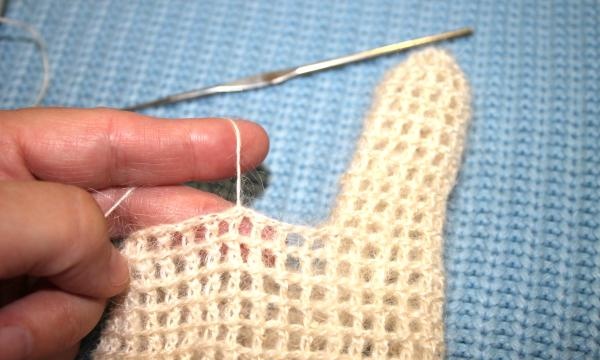
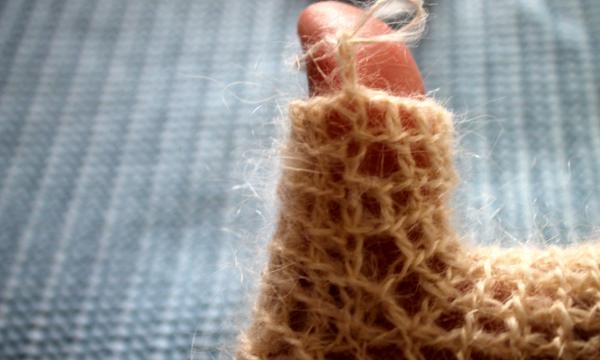
We tie a thread on the palm side from the place of the last thinning, make 3 VPs for lifting and knit in a circle. You need to try on the glove more often, as the thumb becomes narrower as it grows. Therefore, after a row it is necessary to decrease the cells.
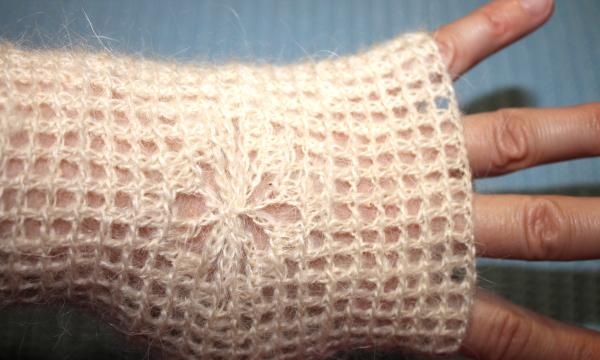
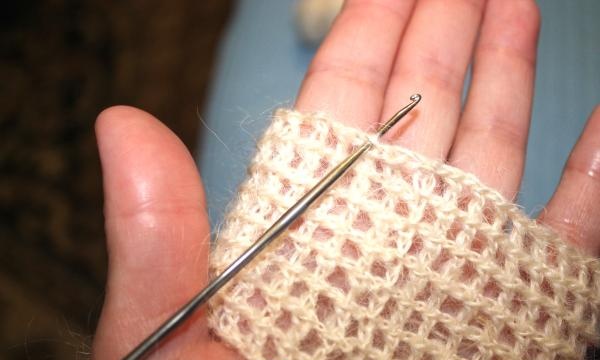
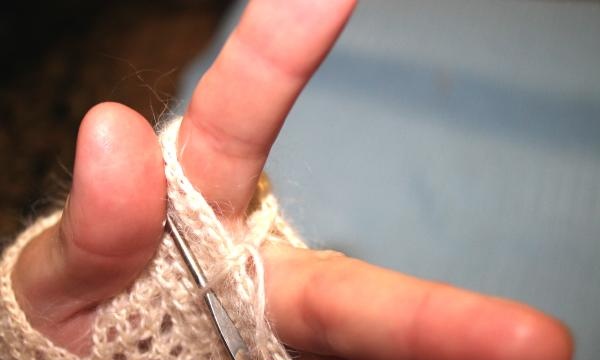
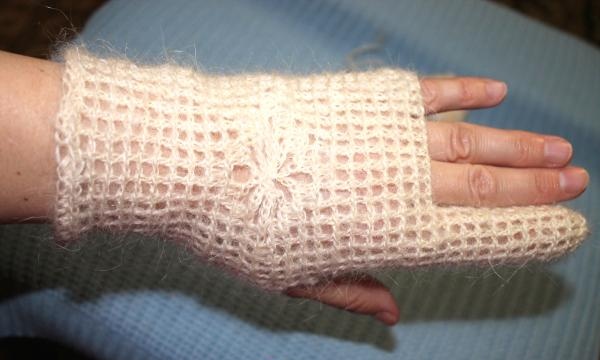
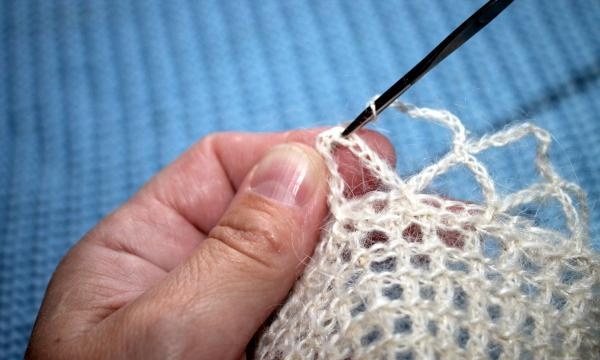
All that remains is to tie the border. There are so many craftswomen, so many options. Here is a simple drawing made using VP.
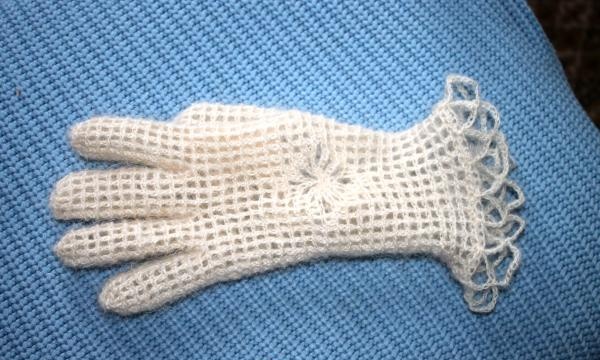
This is what you should get
The right glove is knitted in a mirror image.
Products are washed and bleached. Then they are given the required shape and size. This should be done while the gloves are wet.

For a pair of gloves you will need about 40-50 grams of fine white goat down yarn. Spinning is performed on cotton thread size No. 40-50, and hook No. 1.5-2
We knit an elastic cast-on edge made from double crochets.

We calculate its length using the edge loops. There should be 54 of them. Carefully connect the edge into a ring. And from 54 loops we form 27 cells.

Then we perform fillet knitting in a circle. You need to knit 3 or 4 rows. Depending on the size of the palm. The smaller it is, the fewer rows you need to make.

We knit a glove on the left hand.
Then we knit 2 squares from the junction (this is our 5th row). And immediately we make a dilution for the thumb.

We knit this and the next row to the end according to the pattern. Then in the next row we also knit 2 squares and make another dilution.

We knit according to the pattern until the next dilution and make the second one.

We knit this row and the next one to the end. That is, after each row we repeat 2 dilutions. It turns out like a “wedge”.

We finish making it when there are 9 cells between dilutions. Then in the next row, having reached the dilution, we simply knit 10 air loops.

They will be the basis for the continuation of the glove.


Don't forget about the central design on the back of the glove. They begin to knit it on the 9th row of cells. This is done as follows. In order for the pattern to be exactly in the center, after the second dilution it is necessary to knit another 7 cells, and the eighth to knit with a column inside. The result is not an empty cell, but a filled cell. Using these cells and air loops we will knit a pattern.
In the next rows of cells in a checkerboard pattern we knit the filled ones, which are connected to each other with air loops (VP).

VPs are connected only in the center:
First with one loop, in the next row with three, and in the third with five loops. Then the drawing begins to narrow. Then in the next row the VP must be connected with three loops, and then with one.


We knit the fabric of the glove according to the pattern until the bases of the fingers are hidden. We break the thread.
Now we knit the fingers. Let's start with the index finger. From the junction of the rows - the seam (it is located in the palm of your hand), retreat 2 cells to the left and attach the thread.

We knit 4 VPs, count 10 squares to the left from the junction of the thread and connect them to the back of the glove FIGURE 17. We knit 3 VPs for lifting and knit the index finger in a circle. You need to knit until the top of the finger is hidden. Then we lower and close the loops.


Then, on the back of the glove, from the base of the index finger, we step back 4 squares to the left and tie a thread. Then we proceed as in the previous version and knit the middle finger. Only on the palm side, 3 cells recede from the index finger.


For the ring finger we retreat 3 cells, and for the little finger we retreat all the remaining ones.
Thumb
We tie a thread on the palm side from the place of the last thinning, make 3 VPs for lifting and knit in a circle. You need to try on the glove more often, as the thumb becomes narrower as it grows. Therefore, after a row it is necessary to decrease the cells.


All that remains is to tie the border. There are so many craftswomen, so many options. Here is a simple drawing made using VP.
This is what you should get
The right glove is knitted in a mirror image.
Products are washed and bleached. Then they are given the required shape and size. This should be done while the gloves are wet.

Similar master classes
Particularly interesting
Comments (2)


