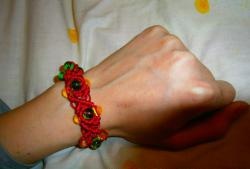
Macrame bracelet with beads
You will need:
1. Colored nylon shoe thread - 1 pc.
2.Colored buttons - 4-5 pcs.
3.2 small rings (sold in a hardware store) - 2 pcs.
4. Clasp - 1 pc.
5. Small beads - 112-140 pcs. (half a skein)
6.medium beads - 12-15 pcs.
1. Measure 140 cm of thread - 6 pieces
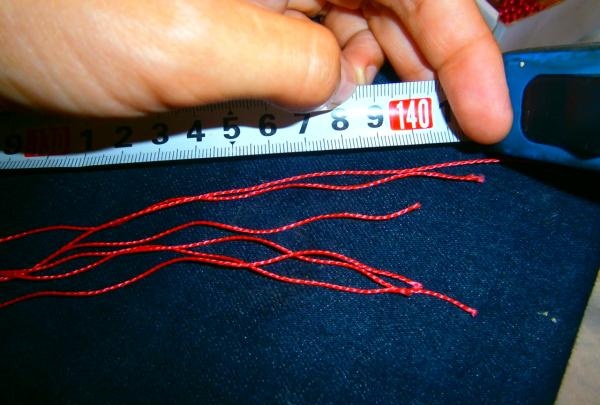
2. We singe the ends of the thread so that they do not fray

3.Fold in half and fasten the thread to the ring - and so on for all 6 pieces
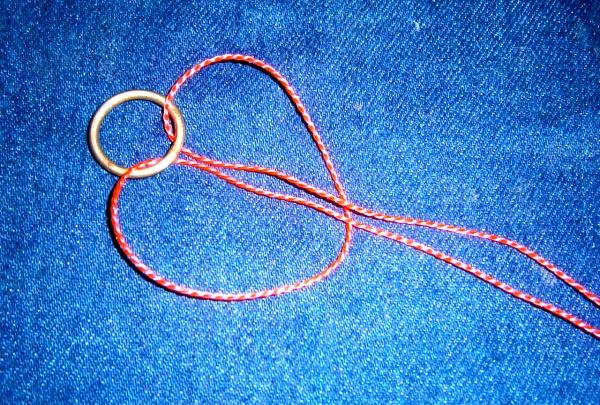
4. We fix the threads with pins on the foam rubber cushion - for ease of weaving
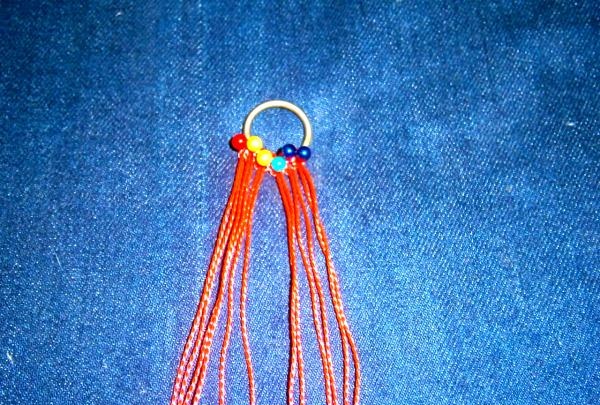
5. Hold the first thread on the left with your thumb. Around it we throw a “right” knot with the second thread from right to left.
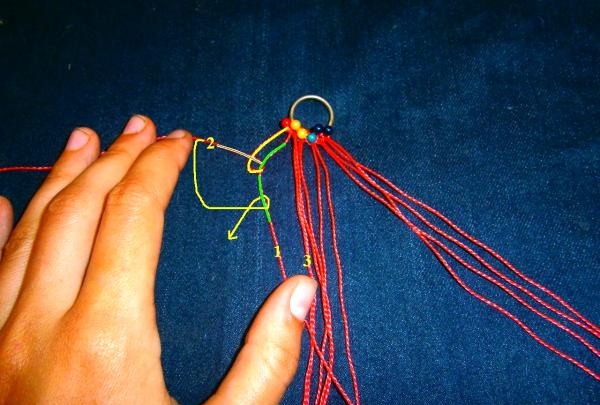
6.Then, in the same way, around the first thread we make a “right” knot from right to left with the third thread. (And then the fourth, fifth and sixth)
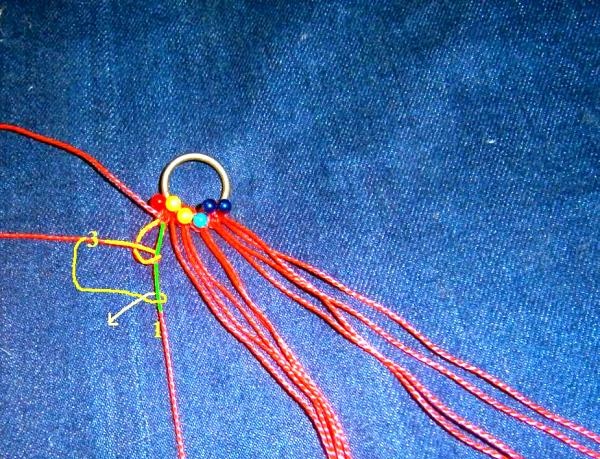
7. We do the same with the outermost thread on the right. Around the first thread we make 2 knots - which make up the “left” knot from left to right.
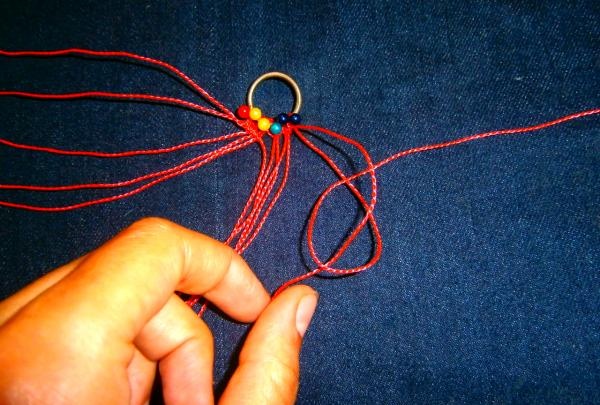
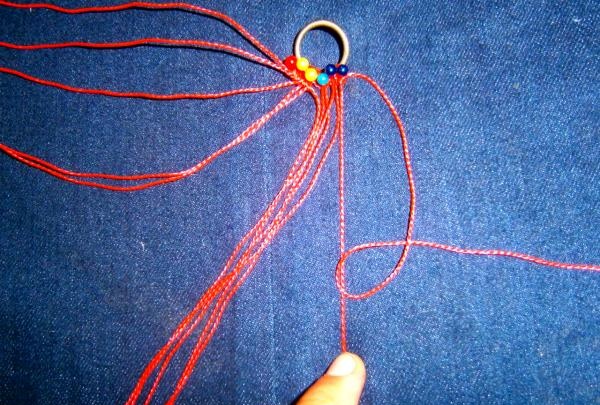
8. Thus, the two extreme threads ended up in the middle
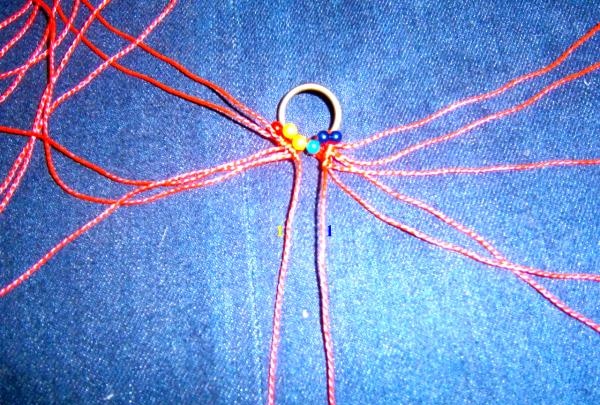
Let's intertwine them.
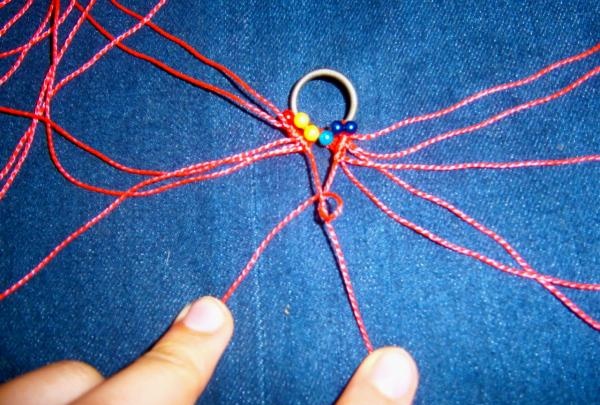
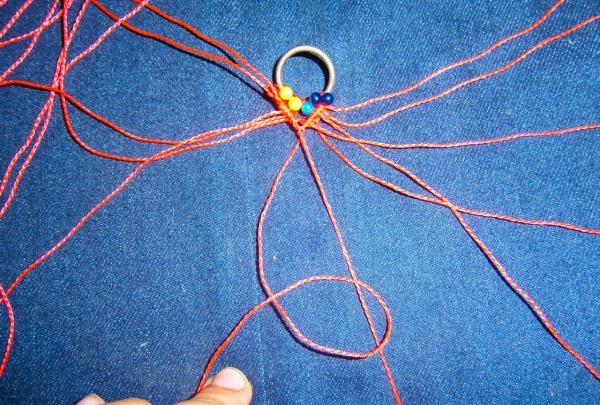
9. Let's form the second row in the same way and now we will throw knots not on the outer threads, but on those that are in the middle. There are two threads in the middle.Take the middle left one and put knots on it with the next thread on the left. Do the same with the next 4 threads.
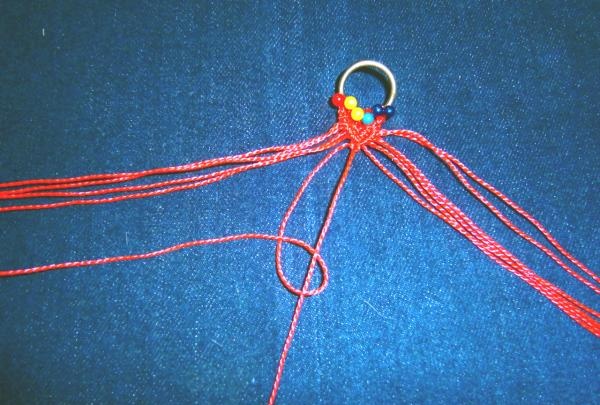
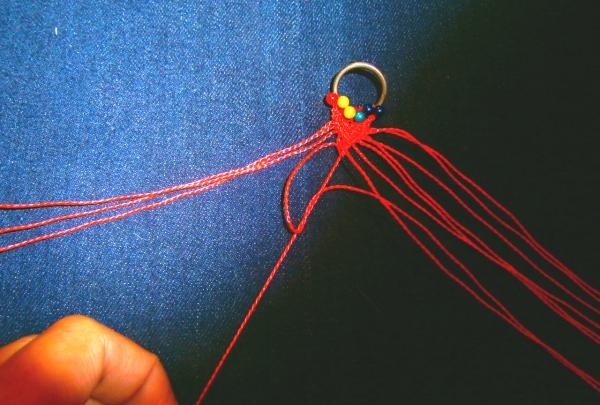
10. Take the middle right one and lead it to the right, throwing knots on it with each subsequent thread on the right (similar to how we did it on the left.
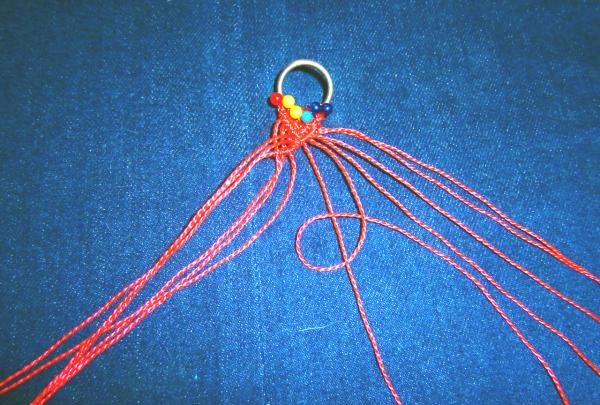
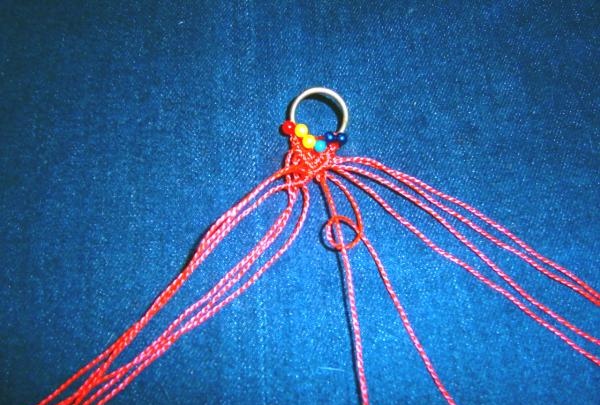
11. Thus, our middle threads are on the edge.
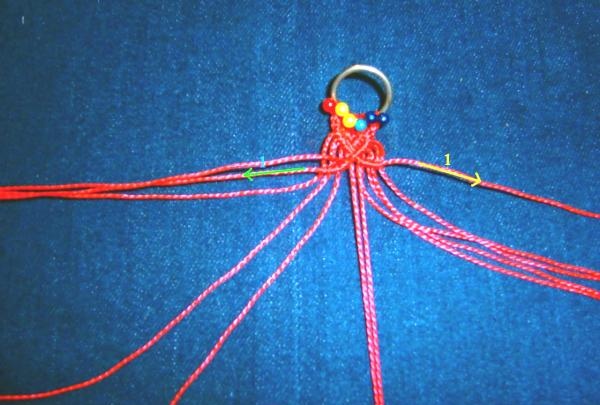
We put the button on 2 middle threads.
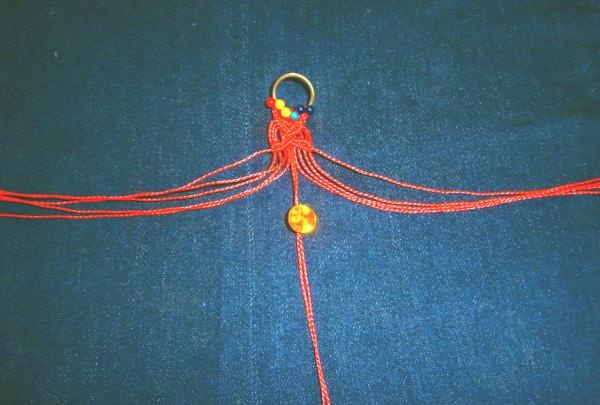
12. We lead the outer threads to the center in the same way as steps 5-7.
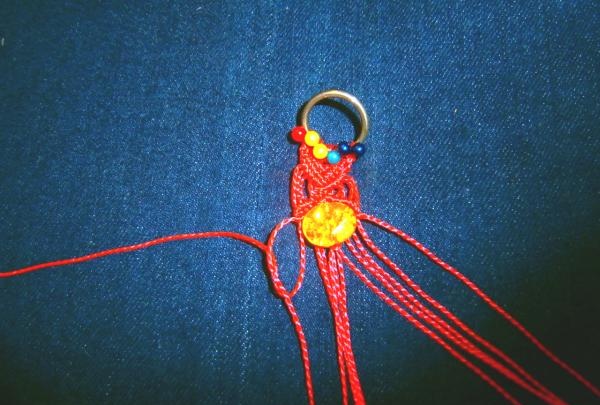
So we form 2 rows.
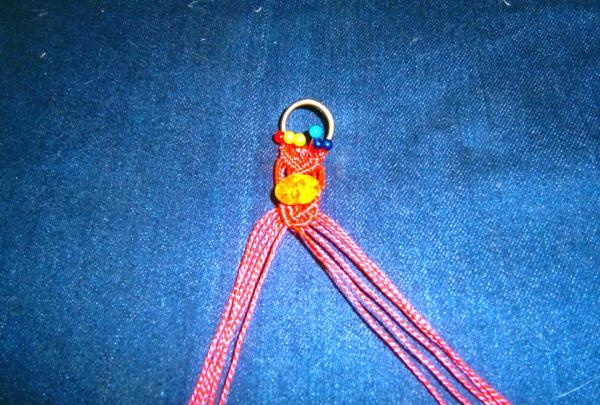
13. Now we put the middle bead on 2 middle threads.
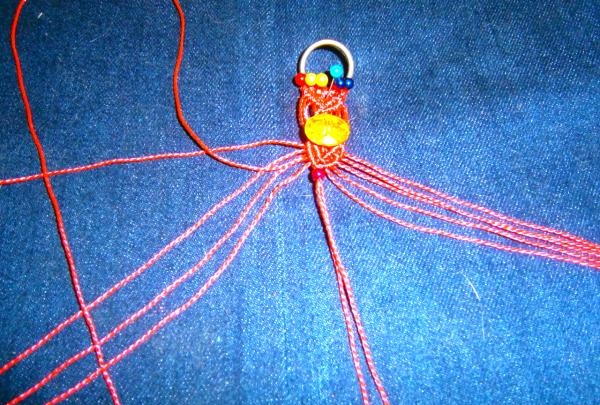
14. Similar to steps 9-11, we will lead the middle threads to the center, throwing knots over them. So, we make the first knot on the left without beads, empty.
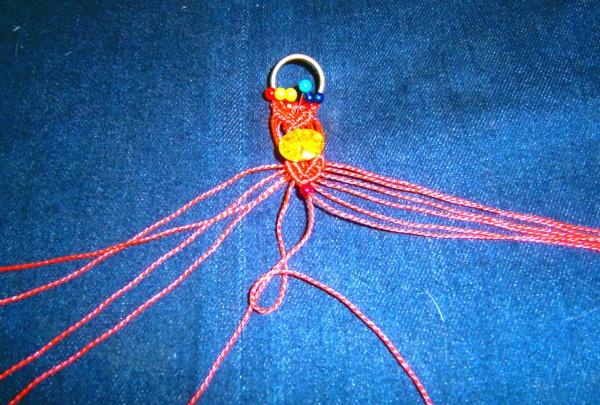
Then we string 2 small beads.
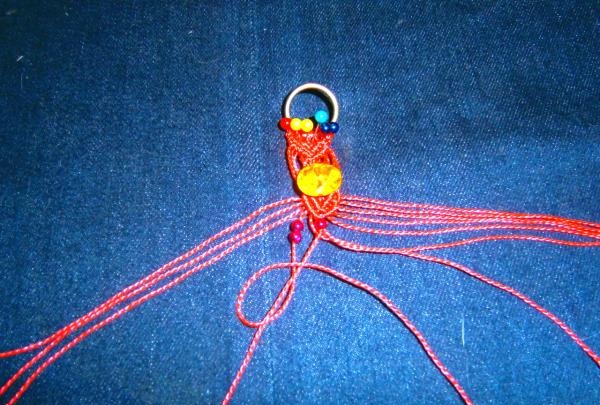
Then 3 beads.
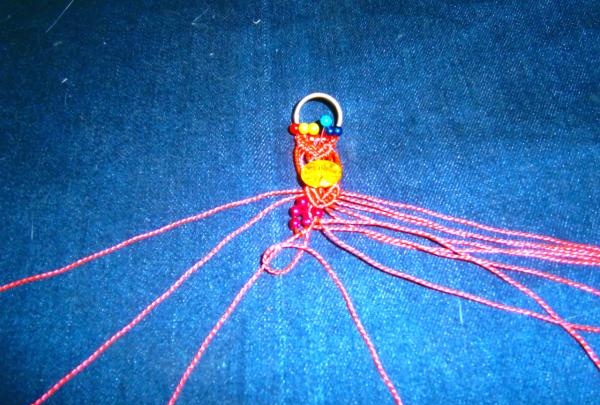
Then 4 and 5 beads (the middle yellow bead in the center).
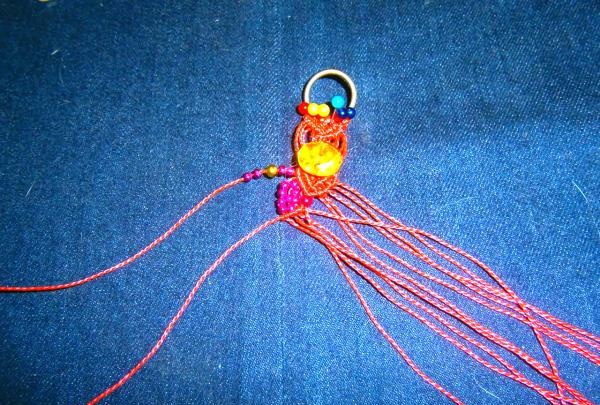
15. We do the same on the right. This is the result of the first element.
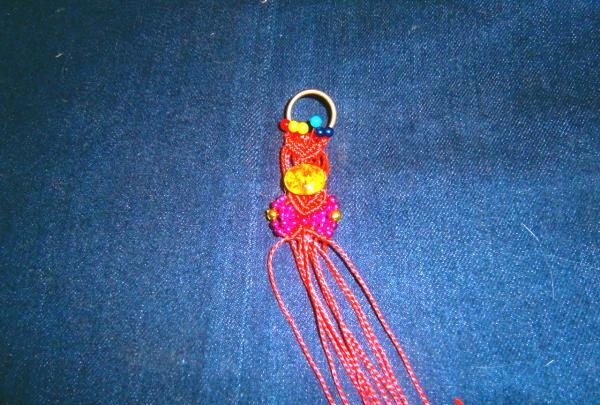
16. In this way we weave another 3-4 elements. Now we will design the clasp. To do this, we tie the second ring into a knot with two threads from the middle.
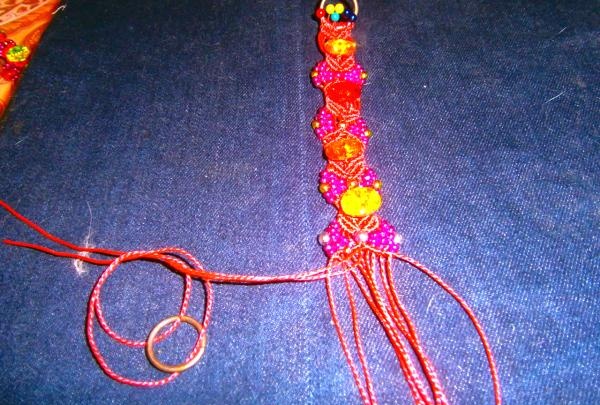
17. We lead the extreme threads on the right and left to the middle, throwing knots as if it were a button and not a ring. The result was a wonderful design for the ring.
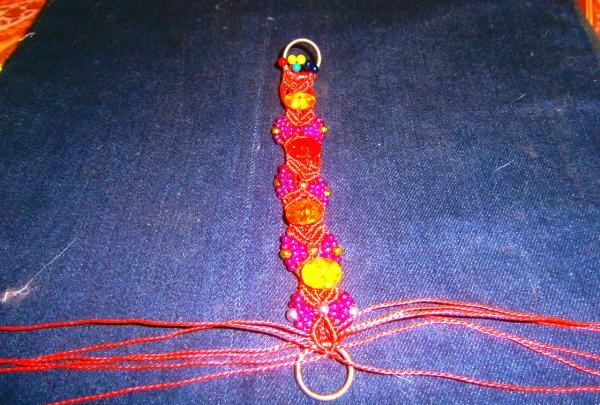
You can literally melt the ends of the threads in a minute and try to press the ends of the threads with your fingers. Now you can attach the clasp.
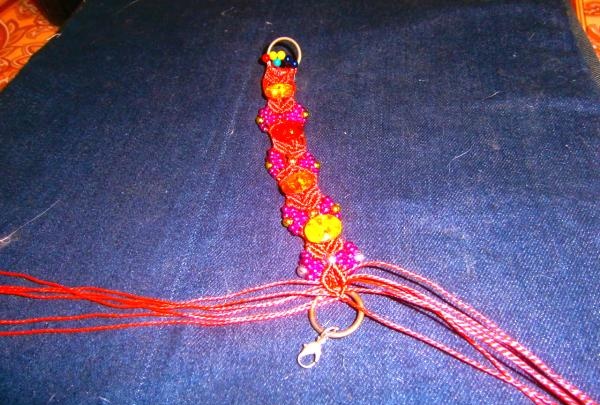
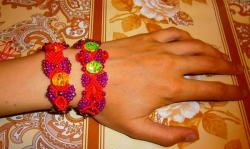
So what happened.
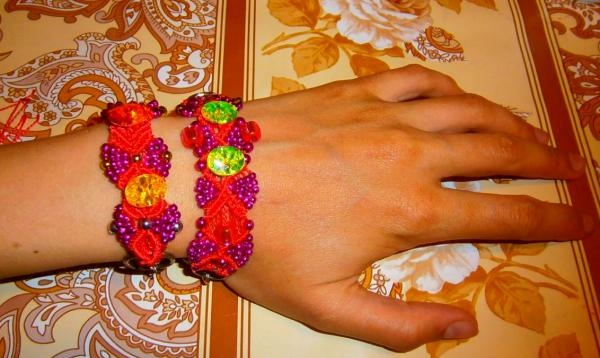
1. Colored nylon shoe thread - 1 pc.
2.Colored buttons - 4-5 pcs.
3.2 small rings (sold in a hardware store) - 2 pcs.
4. Clasp - 1 pc.
5. Small beads - 112-140 pcs. (half a skein)
6.medium beads - 12-15 pcs.
1. Measure 140 cm of thread - 6 pieces

2. We singe the ends of the thread so that they do not fray

3.Fold in half and fasten the thread to the ring - and so on for all 6 pieces

4. We fix the threads with pins on the foam rubber cushion - for ease of weaving

5. Hold the first thread on the left with your thumb. Around it we throw a “right” knot with the second thread from right to left.

6.Then, in the same way, around the first thread we make a “right” knot from right to left with the third thread. (And then the fourth, fifth and sixth)

7. We do the same with the outermost thread on the right. Around the first thread we make 2 knots - which make up the “left” knot from left to right.


8. Thus, the two extreme threads ended up in the middle

Let's intertwine them.


9. Let's form the second row in the same way and now we will throw knots not on the outer threads, but on those that are in the middle. There are two threads in the middle.Take the middle left one and put knots on it with the next thread on the left. Do the same with the next 4 threads.


10. Take the middle right one and lead it to the right, throwing knots on it with each subsequent thread on the right (similar to how we did it on the left.


11. Thus, our middle threads are on the edge.

We put the button on 2 middle threads.

12. We lead the outer threads to the center in the same way as steps 5-7.

So we form 2 rows.

13. Now we put the middle bead on 2 middle threads.

14. Similar to steps 9-11, we will lead the middle threads to the center, throwing knots over them. So, we make the first knot on the left without beads, empty.

Then we string 2 small beads.

Then 3 beads.

Then 4 and 5 beads (the middle yellow bead in the center).

15. We do the same on the right. This is the result of the first element.

16. In this way we weave another 3-4 elements. Now we will design the clasp. To do this, we tie the second ring into a knot with two threads from the middle.

17. We lead the extreme threads on the right and left to the middle, throwing knots as if it were a button and not a ring. The result was a wonderful design for the ring.

You can literally melt the ends of the threads in a minute and try to press the ends of the threads with your fingers. Now you can attach the clasp.

So what happened.

Similar master classes
Particularly interesting
Comments (0)

