How to make a powerful lever knife for metal
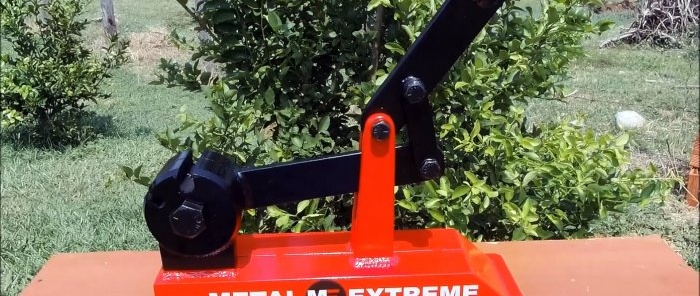
This homemade product cuts metal bars faster and easier than a hand saw for metal. Its production does not require special materials, special equipment or high qualifications.
Before starting work, we will prepare the following materials and products:
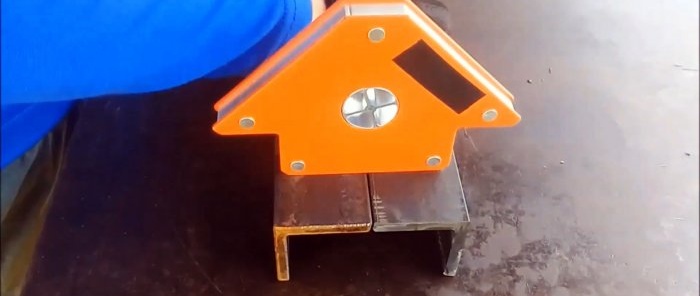
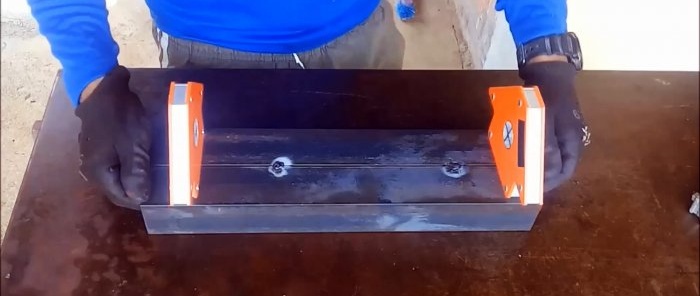
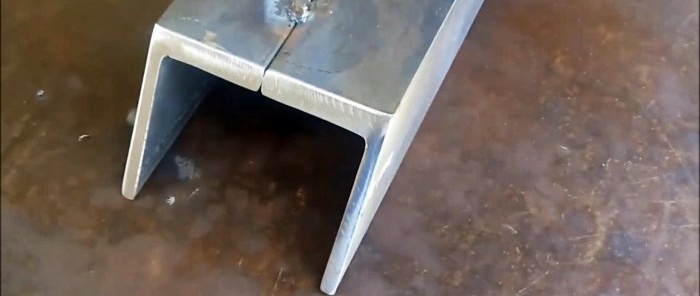
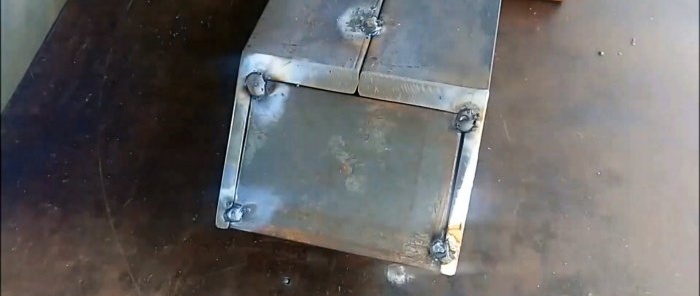
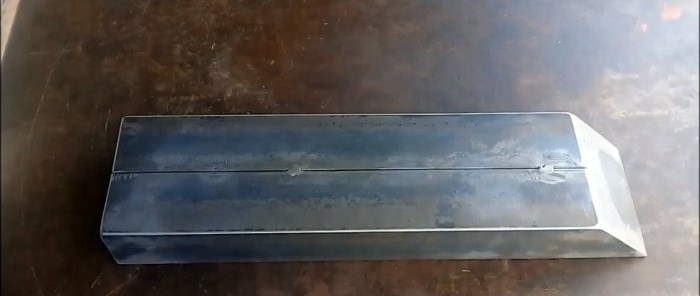
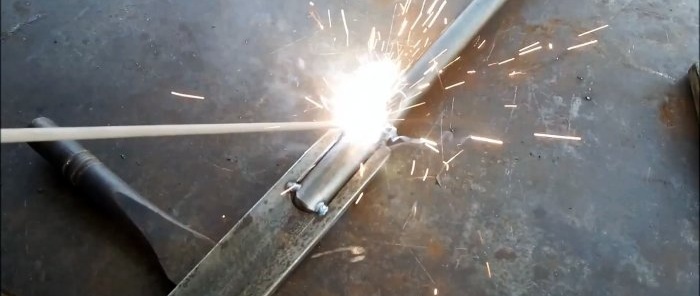
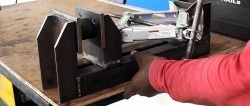
We make the homemade base from two steel corners 50 × 50 × 6 mm and 400 mm long. We place them on shelves vertically on a flat surface, and close the horizontal ones along the length and brew them.
We close one end vertically with a steel plate, on the other we make a bevel with a grinder and also weld the plate.
We clean and grind the welds.
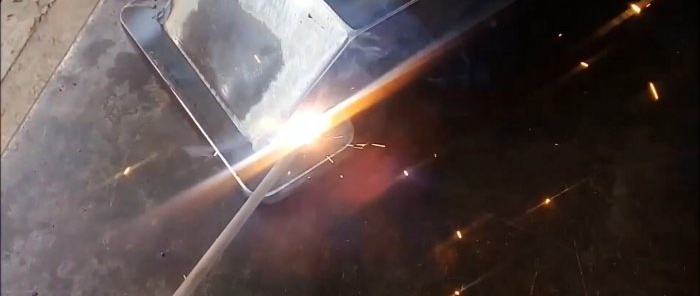
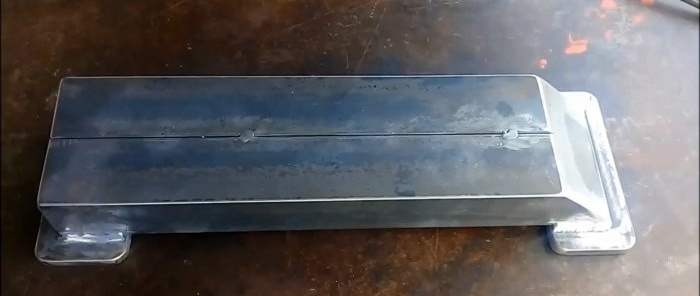
At the bottom ends of the base we weld rectangular plates 8 mm thick with a protrusion of 10 mm around the perimeter.
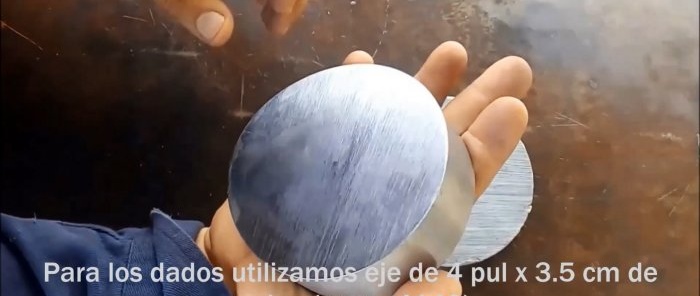
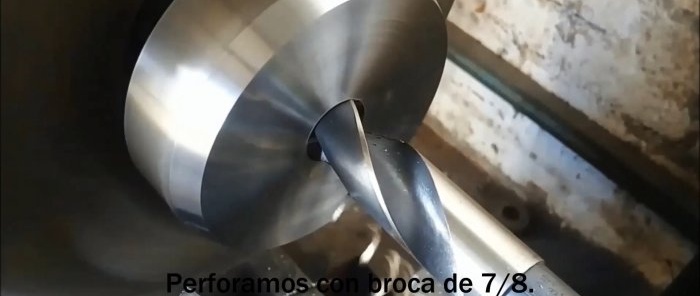
We process two steel circles of grade 40ХГМ with a diameter of 100 mm and a height of 35 mm.We trim and grind them to the required size. At one end we make a wide bevel and drill a hole in the center.
To process the workpieces together, we weld them in two places, connecting and centering them.
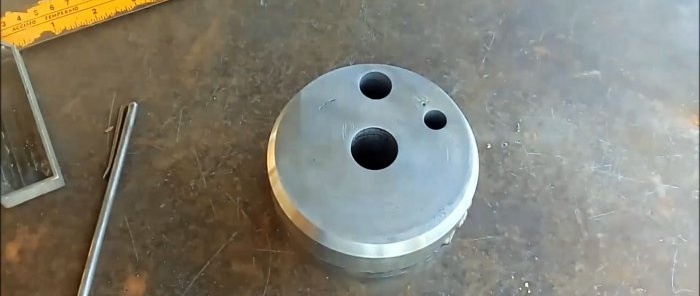
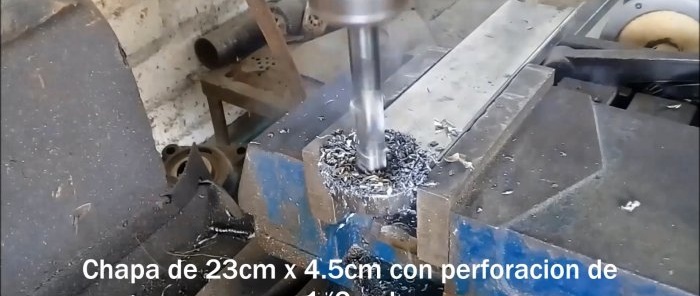
Along the top of the bevel we place cores at a distance of 35 mm along the chord - these are the centers of future holes with a diameter of 16 and 11 mm, made on a drilling machine. Using a square and a scriber, we draw radial tangent lines from the drilled holes to the central one at the two ends and connect them along a generatrix.
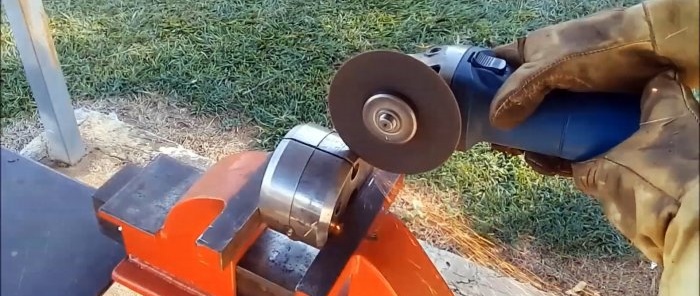
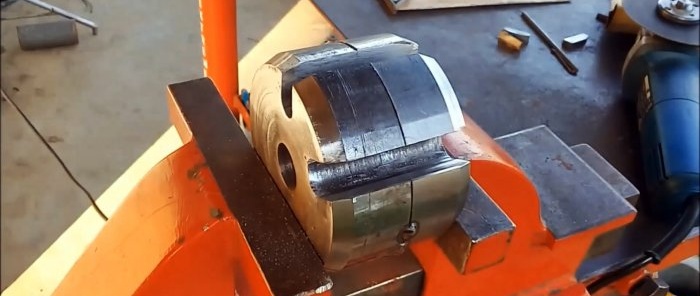
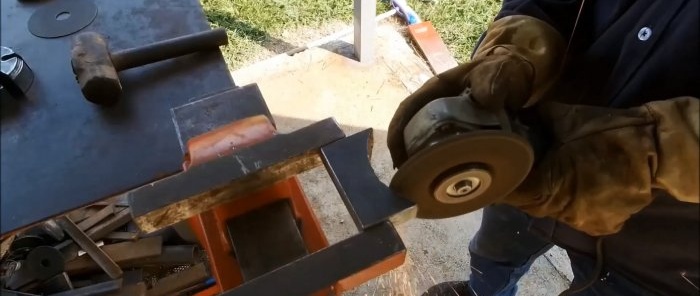
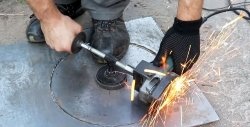
Using a grinder, we cut out two radial grooves according to the markings from the surface of the circles to the corresponding hole. We grind the grooves with a hand file and remove the welded tacks.
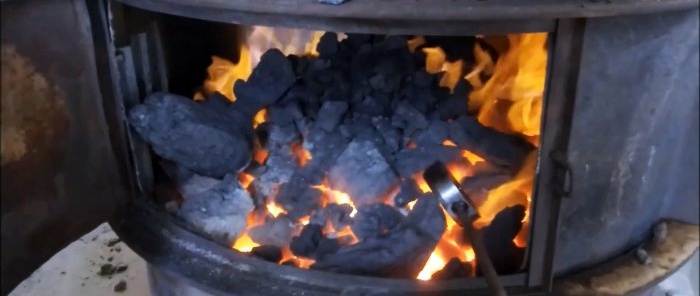
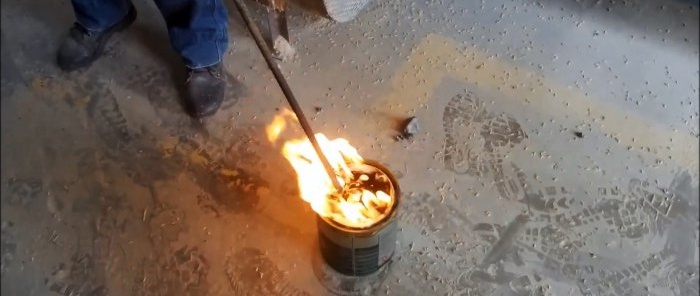
We heat the blanks in the oven until red and quickly lower them into a jar of oil. We keep them there for a while, then take them out and cool them in the air.
We clean the circles from dark deposits and apply one of them to a rectangular plate 80 × 50 × 20 mm so that the generatrix of the circle connects the corners. Using a scriber on the plate, we draw a circular arc from corner to corner and cut out a recess with a grinder.
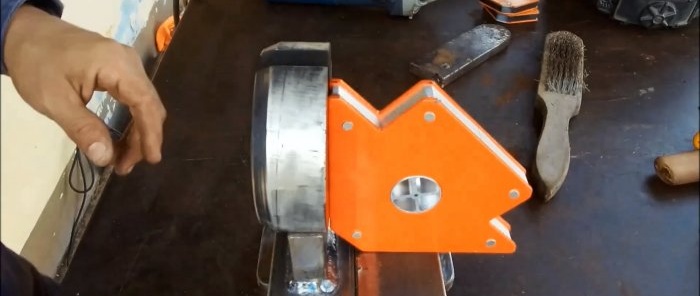
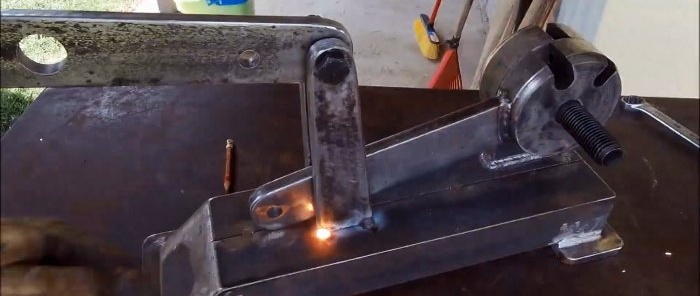
We install the plate in the corner of the base parallel to the long side and weld it there. We place one of the circles into the recess, directing the wide groove straight up, and also weld it.
Let's start assembling the lever drive. In a steel plate 230 × 45 mm, we drill a 12 mm hole from one edge, and on the other we make a recess for the outer diameter of the circle and weld it there.
In two steel plates 12 mm thick, 180 mm long and 50 mm wide at one end, 35 mm at the other, drill a 12 mm hole from the narrow side. In a plate of the same thickness, 250 mm long and 45 mm wide, we make two holes of 12 mm and one of 25 mm according to the markings.
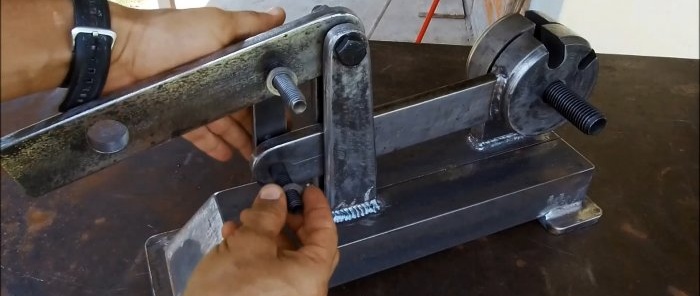
Using a bolt, washers and nut, we assemble these three parts together, placing a long plate between two short ones, which we place with their wide ends on the base and weld.
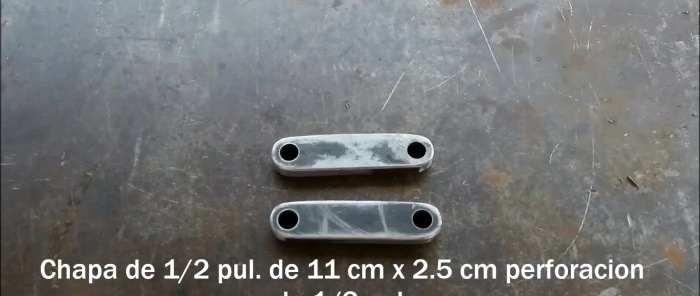
Using a pair of plates 110 × 25 mm with two 12 mm holes at the ends, we connect the lever of the moving circle with the lever of the manual drive.
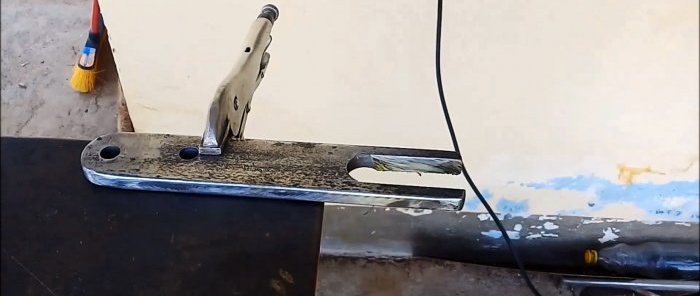
In its end, up to the large hole, we cut a groove with a grinder, insert a steel rod-lever with a notch at the end and secure it by welding.
We paint the stationary parts one color, and the moving parts another.
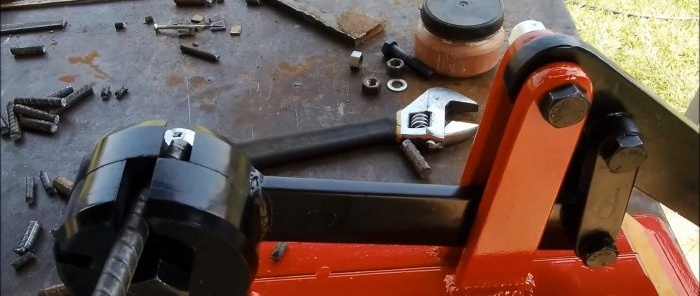
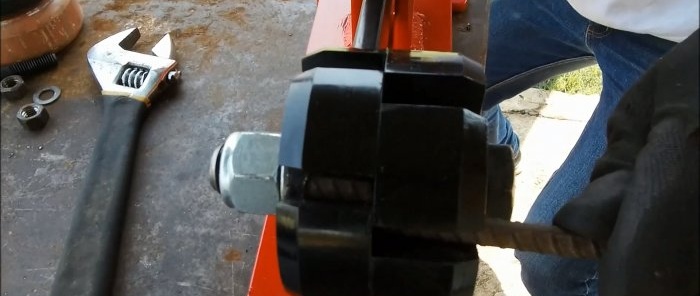
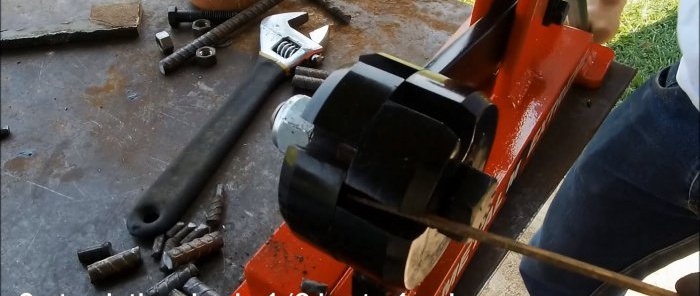
After the paint has dried, we assemble and test the device in action, cutting rods, reinforcement and plates.
Moreover, we place thin material in a narrow groove, and thick material in a wide one.
Will need
Before starting work, we will prepare the following materials and products:
- equal angle;
- sheet metal of various thicknesses;
- steel circle;
- quenching oil;
- steel rod;
- bolts, nuts, washers;
- paint in two colors.
- You will also need a welding machine, lathe and drilling machines, a grinder, a file, a furnace for heating metal, wrenches, a spray gun, etc.
Knife making process
We make the homemade base from two steel corners 50 × 50 × 6 mm and 400 mm long. We place them on shelves vertically on a flat surface, and close the horizontal ones along the length and brew them.
We close one end vertically with a steel plate, on the other we make a bevel with a grinder and also weld the plate.
We clean and grind the welds.
At the bottom ends of the base we weld rectangular plates 8 mm thick with a protrusion of 10 mm around the perimeter.
We process two steel circles of grade 40ХГМ with a diameter of 100 mm and a height of 35 mm.We trim and grind them to the required size. At one end we make a wide bevel and drill a hole in the center.
To process the workpieces together, we weld them in two places, connecting and centering them.
Along the top of the bevel we place cores at a distance of 35 mm along the chord - these are the centers of future holes with a diameter of 16 and 11 mm, made on a drilling machine. Using a square and a scriber, we draw radial tangent lines from the drilled holes to the central one at the two ends and connect them along a generatrix.
Using a grinder, we cut out two radial grooves according to the markings from the surface of the circles to the corresponding hole. We grind the grooves with a hand file and remove the welded tacks.
We heat the blanks in the oven until red and quickly lower them into a jar of oil. We keep them there for a while, then take them out and cool them in the air.
We clean the circles from dark deposits and apply one of them to a rectangular plate 80 × 50 × 20 mm so that the generatrix of the circle connects the corners. Using a scriber on the plate, we draw a circular arc from corner to corner and cut out a recess with a grinder.
We install the plate in the corner of the base parallel to the long side and weld it there. We place one of the circles into the recess, directing the wide groove straight up, and also weld it.
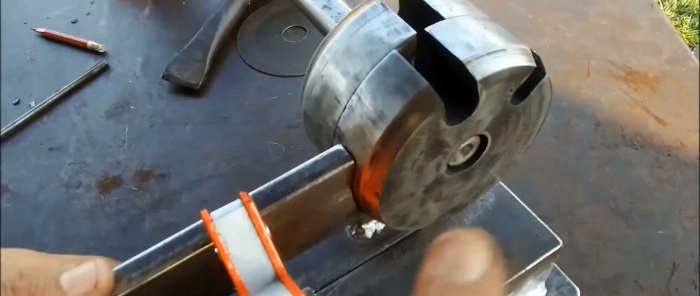
Let's start assembling the lever drive. In a steel plate 230 × 45 mm, we drill a 12 mm hole from one edge, and on the other we make a recess for the outer diameter of the circle and weld it there.
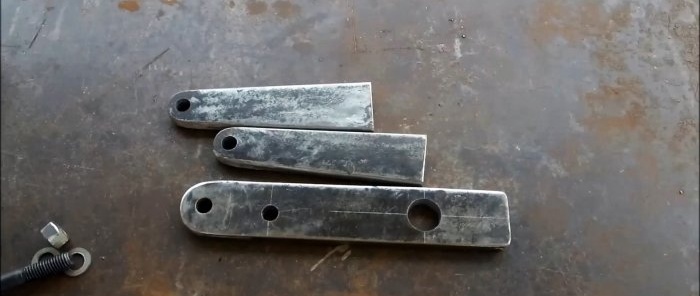
In two steel plates 12 mm thick, 180 mm long and 50 mm wide at one end, 35 mm at the other, drill a 12 mm hole from the narrow side. In a plate of the same thickness, 250 mm long and 45 mm wide, we make two holes of 12 mm and one of 25 mm according to the markings.
Using a bolt, washers and nut, we assemble these three parts together, placing a long plate between two short ones, which we place with their wide ends on the base and weld.
Using a pair of plates 110 × 25 mm with two 12 mm holes at the ends, we connect the lever of the moving circle with the lever of the manual drive.
In its end, up to the large hole, we cut a groove with a grinder, insert a steel rod-lever with a notch at the end and secure it by welding.
We paint the stationary parts one color, and the moving parts another.
After the paint has dried, we assemble and test the device in action, cutting rods, reinforcement and plates.
Moreover, we place thin material in a narrow groove, and thick material in a wide one.
Watch the video
Similar master classes
Particularly interesting
Comments (1)

