Painting plates with glitter
One day I decided to paint a plate, for which I had already used stained glass paints. However, this time it was decided to do a brilliant painting, for this I decided to try multi-colored glitters and permanent markers.
So:
1. I took such a sample, using the GIMP program I selected the contours and erased the center
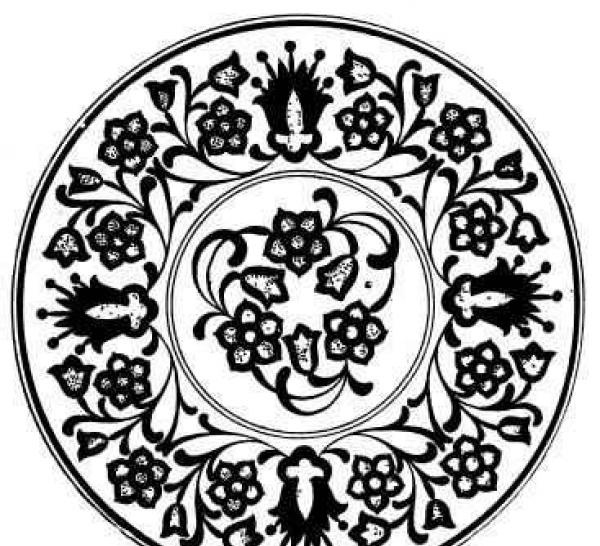
and this is what happened:
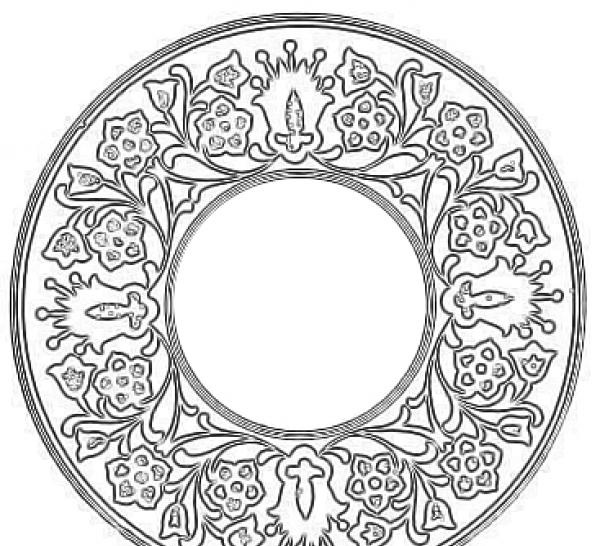
2. Next, I printed out a piece of paper with an ornament, cut out a white circle without an ornament inside and cut it into 8 parts to achieve the best fit to the surface of the plate:
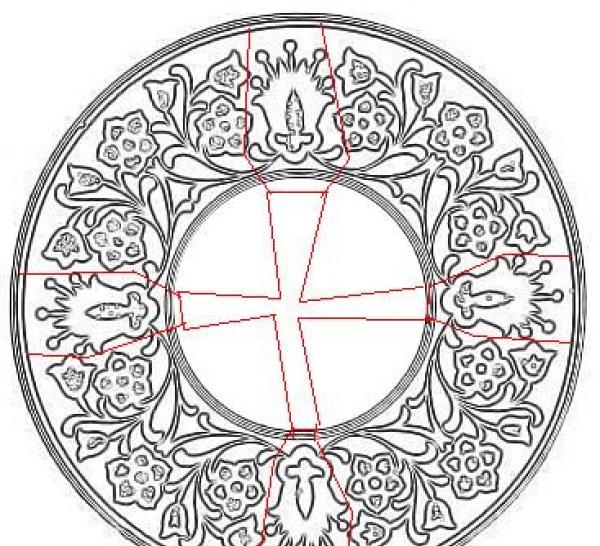
I glued each of the parts on the outer surface with tape.
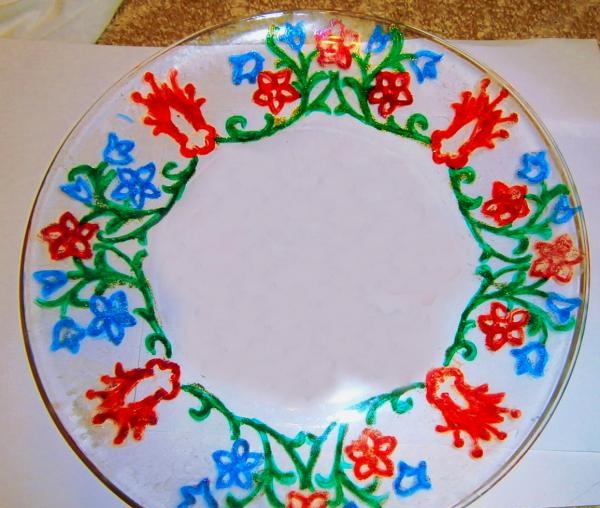
3. It would be very boring to make an ornament in one color, so I decided to paint the plate in three colors: blue, red and green. First, I drew a pattern on the paper with a permanent marker, then on a plate and applied glitter on top. The markers were the cheapest M-Union, so there was no full coloring of the pattern, it became translucent, and that’s all I wanted - the glitter glittered through the pattern! I applied glitter and the result was this ornament:
4.Now it's the turn of the inner pattern! Since the original pattern of three colors seemed rather banal and boring to me, it was decided to make an internal pattern from one element: in the same GIMP program I reflected and copied the element, combined it and flattened it a little, and then selected the edge, like this:

5. I also printed it out and painted it in three colors, then placed it on the inside of the plate and traced it with permanent markers and glitter along the top.
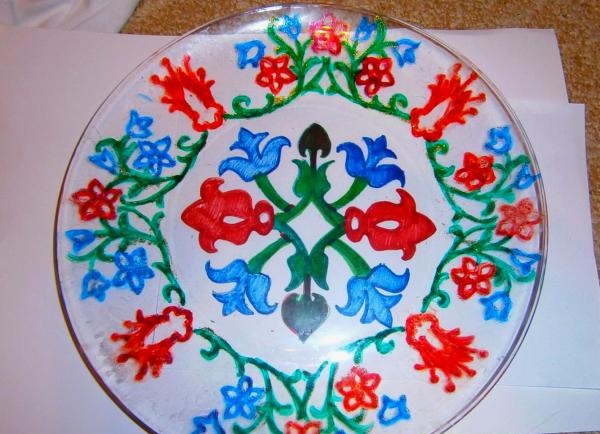
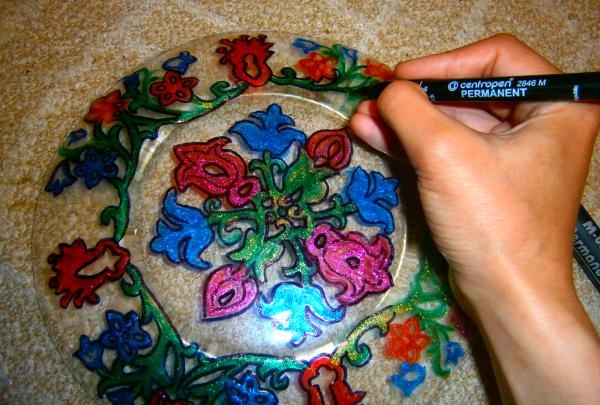
6. Finally, I found that the edges of the design looked a little blurry, so I outlined with a sharper, thinner (important for outlining) black Centropen marker.
Here's what happened:
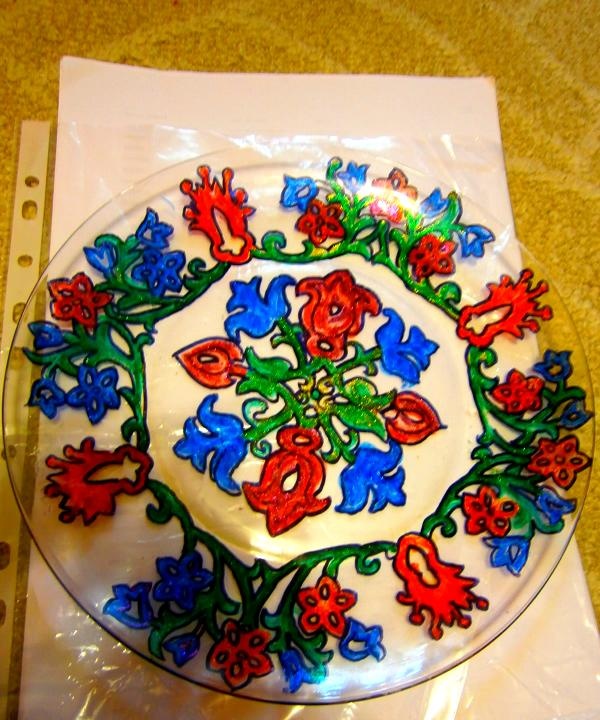
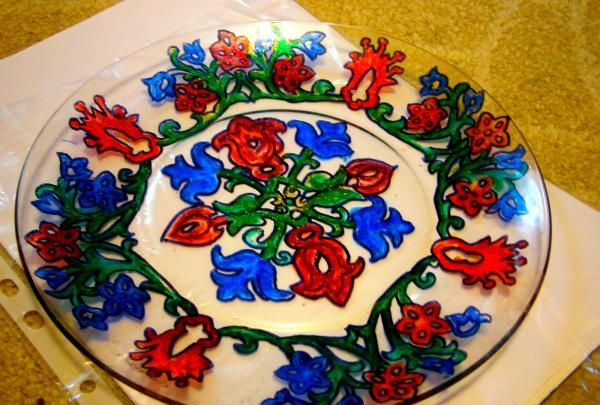
In principle, you can coat the pattern with glass varnish and bake it so that the plate can be used and washed. But you can also use it as a decorative plate and as a vase for candies!
So:
1. I took such a sample, using the GIMP program I selected the contours and erased the center

and this is what happened:

2. Next, I printed out a piece of paper with an ornament, cut out a white circle without an ornament inside and cut it into 8 parts to achieve the best fit to the surface of the plate:

I glued each of the parts on the outer surface with tape.
3. It would be very boring to make an ornament in one color, so I decided to paint the plate in three colors: blue, red and green. First, I drew a pattern on the paper with a permanent marker, then on a plate and applied glitter on top. The markers were the cheapest M-Union, so there was no full coloring of the pattern, it became translucent, and that’s all I wanted - the glitter glittered through the pattern! I applied glitter and the result was this ornament:

4.Now it's the turn of the inner pattern! Since the original pattern of three colors seemed rather banal and boring to me, it was decided to make an internal pattern from one element: in the same GIMP program I reflected and copied the element, combined it and flattened it a little, and then selected the edge, like this:

5. I also printed it out and painted it in three colors, then placed it on the inside of the plate and traced it with permanent markers and glitter along the top.

6. Finally, I found that the edges of the design looked a little blurry, so I outlined with a sharper, thinner (important for outlining) black Centropen marker.

Here's what happened:


In principle, you can coat the pattern with glass varnish and bake it so that the plate can be used and washed. But you can also use it as a decorative plate and as a vase for candies!
Similar master classes
Particularly interesting
Comments (0)

