Original tea pair
More and more often, we try to choose a designer item as a gift. We suggest you do it yourself. For creativity you will need a plain tea pair made of glazed clay, as well as special paints for painting ceramics.
The activity will be exciting even for children aged seven years and older.
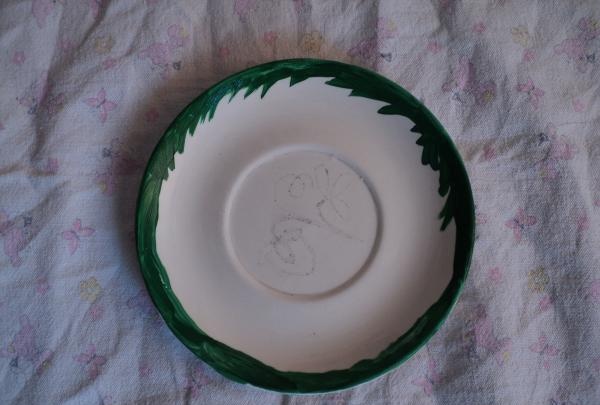
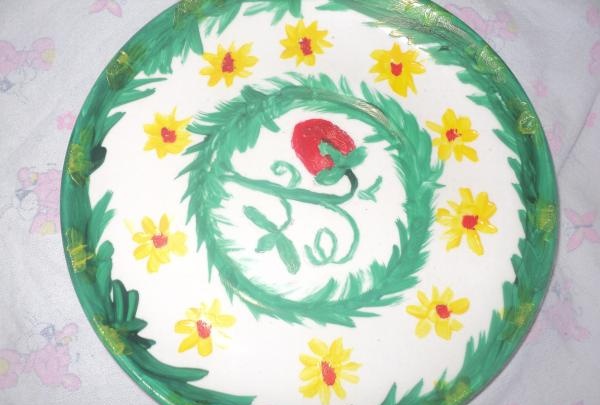
The first stage of making designer tableware will be painting the plate. We chose a spring theme and decorated the edge of the saucer with jagged strokes of green paint. During the process, you should not wet the brush, since only the dense consistency of the paint will allow you to maintain the shape of the design on the glazed surface.
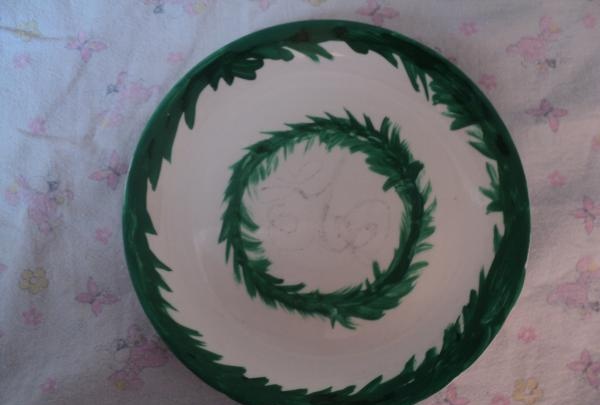
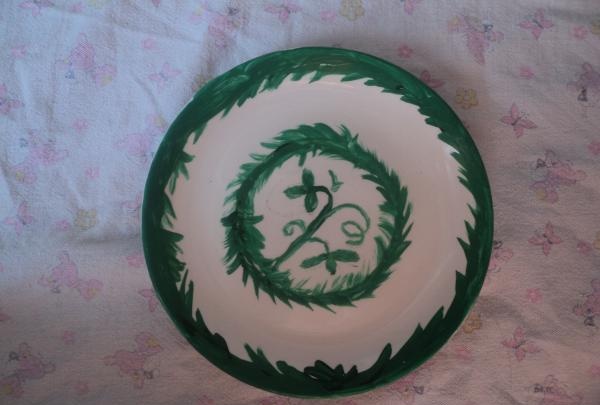
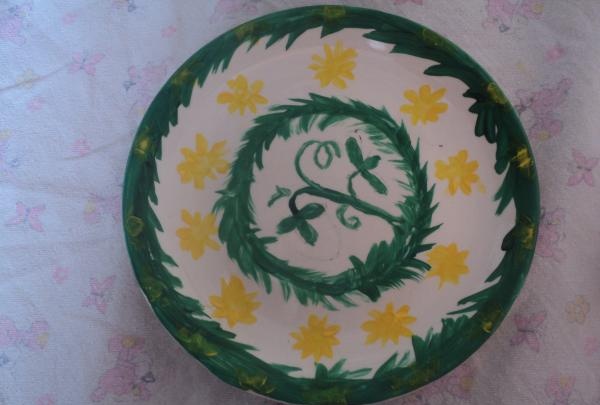
In the center of the saucer we depicted a small sprout with leaves, and then added yellow drops in the form of double flowers. When the paint dried a little, we painted a bright red berry in the center of the plate. The finished saucer was set aside to dry.
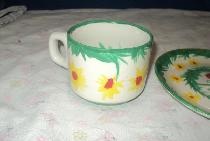
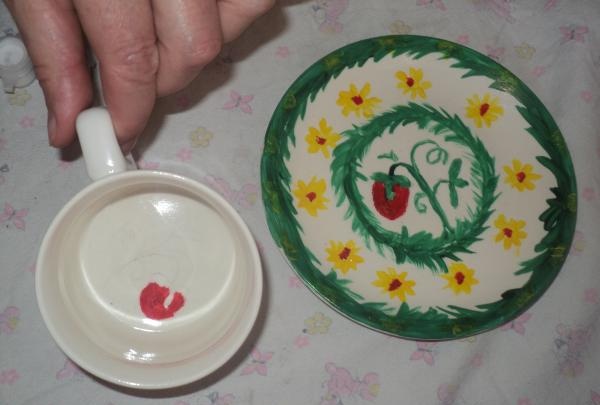
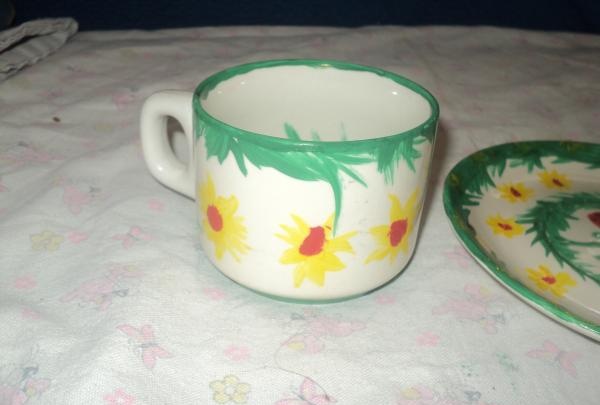
An outline was drawn on the bottom of the mug using a simple lead pencil, and then the drawing was covered with paint. It should be said that when using a pencil, the drawing turns out smoother. Next, the rim on the top and bottom of the mug was made in rich green color.Shades of green can be changed by adding a little white or yellow. Finally, flowers similar to those depicted on the plate were applied to the outer side surface of the cup.
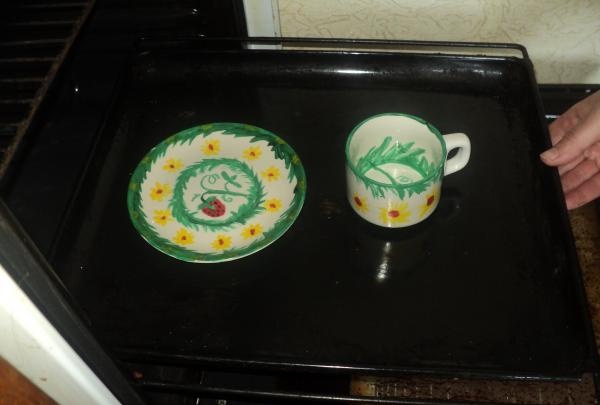
To fix the design, the finished pair was baked in a hot electric oven for 20 minutes. The average temperature in the oven should be about two hundred degrees. The temperature should not be increased; the paint should bake slowly. The product should cool slowly in the oven. Before use, wash the cup and saucer in running water using any liquid cleaning agent.
The activity will be exciting even for children aged seven years and older.
The first stage of making designer tableware will be painting the plate. We chose a spring theme and decorated the edge of the saucer with jagged strokes of green paint. During the process, you should not wet the brush, since only the dense consistency of the paint will allow you to maintain the shape of the design on the glazed surface.


In the center of the saucer we depicted a small sprout with leaves, and then added yellow drops in the form of double flowers. When the paint dried a little, we painted a bright red berry in the center of the plate. The finished saucer was set aside to dry.


An outline was drawn on the bottom of the mug using a simple lead pencil, and then the drawing was covered with paint. It should be said that when using a pencil, the drawing turns out smoother. Next, the rim on the top and bottom of the mug was made in rich green color.Shades of green can be changed by adding a little white or yellow. Finally, flowers similar to those depicted on the plate were applied to the outer side surface of the cup.


To fix the design, the finished pair was baked in a hot electric oven for 20 minutes. The average temperature in the oven should be about two hundred degrees. The temperature should not be increased; the paint should bake slowly. The product should cool slowly in the oven. Before use, wash the cup and saucer in running water using any liquid cleaning agent.

Similar master classes
Particularly interesting
Comments (0)

