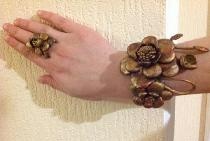
Bracelet made of ribbon and beads
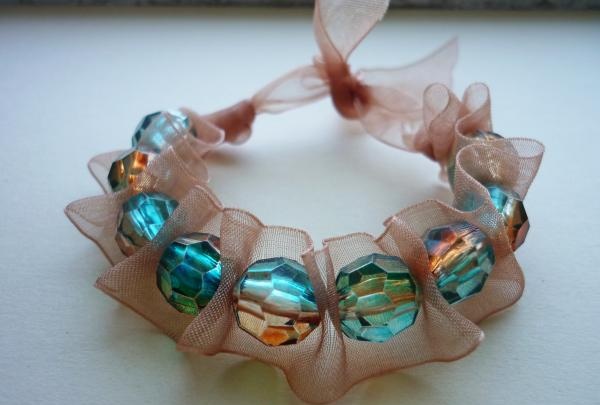
Very beautiful and original jewelry can be created from the most ordinary things. So, for example, you can create such a cute bracelet from ribbon and beads.
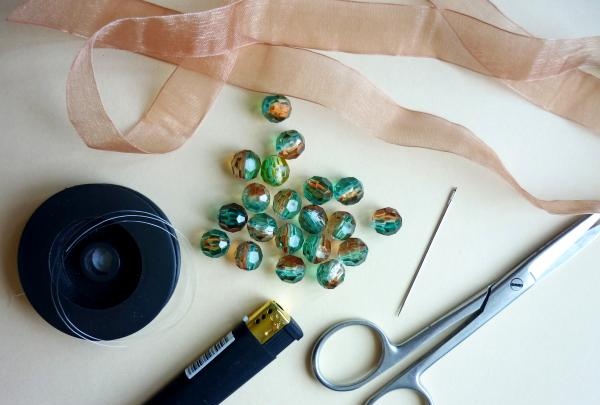
For this we need fishing line, beads, ribbon (satin or organza), needle, scissors, lighter or candle. Let's select a ribbon of such width that it matches the diameter of the beads. The needle should have a narrow eye. Instead of fishing line, you can use thread that matches the color of the ribbon.
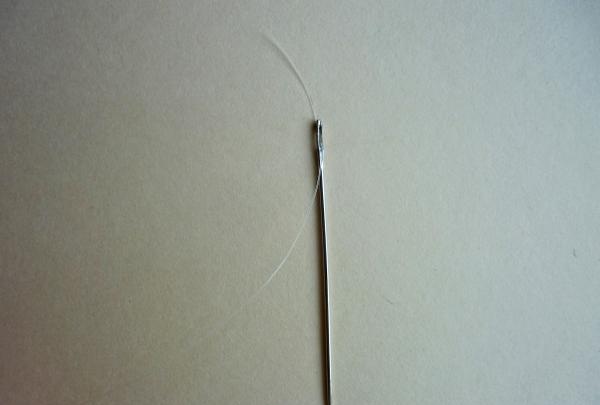
Let's unwind a fishing line 20 cm long. We don't need the whole length, it is necessary for the convenience of stringing beads and ribbon. We pass the fishing line into the eye of the needle and tie a double knot at only one end.
Take a ribbon 50 cm long. Stepping back 15 cm from the free end, we thread the needle through the tape from below.
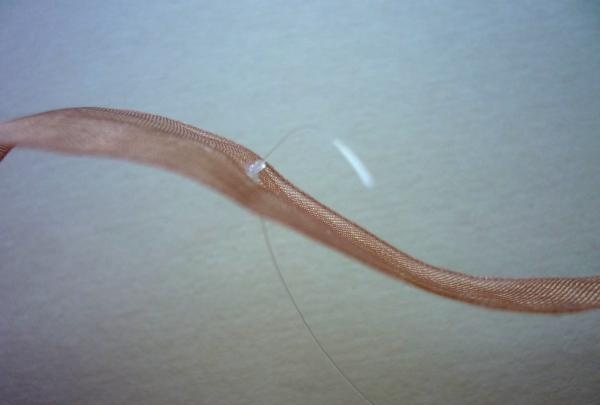
Next, use a regular seam to make two stitches (1.5 cm each). The length of the stitch depends on the diameter of the beads that we will select for our bracelet.
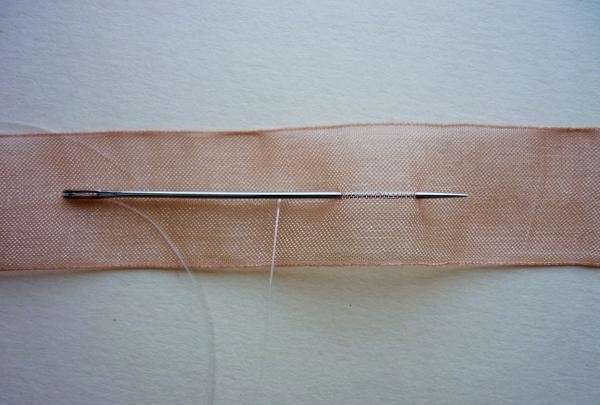
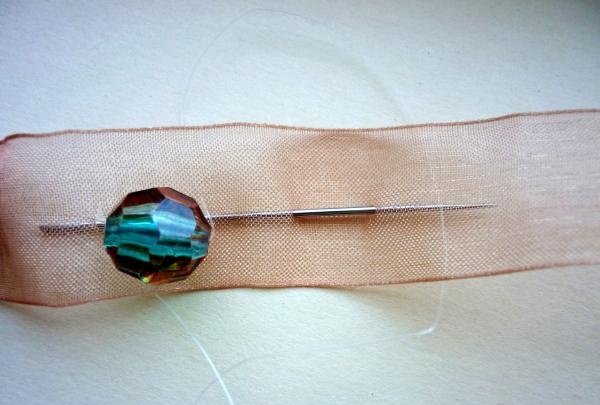
We string the bead onto the fishing line and thread the needle through the tape downwards perpendicular to the extreme point of the bead.
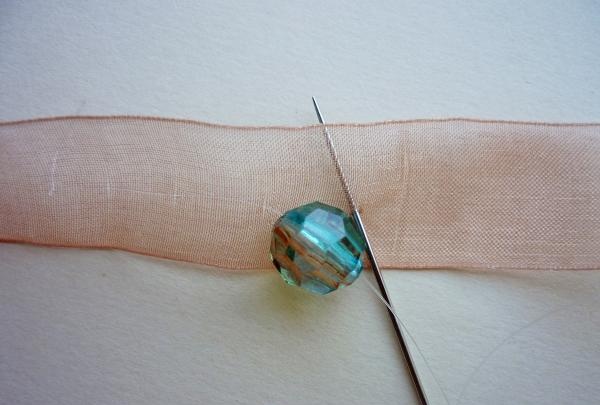
Having retreated 1.5 cm, we bring the needle to the top and string the bead again. Thus we string 8 more beads.
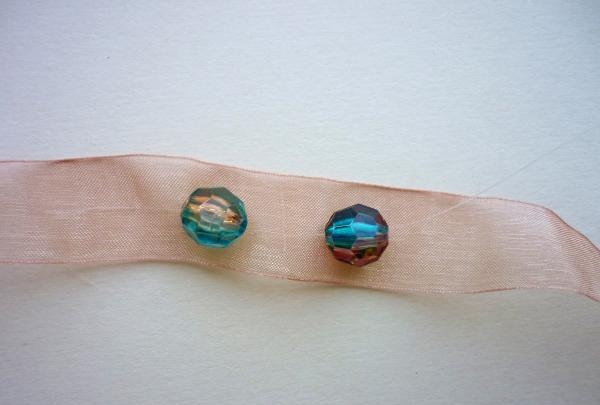
At the end, as at the beginning, we make two simple stitches without beads.
Holding the knot at the beginning, we pull the beads together. We straighten the resulting “accordion” with our fingers.
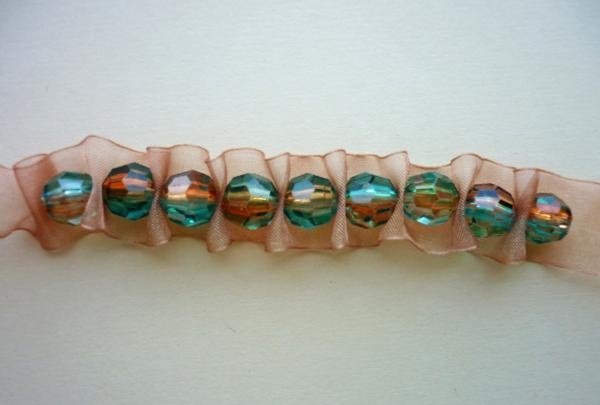
When we have achieved the desired effect, tie the fishing line into a double knot at the end and cut off the excess end.
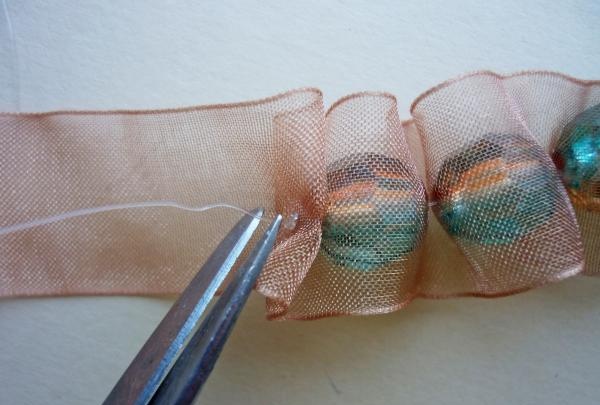
It is necessary to hide the knots from the fishing line, so in their place we will tie knots from the ribbon on both sides. Don't tighten it too tight. It is necessary to maintain the visual lightness of the bracelet and such knots are needed to hide minor imperfections.
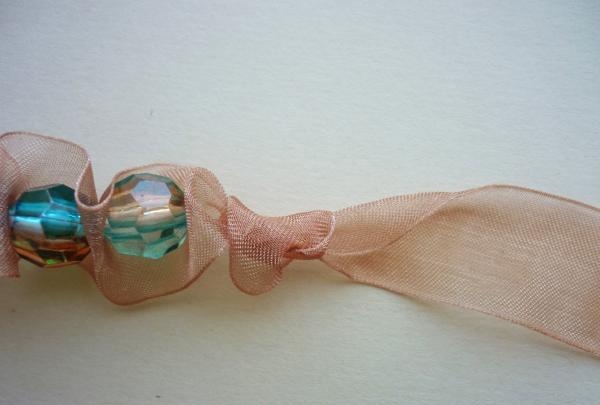
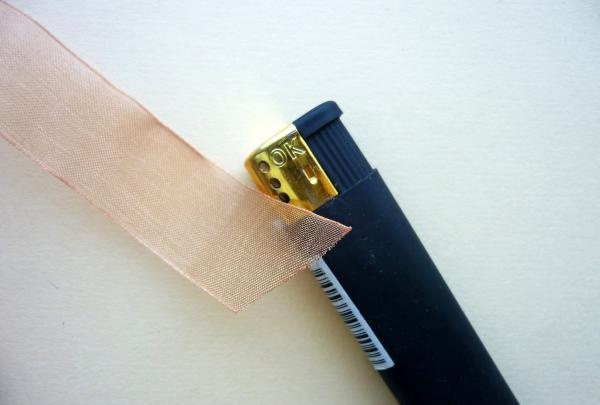
We cut the edges of the tape at an oblique angle and singe them with a lighter, barely touching the fire.
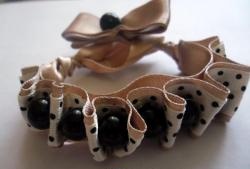
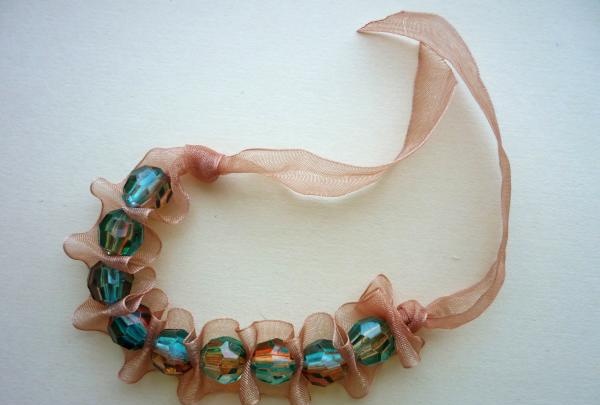
As a result, we received an original bracelet that we made ourselves.

For this we need fishing line, beads, ribbon (satin or organza), needle, scissors, lighter or candle. Let's select a ribbon of such width that it matches the diameter of the beads. The needle should have a narrow eye. Instead of fishing line, you can use thread that matches the color of the ribbon.

Let's unwind a fishing line 20 cm long. We don't need the whole length, it is necessary for the convenience of stringing beads and ribbon. We pass the fishing line into the eye of the needle and tie a double knot at only one end.

Take a ribbon 50 cm long. Stepping back 15 cm from the free end, we thread the needle through the tape from below.

Next, use a regular seam to make two stitches (1.5 cm each). The length of the stitch depends on the diameter of the beads that we will select for our bracelet.

We string the bead onto the fishing line and thread the needle through the tape downwards perpendicular to the extreme point of the bead.

Having retreated 1.5 cm, we bring the needle to the top and string the bead again. Thus we string 8 more beads.

At the end, as at the beginning, we make two simple stitches without beads.

Holding the knot at the beginning, we pull the beads together. We straighten the resulting “accordion” with our fingers.

When we have achieved the desired effect, tie the fishing line into a double knot at the end and cut off the excess end.

It is necessary to hide the knots from the fishing line, so in their place we will tie knots from the ribbon on both sides. Don't tighten it too tight. It is necessary to maintain the visual lightness of the bracelet and such knots are needed to hide minor imperfections.

We cut the edges of the tape at an oblique angle and singe them with a lighter, barely touching the fire.

As a result, we received an original bracelet that we made ourselves.

Similar master classes
Particularly interesting
Comments (0)


