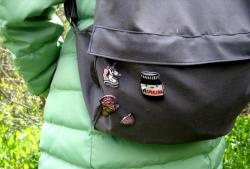
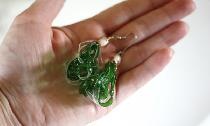
Hairpin with a flower
A well-chosen hairpin can not only decorate your hairstyle, but also add some charm to your style. Every girl can find an ordinary and completely unattractive hairpin. With just a little effort, you can make a real designer decoration from such a hairpin. Make such a hairpin, and the admiring glances of your friends will not keep you waiting.
To make a flower hairpin we need:
• A small piece of fabric (wool is best)
• Needle
• A thread
• Beads (for the flower core)
• Regular hairpin
• Glue
• Scissors
First of all, we cut out 2 pieces from the taken fabric so that they are slightly larger in area than the hairpin itself.
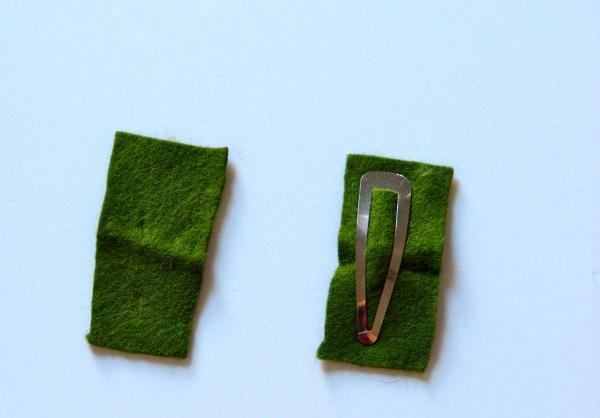
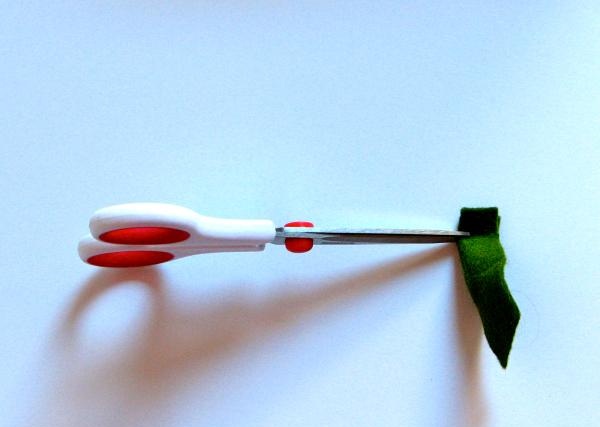
Now fold one piece of fabric in half.
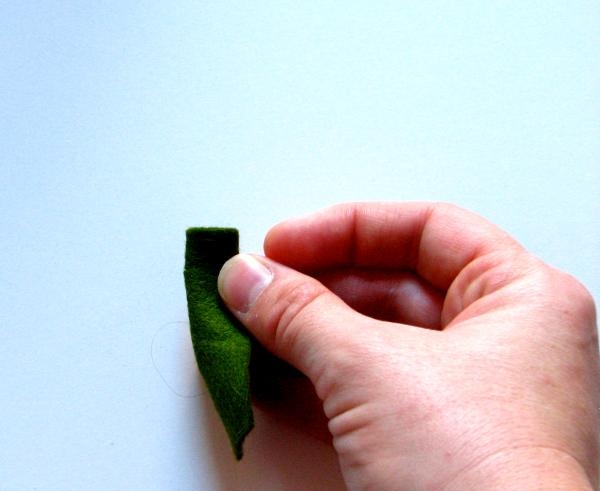
Make a small cut at the top.
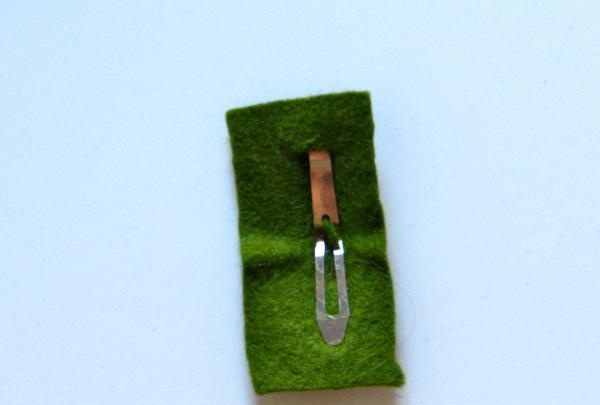
We insert the back of the hairpin into the cut hole. The hairpin must be fastened.
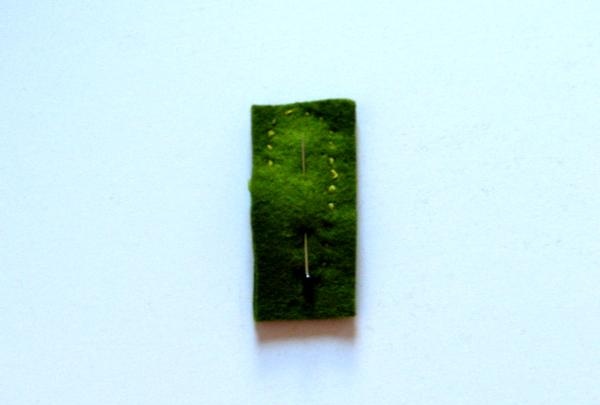
We place a second piece of fabric on the front of the hairpin and sew it to the first. The hairpin should be inside at this moment. We make sure that the stitches are at a minimum distance from the hairpin.
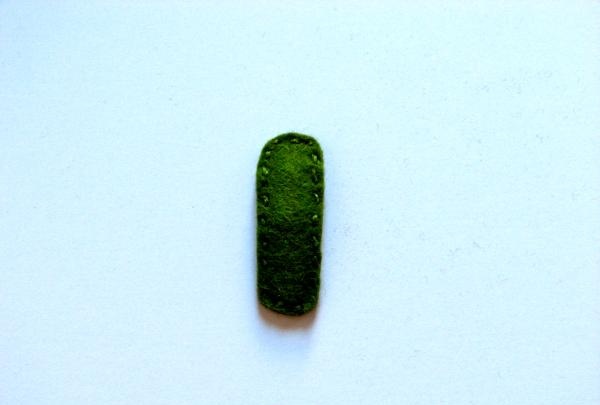
After we have sewn both parts of the fabric, we need to very carefully trim the fabric along the sewn outline. The main thing is not to touch the thread, otherwise the product may fall apart.
Now let's start creating the flower. Cut out a petal from the fabric as shown in the photo.
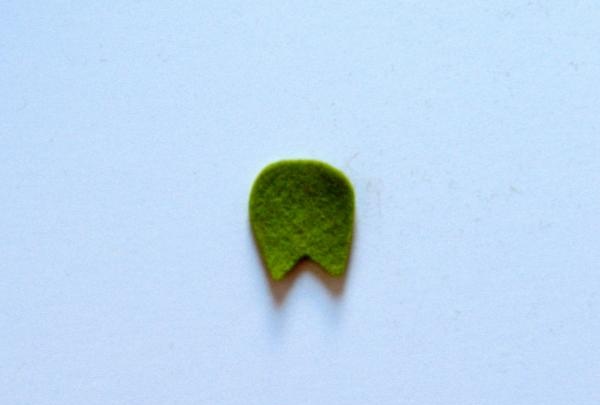
For our flower we need only 5 petals. We insert the thread into the first petal, as shown in the photo, then we thread the remaining petals with the same thread.
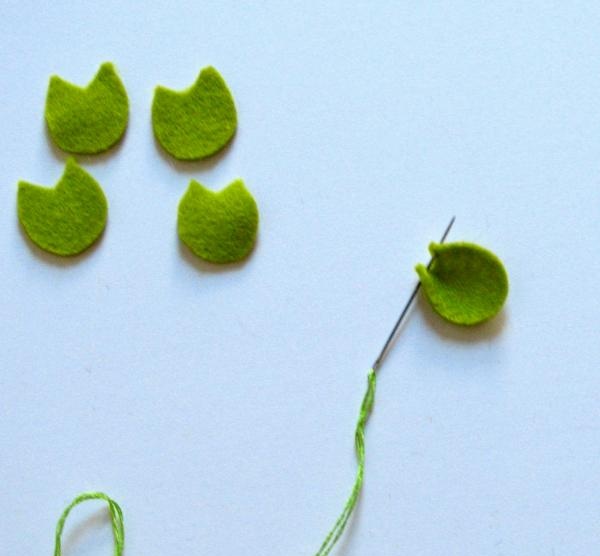
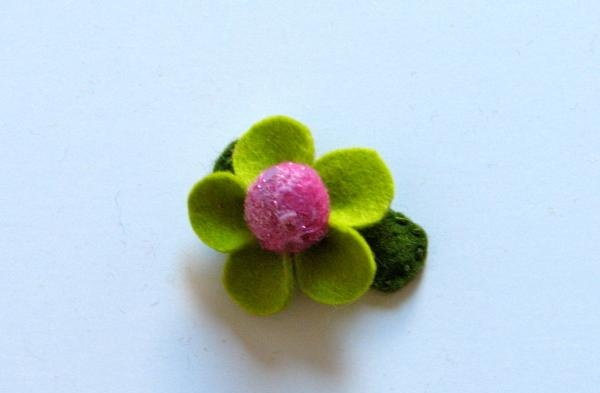
When you thread all the petals and tighten the thread, you will get a flower like this.
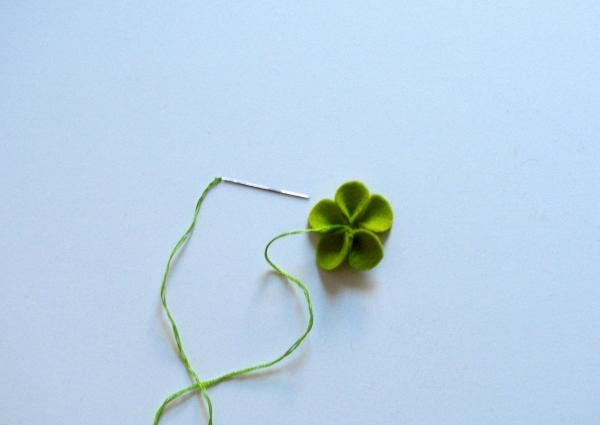
Now you need to secure the flower. To do this, thread the thread through the first and last loop of the stitch, and then tie everything with a knot.
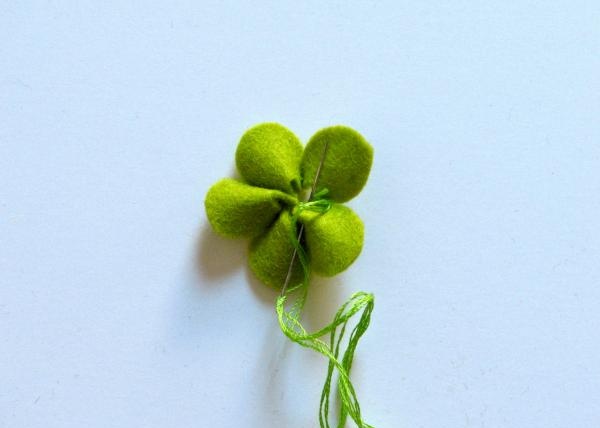
And the last step: glue the core to the flower (if you have a bead with holes, then just sew it on), and sew it on, or also glue the flower onto a hairpin.
To make a flower hairpin we need:
• A small piece of fabric (wool is best)
• Needle
• A thread
• Beads (for the flower core)
• Regular hairpin
• Glue
• Scissors
First of all, we cut out 2 pieces from the taken fabric so that they are slightly larger in area than the hairpin itself.

Now fold one piece of fabric in half.

Make a small cut at the top.

We insert the back of the hairpin into the cut hole. The hairpin must be fastened.

We place a second piece of fabric on the front of the hairpin and sew it to the first. The hairpin should be inside at this moment. We make sure that the stitches are at a minimum distance from the hairpin.

After we have sewn both parts of the fabric, we need to very carefully trim the fabric along the sewn outline. The main thing is not to touch the thread, otherwise the product may fall apart.

Now let's start creating the flower. Cut out a petal from the fabric as shown in the photo.

For our flower we need only 5 petals. We insert the thread into the first petal, as shown in the photo, then we thread the remaining petals with the same thread.

When you thread all the petals and tighten the thread, you will get a flower like this.

Now you need to secure the flower. To do this, thread the thread through the first and last loop of the stitch, and then tie everything with a knot.

And the last step: glue the core to the flower (if you have a bead with holes, then just sew it on), and sew it on, or also glue the flower onto a hairpin.

Similar master classes
Particularly interesting
Comments (0)

