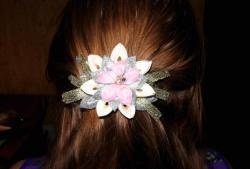
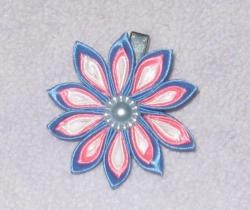
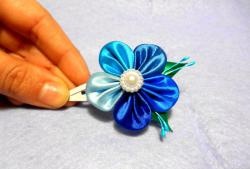
Jellyfish hair clip made of satin ribbons
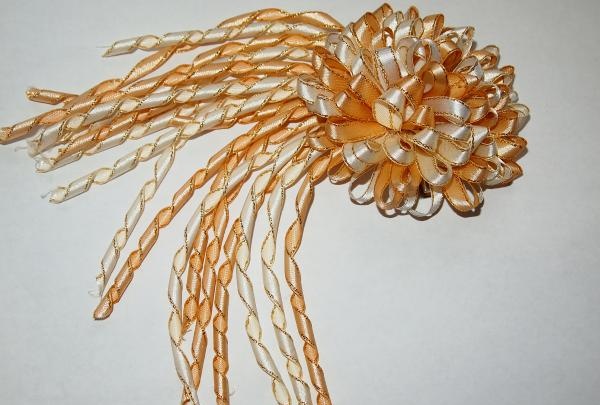
I propose to make a hairpin from satin ribbons that resembles a sea jellyfish in appearance. Such a beautiful bow will decorate a girl’s hairstyle; it can be worn to kindergarten, school, or used as an element of a costume at a matinee.
Making a bow is not difficult, although it will take a little work, since you will need to make a lot of elements for the hairpin.
To make a hairpin you need:
The hairpin is assembled from two main parts - a fluffy piece of short pieces of ribbon and long spirals.
1. So, we take satin ribbons, I use two shades that are close in color.
Cut them into 6 cm pieces.
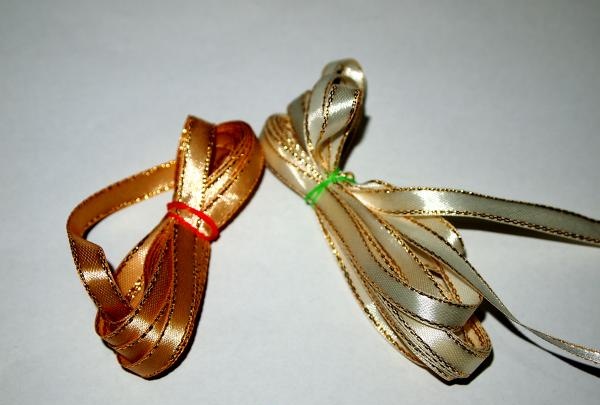
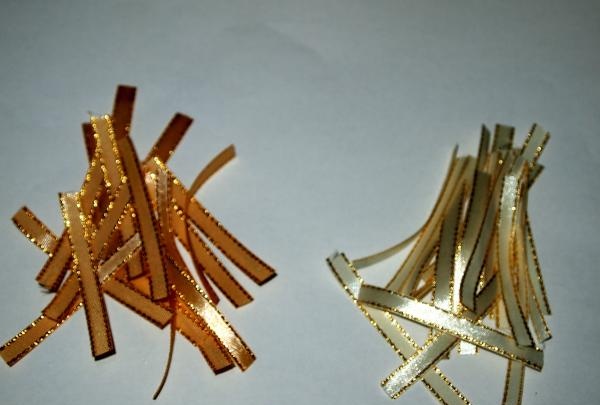
For one hairpin you will need approximately 60 pieces of ribbon.
2. You will also need long pieces of ribbon, the length of which is 26 cm. I use 10 such pieces for one hairpin.
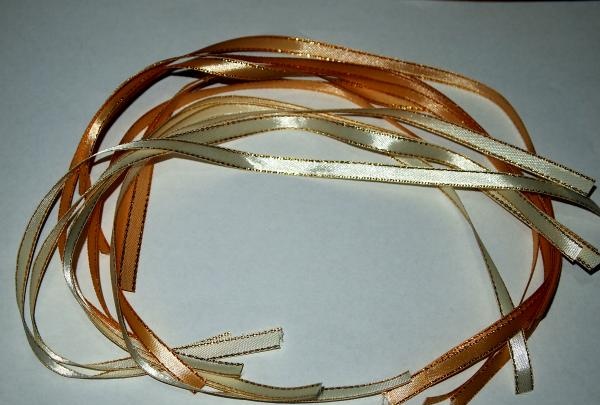
In general, approximately 6.5 m of ribbon is required for one hairpin.
3.Now let's make spirals from the ribbons. For this we need wooden sticks.
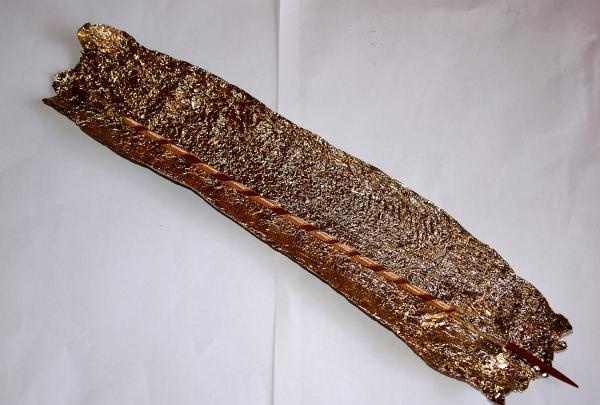
We wrap long pieces of ribbon around the sticks and secure them with pieces of foil along the edges so that the ribbon does not unravel. Wrap the sticks in foil and place in the oven for 10 minutes.
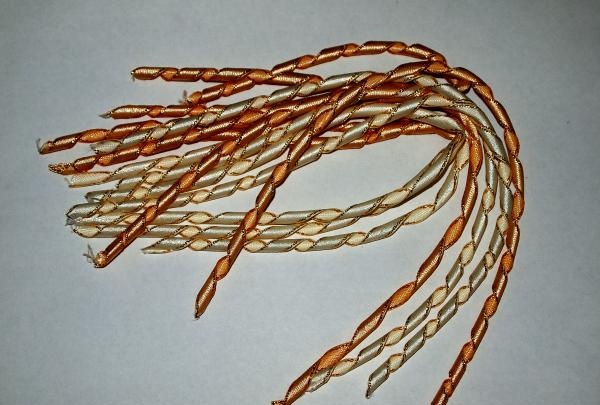
After the time has passed, wait until the foil cools down so as not to get burned and carefully remove the ribbons from the sticks. We get beautiful spirals.
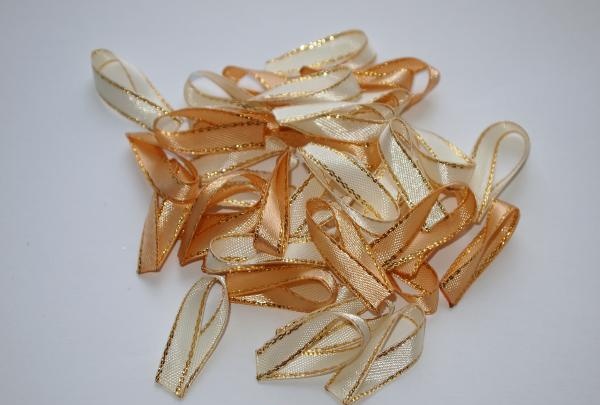
4. We make loops from 6 cm pieces of tape. We connect the edges together, hold them with tweezers and secure them over the fire. Let's do the same with all the segments.
Assembling the hairpin
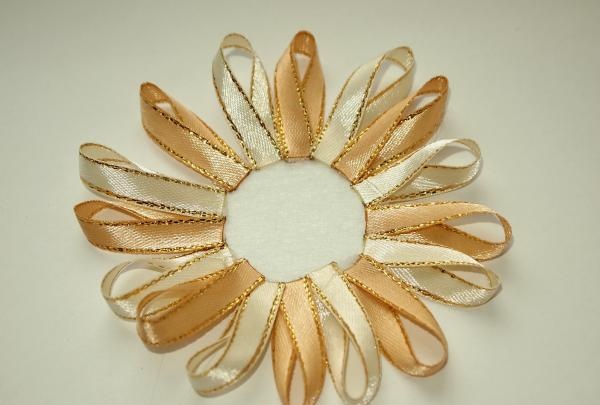
5. On a felt base with a diameter of 4 cm, tightly glue 14 loops in a circle.
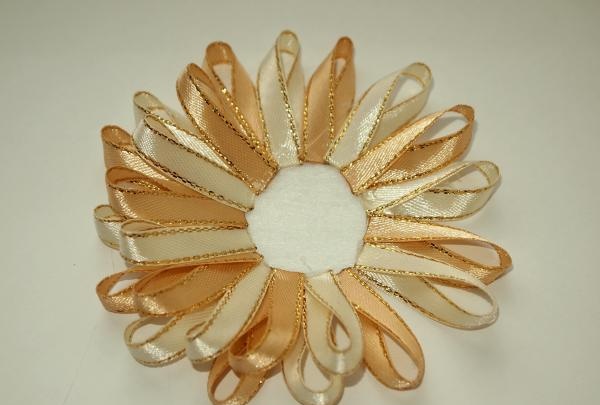
6. Gradually fill the base with loops in a circle, gluing them as close to each other as possible. In total I glued 6 rows.
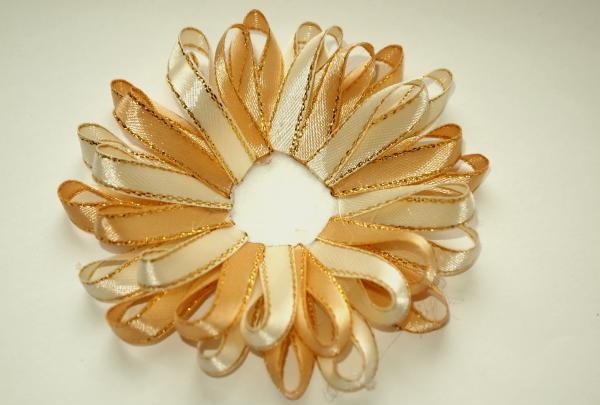
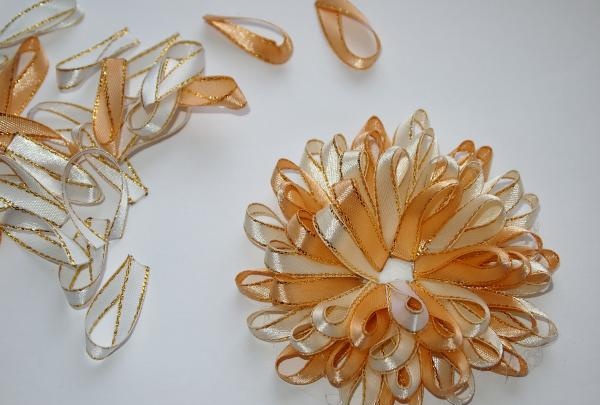
7. When there is a very small hole left in the middle, glue 5 loops together and glue them into the middle.
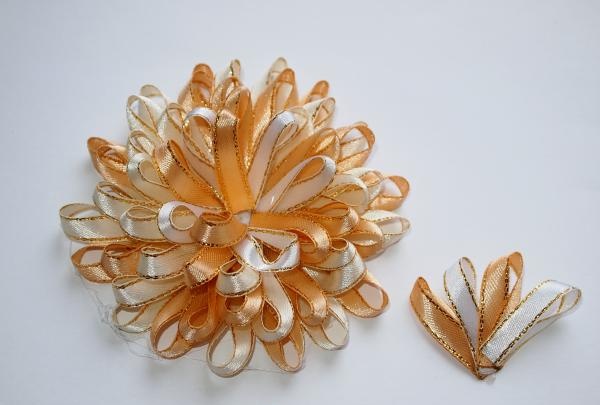
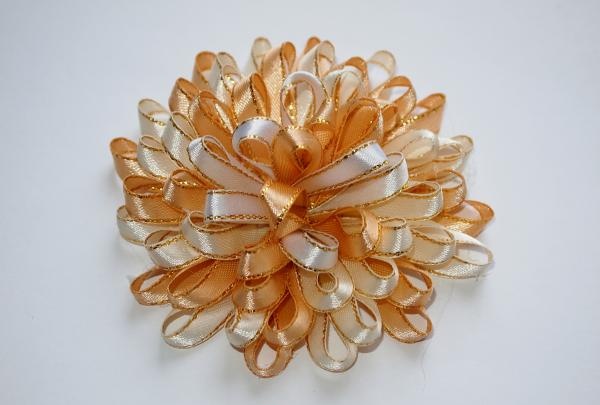
8. Turn the workpiece over and glue another row of loops in a circle, glue spirals on one edge, folding them in half.
9. Glue another felt circle on top, attaching a clip between the circles.
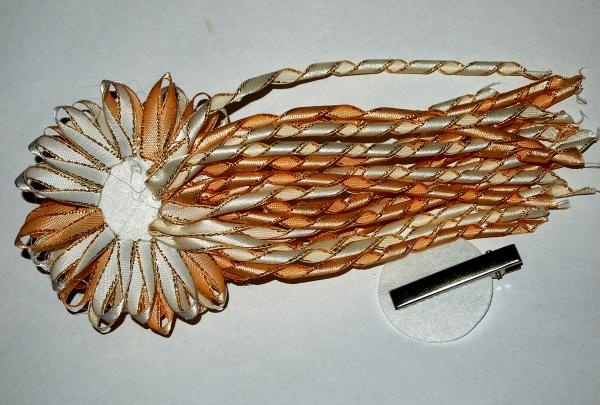
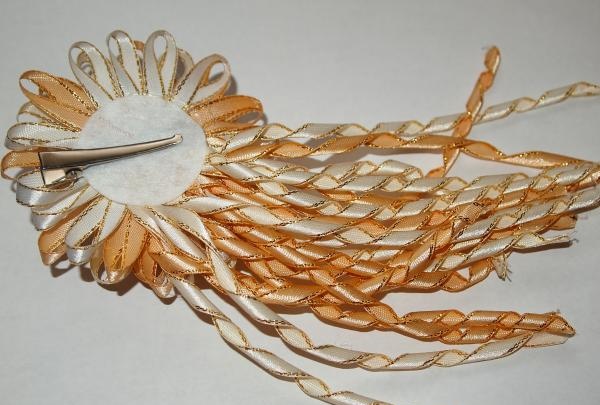
The hairpin is ready.
Making a bow is not difficult, although it will take a little work, since you will need to make a lot of elements for the hairpin.
To make a hairpin you need:
- narrow satin ribbon 6 mm wide;
- felt mugs with a diameter of 4 cm 2 pcs.;
- tweezers;
- silicone glue;
- candle;
- clamp;
- foil;
- wooden sticks with a diameter of 4 mm.

The hairpin is assembled from two main parts - a fluffy piece of short pieces of ribbon and long spirals.
1. So, we take satin ribbons, I use two shades that are close in color.
Cut them into 6 cm pieces.


For one hairpin you will need approximately 60 pieces of ribbon.
2. You will also need long pieces of ribbon, the length of which is 26 cm. I use 10 such pieces for one hairpin.

In general, approximately 6.5 m of ribbon is required for one hairpin.
3.Now let's make spirals from the ribbons. For this we need wooden sticks.

We wrap long pieces of ribbon around the sticks and secure them with pieces of foil along the edges so that the ribbon does not unravel. Wrap the sticks in foil and place in the oven for 10 minutes.
After the time has passed, wait until the foil cools down so as not to get burned and carefully remove the ribbons from the sticks. We get beautiful spirals.
4. We make loops from 6 cm pieces of tape. We connect the edges together, hold them with tweezers and secure them over the fire. Let's do the same with all the segments.

Assembling the hairpin
5. On a felt base with a diameter of 4 cm, tightly glue 14 loops in a circle.

6. Gradually fill the base with loops in a circle, gluing them as close to each other as possible. In total I glued 6 rows.


7. When there is a very small hole left in the middle, glue 5 loops together and glue them into the middle.


8. Turn the workpiece over and glue another row of loops in a circle, glue spirals on one edge, folding them in half.

9. Glue another felt circle on top, attaching a clip between the circles.


The hairpin is ready.

Similar master classes
Particularly interesting
Comments (0)


