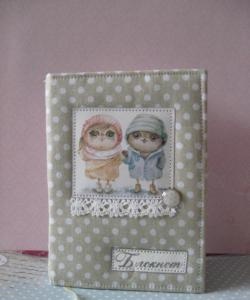
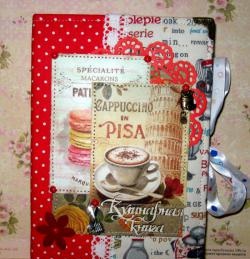
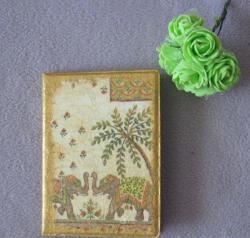
Cover for the grade book
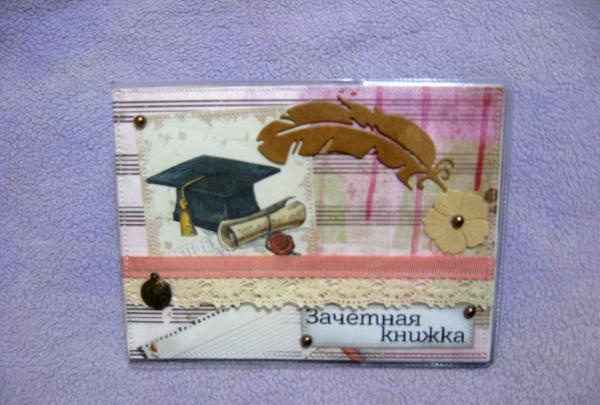
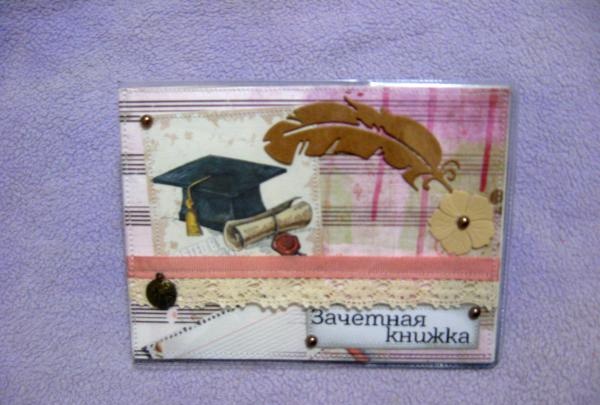
For a student, the most important document that should practically always be with him is his grade book. This document is considered not only as a kind of diary for assessments, but is also considered its face. It must be covered in order to maintain its appearance throughout the school year. And here the question arises: “Should I buy a ready-made cover in a store, or should I still be original and make it myself?” Handmade grade book covers can be made using a fairly popular technique in modern handicrafts. scrapbooking. This is exactly the cover we will be making now.
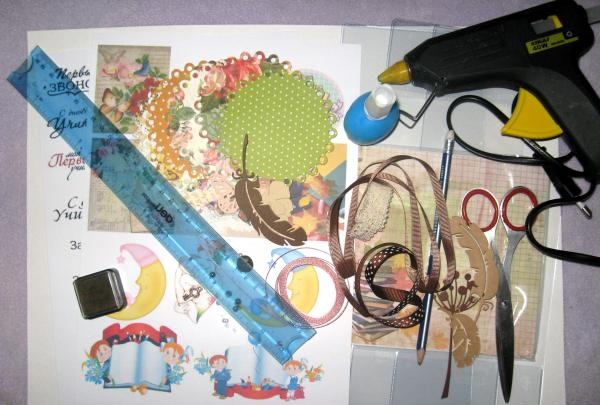
To work we need the following:
• White cardboard, large sheet or watercolor paper;
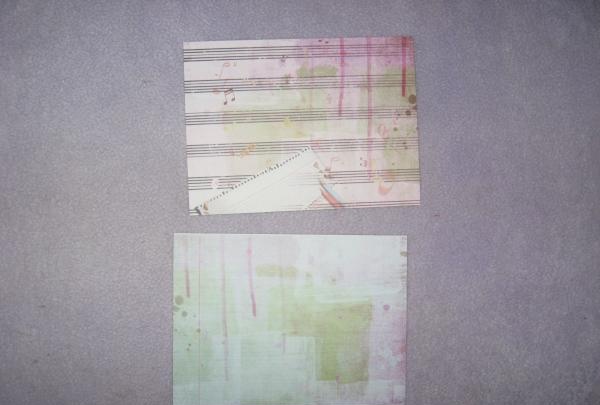
• Two sheets of scrapbooking paper from the “School Pages” series;
• Color picture on a student theme, size 5.5*5.5 cm;
• Transparent cover 11.4 cm * 15.3 cm, this is folded, and when unfolded it is 11.4 * 30.6 cm;
• Cutting from thick colored cardboard: craft paper feather and beige flower;
• Rep ribbon 9mm wide, creamy pink;
• Beige lace;
• Metal globe pendant;
• Brown half beads;
• Printed inscription “Grade Book” and gold ink for tinting;
• Scissors, pencil, ruler, PVA glue;
• Double-sided tape;
• Sewing machine;
• Glue gun.
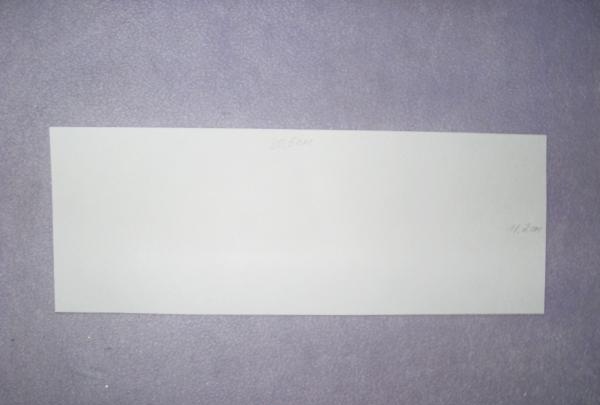
So, first we need to make a base from thick cardboard or watercolor paper. We take white cardboard or light gray cardboard. We try to match the color scheme of the cardboard to the tone of the scrap paper. This way the color transition will be smooth and the product will be harmonious. We cut out a cardboard blank 11.3*30.5 cm.
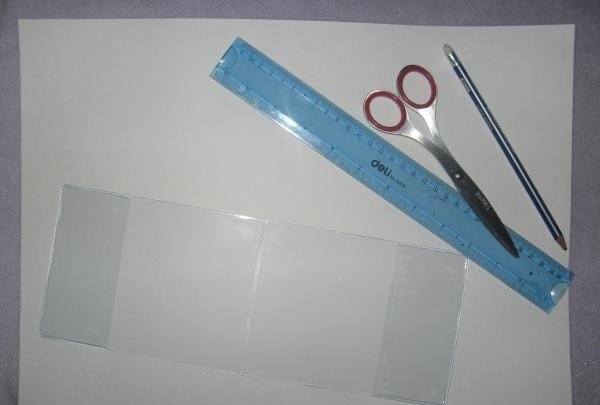
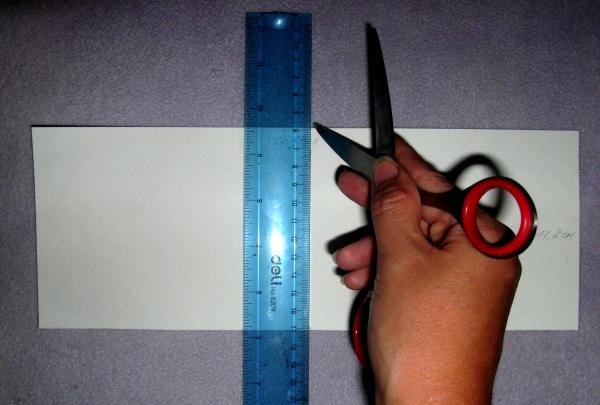
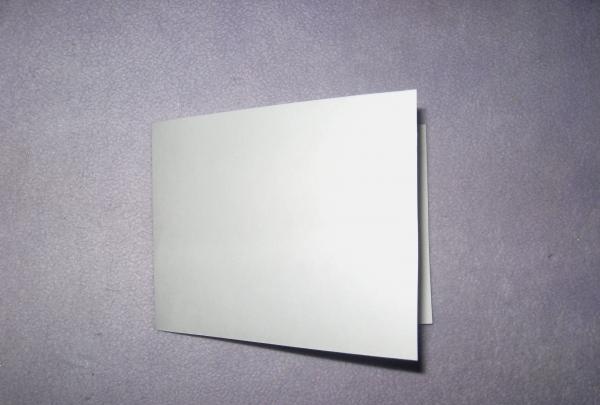
We divide this workpiece in half, to do this, we make a creasing, an invisible bend line, under the ruler with scissors. Folded in half and ironed several times.
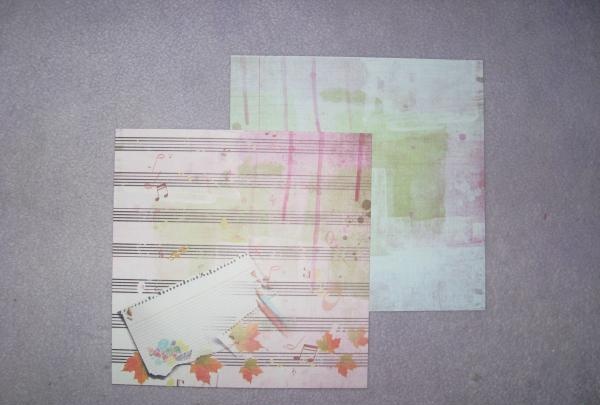
Now we cut out two 11*15 cm rectangles of different colors from scrap paper.
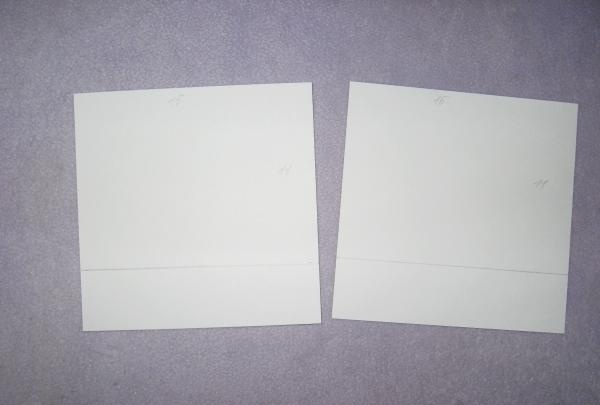
We take a color picture and a printed inscription “Grade Book” in the form of a small rectangle.
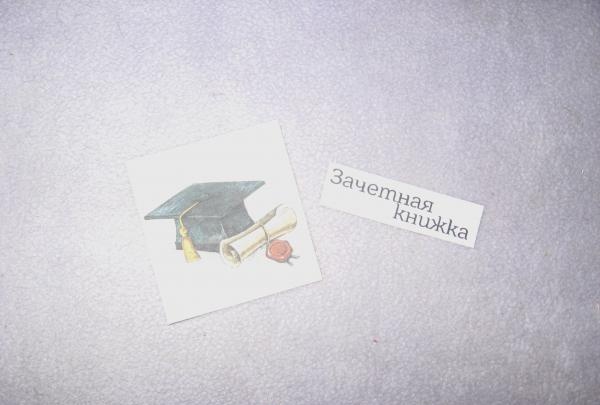
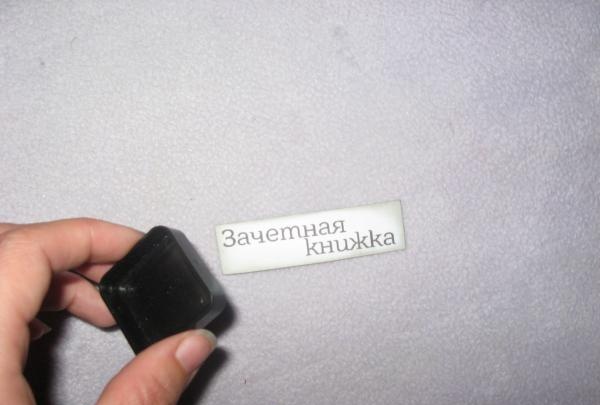
We tint the edges of the rectangle with the inscription with a gold pad, so we create an antique effect.
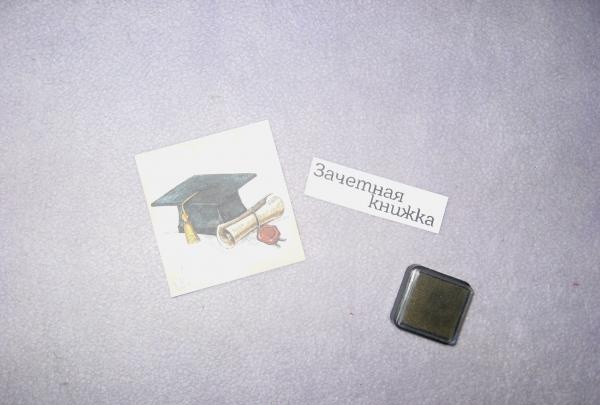
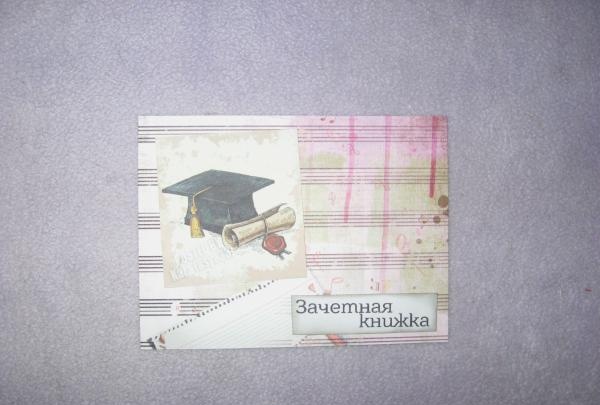
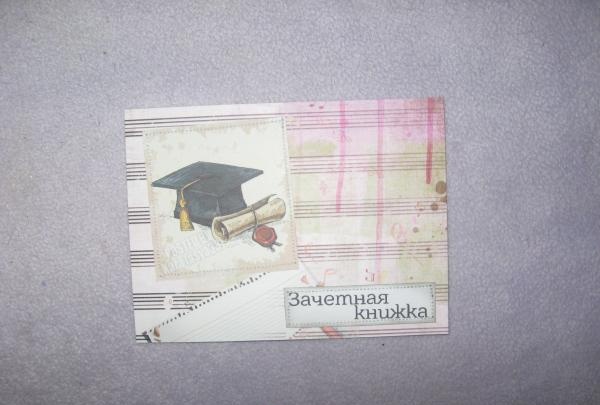
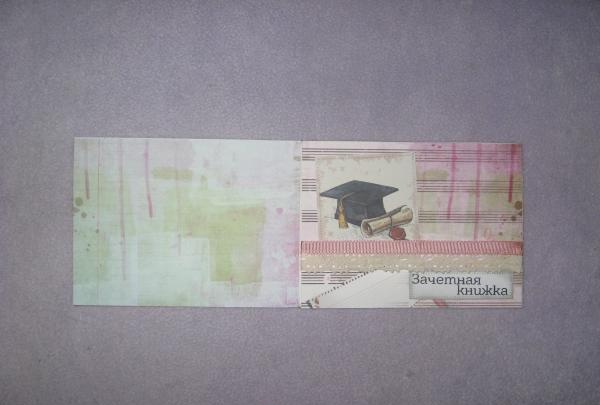
We glue a picture and an inscription onto one scrap paper, look at the photo below. Now we sew each fragment separately on a machine.
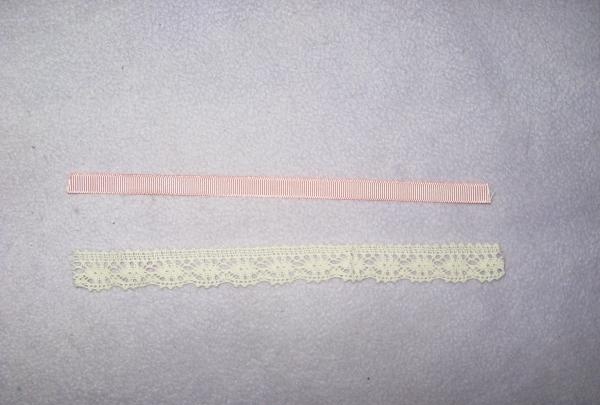
Cut a piece of grosgrain ribbon 18 cm long and cut a strip of lace the same length.
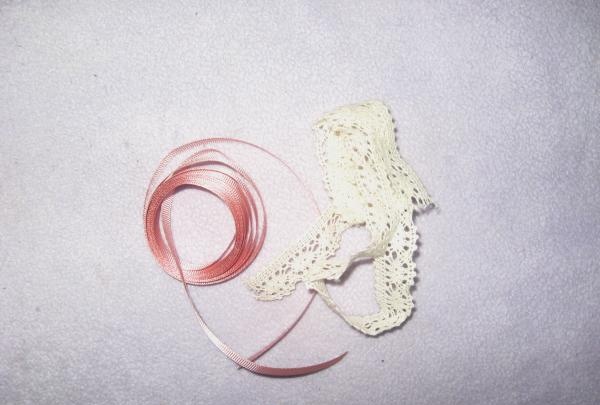
We put the lace under the picture, wrap it and glue it on the back side on the sides with tape, put a ribbon on top of the lace, also wrap it and glue it with pieces of tape. We stitch the ribbon and lace together with a machine.
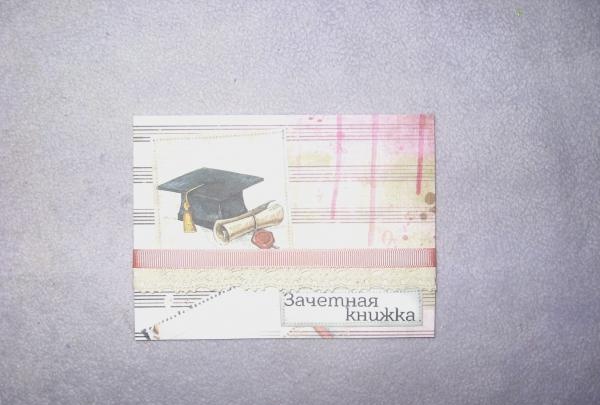
Now we use gold ink to tint the cardboard base along the edge, as well as the inscription.
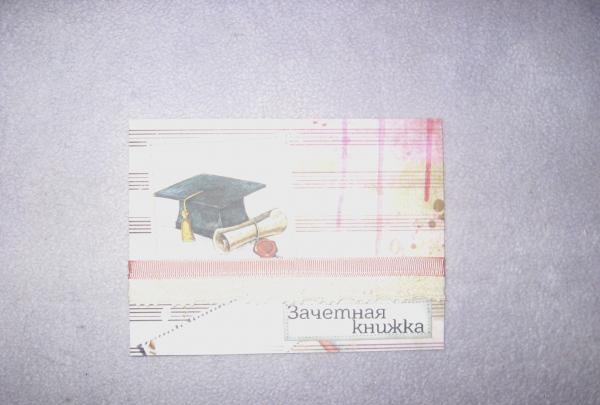
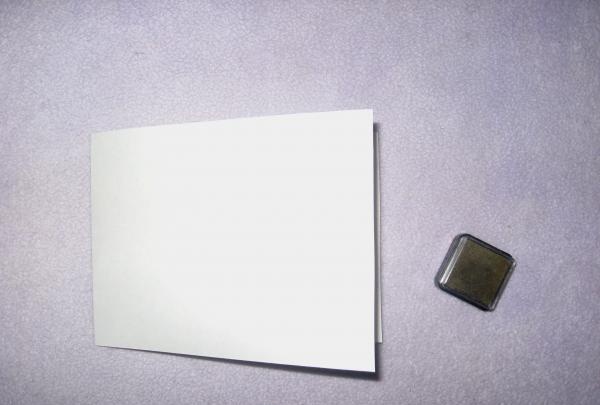
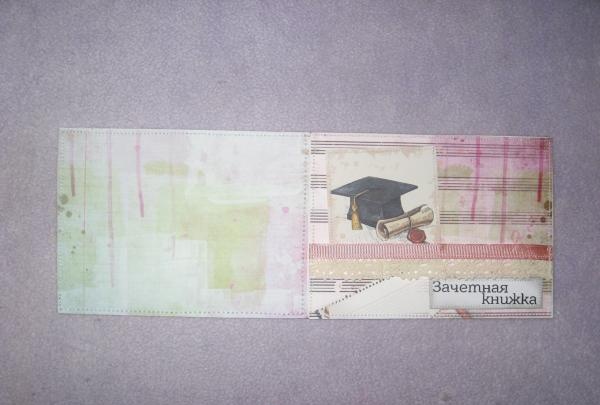
Now we glue the scrap paper onto the cardboard using double-sided tape. We sew each side separately on the machine along the edges, retreating 2 mm from the edge.
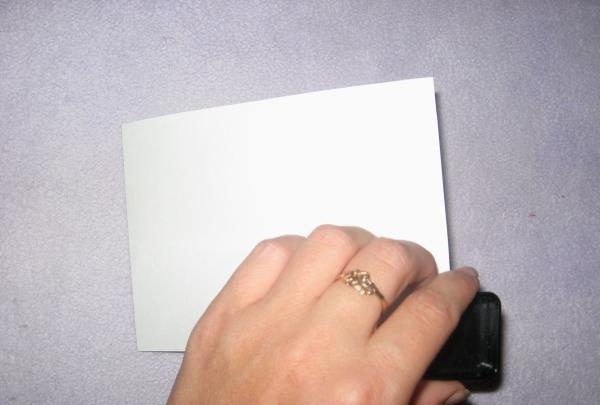
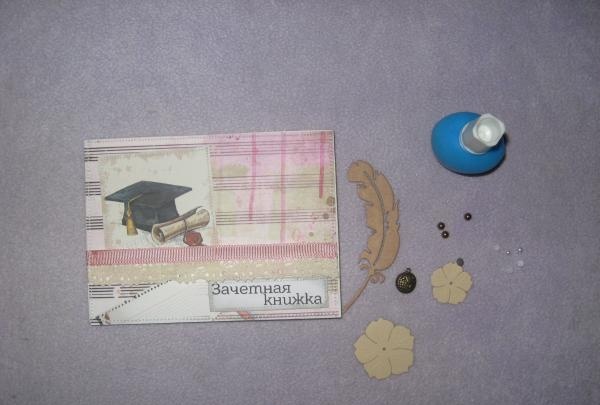
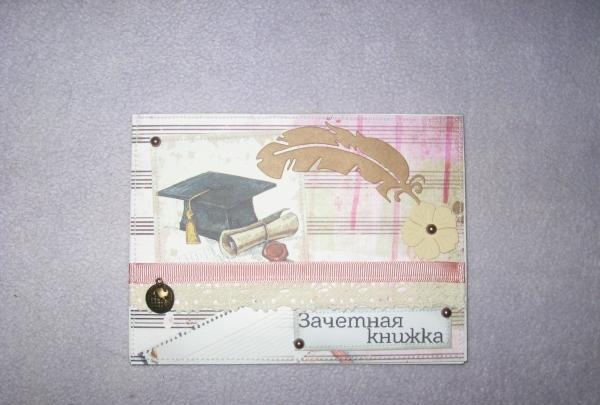
Now let's decorate the cover. We glue the paper cutouts with PVA glue.We glue the half beads and metal pendant with a glue gun, as in the photo below.
Now just insert the cover into the transparent one and you're done. You can now insert your record book into it and you’re done! By the way, it’s also very necessary present, for example, for his classmate.
To work we need the following:
• White cardboard, large sheet or watercolor paper;
• Two sheets of scrapbooking paper from the “School Pages” series;
• Color picture on a student theme, size 5.5*5.5 cm;
• Transparent cover 11.4 cm * 15.3 cm, this is folded, and when unfolded it is 11.4 * 30.6 cm;
• Cutting from thick colored cardboard: craft paper feather and beige flower;
• Rep ribbon 9mm wide, creamy pink;
• Beige lace;
• Metal globe pendant;
• Brown half beads;
• Printed inscription “Grade Book” and gold ink for tinting;
• Scissors, pencil, ruler, PVA glue;
• Double-sided tape;
• Sewing machine;
• Glue gun.


So, first we need to make a base from thick cardboard or watercolor paper. We take white cardboard or light gray cardboard. We try to match the color scheme of the cardboard to the tone of the scrap paper. This way the color transition will be smooth and the product will be harmonious. We cut out a cardboard blank 11.3*30.5 cm.


We divide this workpiece in half, to do this, we make a creasing, an invisible bend line, under the ruler with scissors. Folded in half and ironed several times.


Now we cut out two 11*15 cm rectangles of different colors from scrap paper.


We take a color picture and a printed inscription “Grade Book” in the form of a small rectangle.


We tint the edges of the rectangle with the inscription with a gold pad, so we create an antique effect.

We glue a picture and an inscription onto one scrap paper, look at the photo below. Now we sew each fragment separately on a machine.


Cut a piece of grosgrain ribbon 18 cm long and cut a strip of lace the same length.


We put the lace under the picture, wrap it and glue it on the back side on the sides with tape, put a ribbon on top of the lace, also wrap it and glue it with pieces of tape. We stitch the ribbon and lace together with a machine.


Now we use gold ink to tint the cardboard base along the edge, as well as the inscription.


Now we glue the scrap paper onto the cardboard using double-sided tape. We sew each side separately on the machine along the edges, retreating 2 mm from the edge.


Now let's decorate the cover. We glue the paper cutouts with PVA glue.We glue the half beads and metal pendant with a glue gun, as in the photo below.


Now just insert the cover into the transparent one and you're done. You can now insert your record book into it and you’re done! By the way, it’s also very necessary present, for example, for his classmate.


Similar master classes
Particularly interesting
Comments (0)

