Unusual summer handbag
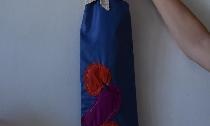
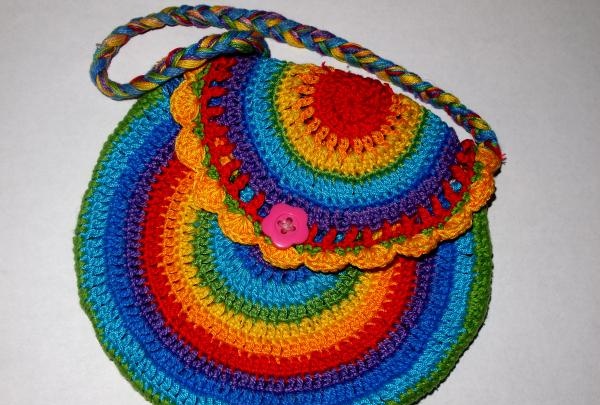
I would like to talk about how to make an original handbag. This handbag was created by a knitter from the Czech Republic, but using her ideas, I created my own handbag for my beloved daughter. It knits very easily. All you have to do is arm yourself with your imagination and leftover yarn, and before your very eyes a wonderful bag will be created into which your little one can put anything she wants, for example, a mirror or a small comb. The handbag can be made with a short handle to be carried in the hand or on a long handle. It can be knitted for both a 2-year-old baby and a teenage girl. The handbag is extremely beautiful; it will be an excellent addition to any outfit for a walk - a dress, skirt, shorts or trousers. The large range of colors of yarn used in the bag allows you not to bother with choosing the colors of your clothes. So, for knitting you need leftover yarn, preferably the composition is the same, for example, cotton. I decided to make a handbag in rainbow colors, since it is both cheerful and contains absolutely all the tones that can be found in the wardrobe of a little fashionista. Each row is knitted with yarn of a different shade.For better density, knit with double thread. Depending on the thickness of the yarn, you should choose the optimal hook option. The smaller the hook, the tighter the bag will be. The bag consists of 3 parts: 1. a flap that covers the compartment in the bag. 2. the main part, which must be filled subsequently with all sorts of little things. 3. handle. To knit the valve cover, cast on 2 chain stitches, then ch, then in the second loop from the hook, knit 12 double crochets (dc).
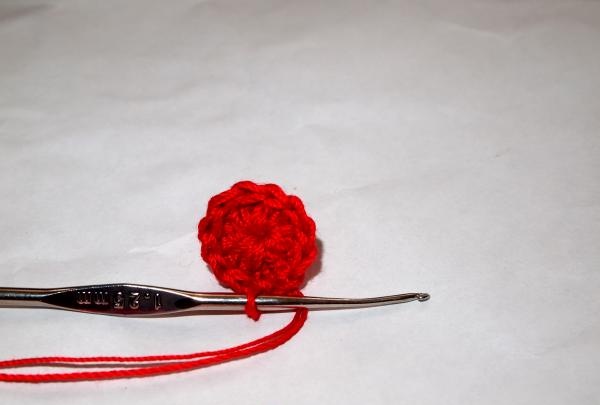
2nd row: from each CCH follows 2 CCHs. You should get 24 dcs;
3rd row: knit the combination DC + 1 VP without skipping stitches;
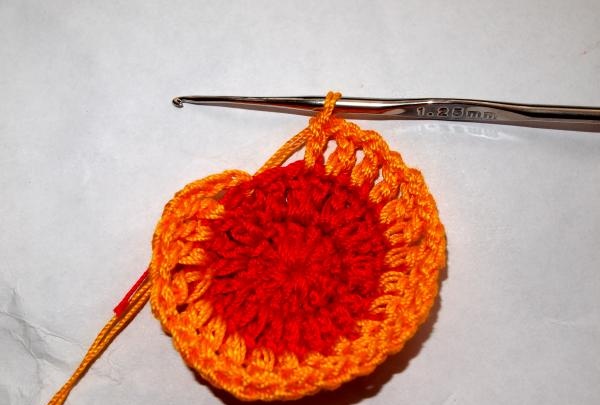
4th row: in an arch of 1 VP, knit 2 dc in each first arch, and 3 dc in the second;
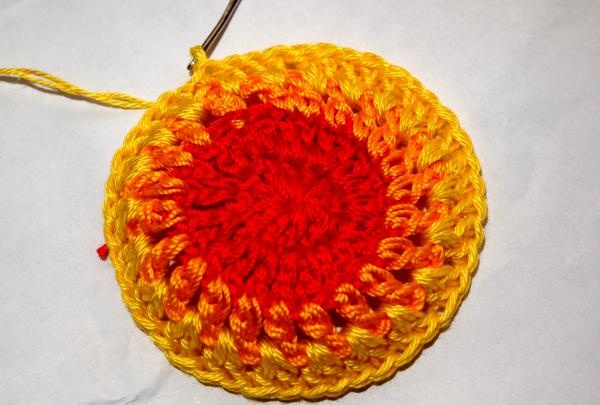
Row 5: RLS without adding or decreasing stitches;
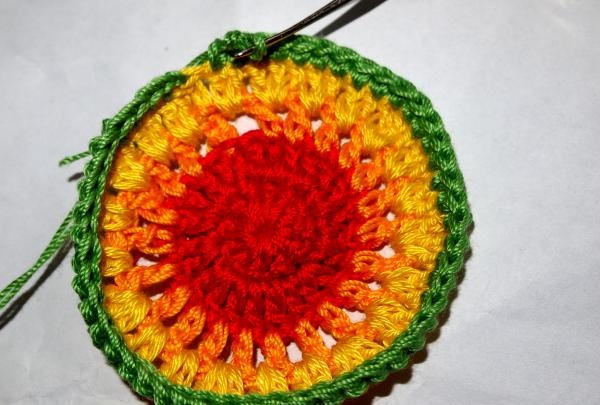
6th row: 2 dc + 3 sc;
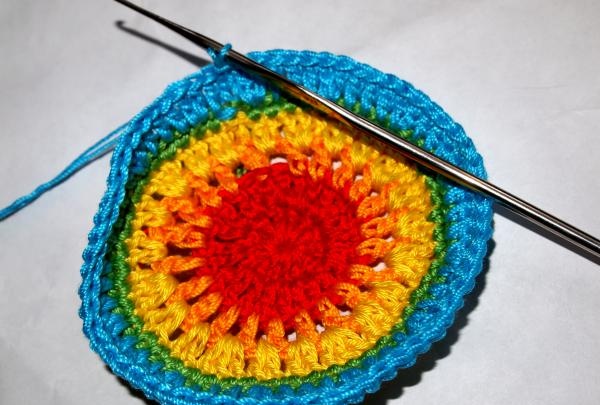
Row 7 with blue yarn, all sc;
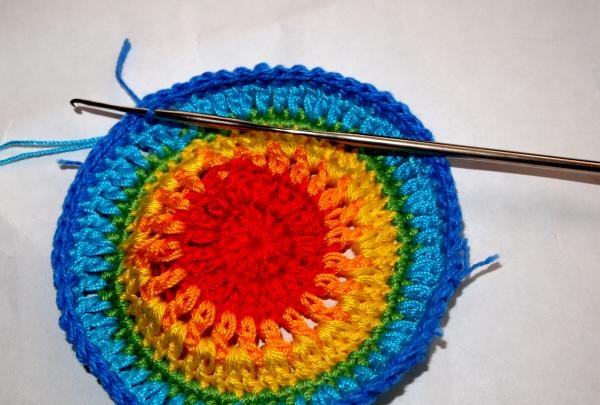
The 8th row consists of combinations of 2 SSN + 4 SBN;
9th row: you need to knit dc + 1 ch, skipping the loop of the 8th row;
Row 10: RLS only; Row 11: take a double thread - yellow and orange, knit 1 sc, skip 1 loop, then a fan of 6 sc, and through 1 loop sc.
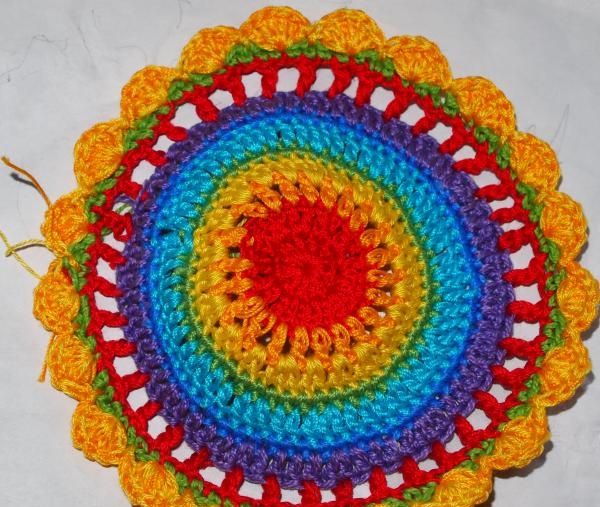
The valve is ready. It has the shape of a circle.
Now you need to make the main part of the handbag; it consists of 2 circles, not knitted to the end.
1st row: Cast on 2 VP, tie 12 dc in the second loop from the hook;
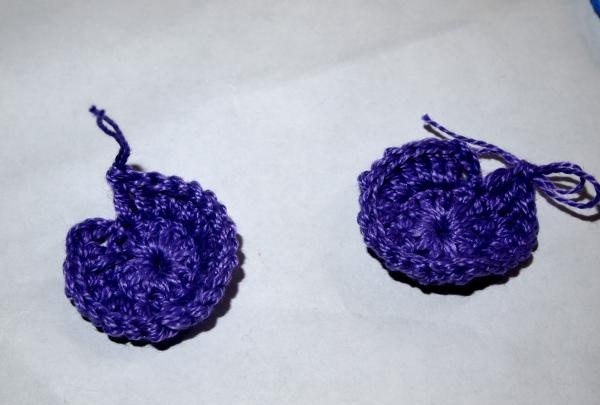
2nd row: 24 dc, as in the valve; 3rd row: 1 SSN + 1 VP;
4th row: in the 1st loop 2 Dcs, in the second 3 Dcs, in the third 2 Dcs;
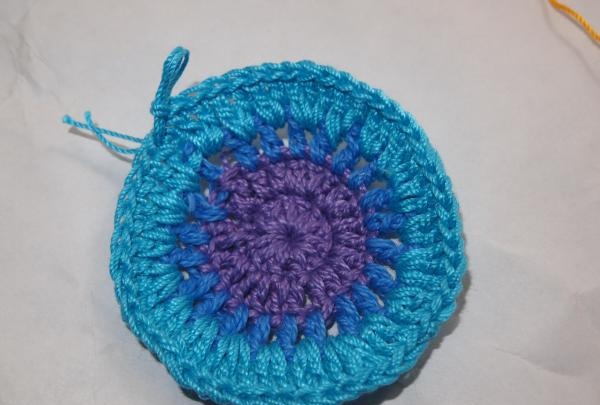
Rows 5 and 7: Dc only;
Row 6: 1 dc, 2 dc;
Row 8: 2 dc + dc + dc;
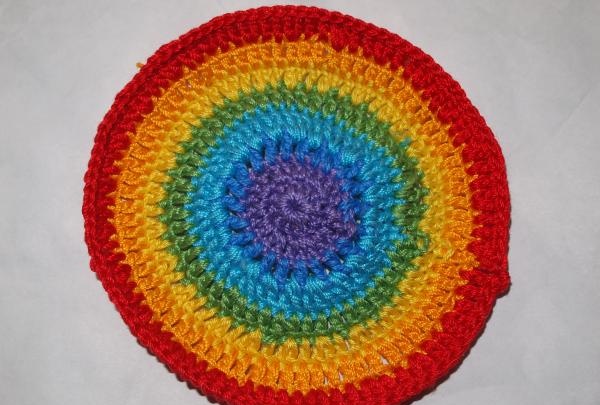
Row 9: Dc;
Row 10: 2 dc + dc + dc + dc;
Row 11: Dc, leaving 28 stitches of the previous row undone, this forms the bag compartment.
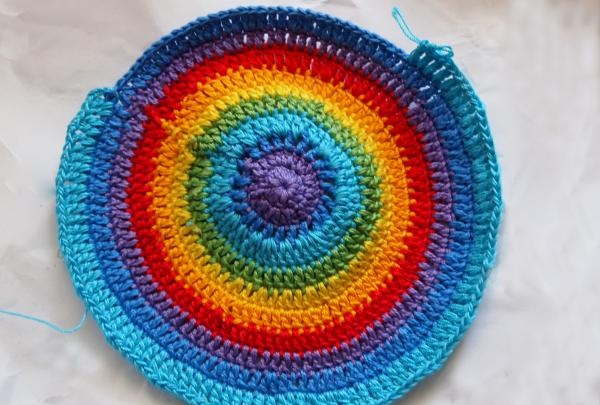
Knit the same part in the same way, only perform another 12 row of dc.Fold the two pieces in half with the wrong side facing inward, and sc connect both pieces, do not connect only those 28 loops mentioned in the 11th row.
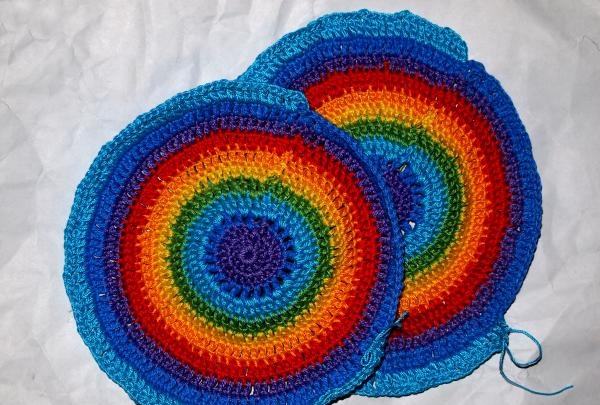
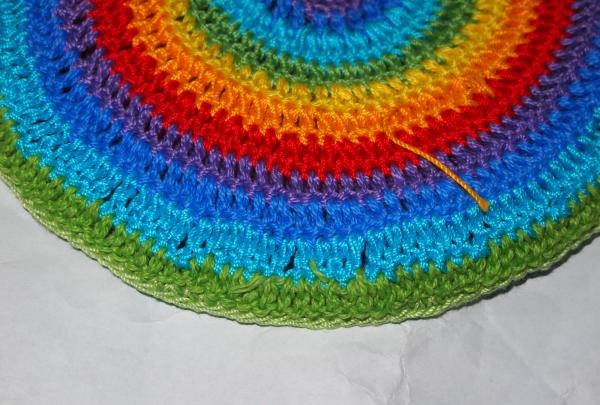
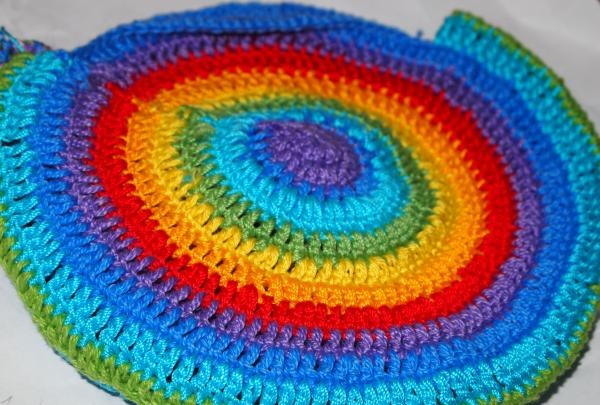
Now you need to sew the flap to the bag.
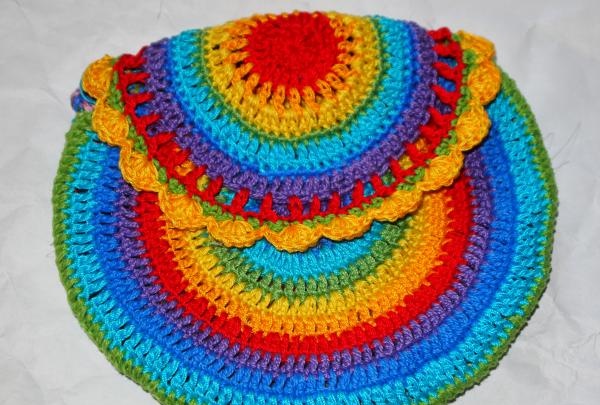
To attach the valve, it is recommended to sew a button in the main part. And the loop will be an arch from 1 VP of the 9th row of the valve. If desired, the bag can be lined. And finally, you should make a handle. You can knit it with a dc, or you can make it more original by taking threads of the required length and braiding it.

2nd row: from each CCH follows 2 CCHs. You should get 24 dcs;
3rd row: knit the combination DC + 1 VP without skipping stitches;

4th row: in an arch of 1 VP, knit 2 dc in each first arch, and 3 dc in the second;

Row 5: RLS without adding or decreasing stitches;

6th row: 2 dc + 3 sc;

Row 7 with blue yarn, all sc;

The 8th row consists of combinations of 2 SSN + 4 SBN;
9th row: you need to knit dc + 1 ch, skipping the loop of the 8th row;
Row 10: RLS only; Row 11: take a double thread - yellow and orange, knit 1 sc, skip 1 loop, then a fan of 6 sc, and through 1 loop sc.

The valve is ready. It has the shape of a circle.
Now you need to make the main part of the handbag; it consists of 2 circles, not knitted to the end.
1st row: Cast on 2 VP, tie 12 dc in the second loop from the hook;

2nd row: 24 dc, as in the valve; 3rd row: 1 SSN + 1 VP;
4th row: in the 1st loop 2 Dcs, in the second 3 Dcs, in the third 2 Dcs;

Rows 5 and 7: Dc only;
Row 6: 1 dc, 2 dc;
Row 8: 2 dc + dc + dc;

Row 9: Dc;
Row 10: 2 dc + dc + dc + dc;
Row 11: Dc, leaving 28 stitches of the previous row undone, this forms the bag compartment.

Knit the same part in the same way, only perform another 12 row of dc.Fold the two pieces in half with the wrong side facing inward, and sc connect both pieces, do not connect only those 28 loops mentioned in the 11th row.


Now you need to sew the flap to the bag.

To attach the valve, it is recommended to sew a button in the main part. And the loop will be an arch from 1 VP of the 9th row of the valve. If desired, the bag can be lined. And finally, you should make a handle. You can knit it with a dc, or you can make it more original by taking threads of the required length and braiding it.

Similar master classes
Particularly interesting
Comments (1)


