A handbag for all occasions
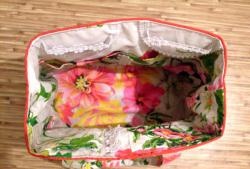
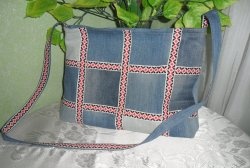
Today I want to share with you how to sew a handbag for all occasions. You can have a lot of such handbags, they are easy to sew, functional and can be sewn to each of your summer or autumn outfits.
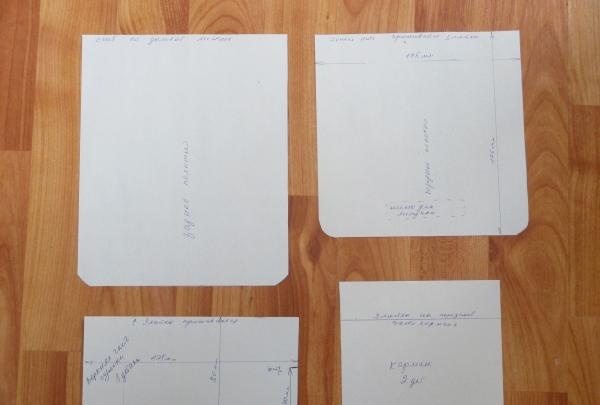
I give you a drawing of the bag with dimensions. This is a tried and tested option. It easily fits a smartphone into a small pocket, a bag for unplanned purchases, glasses or an e-reader can be placed in a large rear pocket, and a large wallet, wet wipes and anything else can be placed in the front pocket.
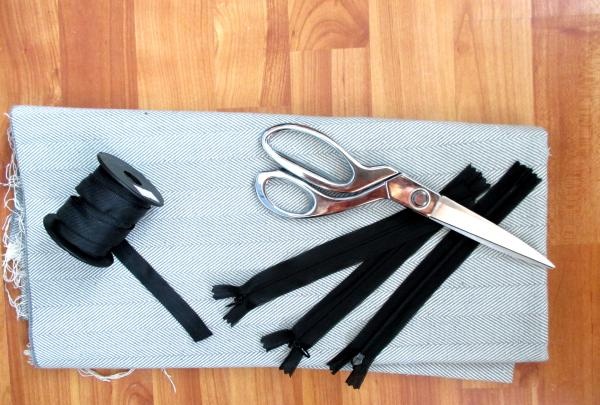
To sew a bag, we will need any fabric, thin or thick, thick tape for the handle and welt, and three snakes. Snakes can be secret or ordinary. It doesn't matter.
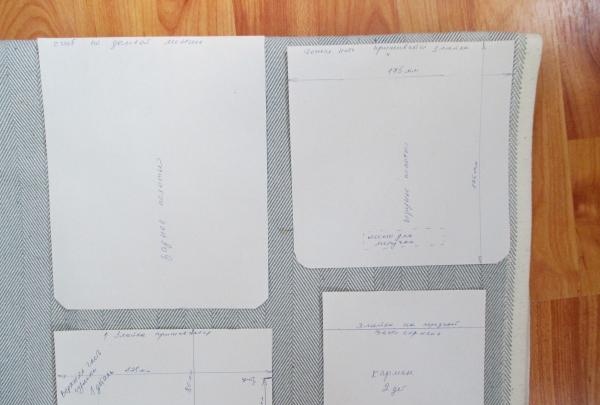
Lay out the patterns on the fabric, observing the location of the grain thread,
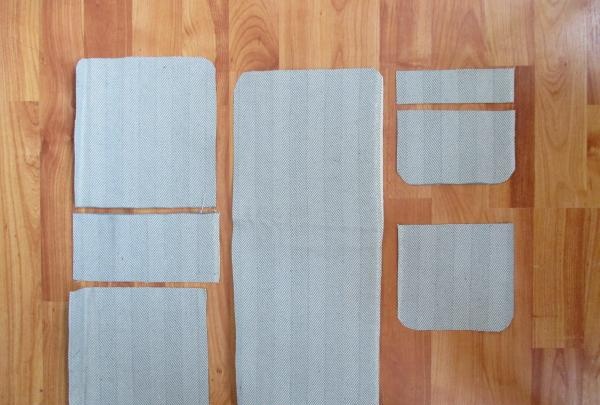
and cut out the parts with a seam allowance of 0.5 cm from the edge.
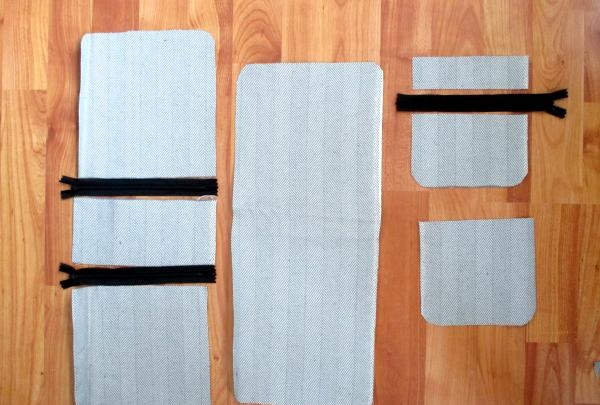
Additionally, cut the pocket; in the photo I show where to sew the snakes later.
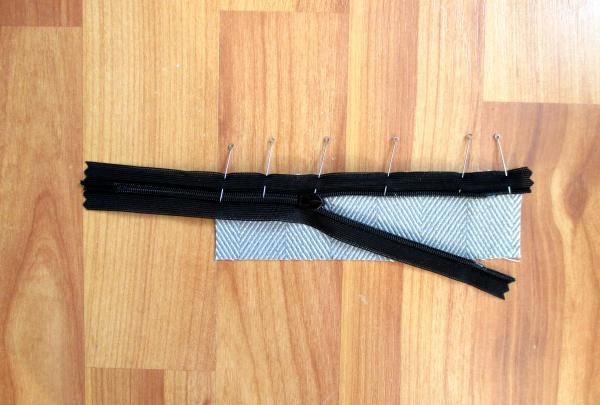
To sew on the snake, pin it with safety pins to the front of the pocket.
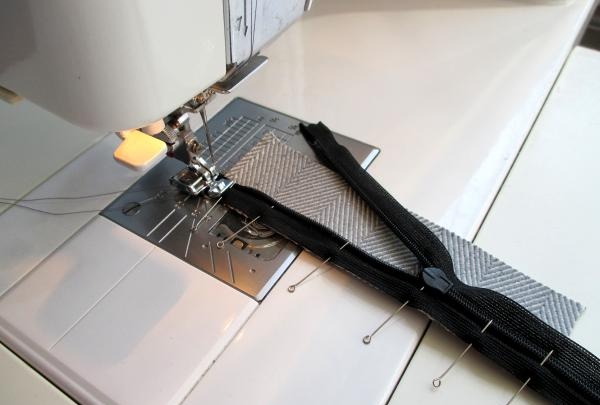
and sew directly along the needles.
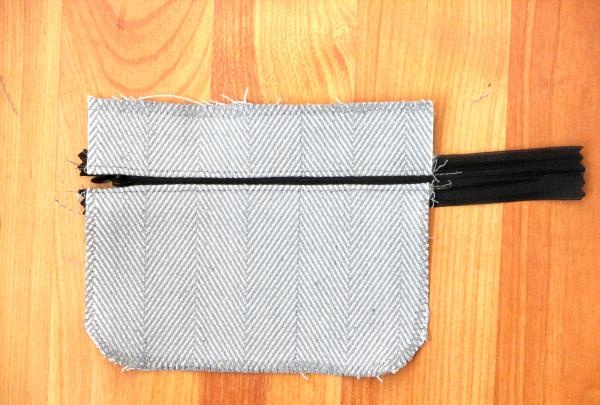
Then we sew a snake across the face
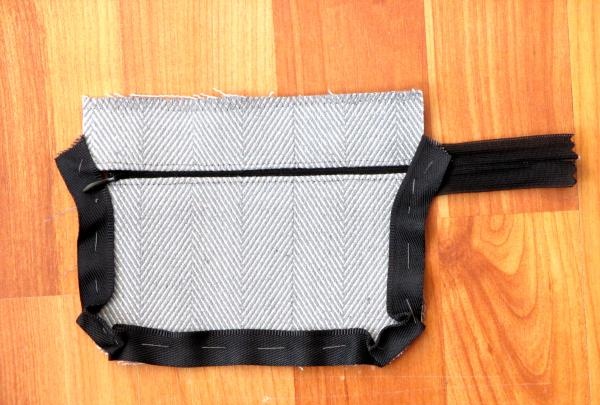
And we baste the welt on the front side, gathering it a little or making folds at the corners.
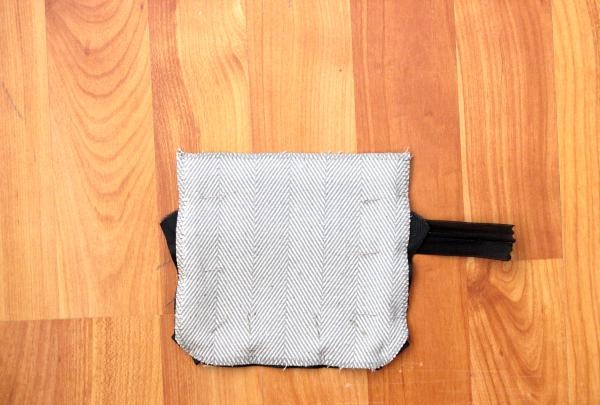
We place the second part of the pocket face to face, fix it with needles and attach it, retreating half a centimeter from the edge.
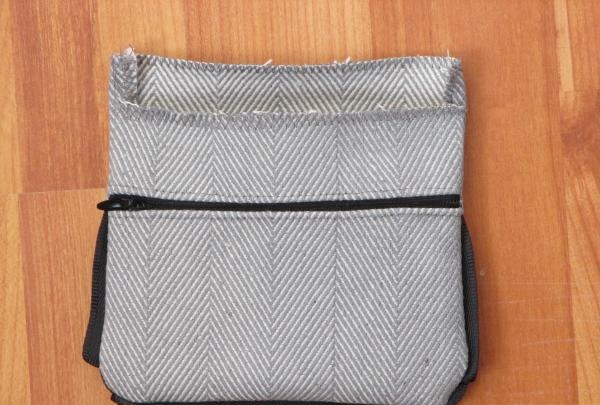
We cut off the excess snake and turn it onto the face.
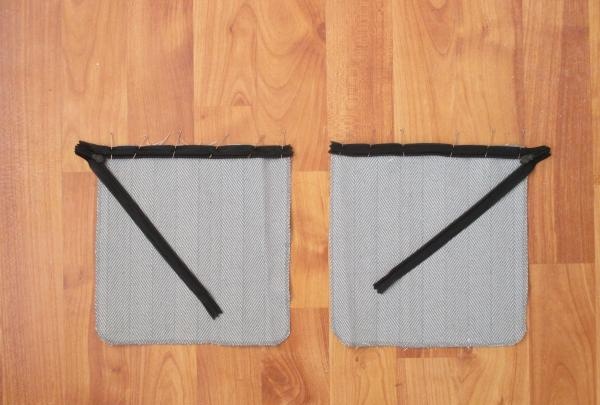
We place the back part of the pocket on the front and sew it with a zigzag stitch for beauty. If the fabric is thin, you can simply fold it and stitch it.
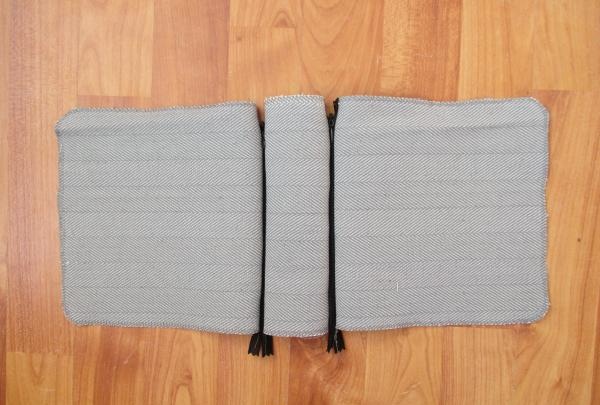
Now you need to sew the snakes to the front of the bag. Sew the snakes in different directions; in the finished product they will point in the same direction.
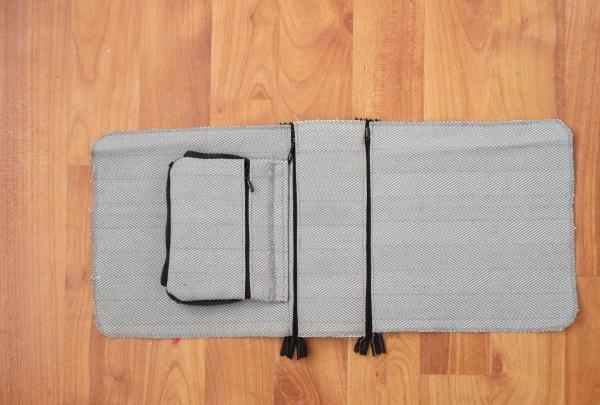
We attach both snakes and decorate them with decorative stitching. Then we attach the pocket with needles and sew it on.
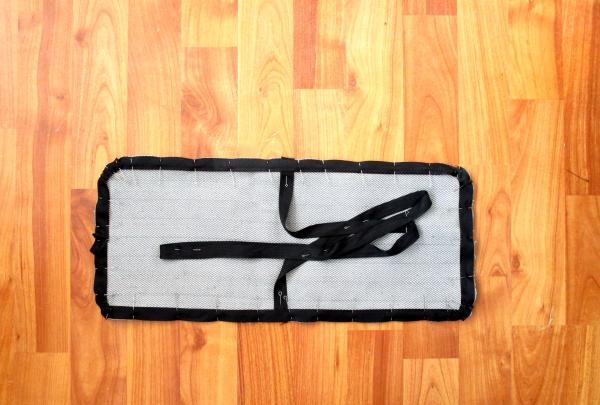
Now we are starting to design the front, even I would say the top part of our product. To do this, you need to pin a ribbon cut off for the handle to the middle, enough to carry the bag over your shoulder. And then fix the tape along the contour of the part with needles to form an edging. Why needles? Basting does not always hold the edge well when stitching; needles are ideal in this regard, and faster.
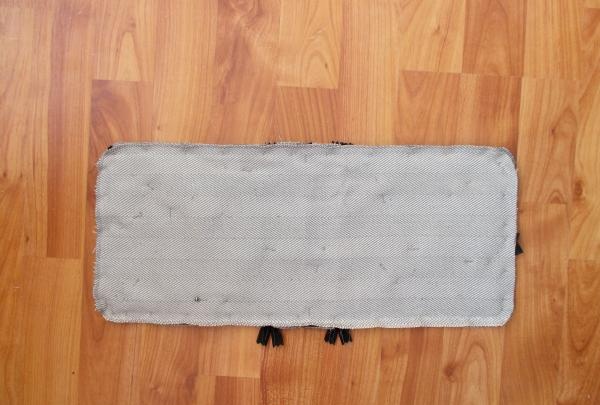
Here I want to immediately remind you that you need to sew small pieces of Velcro on both sides of the solid part of the bag, as shown in the drawing. We place the part with Velcro face to face on the part with the pocket (in no case vice versa) and fix it with needles in the center and other parts close to the edge. There is no need to fix it along the edge itself; a fairly hard edge has already formed there.
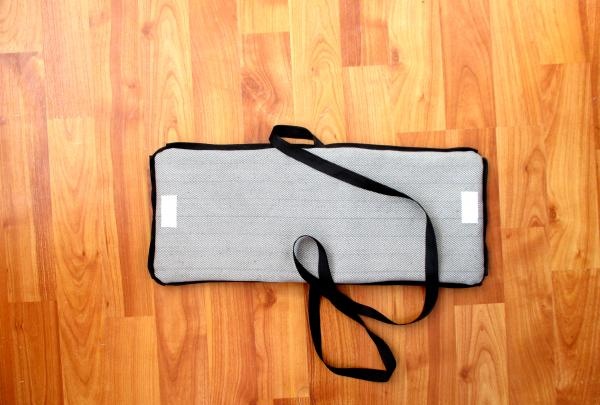
We sew the part along the entire contour, leaving nothing anywhere. We sew along the whole part, retreating 0.5 cm from the edge. Then we open one of the snakes and carefully turn it inside out, removing the needles. Those who forgot to sew Velcro can do it manually, like I did. There is nothing scary about this.
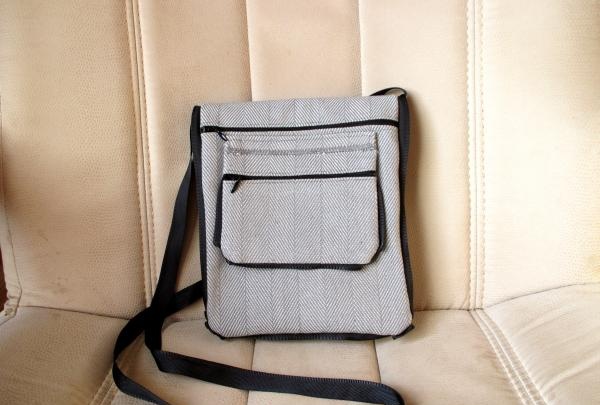
Our handbag is ready. Use it with pleasure.
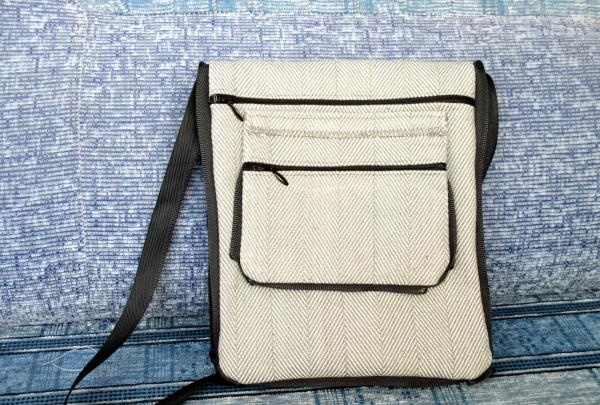

I give you a drawing of the bag with dimensions. This is a tried and tested option. It easily fits a smartphone into a small pocket, a bag for unplanned purchases, glasses or an e-reader can be placed in a large rear pocket, and a large wallet, wet wipes and anything else can be placed in the front pocket.

To sew a bag, we will need any fabric, thin or thick, thick tape for the handle and welt, and three snakes. Snakes can be secret or ordinary. It doesn't matter.

Lay out the patterns on the fabric, observing the location of the grain thread,

and cut out the parts with a seam allowance of 0.5 cm from the edge.

Additionally, cut the pocket; in the photo I show where to sew the snakes later.

To sew on the snake, pin it with safety pins to the front of the pocket.

and sew directly along the needles.

Then we sew a snake across the face

And we baste the welt on the front side, gathering it a little or making folds at the corners.

We place the second part of the pocket face to face, fix it with needles and attach it, retreating half a centimeter from the edge.

We cut off the excess snake and turn it onto the face.

We place the back part of the pocket on the front and sew it with a zigzag stitch for beauty. If the fabric is thin, you can simply fold it and stitch it.

Now you need to sew the snakes to the front of the bag. Sew the snakes in different directions; in the finished product they will point in the same direction.

We attach both snakes and decorate them with decorative stitching. Then we attach the pocket with needles and sew it on.

Now we are starting to design the front, even I would say the top part of our product. To do this, you need to pin a ribbon cut off for the handle to the middle, enough to carry the bag over your shoulder. And then fix the tape along the contour of the part with needles to form an edging. Why needles? Basting does not always hold the edge well when stitching; needles are ideal in this regard, and faster.

Here I want to immediately remind you that you need to sew small pieces of Velcro on both sides of the solid part of the bag, as shown in the drawing. We place the part with Velcro face to face on the part with the pocket (in no case vice versa) and fix it with needles in the center and other parts close to the edge. There is no need to fix it along the edge itself; a fairly hard edge has already formed there.

We sew the part along the entire contour, leaving nothing anywhere. We sew along the whole part, retreating 0.5 cm from the edge. Then we open one of the snakes and carefully turn it inside out, removing the needles. Those who forgot to sew Velcro can do it manually, like I did. There is nothing scary about this.

Our handbag is ready. Use it with pleasure.

Similar master classes
Particularly interesting
Comments (0)


