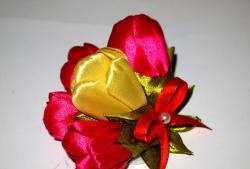
Children's headband
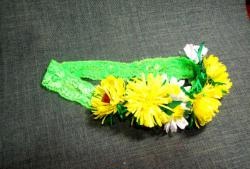
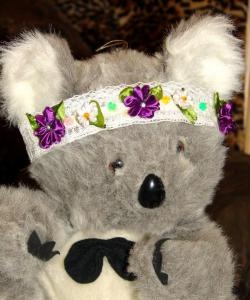
Today I propose to consider a master class on making headbands for little princesses with violet flowers. As you know, ordinary headbands are not suitable for small children, as they constantly fall and can injure a curious little one. Therefore, to keep your hair out of your eyes, the best solution would be to make an elastic bandage and decorate it with flowers. We'll look at how to do this in detail below. To work, we will need a narrow satin ribbon of purple, white and green, as well as a tool and fire. You will have to work mainly with tweezers, since our flowers are very small and holding them with your fingers will not be very convenient.
So, to make one violet flower we need:
7 squares (2.5*2.5 cm) purple;

7 squares (1.5*1.5 cm) white;

Green ribbon for leaves;

Needle with thread;
Tweezers;
Ruler;
Yellow bead and rhinestones in the middle of the flower;

Candle or lighter.
Progress.
1. Fold the large purple square diagonally, inside out, into the square.

2. The resulting triangle must be folded again as well.

3. Now, stepping back a little from the edge, you need to bend the ends of the triangle up.

4.We turn our workpiece over (the corners are at the bottom).

5. Raise the ends up.

6. Take tweezers at the base of the leaf and trim the edges.

7. The cut areas must be scorched with fire.
8. Our petal is ready.

You need to make 7 of these petals of each color.

Of which 7 are purple and 7 are white. Small white leaves do not need to be trimmed short.
Collecting a flower
The first flower consists of large purple petals. Separate them and place them tails down. Take a thread and a needle and thread each petal at the end. Now you need to tighten the thread, straighten the petals beautifully and secure the thread.

We do the same with a row of white petals. In the middle of the flower, instead of stamens, glue a large yellow bead onto the white flower and a small rhinestone onto the purple one.


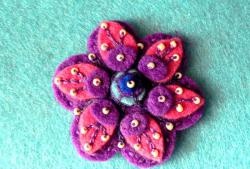
Our flower is ready. There will be 3 such flowers on the headband, purple and 2 white.

Making leaves.
Our violet cannot do without beautiful green leaves. We will make them from green ribbon. Take a 5 cm piece and bend it in half, face down.

Now we need to cut off half of the leaf diagonally with an indentation of 0.5 cm from the bottom edge. We take the cut piece with tweezers and scorch it with fire.

We turn our leaf inside out.

The leaf is ready!
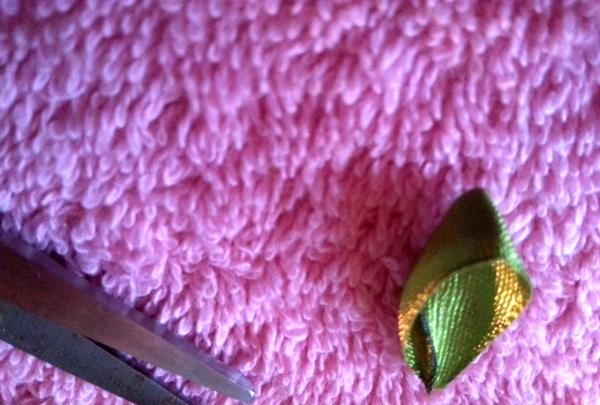
We select the quantity and size individually.

Making a bandage.
I suggest making a comfortable headband from the remnants of tulle piping. First of all, we need to measure the circumference of the child's head. To the results obtained, add 1-2 cm for reserve. I got two strips 3 cm wide, which need to be sewn on both sides, leaving space for inserting an elastic band.


Insert an elastic band into the resulting hole and secure the seam and hole.

The bandage is ready!

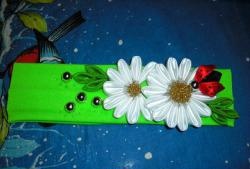
Now we glue first the leaves and then the violets onto our bandage. If desired, you can decorate the bandage between the violets with ladybugs or small butterflies. You can also make small leaves or glue decorative beads, as in our example.


The work is ready!


So, to make one violet flower we need:
7 squares (2.5*2.5 cm) purple;

7 squares (1.5*1.5 cm) white;

Green ribbon for leaves;

Needle with thread;
Tweezers;
Ruler;
Yellow bead and rhinestones in the middle of the flower;

Candle or lighter.
Progress.
1. Fold the large purple square diagonally, inside out, into the square.

2. The resulting triangle must be folded again as well.

3. Now, stepping back a little from the edge, you need to bend the ends of the triangle up.

4.We turn our workpiece over (the corners are at the bottom).

5. Raise the ends up.

6. Take tweezers at the base of the leaf and trim the edges.

7. The cut areas must be scorched with fire.
8. Our petal is ready.

You need to make 7 of these petals of each color.

Of which 7 are purple and 7 are white. Small white leaves do not need to be trimmed short.
Collecting a flower
The first flower consists of large purple petals. Separate them and place them tails down. Take a thread and a needle and thread each petal at the end. Now you need to tighten the thread, straighten the petals beautifully and secure the thread.

We do the same with a row of white petals. In the middle of the flower, instead of stamens, glue a large yellow bead onto the white flower and a small rhinestone onto the purple one.


Our flower is ready. There will be 3 such flowers on the headband, purple and 2 white.

Making leaves.
Our violet cannot do without beautiful green leaves. We will make them from green ribbon. Take a 5 cm piece and bend it in half, face down.

Now we need to cut off half of the leaf diagonally with an indentation of 0.5 cm from the bottom edge. We take the cut piece with tweezers and scorch it with fire.

We turn our leaf inside out.

The leaf is ready!

We select the quantity and size individually.

Making a bandage.
I suggest making a comfortable headband from the remnants of tulle piping. First of all, we need to measure the circumference of the child's head. To the results obtained, add 1-2 cm for reserve. I got two strips 3 cm wide, which need to be sewn on both sides, leaving space for inserting an elastic band.


Insert an elastic band into the resulting hole and secure the seam and hole.

The bandage is ready!

Now we glue first the leaves and then the violets onto our bandage. If desired, you can decorate the bandage between the violets with ladybugs or small butterflies. You can also make small leaves or glue decorative beads, as in our example.


The work is ready!


Similar master classes
Particularly interesting
Comments (2)


