Ribbon flowers
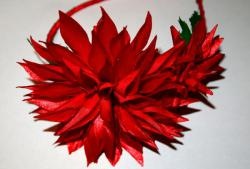
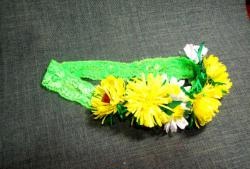
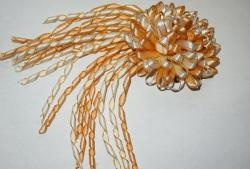
You've probably seen magnificent flower decorations made from ribbons more than once. Indeed, such an accessory is difficult not to notice, because nowadays it is incredibly relevant! Flowers made from ribbons are pinned to clothes, used to decorate shoes or bags, and also placed on the head, attached to an elastic band or headband. And how popular such an accessory is among brides!
In a word, having at least one such flower in your box will not hurt every fashionista. Moreover, making your own flowers from ribbon is as easy as shelling pears! It’s also nice that the costs for making such an accessory will be minimal. And you only need a little free time. But you will have an original, one-of-a-kind design item. Among other things, such wonderful flowers will be a wonderful gift for the fair sex (adults and very young) for any occasion.
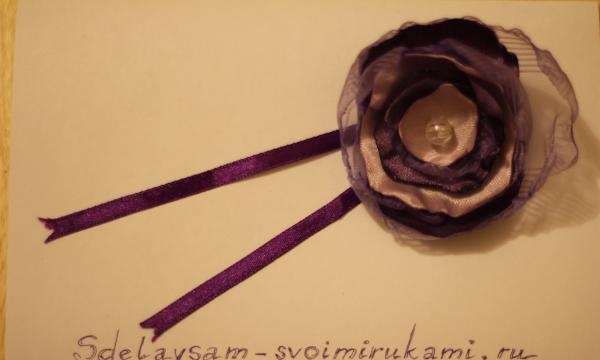
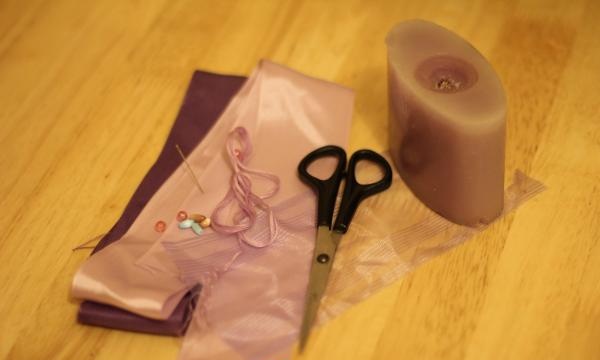
Have you decided to make such a flower yourself? In this case, prepare:
- tapes (they can be either nylon or fabric);
- beads, beads, small-diameter buttons (they will be needed later to decorate the core of the flower);
- a needle;
-scissors;
-threads to match the ribbons;
- a candle.
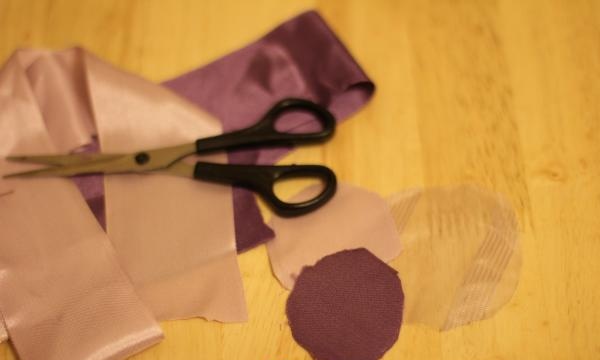
If everything is ready, you can start making the flower. First you need to make petal blanks. Here you can give free rein to your imagination. All of us have an idea of what flower petals usually look like. You can cut them out in irregular shapes, or you can just make ovals or circles (as in our case). Please note: you need to cut the petals from the ribbons with a small margin, since during the process of making the accessory they will decrease in size.
Since the flower will be multi-layered, you need to cut out petals of different diameters - the bottom layer should consist of the largest petals, and subsequent layers should consist of smaller ones.
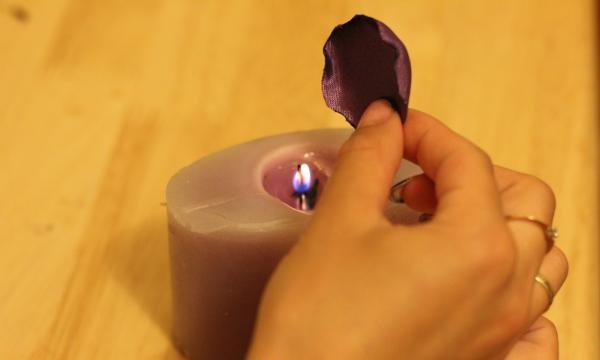
When the blanks are ready, you can begin to form the petals. Carefully bring the edges of the petal closer to the burning candle. You will notice how the edges of the petal begin to curl inward. Just don’t be too zealous - the edges may turn black from melting. You need to form all the petals in this way. When this process is completed, you can proceed directly to making the flower.
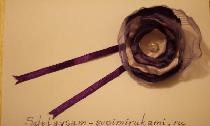
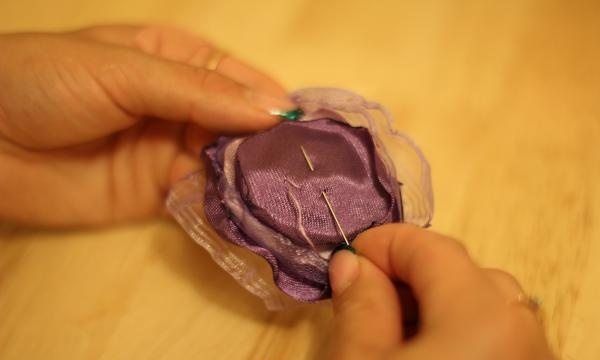
All you have to do is put the petals inside each other in accordance with their diameter, sew them together, and decorate the core with a bead, beads or button.

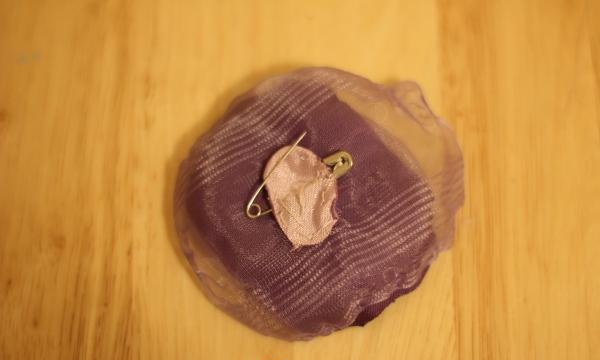
The flower is ready! All that remains is to sew a piece of fabric to its wrong side to hide the stitches. Do you want to wear a flower as a brooch? Attach a pin to it. Are you planning to accessorize your hair? Instead of a pin, use a bobby pin or bobby pin.
I wish you creative success!
In a word, having at least one such flower in your box will not hurt every fashionista. Moreover, making your own flowers from ribbon is as easy as shelling pears! It’s also nice that the costs for making such an accessory will be minimal. And you only need a little free time. But you will have an original, one-of-a-kind design item. Among other things, such wonderful flowers will be a wonderful gift for the fair sex (adults and very young) for any occasion.

Have you decided to make such a flower yourself? In this case, prepare:
- tapes (they can be either nylon or fabric);
- beads, beads, small-diameter buttons (they will be needed later to decorate the core of the flower);
- a needle;
-scissors;
-threads to match the ribbons;
- a candle.
If everything is ready, you can start making the flower. First you need to make petal blanks. Here you can give free rein to your imagination. All of us have an idea of what flower petals usually look like. You can cut them out in irregular shapes, or you can just make ovals or circles (as in our case). Please note: you need to cut the petals from the ribbons with a small margin, since during the process of making the accessory they will decrease in size.

Since the flower will be multi-layered, you need to cut out petals of different diameters - the bottom layer should consist of the largest petals, and subsequent layers should consist of smaller ones.


When the blanks are ready, you can begin to form the petals. Carefully bring the edges of the petal closer to the burning candle. You will notice how the edges of the petal begin to curl inward. Just don’t be too zealous - the edges may turn black from melting. You need to form all the petals in this way. When this process is completed, you can proceed directly to making the flower.
All you have to do is put the petals inside each other in accordance with their diameter, sew them together, and decorate the core with a bead, beads or button.

The flower is ready! All that remains is to sew a piece of fabric to its wrong side to hide the stitches. Do you want to wear a flower as a brooch? Attach a pin to it. Are you planning to accessorize your hair? Instead of a pin, use a bobby pin or bobby pin.
I wish you creative success!
Similar master classes
Particularly interesting
Comments (1)

