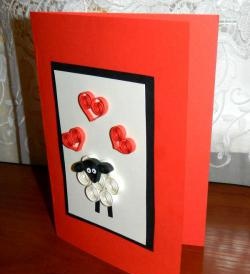
Postcard "Swan"
To make a postcard you will need:
1. Base for a black postcard measuring 10x15 cm or black cardboard;
2. Quilling paper in white, orange, burgundy;
3. Double-sided foam tape;
4. Glue, scissors, regular quilling tool and comb, tweezers;
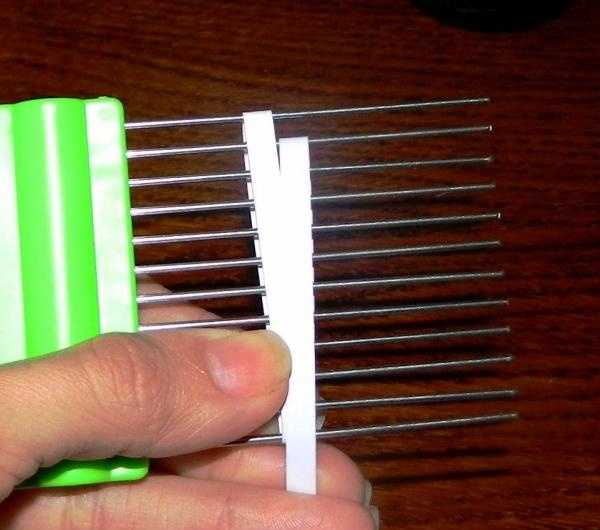
As you can see, there are not many elements to complete a postcard. But it's not the easiest thing to do if you haven't worked with a quilling tool like a comb before. First, let's prepare the base for the card if you don't have one. To do this, you need to cut out a rectangle measuring 15x21 cm from black cardboard, then carefully bend it in half. Next, let's start making the swan. To do this, take white quilling paper and a comb. We make the longest loop in the center and fix it with glue at the bottom. Now we make the next loop to the right one step lower, similarly we make a loop to the left and so we go down each step lower, fixing it with glue. There must be at least six such levels.
Next, we prepare the base for the body using white quilling paper 40 cm long.To do this, we make a large roll and press it with our fingers on one side, which will serve as the swan’s tail. We take white quilling paper 15 cm long, bend it three times and give the finished element the shape of a neck with a bend (as in the photo). We make a small roll from orange quilling paper 5 cm long and give it the shape of a swan's beak. We make a roll from burgundy quilling paper 30-40 cm long, unravel it and give it a heart shape.
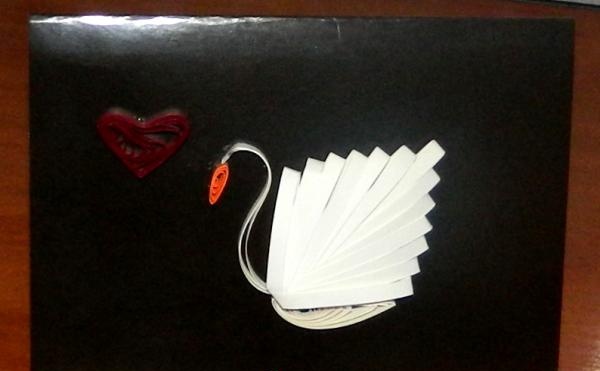
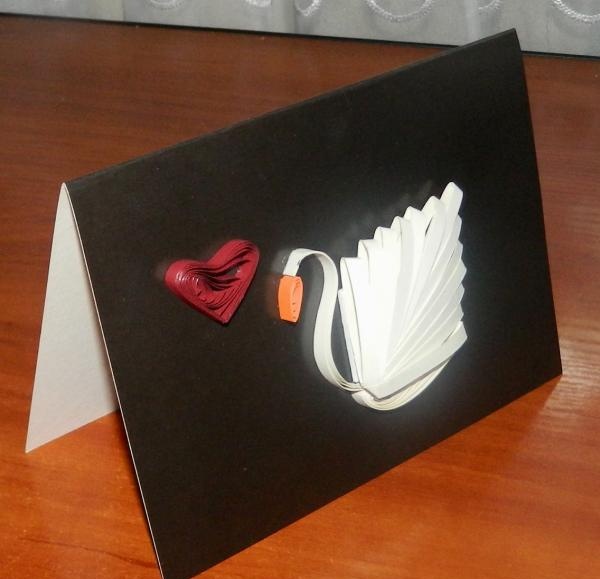
When all the elements are ready, we begin to attach them to the black base. First, we glue the base of the body from below, slightly to the right of the center of our postcard. Then we take double-sided foam tape measuring 1x1 cm and attach it above the base for the body. We attach the voluminous body of a swan, made using a comb, to the tape. Attach the neck and beak. Glue the heart on the top right. An unusual DIY postcard with a minimum number of elements is ready!
1. Base for a black postcard measuring 10x15 cm or black cardboard;
2. Quilling paper in white, orange, burgundy;
3. Double-sided foam tape;
4. Glue, scissors, regular quilling tool and comb, tweezers;
As you can see, there are not many elements to complete a postcard. But it's not the easiest thing to do if you haven't worked with a quilling tool like a comb before. First, let's prepare the base for the card if you don't have one. To do this, you need to cut out a rectangle measuring 15x21 cm from black cardboard, then carefully bend it in half. Next, let's start making the swan. To do this, take white quilling paper and a comb. We make the longest loop in the center and fix it with glue at the bottom. Now we make the next loop to the right one step lower, similarly we make a loop to the left and so we go down each step lower, fixing it with glue. There must be at least six such levels.

Next, we prepare the base for the body using white quilling paper 40 cm long.To do this, we make a large roll and press it with our fingers on one side, which will serve as the swan’s tail. We take white quilling paper 15 cm long, bend it three times and give the finished element the shape of a neck with a bend (as in the photo). We make a small roll from orange quilling paper 5 cm long and give it the shape of a swan's beak. We make a roll from burgundy quilling paper 30-40 cm long, unravel it and give it a heart shape.

When all the elements are ready, we begin to attach them to the black base. First, we glue the base of the body from below, slightly to the right of the center of our postcard. Then we take double-sided foam tape measuring 1x1 cm and attach it above the base for the body. We attach the voluminous body of a swan, made using a comb, to the tape. Attach the neck and beak. Glue the heart on the top right. An unusual DIY postcard with a minimum number of elements is ready!

Similar master classes
Particularly interesting
Comments (0)

