How to disassemble conventionally non-separable headlights
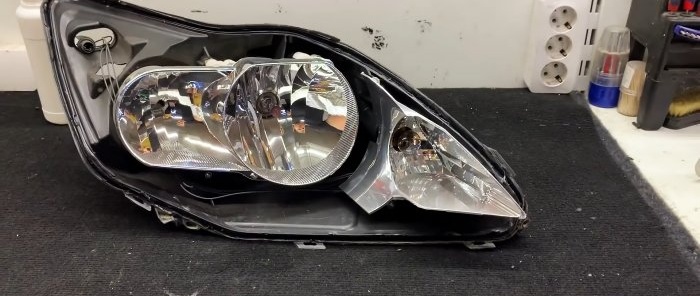
Manufacturers of Japanese and Korean cars typically manufacture headlights using thermoplastic sealant. To disassemble them, it is often enough to heat the structure.
In contrast, car factories in the USA and Europe prefer to use heat-resistant sealant. Its softening temperature is about 300-400 degrees Celsius, and heating the headlight to such a temperature for the purpose of repair is pointless. This will lead to irreversible deformation of the entire structure. However, there is a way to disassemble such a conditionally non-separable headlight with a minimum of tools.
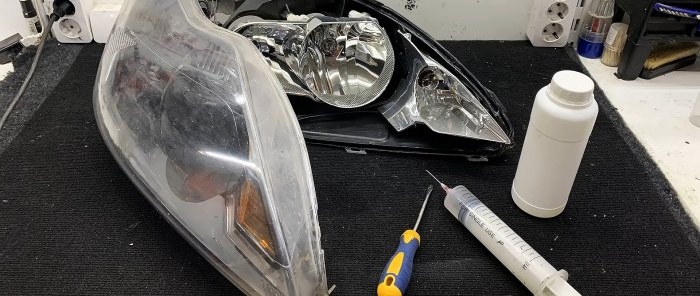
Tools and equipment
- oven, you can use a regular oven;
- well sharpened slotted screwdriver;
- liquid for disassembling headlights, 50 ml will be enough for a set of two headlights;
- rubber gloves to protect hands;
- a syringe for supplying liquid; a regular medical syringe with a needle will do.
For heating, you can use an industrial hair dryer instead of an oven. However, in this case, it is advisable to first heat the entire surface of the glass evenly to avoid large temperature differences.
Disassembling a headlight with hard sealant
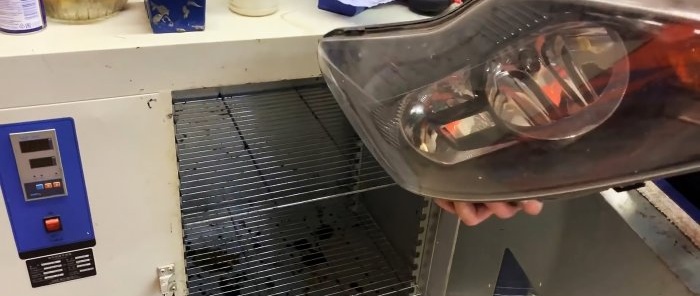
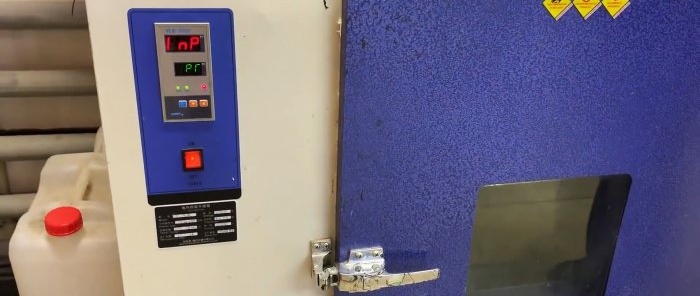
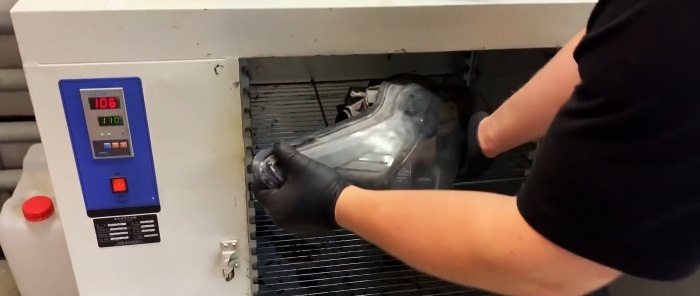
Place the headlight in the oven for 20 minutes, heating temperature is about 110 degrees.This will not affect the polyurethane sealants in any way, but will make the plastic of the apron softer.
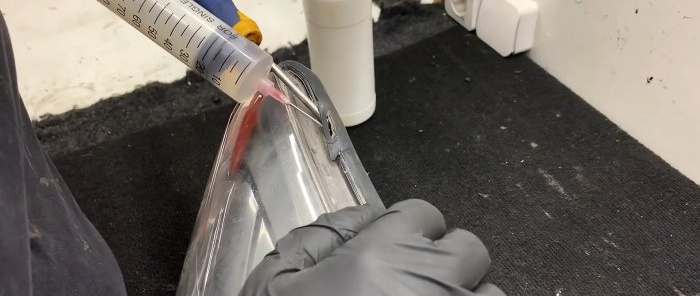
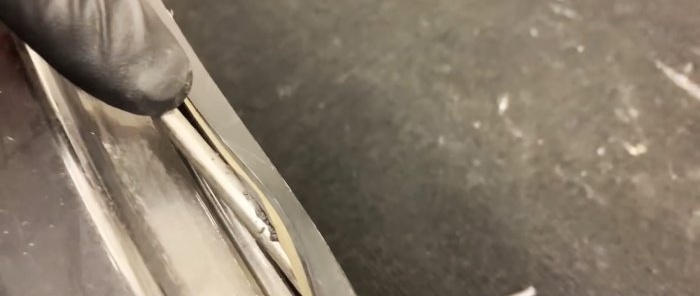
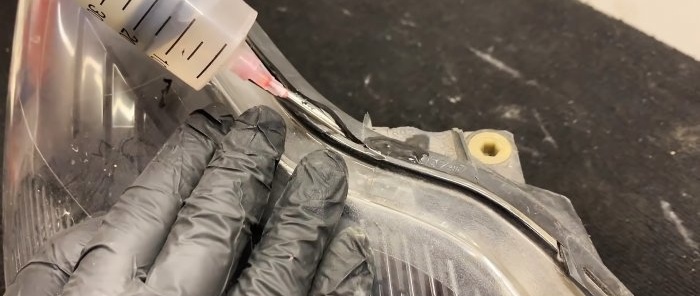
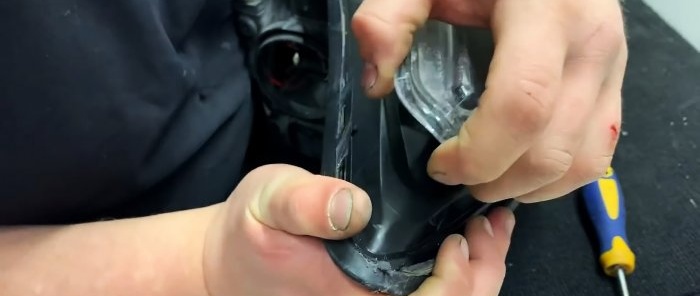
Using a slotted screwdriver, bend the plastic and open access to the sealant. Carefully apply the stripping liquid to the root of the seam.
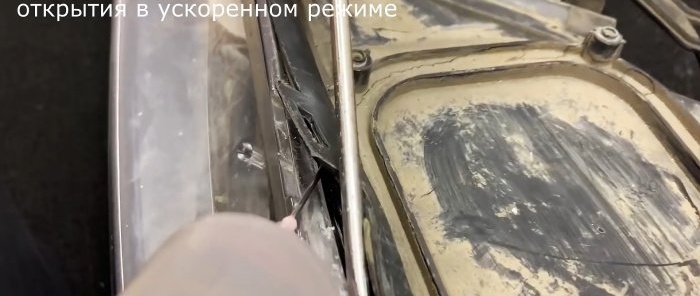
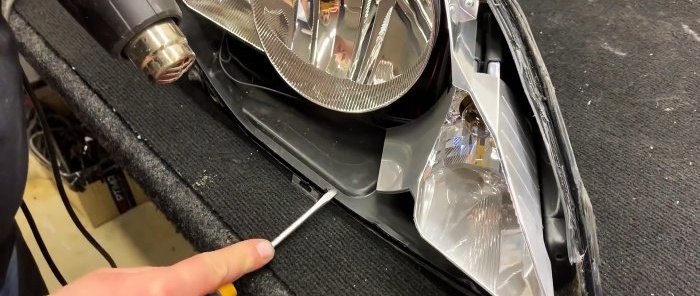
Slowly cut through the softened sealant using a sharp screwdriver
We repeat the procedure on a new area. Don’t forget to use liquid, without it there is a risk of damaging the structure.
During operation, the headlight will have to be heated several times. It is much easier to bend warm plastic, and heating also reduces the risk of cracks and chips.
If the glass already has cracks, you should avoid getting the disassembly liquid on this area. Its chemical composition can provoke the growth of damage.
There is no need to rush; it takes some time for the liquid to react with the sealant. If everything is done correctly, we will get a neat seam.
Inevitably, during work, slight deformation appears in certain areas of the plastic cladding. This can be easily fixed with a hair dryer. We heat it up and return everything to its original state.
All we have to do is clean out the remaining sealant from the seam. The same slotted screwdriver is used for this. It is no longer necessary to use liquid at this stage.

