Spring tulips - bouquet of candies
Good afternoon everyone! I looked at a lot of different works on the Internet - bouquets of candies and I also wanted to learn how to make such beauty with my own hands. But it’s better to start learning with easy jobs. I want to share with you my experience in making such a bouquet for beginners. In my opinion, the easiest way to make tulips from corrugated paper. That’s why I will have a master class on making such a bouquet.
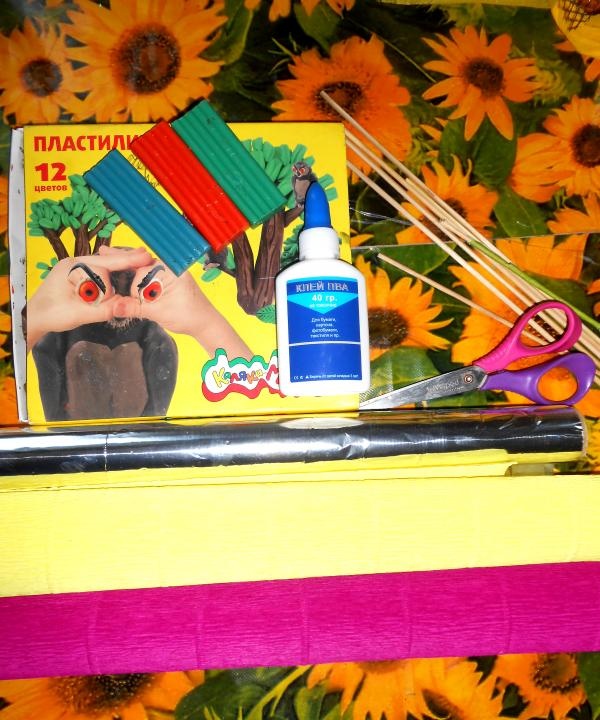
For initial work we will need the following:
- Plasticine (or candy, at your discretion).
- Skewers.
- Glue (it is better to take a glue stick and PVA glue)
- Corrugated paper (colors at your discretion).
- Foil.
- Wrapping paper.
- Green napkins.
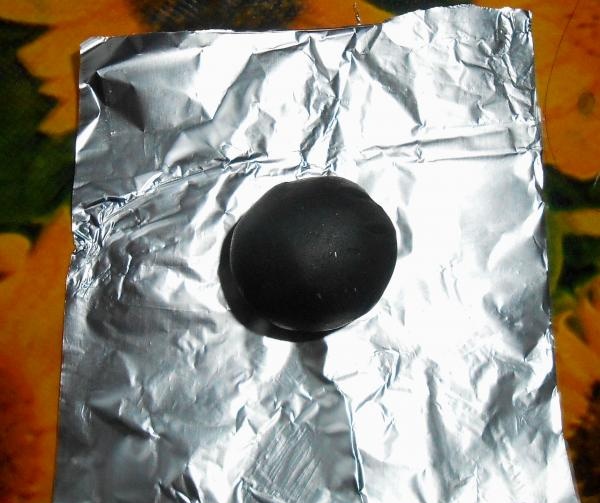
Since we are just learning how to make such bouquets, I advise you to initially take plasticine, not candy. So, let's begin. Knead the plasticine and roll it into a ball of the size we need. We take a square of foil (wrapping paper) and wrap our plasticine ball in it.
Make so many balls, so many flowers you will have. I will have five flowers in my bouquet, so I need five balls. And there is nothing wrong with the fact that the balls will turn out to be different sizes.Flowers in nature are also all different sizes.
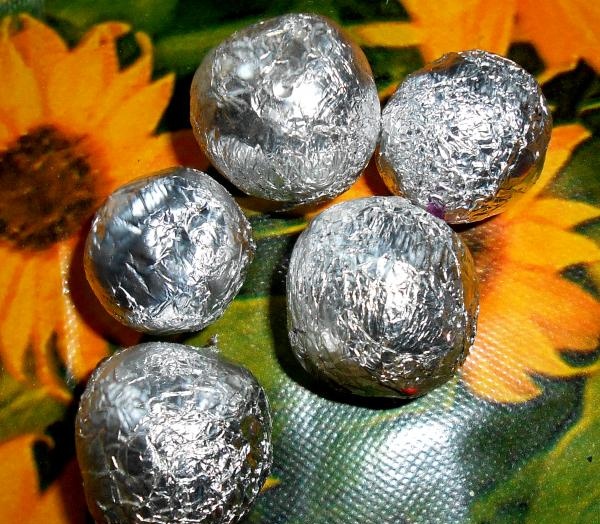
After you have made all the balls. We begin to make blanks for our future leaves. We take corrugated paper (advice, it’s better to buy good quality corrugated paper. Flowers, and others, are made from it crafts they turn out better and more beautiful.) We cut strips of paper, the width and length depend on the size of the ball (candy).
I got strips 10 centimeters long and 4 centimeters wide.
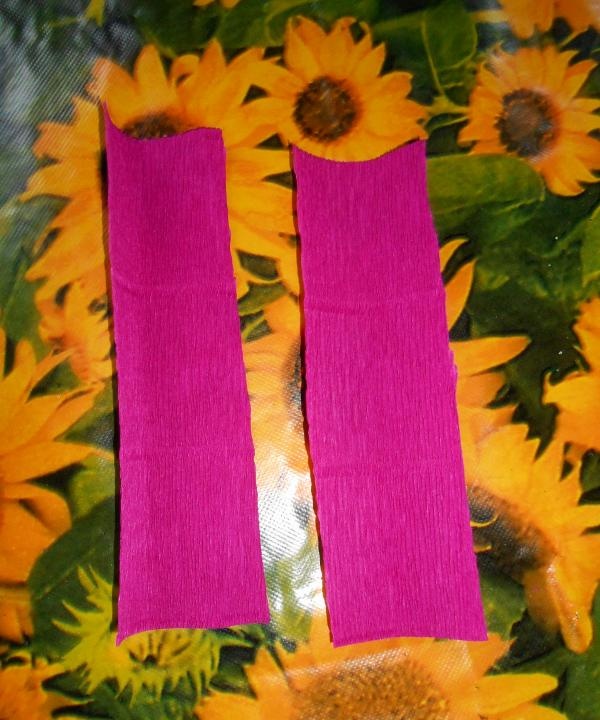
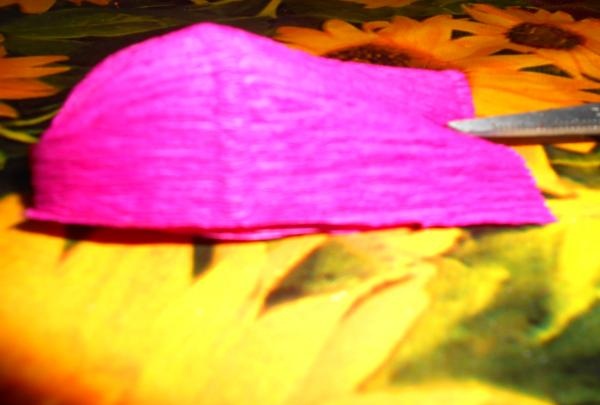
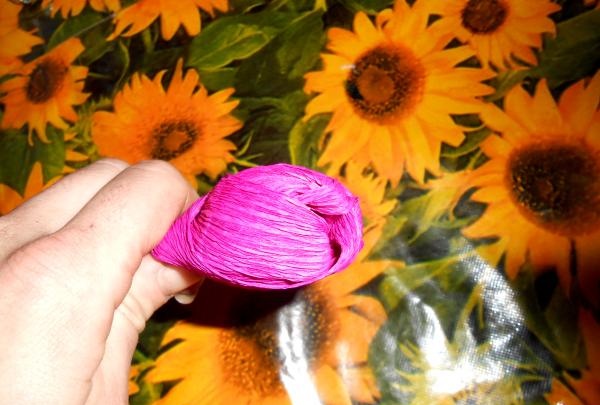
Having made blanks for the leaves of the flower, we begin to make the blanks similar to real tulip leaves. We take one strip, visually divide it so that one half is larger than the other, and twist the paper at this point. We make a rotation around its axis with the short side. We do this with all preparations.
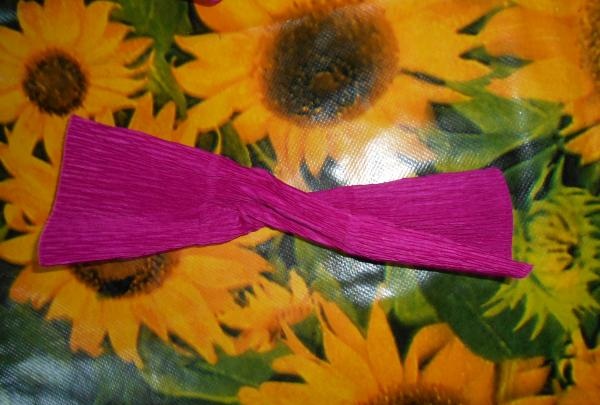
This is what we should get.
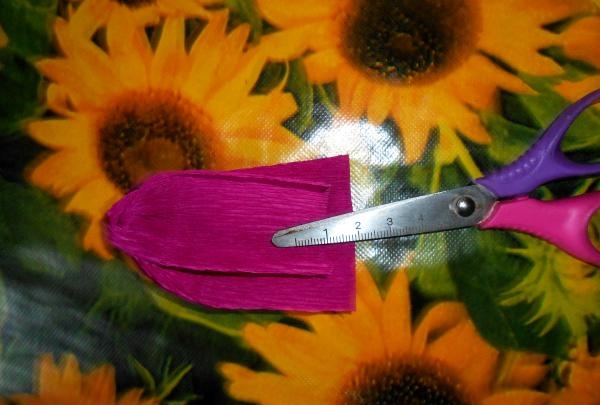
From the side where you got the short half, draw your fingernail in the middle of the petal to give volume to the leaf. We do this with all the leaves.
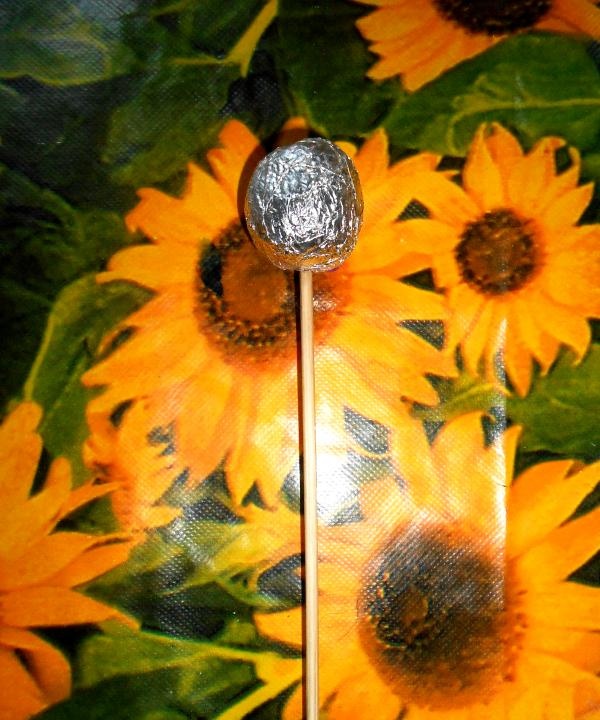
Next, we begin to collect the flower. Take a skewer and string a ball (candy) onto it. The length of the skewer depends on how long you need the flowers.
Take a leaf, spread glue on the bottom and glue it to the skewer.
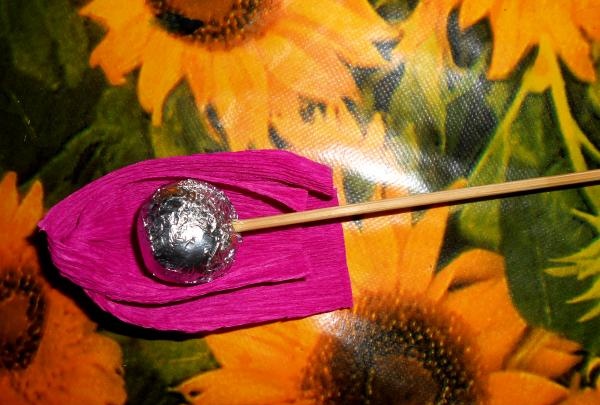
It should look like this for you.
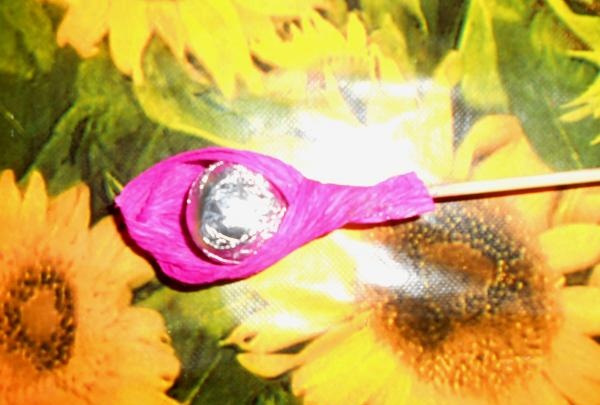
And so we glue three leaves to one flower.
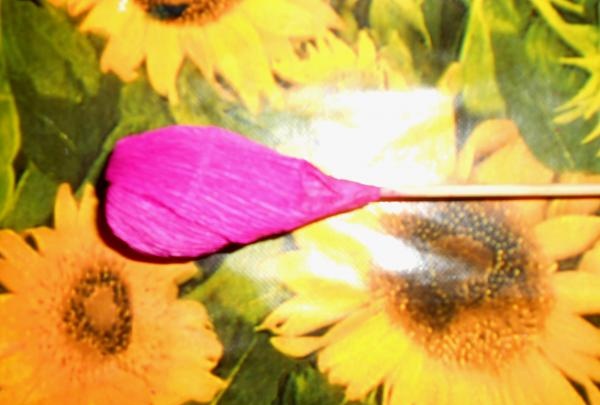
Of course, all flowers have green stems. You can use green corrugated paper, but I used regular pale green napkins. They stick better to the skewer.
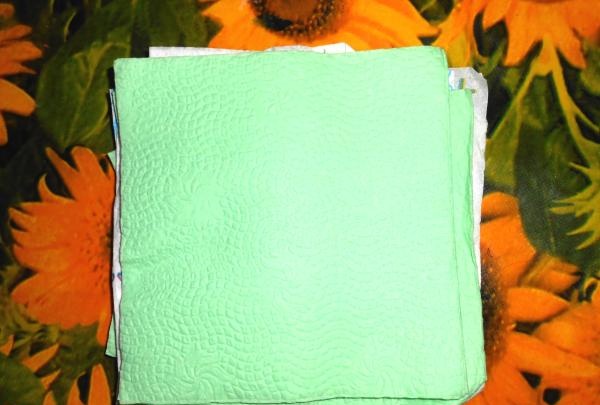
We cut out strips about one centimeter wide and there is nothing wrong with the fact that they will not be even, it will not be visible on the stem.
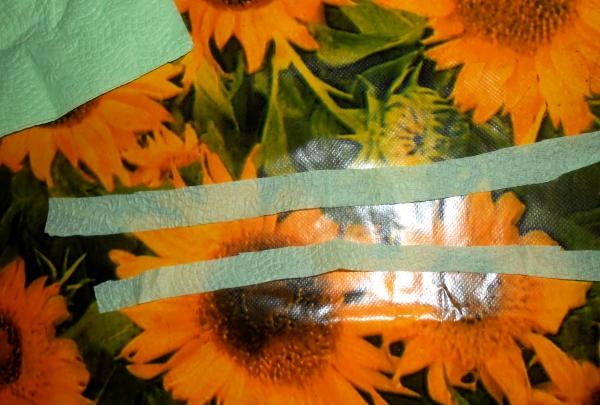
Apply glue to one end of the strip and apply it to the place where our flower begins to “grow”.First, carefully wrap the strip around the flower several times, so that there are no gaps, then when you switch to the skewer, just hold the strip in your hands and twist the skewer. And in this way you will wind the strip around the stem. This is what should happen.
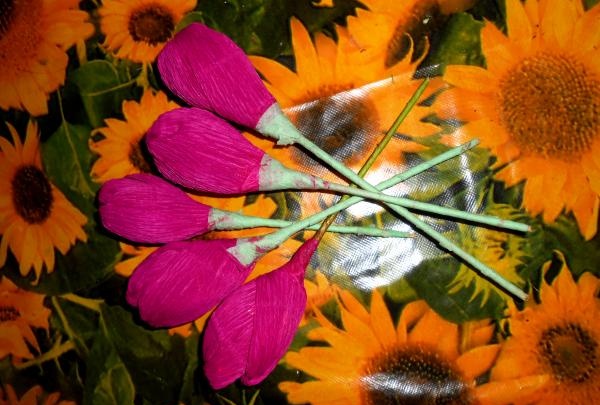
Our bouquet is almost ready. All that remains is to decorate it beautifully. Of course, you can make leaves out of paper, but I decided to use this “artificial grass” and a flower net.
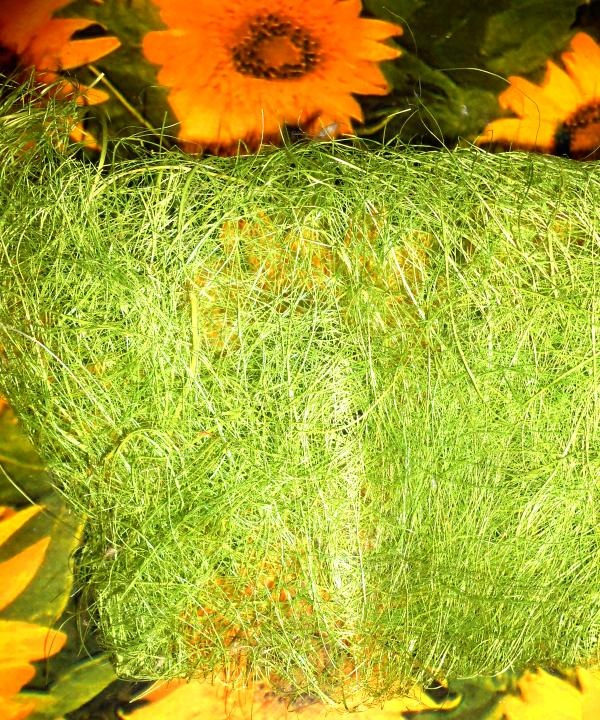
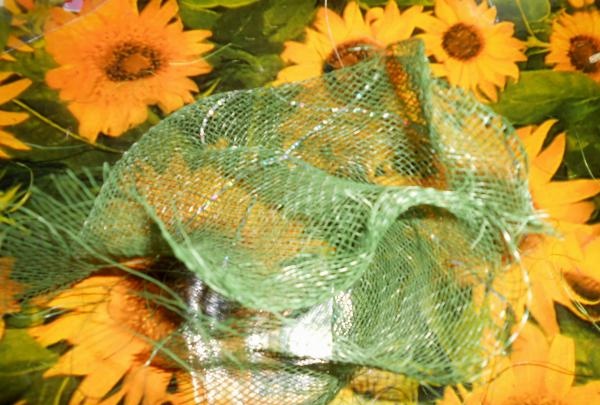
Before decorating a bouquet in this way, I advise you to first collect all the flowers in a bouquet and secure them with tape. After that, we take the “grass” and twist it around the flowers and then do the same with the mesh.
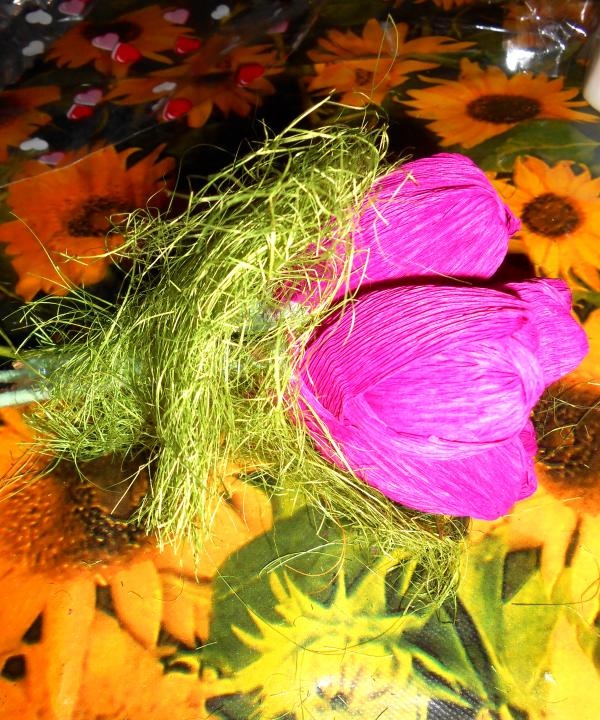
Then you can pack the collected bouquet in beautiful packaging. It actually can be different, you can choose to your taste. I personally took the transparent one with cute hearts drawn on it. As a result, our bouquet is ready.
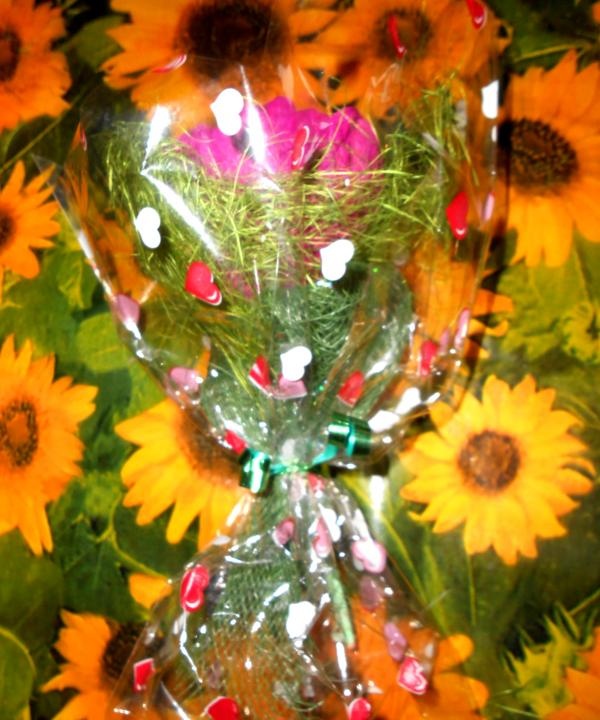
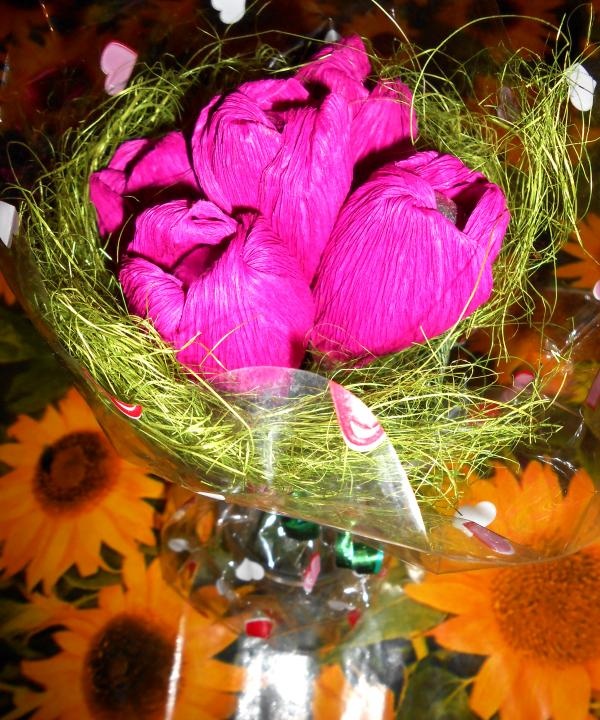
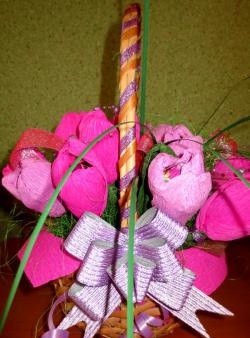
Quite a cute and beautiful bouquet. In general, when you make such bouquets, thoughts on design come while working, and each time you will get different bouquets.
For initial work we will need the following:
- Plasticine (or candy, at your discretion).
- Skewers.
- Glue (it is better to take a glue stick and PVA glue)
- Corrugated paper (colors at your discretion).
- Foil.
- Wrapping paper.
- Green napkins.

Since we are just learning how to make such bouquets, I advise you to initially take plasticine, not candy. So, let's begin. Knead the plasticine and roll it into a ball of the size we need. We take a square of foil (wrapping paper) and wrap our plasticine ball in it.

Make so many balls, so many flowers you will have. I will have five flowers in my bouquet, so I need five balls. And there is nothing wrong with the fact that the balls will turn out to be different sizes.Flowers in nature are also all different sizes.

After you have made all the balls. We begin to make blanks for our future leaves. We take corrugated paper (advice, it’s better to buy good quality corrugated paper. Flowers, and others, are made from it crafts they turn out better and more beautiful.) We cut strips of paper, the width and length depend on the size of the ball (candy).
I got strips 10 centimeters long and 4 centimeters wide.

Having made blanks for the leaves of the flower, we begin to make the blanks similar to real tulip leaves. We take one strip, visually divide it so that one half is larger than the other, and twist the paper at this point. We make a rotation around its axis with the short side. We do this with all preparations.

This is what we should get.

From the side where you got the short half, draw your fingernail in the middle of the petal to give volume to the leaf. We do this with all the leaves.

Next, we begin to collect the flower. Take a skewer and string a ball (candy) onto it. The length of the skewer depends on how long you need the flowers.

Take a leaf, spread glue on the bottom and glue it to the skewer.

It should look like this for you.

And so we glue three leaves to one flower.


Of course, all flowers have green stems. You can use green corrugated paper, but I used regular pale green napkins. They stick better to the skewer.

We cut out strips about one centimeter wide and there is nothing wrong with the fact that they will not be even, it will not be visible on the stem.

Apply glue to one end of the strip and apply it to the place where our flower begins to “grow”.First, carefully wrap the strip around the flower several times, so that there are no gaps, then when you switch to the skewer, just hold the strip in your hands and twist the skewer. And in this way you will wind the strip around the stem. This is what should happen.

Our bouquet is almost ready. All that remains is to decorate it beautifully. Of course, you can make leaves out of paper, but I decided to use this “artificial grass” and a flower net.


Before decorating a bouquet in this way, I advise you to first collect all the flowers in a bouquet and secure them with tape. After that, we take the “grass” and twist it around the flowers and then do the same with the mesh.

Then you can pack the collected bouquet in beautiful packaging. It actually can be different, you can choose to your taste. I personally took the transparent one with cute hearts drawn on it. As a result, our bouquet is ready.


Quite a cute and beautiful bouquet. In general, when you make such bouquets, thoughts on design come while working, and each time you will get different bouquets.
Similar master classes
Particularly interesting
Comments (0)

