Beaded bracelet for any outfit
Beads are known as a fairly durable and versatile material. You can use it to make amazing women’s jewelry (belts, hairpins, brooches, handbags), but also to embroider pictures, decorate the interior of your home, give crafts from beads to your friends and loved ones. But as a craft beading not as developed as in past times. For many girls and women, this art is unknown and shrouded in illusory secrets. You probably think that there are hundreds of weaving methods?
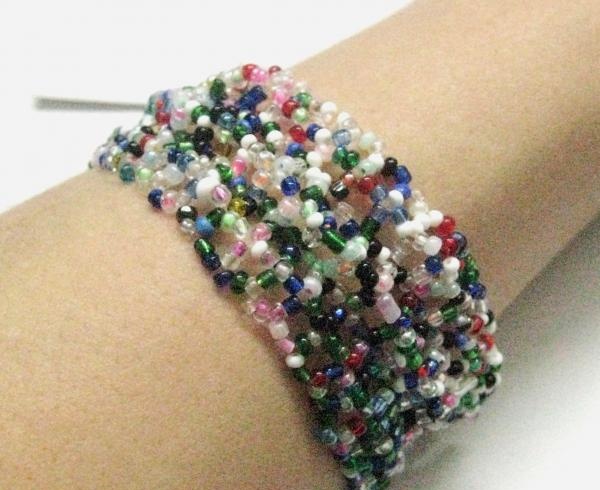
Today we will look at an example of how you can create your first bracelet without much experience and skill. Thus, we will study one of the two main beading methods - monastic (or cross-stitch). You will need a small amount of any beads and beads from old jewelry, everything in order and in detail in a detailed master class. Every person can learn this craft and develop in it. Even if it seemed to you that you are not a patient and diligent person, everything will work out!
You will need:
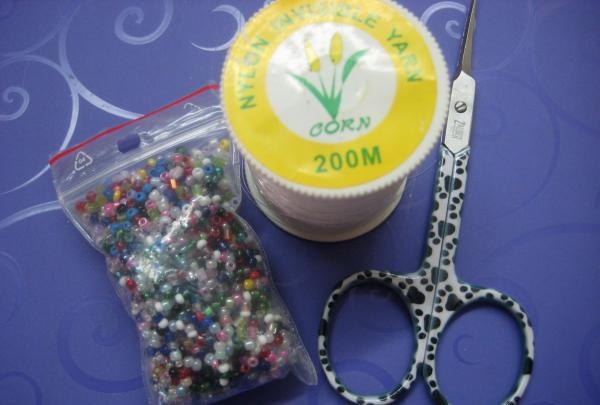
• fishing line (fishing line will also work), preferably thin;
• scissors;
• thin bead needles (optional);
• a beautiful thin ribbon or hooks (a mini carabiner is an option) for fastening the bracelet on your hand;
• small beads (one standard bag). High-quality beads are made in the Czech Republic; you can find them in stores in your city or on the Internet.
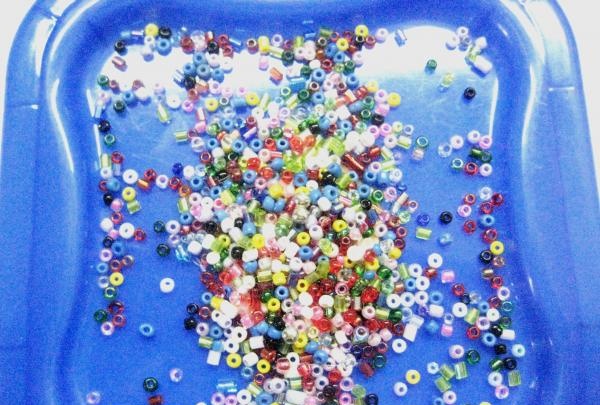
• Also prepare a lighted work area with a terry cloth on the table to prevent the beads from rolling off and getting lost on the floor. And you can use saucers or wide lids as containers for tiny glass.
Stages:
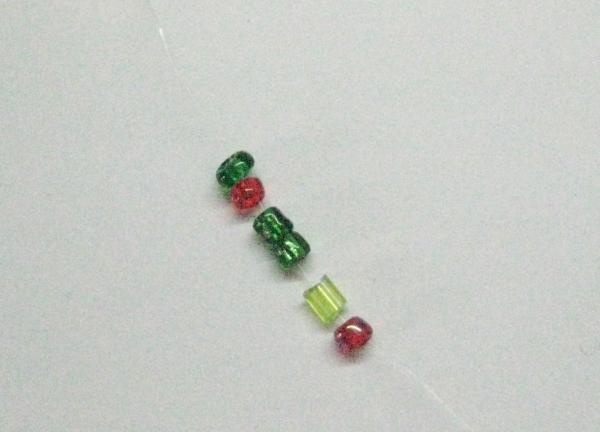
1. Cut the fishing line two cubits long. Following a simple pattern, we weave a chain around the wrist. We plan its length by measuring your hand with a meter or tape with a ruler; allow a finger to be inserted between the future bracelet and the wrist so that the product does not squeeze your hand. We start working with you by stringing 6 pieces. beads
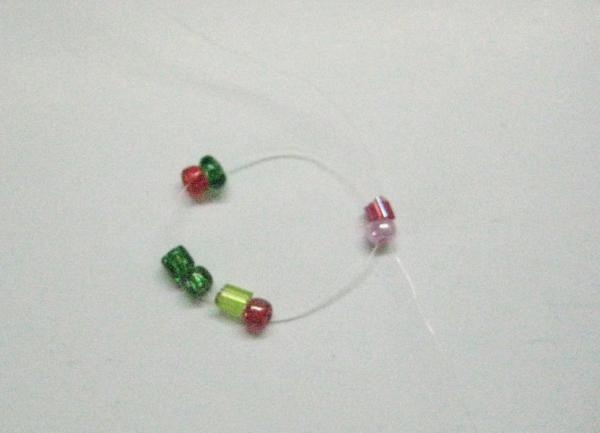
2. Then through the next two beads we thread both ends of the fishing line in the opposite direction.
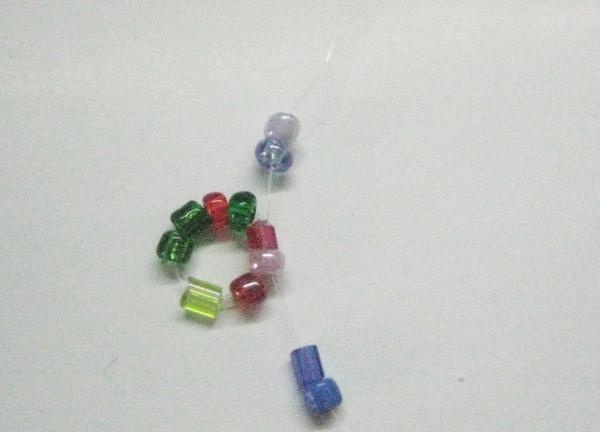
3. Two pieces of beads for each fishing line.
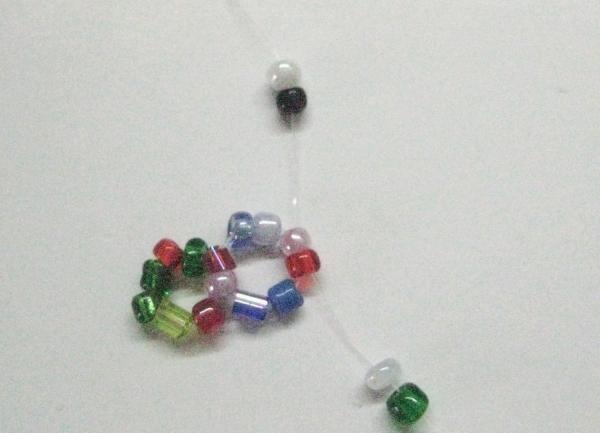
4. Again, a couple of beads are threaded crosswise. Then two beads for each line and so on until the end of the row.
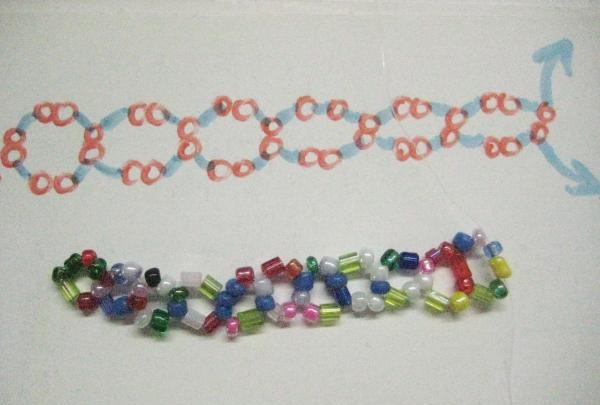
5. Let's consider what to do if the row is over, but the fishing line is not. To make the product strong, use the following technique.
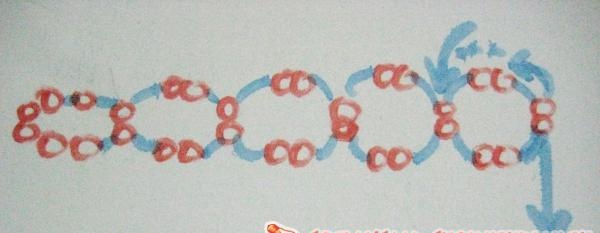
6. We weave one end of the fishing line in the direction through the beads in the ring.

7. And on the second end of the fishing line we put 6 pieces. beads
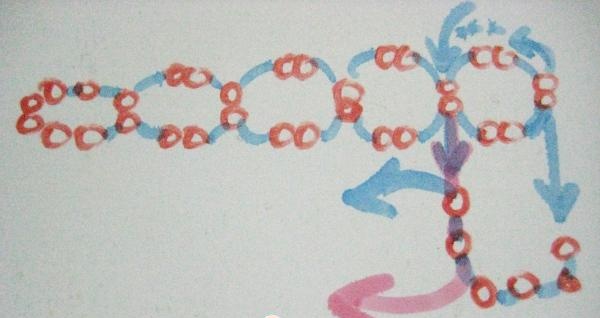
8. We also weave the first line through the last two beads.
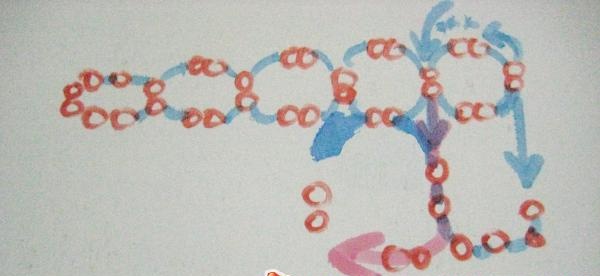
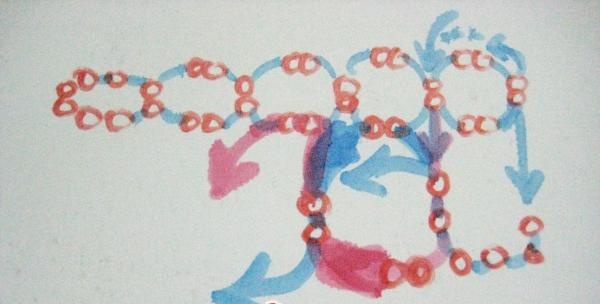
9. Following the pattern, we weave the second row, using the outermost beads from the first row.
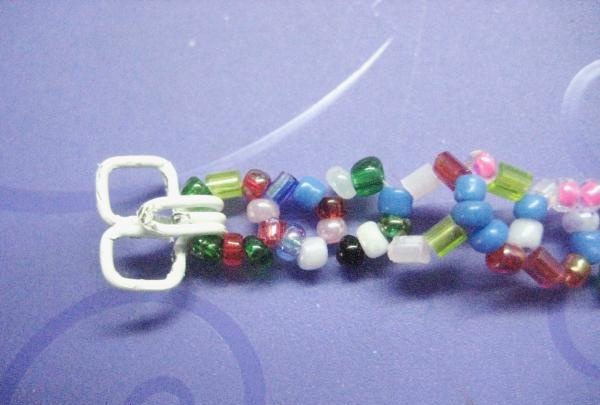
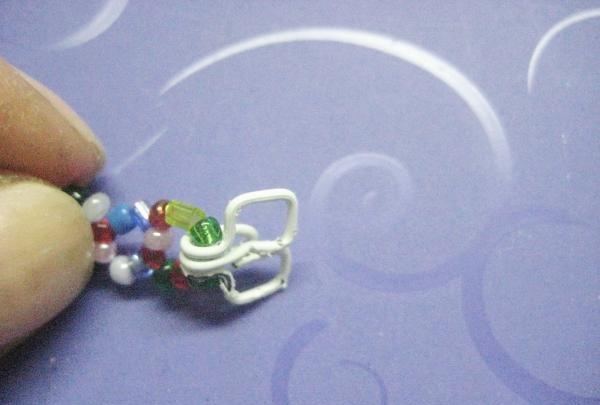
10. Such hooks attach perfectly to beads and you can easily learn to use them even with one hand, putting the bracelet on the other.
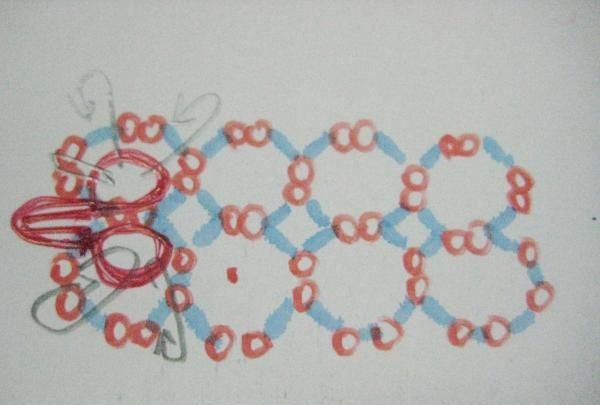
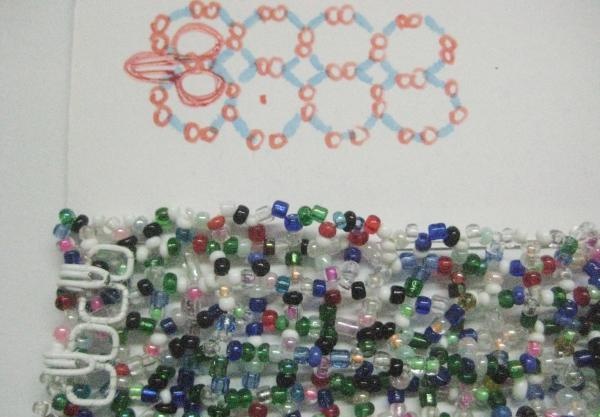
11. For a bracelet of 6 rows, two clasps are enough. Attach them as if sewing to a fabric of beads.

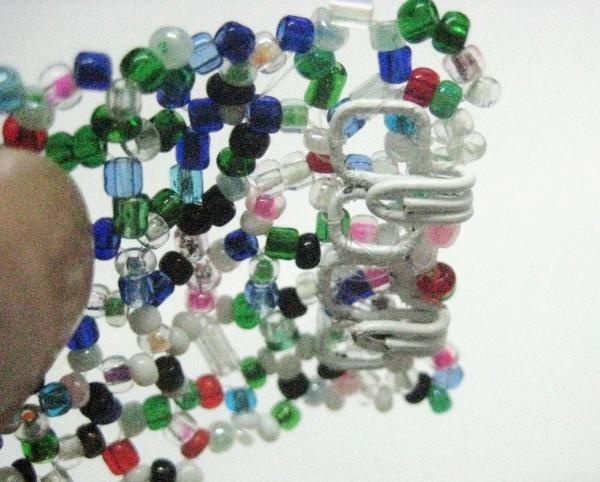
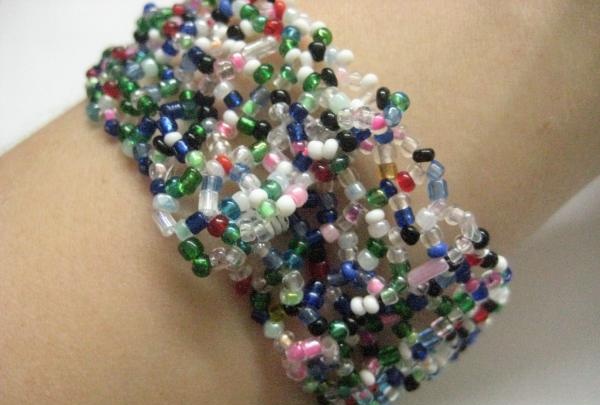
12.By sewing hooks onto the bracelet, you can wear your unique and inimitable creation; the hooks are not noticeable at all.

Today we will look at an example of how you can create your first bracelet without much experience and skill. Thus, we will study one of the two main beading methods - monastic (or cross-stitch). You will need a small amount of any beads and beads from old jewelry, everything in order and in detail in a detailed master class. Every person can learn this craft and develop in it. Even if it seemed to you that you are not a patient and diligent person, everything will work out!
You will need:

• fishing line (fishing line will also work), preferably thin;
• scissors;
• thin bead needles (optional);
• a beautiful thin ribbon or hooks (a mini carabiner is an option) for fastening the bracelet on your hand;
• small beads (one standard bag). High-quality beads are made in the Czech Republic; you can find them in stores in your city or on the Internet.
• Also prepare a lighted work area with a terry cloth on the table to prevent the beads from rolling off and getting lost on the floor. And you can use saucers or wide lids as containers for tiny glass.

Stages:

1. Cut the fishing line two cubits long. Following a simple pattern, we weave a chain around the wrist. We plan its length by measuring your hand with a meter or tape with a ruler; allow a finger to be inserted between the future bracelet and the wrist so that the product does not squeeze your hand. We start working with you by stringing 6 pieces. beads

2. Then through the next two beads we thread both ends of the fishing line in the opposite direction.

3. Two pieces of beads for each fishing line.

4. Again, a couple of beads are threaded crosswise. Then two beads for each line and so on until the end of the row.

5. Let's consider what to do if the row is over, but the fishing line is not. To make the product strong, use the following technique.

6. We weave one end of the fishing line in the direction through the beads in the ring.

7. And on the second end of the fishing line we put 6 pieces. beads

8. We also weave the first line through the last two beads.


9. Following the pattern, we weave the second row, using the outermost beads from the first row.


10. Such hooks attach perfectly to beads and you can easily learn to use them even with one hand, putting the bracelet on the other.


11. For a bracelet of 6 rows, two clasps are enough. Attach them as if sewing to a fabric of beads.


12.By sewing hooks onto the bracelet, you can wear your unique and inimitable creation; the hooks are not noticeable at all.
Similar master classes
Particularly interesting
Comments (0)

