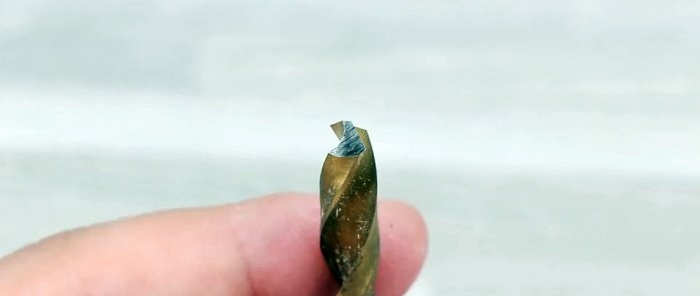
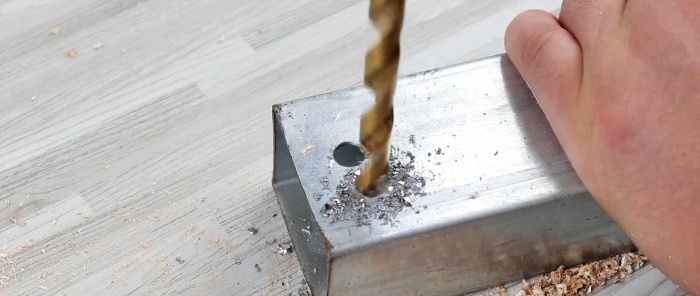
Make this machine and forget about stupid drills forever
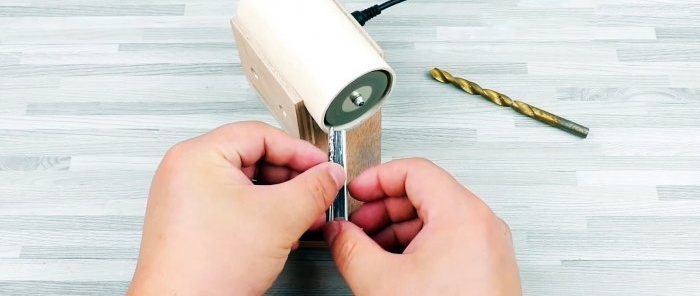
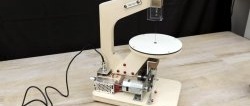
To quickly and correctly sharpen drills, you can assemble a simple machine that allows you to edit them at the correct angle. A homemade mini machine takes up virtually no space in the workshop. When stored, it can be placed either in a desk drawer or on a shelf.
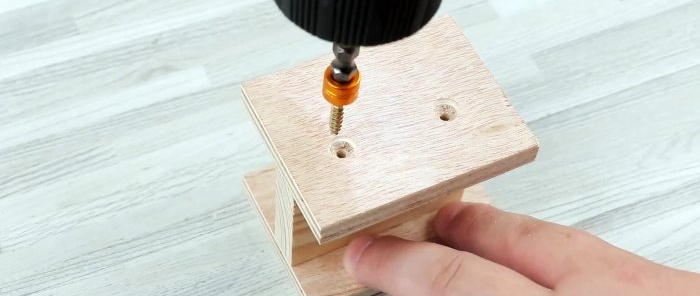
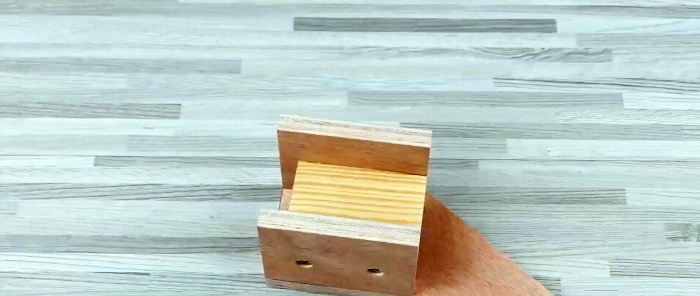
From plywood or boards 10 mm thick you need to cut 2 blanks 70x55 mm and one 60x40 mm. Using self-tapping screws, they are connected into an H-shaped machine bed.
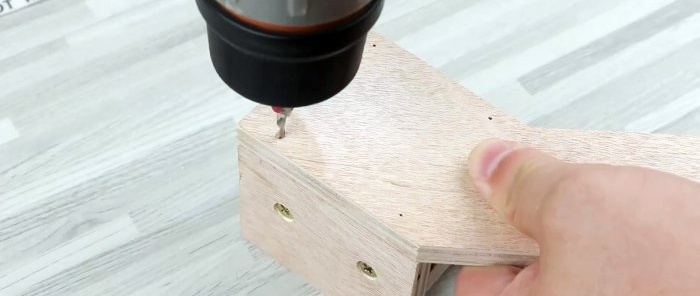
Then the sole is cut out of plywood. It should have an angular shape. When drawing it, it is advisable to use a protractor to form the angle at which the drills will be sharpened. For example, if you need to sharpen drills for hard metal, then you need an angle of 116-118 degrees. The sole is screwed to the base with self-tapping screws.If you do not initially set the correct angle, then later, when placing the stop for the drills, it will be installed asymmetrically. This is not critical, but it will look less neat than it could.
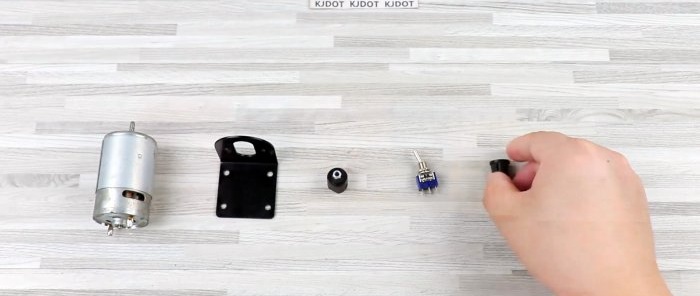
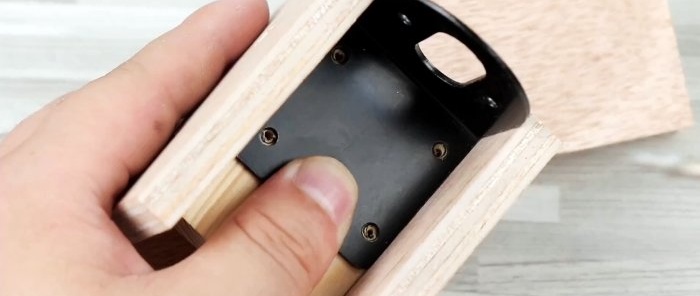
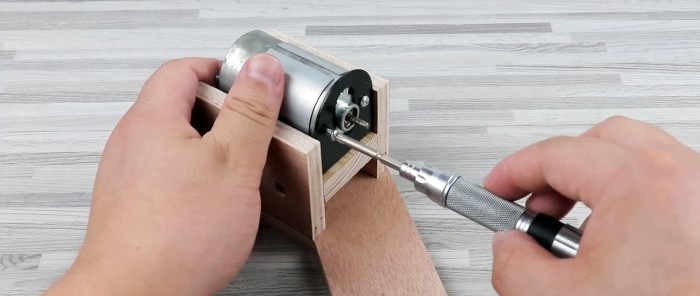
A bracket is installed on the machine bed, and the engine is screwed to it. The adapter for the cutting disc is clamped onto the motor shaft.
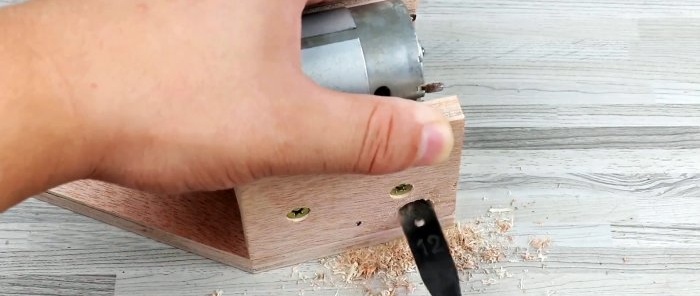
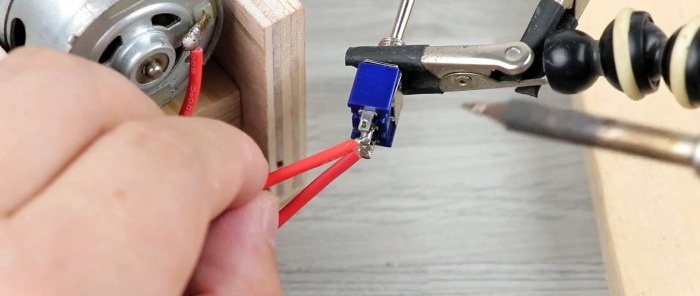
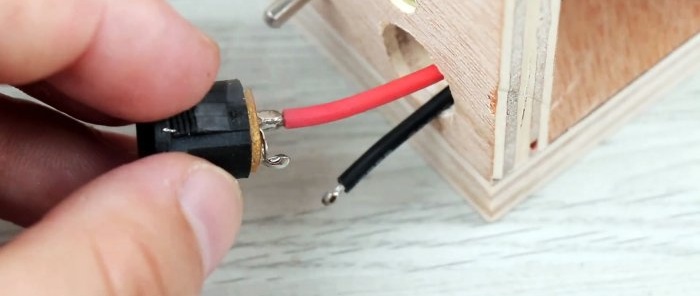
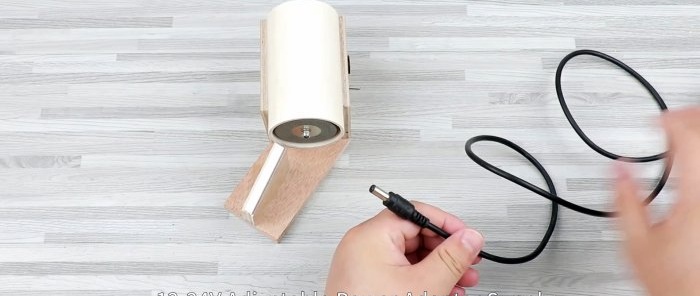
Holes are drilled on the side at the bottom of the base for installing a power connector and a toggle switch. The electrical part of the machine is soldered and glued in place.
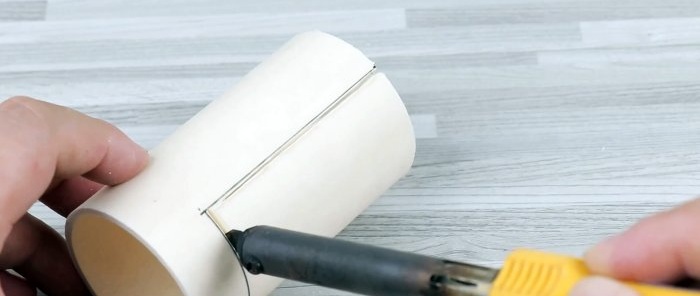
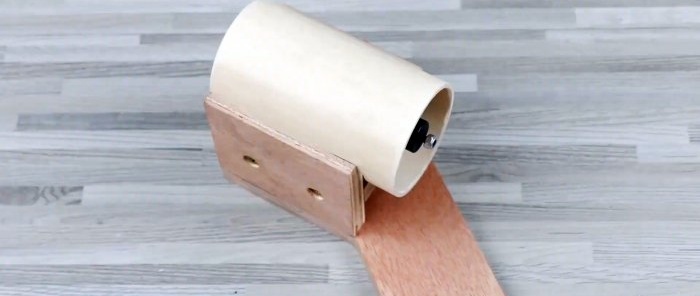
Next, a piece of PVC pipe 86 mm long is cut. It needs to be cut lengthwise as in the photo. The result is a casing to protect the engine. It is glued to the machine bed on top of the motor. It is important that the housing has a sufficient slot to allow access to the adapter on the motor shaft with a wrench, which is necessary to clamp the abrasive wheel.
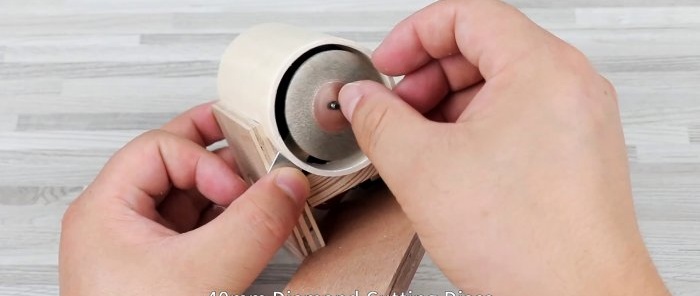
A 40 mm diamond disc is installed on the adapter on the motor shaft.
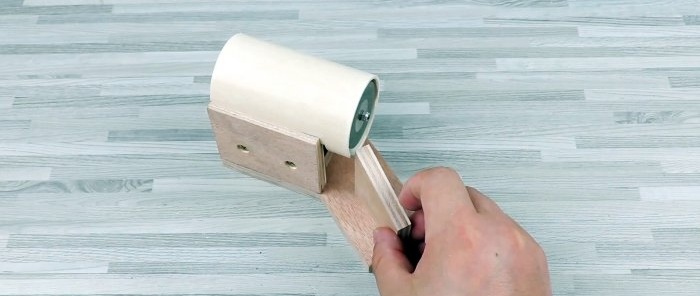
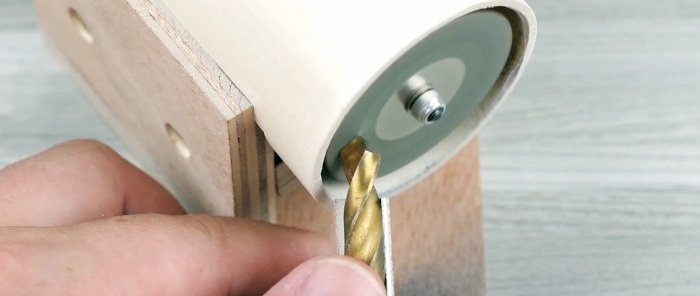
Then a drill stop cut from plywood is screwed to the protruding part of the sole. It is positioned so that the drill resting on it touches the tip to the disk at an angle of 116-118 degrees.
Its upper side is also made at an angle corresponding to the sharpening angle. To prevent the drill from slipping, a holder made of a U-shaped aluminum profile is glued to the stop on top.
Thanks to it, the sharpened edge will always be strictly parallel to the plane of the abrasive disc.
Materials:
- electric motor DC 555 -
- engine bracket;
- power connector;
- adapter from the motor shaft to the cutting disc;
- power switch;
- diamond disc 40 mm;
- power supply 12-24V;
- plywood 10 mm;
- PVC pipe 50 mm.
Manufacturing process of drill sharpening machine
From plywood or boards 10 mm thick you need to cut 2 blanks 70x55 mm and one 60x40 mm. Using self-tapping screws, they are connected into an H-shaped machine bed.
Then the sole is cut out of plywood. It should have an angular shape. When drawing it, it is advisable to use a protractor to form the angle at which the drills will be sharpened. For example, if you need to sharpen drills for hard metal, then you need an angle of 116-118 degrees. The sole is screwed to the base with self-tapping screws.If you do not initially set the correct angle, then later, when placing the stop for the drills, it will be installed asymmetrically. This is not critical, but it will look less neat than it could.
A bracket is installed on the machine bed, and the engine is screwed to it. The adapter for the cutting disc is clamped onto the motor shaft.
Holes are drilled on the side at the bottom of the base for installing a power connector and a toggle switch. The electrical part of the machine is soldered and glued in place.
Next, a piece of PVC pipe 86 mm long is cut. It needs to be cut lengthwise as in the photo. The result is a casing to protect the engine. It is glued to the machine bed on top of the motor. It is important that the housing has a sufficient slot to allow access to the adapter on the motor shaft with a wrench, which is necessary to clamp the abrasive wheel.
A 40 mm diamond disc is installed on the adapter on the motor shaft.
Then a drill stop cut from plywood is screwed to the protruding part of the sole. It is positioned so that the drill resting on it touches the tip to the disk at an angle of 116-118 degrees.
Its upper side is also made at an angle corresponding to the sharpening angle. To prevent the drill from slipping, a holder made of a U-shaped aluminum profile is glued to the stop on top.
Thanks to it, the sharpened edge will always be strictly parallel to the plane of the abrasive disc.
Watch the video
Similar master classes
Particularly interesting
Comments (4)

