Underwater adventures of a paper lamp
Once upon a time there lived on a store shelf a simple lampshade made of thin paper and it dreamed of being transformed. And one day it was taken away to decorate the children's room. Kids, as you know, love everything bright and magical, so it was decided that the flashlight would turn into an aquarium.
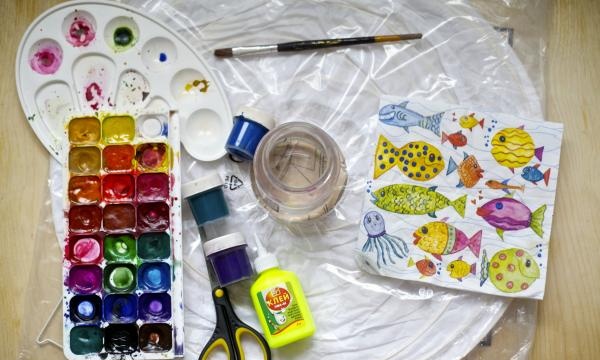
The materials required were the simplest:
• cheap paper lampshade,
• paints: watercolor and gouache,
• brushes of different thicknesses,
• funny napkin with fish,
• PVA glue (you can take a special one for decoupage),
• scissors,
• water.
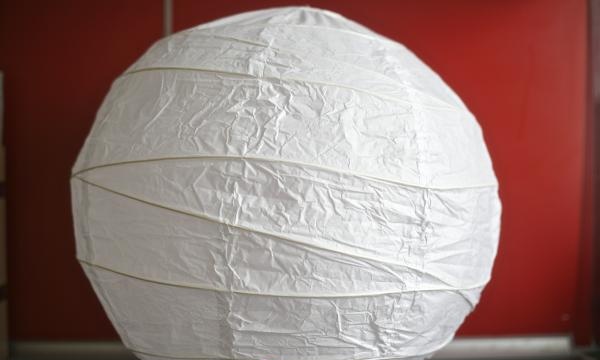
First, we need to assemble our lampshade to make it easier to paint.
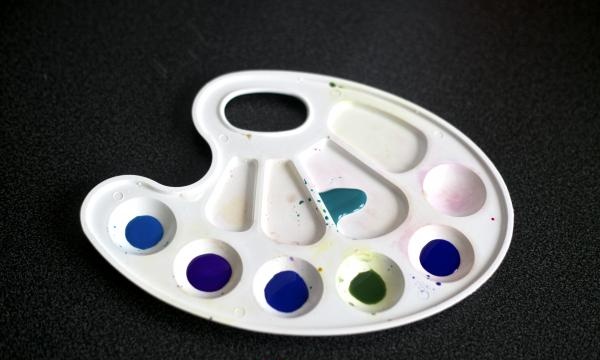
Next, on the palette we add several shades of blue, cyan, purple and green. In general, all sea colors.
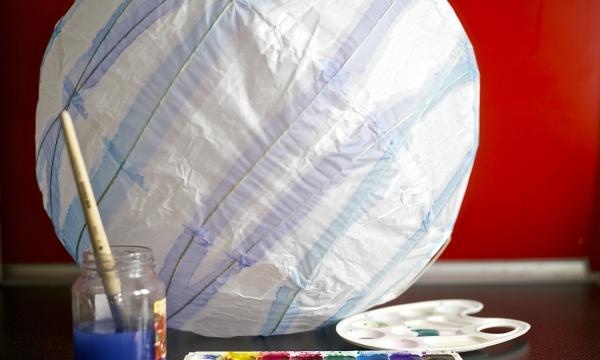
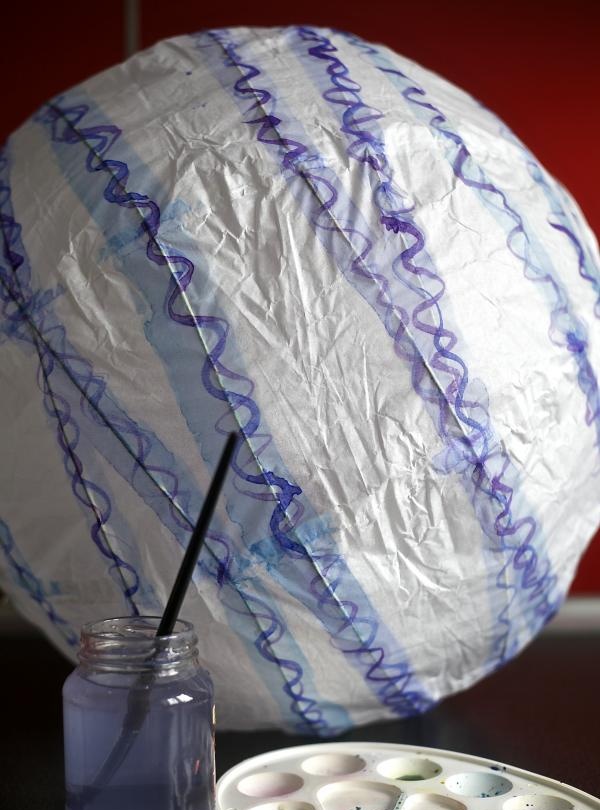
Now we need a wide and soft brush, which we will apply the lightest shades of blue and cyan. These flashlights have metal guides inside that maintain its shape. We will draw waves along them. Strokes should be free and wide. The most convenient way is to rotate the flashlight around its axis and apply paint. Don't be afraid to go beyond the outlined contours.
The paper is so delicate that by the time you finish drawing the bottom stripes, the top part will already be dry.Now take a thinner brush and paint more waves with a bright color. At first it will be blue swirls.
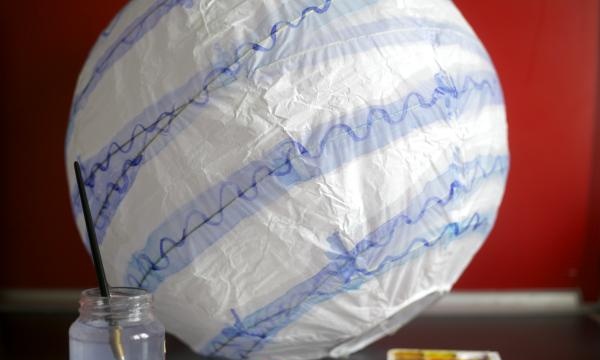
Then - purple.
And in the end - cold greens.
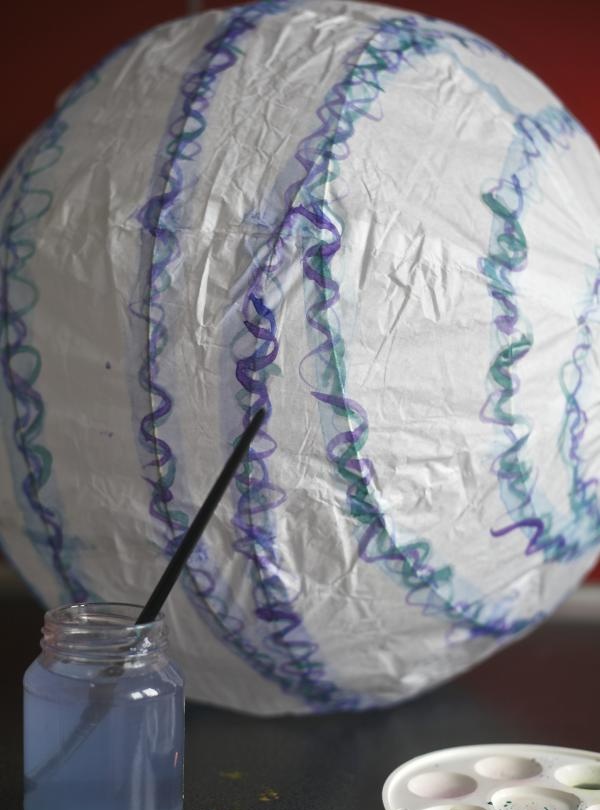
A little negligence is welcome. Now we leave our lampshade to dry and proceed to decoupage. Separate two unpainted layers from a three-layer napkin. We won't need them.
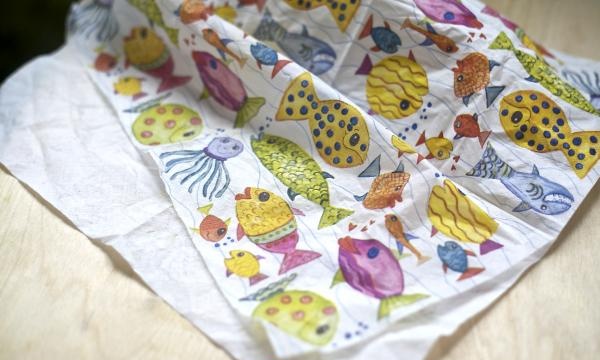
Now we carefully tear off the individual elements of the design: the uneven edge will stick better and merge with the base base.
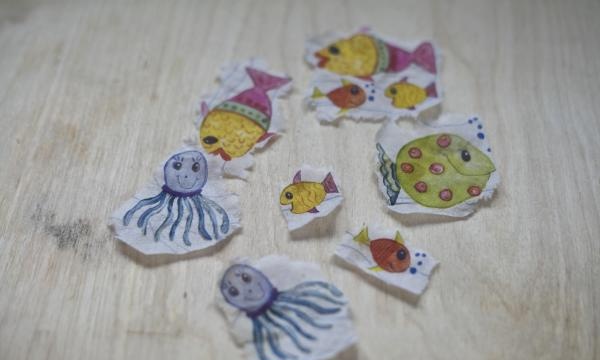
Think about how you will distribute the fish so that the final result looks harmonious. Next, dilute the PVA glue approximately 1:2 and begin to carefully glue the pieces of napkin.
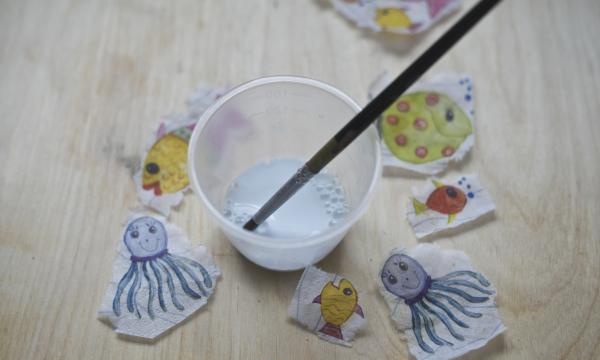
Try to do this so that no air bubbles accumulate under the paper, and the paper itself does not roll up.
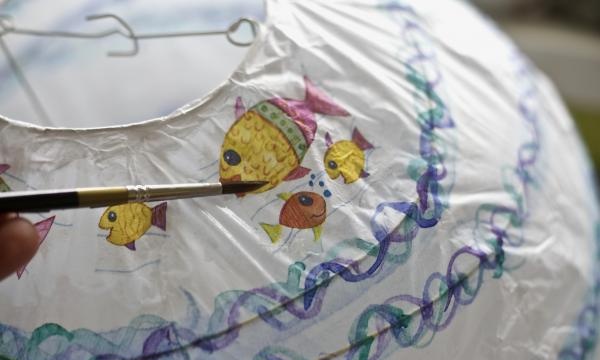
It is better to glue the fish not in even rows, but as if they are actually diving in cheerful waves. Once all the fish are in the aquarium, you can add the finishing touches. Since I already had waves drawn on my napkin, I decided to add some more waves using gouache. Of course, if you have a desire or you haven’t found such napkins, you can draw sea creatures yourself.
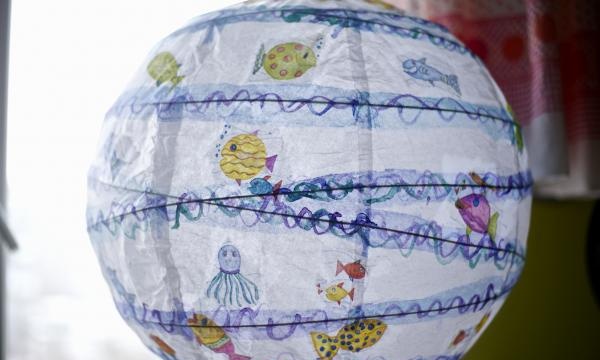
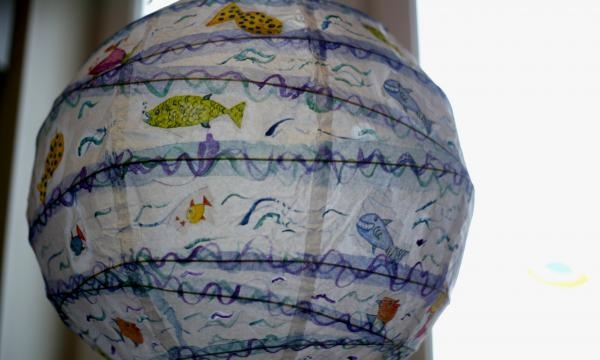
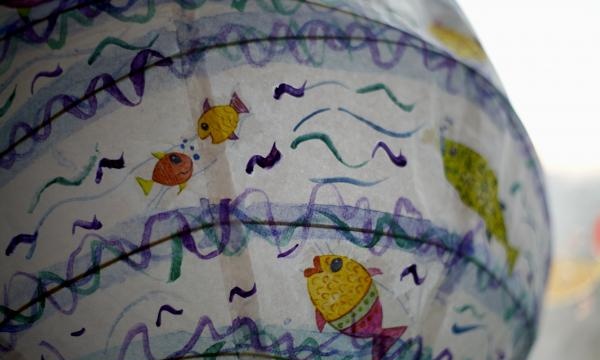
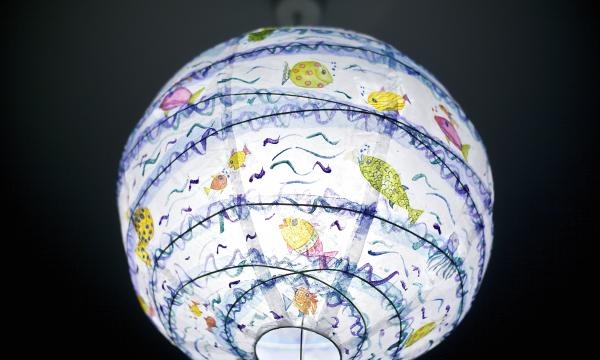
We hang the finished lamp in the room and turn on the light. And then real magic begins in the room and beautiful fish swim in the azure-turquoise sea.
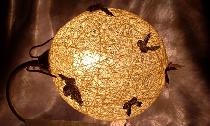
In general, paper lamps are very fun and easy to decorate. Simpler techniques can also be used. Here, for example, is a flashlight painted in different shades of green and purple. It was created using textured paper, the structure of which we emphasized with color.
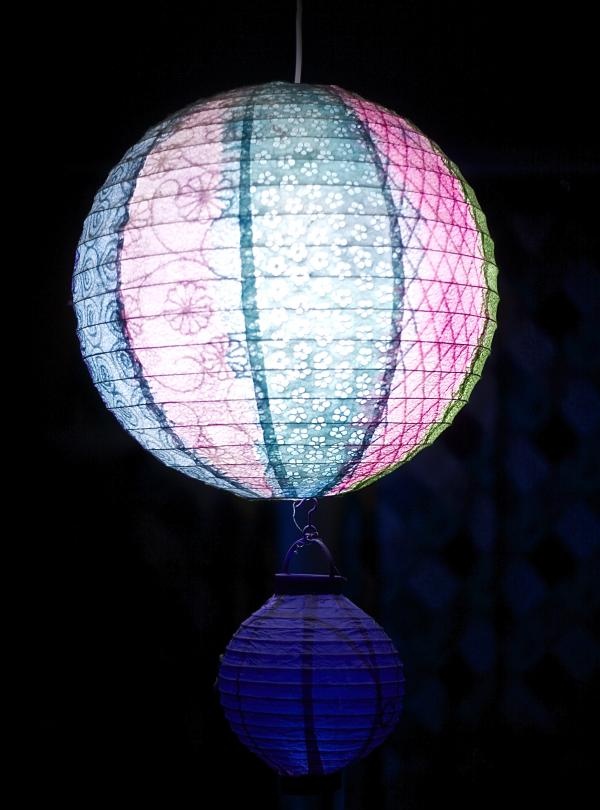
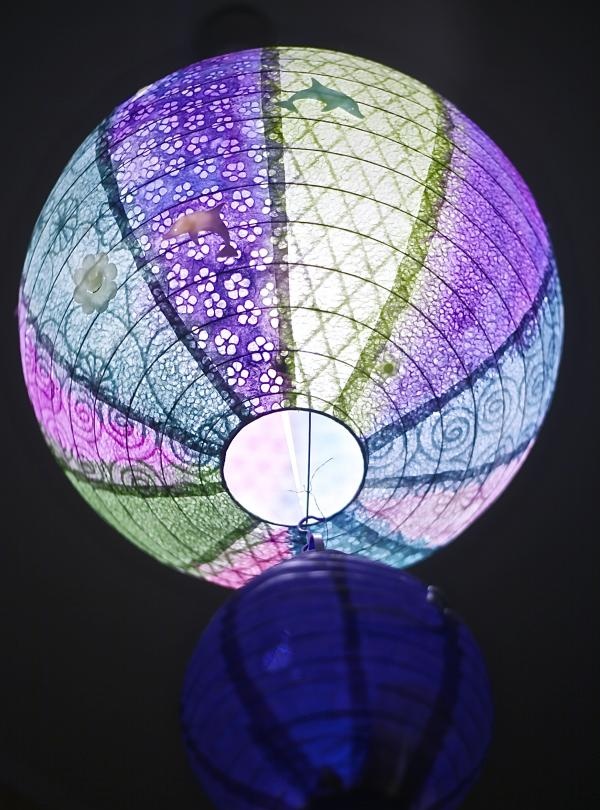
Fluorescent figures were glued on top, which glow beautifully in the dark.
The materials required were the simplest:
• cheap paper lampshade,
• paints: watercolor and gouache,
• brushes of different thicknesses,
• funny napkin with fish,
• PVA glue (you can take a special one for decoupage),
• scissors,
• water.

First, we need to assemble our lampshade to make it easier to paint.

Next, on the palette we add several shades of blue, cyan, purple and green. In general, all sea colors.

Now we need a wide and soft brush, which we will apply the lightest shades of blue and cyan. These flashlights have metal guides inside that maintain its shape. We will draw waves along them. Strokes should be free and wide. The most convenient way is to rotate the flashlight around its axis and apply paint. Don't be afraid to go beyond the outlined contours.

The paper is so delicate that by the time you finish drawing the bottom stripes, the top part will already be dry.Now take a thinner brush and paint more waves with a bright color. At first it will be blue swirls.

Then - purple.

And in the end - cold greens.

A little negligence is welcome. Now we leave our lampshade to dry and proceed to decoupage. Separate two unpainted layers from a three-layer napkin. We won't need them.

Now we carefully tear off the individual elements of the design: the uneven edge will stick better and merge with the base base.

Think about how you will distribute the fish so that the final result looks harmonious. Next, dilute the PVA glue approximately 1:2 and begin to carefully glue the pieces of napkin.

Try to do this so that no air bubbles accumulate under the paper, and the paper itself does not roll up.

It is better to glue the fish not in even rows, but as if they are actually diving in cheerful waves. Once all the fish are in the aquarium, you can add the finishing touches. Since I already had waves drawn on my napkin, I decided to add some more waves using gouache. Of course, if you have a desire or you haven’t found such napkins, you can draw sea creatures yourself.


We hang the finished lamp in the room and turn on the light. And then real magic begins in the room and beautiful fish swim in the azure-turquoise sea.

In general, paper lamps are very fun and easy to decorate. Simpler techniques can also be used. Here, for example, is a flashlight painted in different shades of green and purple. It was created using textured paper, the structure of which we emphasized with color.


Fluorescent figures were glued on top, which glow beautifully in the dark.
Similar master classes
Particularly interesting
Comments (0)

