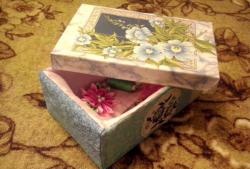
Casket
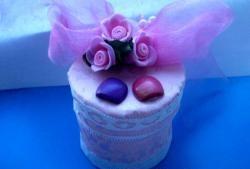
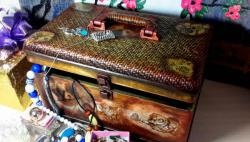
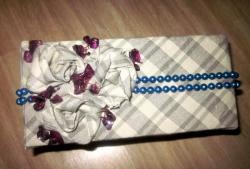
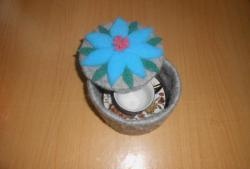
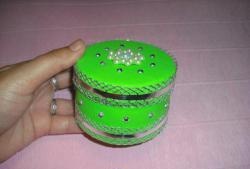
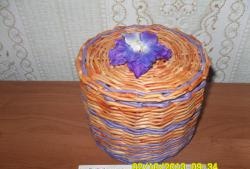
How many unnecessary boxes are collected in the house for the purpose of “maybe they will come in handy”? Packages from old mobile phones, perfumes, and sweets are waiting for their “finest hour” - spring cleaning. Meanwhile, you can make beautiful exclusive boxes from them. Which will not only please the eye, but will also fit well into the interior. They will serve as a worthy shelter for all kinds of little things: hairpins, pins, perfumes, cosmetics, jewelry.
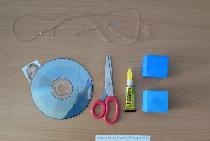
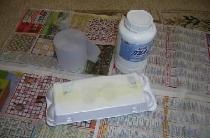
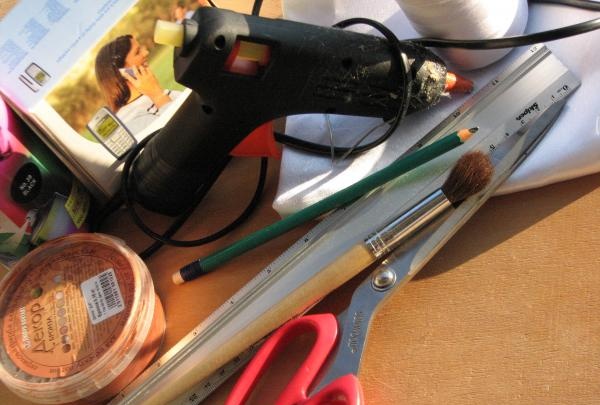
To make the box you will need:
- paper box;
- PVA glue;
- silicone gun;
- black acrylic paint;
- acrylic pearl paint (bronze or gold);
- a small piece of fabric of the appropriate color;
- braid;
- thread, scissors, needle, pencil, ruler, brush;
- several types of pasta;
- beads, rhinestones.
Decoration of the box inside.
Place the box bottom on the fabric and circle it. Add 0.5–1 cm to the resulting outline - these are seam allowances. Cut out the bottom.

Using a ruler, measure the height and perimeter of the box and add 1-2 cm to each side. Transfer the obtained dimensions to the fabric and cut it out.
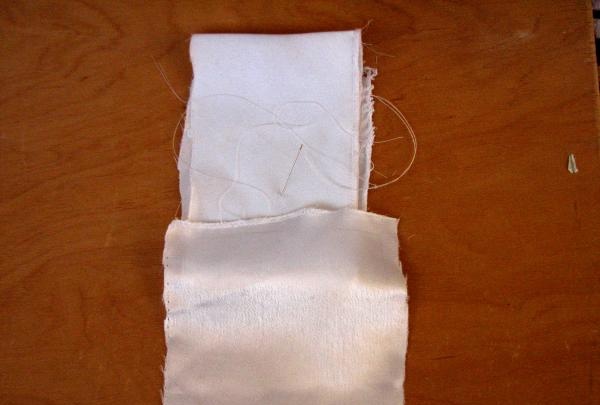
Sew the resulting fabric blanks around the perimeter of the bottom and side parts.
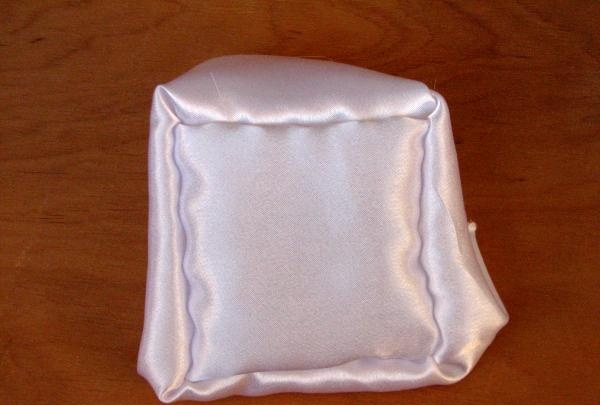
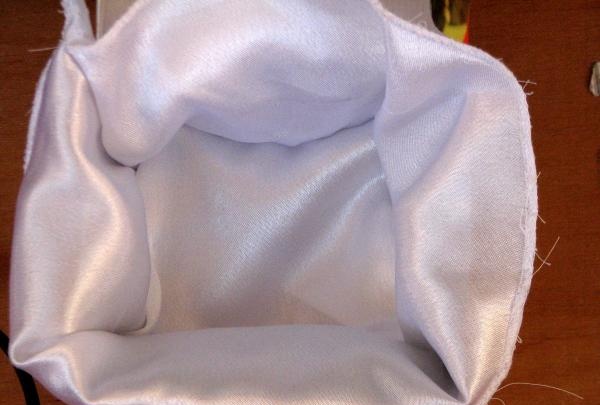
Since the box will be painted, you need to put aside the interior decoration for now and start decorating the exterior.
Decoration of the box on the outside.
In order to decorate the outside of the box, you must first lay out the side parts. To do this, you will need to symmetrically place the pasta on the sides of the box and secure them with a glue gun. If you can’t visually distribute the pasta, you can use a pencil. Or lay out the future drawing on a flat surface in the appropriate scale, and then transfer it to the side.
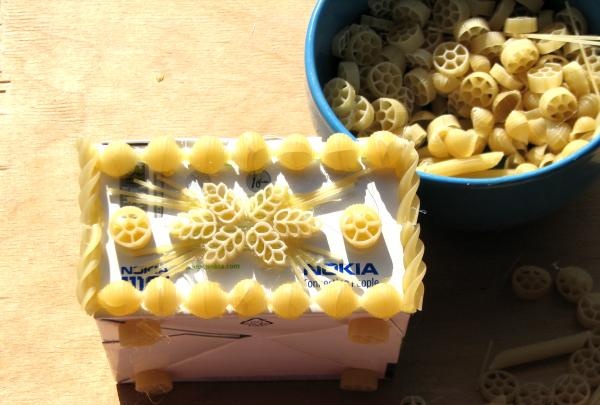
Decorate all sides of the box using a glue gun. Work carefully, as pasta is a fragile material. After painting, their strength increases significantly. Select and attach the legs.
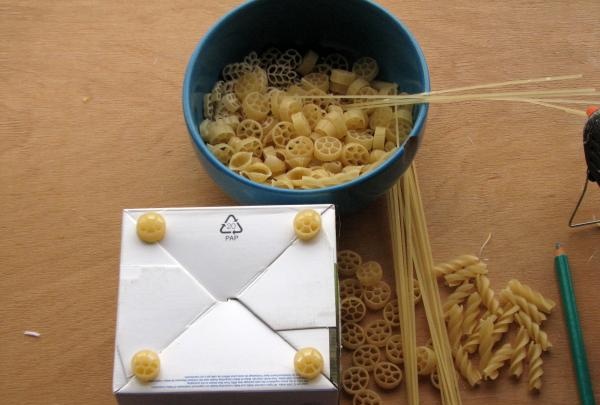
Place the lid of the box.
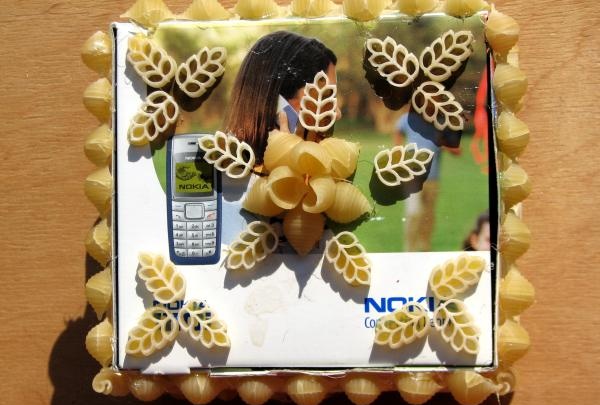
Intermediate result of the work.
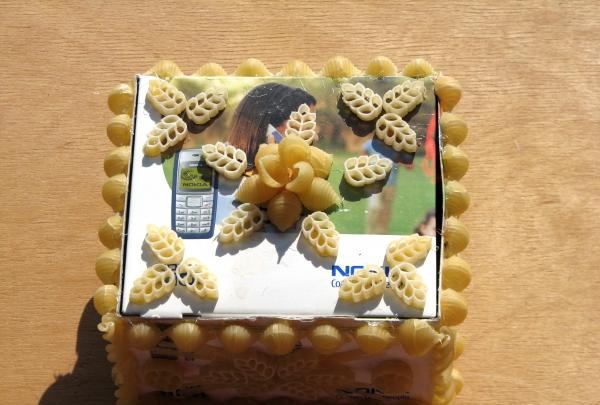
Paint the box black. This can be done conveniently with spray paint. Allow the product to dry. If there are any unpainted areas, repeat the painting.
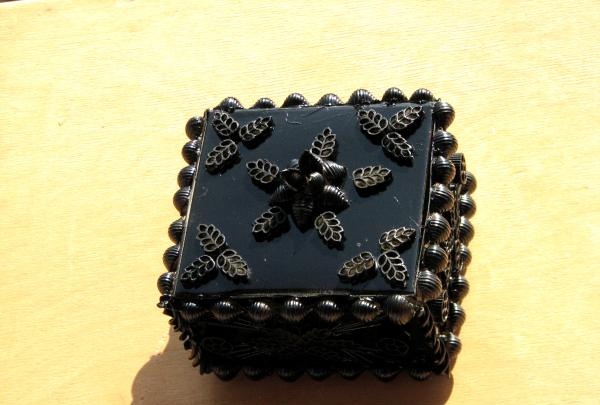
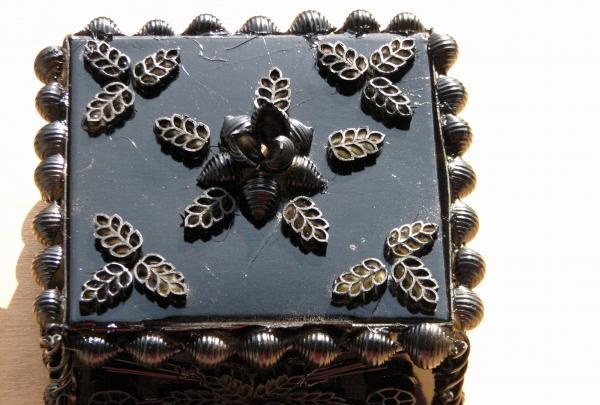
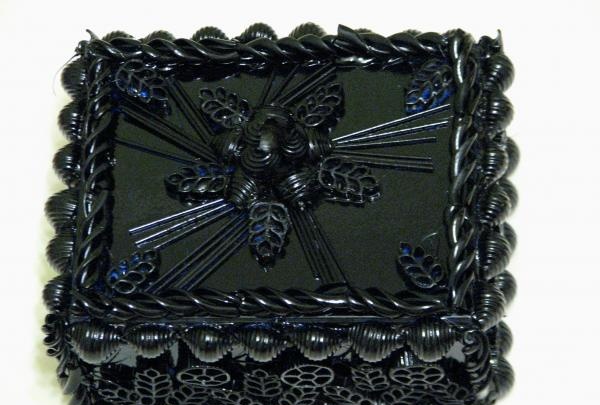
After complete drying, carefully paint over all the reliefs of the box using a brush. Let dry and reapply paint.
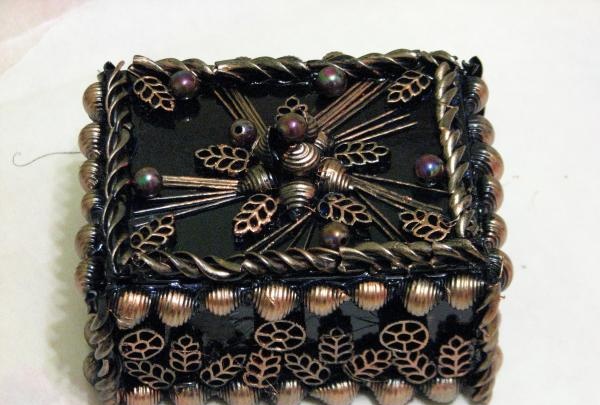
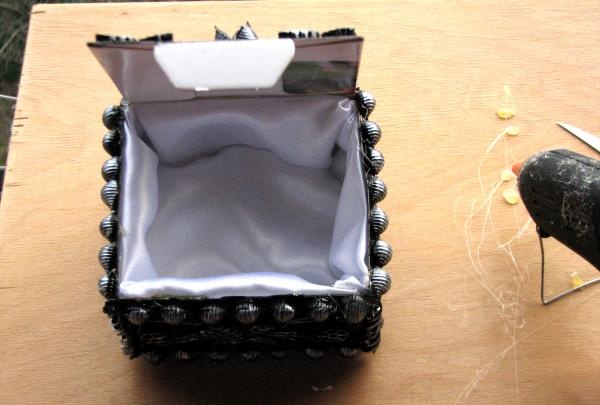
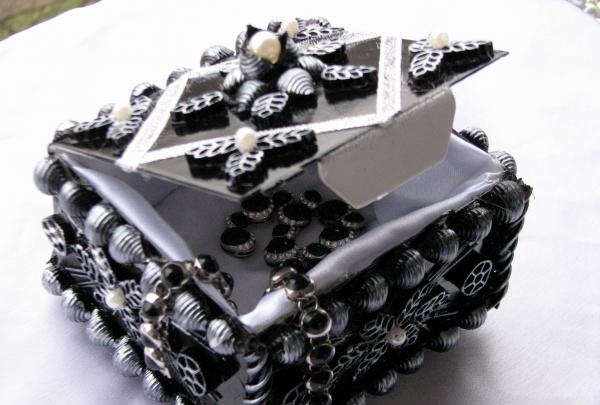
Allow the product to dry. Decorate the interior. Insert the sewn fabric cover and secure it with PVA glue. Attach the braid around the perimeter with glue.
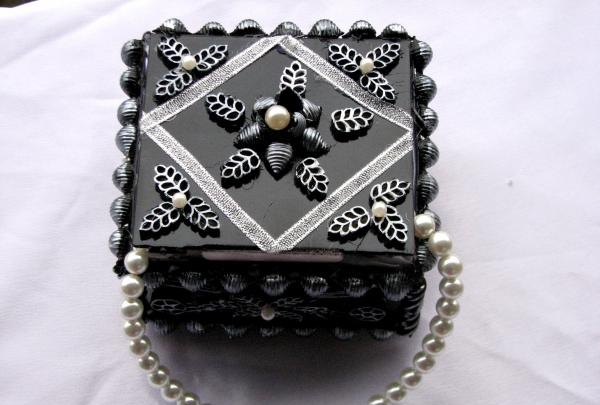
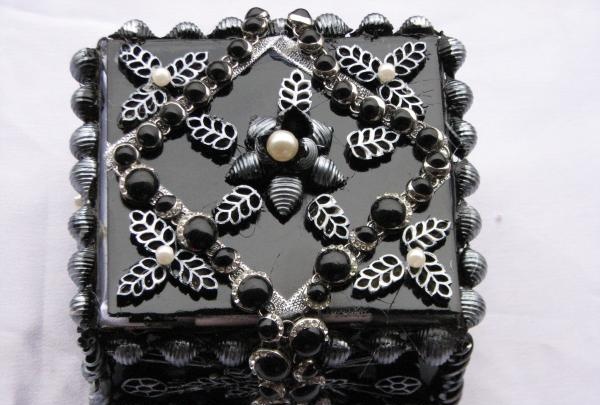
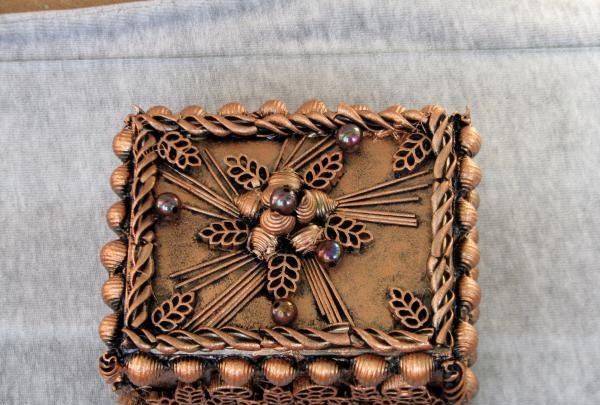
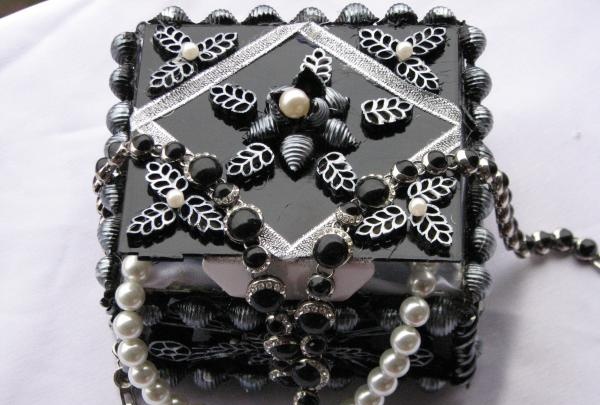
Now the surface of the box can be decorated with beads, ribbons and rhinestones.
A few tips.
It is not necessary to use black paint as a base. Any color, maybe. It depends on your taste. The paint that we apply to the base, pearl (bronze or gold) can be applied with a sponge. At the same time painting the base. Then the box will be lighter.
To make the box you will need:
- paper box;
- PVA glue;
- silicone gun;
- black acrylic paint;
- acrylic pearl paint (bronze or gold);
- a small piece of fabric of the appropriate color;
- braid;
- thread, scissors, needle, pencil, ruler, brush;
- several types of pasta;
- beads, rhinestones.

Decoration of the box inside.
Place the box bottom on the fabric and circle it. Add 0.5–1 cm to the resulting outline - these are seam allowances. Cut out the bottom.

Using a ruler, measure the height and perimeter of the box and add 1-2 cm to each side. Transfer the obtained dimensions to the fabric and cut it out.

Sew the resulting fabric blanks around the perimeter of the bottom and side parts.


Since the box will be painted, you need to put aside the interior decoration for now and start decorating the exterior.
Decoration of the box on the outside.
In order to decorate the outside of the box, you must first lay out the side parts. To do this, you will need to symmetrically place the pasta on the sides of the box and secure them with a glue gun. If you can’t visually distribute the pasta, you can use a pencil. Or lay out the future drawing on a flat surface in the appropriate scale, and then transfer it to the side.

Decorate all sides of the box using a glue gun. Work carefully, as pasta is a fragile material. After painting, their strength increases significantly. Select and attach the legs.

Place the lid of the box.

Intermediate result of the work.

Paint the box black. This can be done conveniently with spray paint. Allow the product to dry. If there are any unpainted areas, repeat the painting.


After complete drying, carefully paint over all the reliefs of the box using a brush. Let dry and reapply paint.

Allow the product to dry. Decorate the interior. Insert the sewn fabric cover and secure it with PVA glue. Attach the braid around the perimeter with glue.

Now the surface of the box can be decorated with beads, ribbons and rhinestones.


A few tips.
It is not necessary to use black paint as a base. Any color, maybe. It depends on your taste. The paint that we apply to the base, pearl (bronze or gold) can be applied with a sponge. At the same time painting the base. Then the box will be lighter.


Similar master classes
Particularly interesting
Comments (1)

