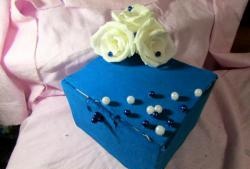
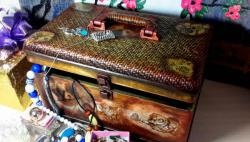
Box decorated with fabric, fabric flowers and beads
Material needed to make the box:
1. Any cardboard box.
2. Pieces of fabric.
3. Ribbon or braid.
4. Beads, beads, stones, etc.
5. Thermal gun.
Stages of making a box:
1. Any box, such as shoes, dishes or gift sets, is suitable for this box. This master class uses a box with a transparent lid from a set of braids that was given to me on March 8th. So, let's prepare all the necessary materials.
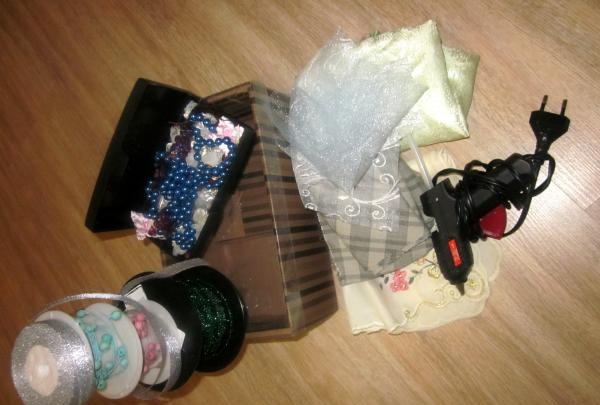
2. At this stage we will need fabric. Any fabric is suitable for this box, and it does not have to be new. This could be an old skirt, blouse or men's shirt. My box, for example, will “wear” my old skirt! So, measure and cut the required amount of fabric. This must be done in such a way that the outside of the box is completely covered with fabric, as well as partially inside. After which it is necessary, using a heat gun, to cover our box with fabric.
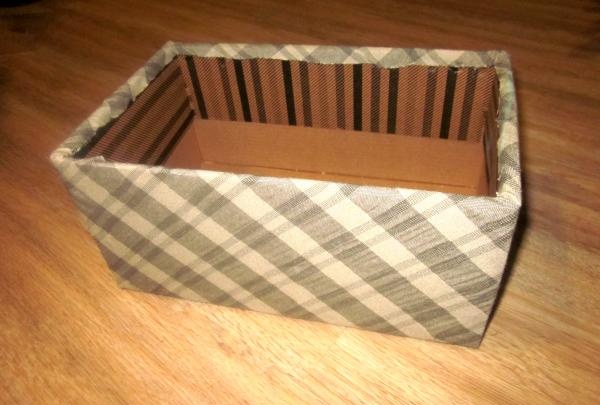
If the inside of the box is ugly, then it can also be covered with fabric.My box has a transparent lid, so I won’t cover it with fabric, but if you have a cardboard lid, then you also need to cover it with fabric, maybe even another fabric that matches the color.
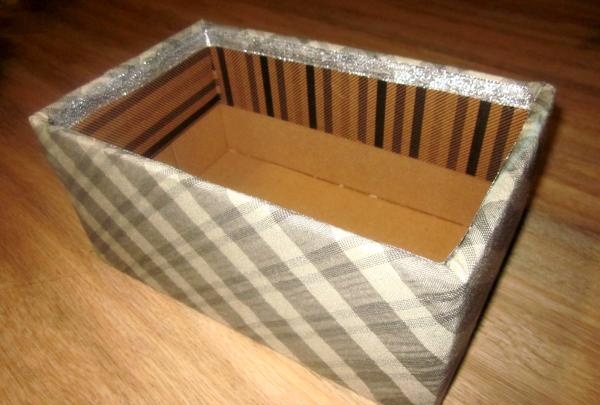
3. Unsightly edges of the fabric inside the box can be closed using tape or braid. I used silver fabric ribbon.
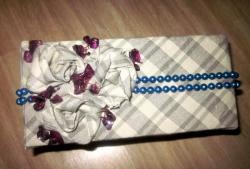
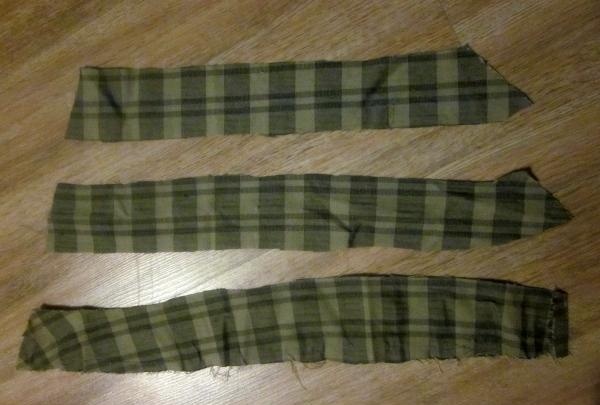
4. Now we will make flowers from fabric. There will be 3 flowers on my box, for this you need to cut 3 strips of fabric about 4 cm wide. You can cut strips of the same length, or you can cut them of different lengths - it’s not that important. There is no need to trim the threads that stick out at the edges, as they will give the flowers an unusual look.
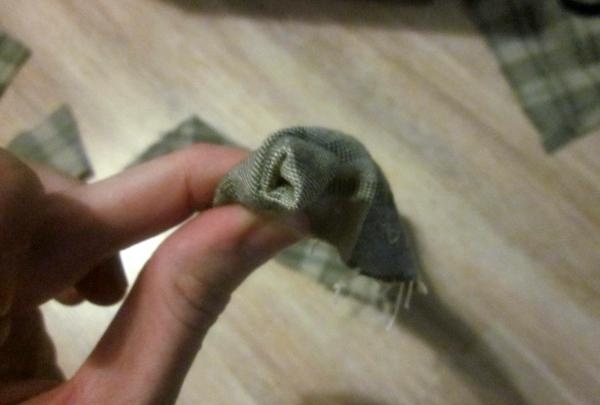
5. Next, we begin to form the flower itself. To do this, you need to twist the edge of the strip into a tube and fix it with a heat gun. This is the middle of our flower. Then continue to wind the fabric around this center, turning it slightly, while fixing each turn with a heat gun.
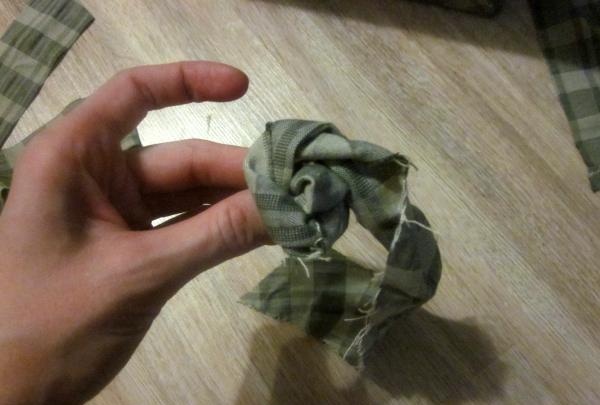
6. Repeat step 5 2 more times. Here are 3 finished flowers.
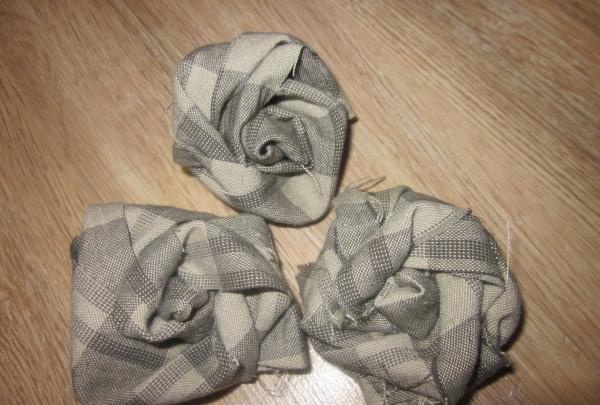
7. Using a heat gun, glue our flowers to the box. If the box has a cardboard lid, then they can be glued directly to the lid, but since my lid is transparent, I glue the flowers to the side.
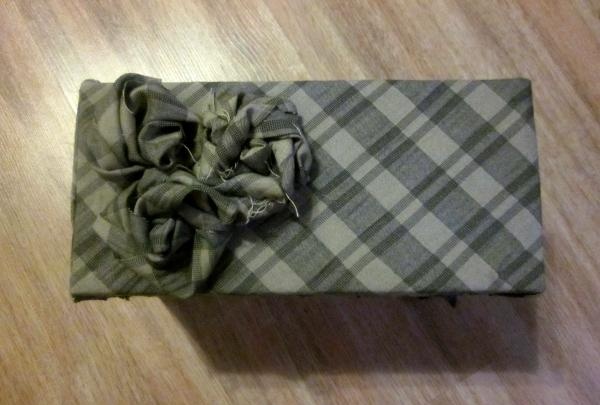
8. Now you can use all your imagination, because we are getting down to the most interesting thing - decor beads and other beauty. Absolutely everything you have at home is suitable for this - beads, rhinestones, seed beads, stones, sequins, ribbons, well, in general, everything that has been lying around for a long time and has not been used in your home. I decorated my box with a string of old beads and stones from a money tree.
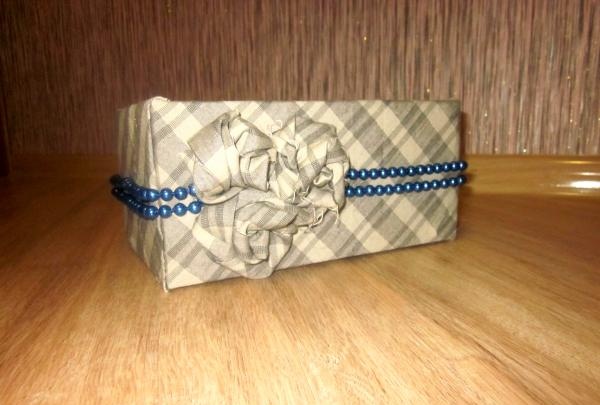
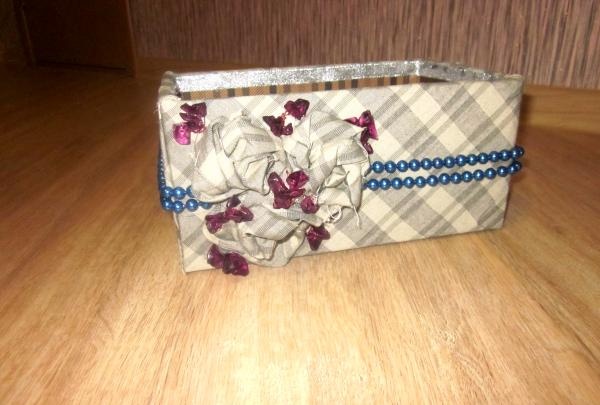
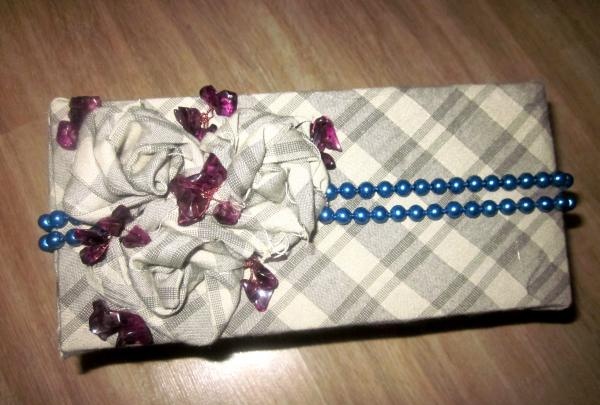
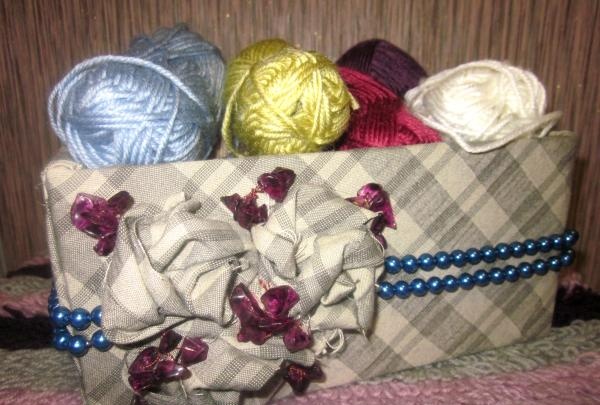
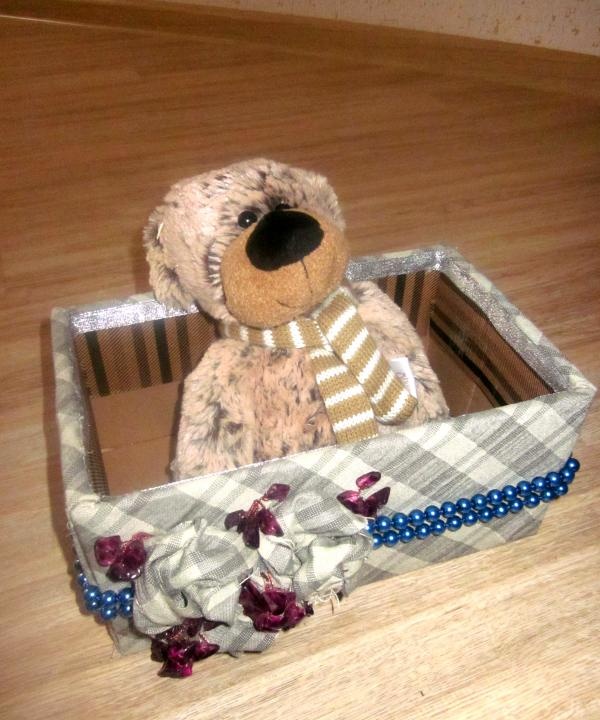
9.That's all! Our box is ready, now it can be used as a storage for threads, cosmetics, photographs, and you can even give it to someone by first putting it in it present (soft toy, candy, etc.).
1. Any cardboard box.
2. Pieces of fabric.
3. Ribbon or braid.
4. Beads, beads, stones, etc.
5. Thermal gun.
Stages of making a box:
1. Any box, such as shoes, dishes or gift sets, is suitable for this box. This master class uses a box with a transparent lid from a set of braids that was given to me on March 8th. So, let's prepare all the necessary materials.

2. At this stage we will need fabric. Any fabric is suitable for this box, and it does not have to be new. This could be an old skirt, blouse or men's shirt. My box, for example, will “wear” my old skirt! So, measure and cut the required amount of fabric. This must be done in such a way that the outside of the box is completely covered with fabric, as well as partially inside. After which it is necessary, using a heat gun, to cover our box with fabric.

If the inside of the box is ugly, then it can also be covered with fabric.My box has a transparent lid, so I won’t cover it with fabric, but if you have a cardboard lid, then you also need to cover it with fabric, maybe even another fabric that matches the color.
3. Unsightly edges of the fabric inside the box can be closed using tape or braid. I used silver fabric ribbon.

4. Now we will make flowers from fabric. There will be 3 flowers on my box, for this you need to cut 3 strips of fabric about 4 cm wide. You can cut strips of the same length, or you can cut them of different lengths - it’s not that important. There is no need to trim the threads that stick out at the edges, as they will give the flowers an unusual look.

5. Next, we begin to form the flower itself. To do this, you need to twist the edge of the strip into a tube and fix it with a heat gun. This is the middle of our flower. Then continue to wind the fabric around this center, turning it slightly, while fixing each turn with a heat gun.


6. Repeat step 5 2 more times. Here are 3 finished flowers.

7. Using a heat gun, glue our flowers to the box. If the box has a cardboard lid, then they can be glued directly to the lid, but since my lid is transparent, I glue the flowers to the side.

8. Now you can use all your imagination, because we are getting down to the most interesting thing - decor beads and other beauty. Absolutely everything you have at home is suitable for this - beads, rhinestones, seed beads, stones, sequins, ribbons, well, in general, everything that has been lying around for a long time and has not been used in your home. I decorated my box with a string of old beads and stones from a money tree.


9.That's all! Our box is ready, now it can be used as a storage for threads, cosmetics, photographs, and you can even give it to someone by first putting it in it present (soft toy, candy, etc.).


Similar master classes
Particularly interesting
Comments (0)

